
Are you ready to unleash your creativity and design skills by creating your own WordPress theme using Photoshop? Imagine the thrill of building a website that not only looks stunning but also reflects your unique style and vision.
With this guide, you’ll discover how easy it can be to transform your Photoshop designs into a fully functional WordPress theme. Whether you’re a budding designer or an experienced developer looking to add a personal touch to your projects, this step-by-step process will empower you to take full control over your website’s appearance.
Get ready to dive into a world where your imagination sets the limits, and learn how to turn your artistic ideas into reality. Let’s explore how you can craft a website that stands out in the digital landscape and keeps visitors coming back for more.

Credit: www.youtube.com
Getting Started With Photoshop
Begin by opening Photoshop on your computer. Look for the toolbar on the left. This is where all your main tools are found. The layers panel is usually on the right. It helps you manage your artwork. Make sure to keep it visible.
At the top, you will see the menu bar. From here, you can access different options. Customize your workspace by going to Window > Workspace. Choose a layout you like. You can also create your own layout.
Some tools are very important. The brush tool lets you draw. The text tool allows adding words. Use the shape tool to create basic shapes. The crop tool helps you cut out parts you don’t need. Learn these well. They are essential for designing.
Designing The Layout
Colors make your website look good. Pick 3 to 4 colors. Use these colors in your design. Bright colors grab attention. Soft colors calm the eyes. Balance is key. Avoid too many colors. They can confuse users. Keep it simple and clean.
The header and footer are important. They show key info. Add your logo to the header. Make sure it is clear. Include contact info in the footer. Make it easy to find. Keep both sections tidy. Do not add too much text. Simple designs work best here.
This is where most info goes. Make sure content is easy to read. Use big fonts for headings. Smaller fonts for paragraphs. Add images to break up text. Use lists for key points. This helps readers scan the page. Keep the layout neat and organized.
Exporting Your Design
Start by opening your design in Photoshop. Use the slice tool to cut your layout. Each section of your design should become a separate slice. This makes the web layout more flexible. Make sure to slice all interactive elements, like buttons and menus. Keep the slices neat and organized. This helps in the next steps.
After slicing, it’s time to save your images. Go to the File menu. Select Save for Web. Choose the file format, like JPG or PNG. PNG is good for images with text. JPG works for photos. Keep the file size small for faster loading. Save each slice with a clear name. This helps in identifying them later.
Converting To Html/css
Creating a custom WordPress theme begins by designing in Photoshop. Transform these designs into functional HTML/CSS. This process allows for unique and personalized website aesthetics.
Using Html Basics
HTML is the base of every website. It is like a skeleton. Each part of a webpage needs it. Use simple tags like for headings. is for paragraphs. Images use tags. Structure your content well. This makes it easy to read. Each tag has a purpose. Learn what each tag does. Practice writing them. Soon you’ll create basic pages!
Styling With Css
CSS is like clothing for your HTML. It adds color and style. Use it to change fonts, colors, and layouts. Use color to change text color. background-color changes the page color. Use font-size to make text big or small. CSS makes your page look nice. It can change how things are placed. Use margin and padding for spacing. Each CSS rule affects your page’s look. Mix and match styles for unique designs.
WordPress Theme Structure
WordPress themes use many files. Each file has a job. The style.css file controls how things look. The index.php file shows content. header.php and footer.php files give the top and bottom parts. The functions.php file adds features. These files work together to make your site.
Start with the style.css file. It is very important. It holds your theme’s name and details. Next, make the index.php file. It is the main page template. Add header.php, footer.php, and functions.php files. These files build your theme. Keep them simple at first.
Integrating With WordPress
Begin by uploading your theme files to the WordPress themes folder. This folder is inside the wp-content directory. Use an FTP client for this. You will see your theme in the WordPress dashboard. Click on Appearance, then Themes. Activate your new theme.
Create a functions.php file. This file adds features to your theme. Add code snippets for menus and widgets. These make your theme dynamic. You can also add sidebars. Use WordPress hooks to customize more. This makes your theme unique.
Testing And Debugging
Testing your WordPress theme is crucial. First, check for responsiveness. Use different devices. See if your theme looks good on all screens. Small screens, big screens, all must be checked. A responsive theme works well everywhere.
Checking For Responsiveness
Open your theme on a phone. Then try a tablet. Is everything in place? Text should be easy to read. Images should fit nicely. Buttons must be easy to tap. If anything looks odd, make changes. Responsiveness is very important.
Fixing Common Issues
Sometimes, things go wrong. Maybe a button is missing. Or text is too big. Check your code for mistakes. Make sure everything is linked right. Test again after each change. This helps find errors fast. Keep fixing until all works well.

Credit: themeforest.net
Launching Your Theme
Design your own WordPress theme using Photoshop easily. Convert your creative ideas into a functional theme. Enhance your website’s look by crafting unique designs.
Uploading To WordPress
Start by saving your theme files. Ensure they are in a zip folder. This makes uploading easy. Open your WordPress dashboard. Go to the Appearance section. Click on Themes. Find the Add New button. Select the Upload Theme option. Choose your zip file. Click the Install Now button. Wait for the installation to complete. Once done, hit Activate. Your theme is now live.
Final Adjustments And Tweaks
Visit your site to check the theme. Make sure everything looks good. Adjust colors and fonts if needed. Use the WordPress Customizer. This tool is helpful. Fix any alignment issues. Check all pages. Ensure buttons and links work. Preview your site on different devices. It should look good everywhere. Ask a friend to review it too. This helps find hidden issues. Keep tweaking until satisfied.
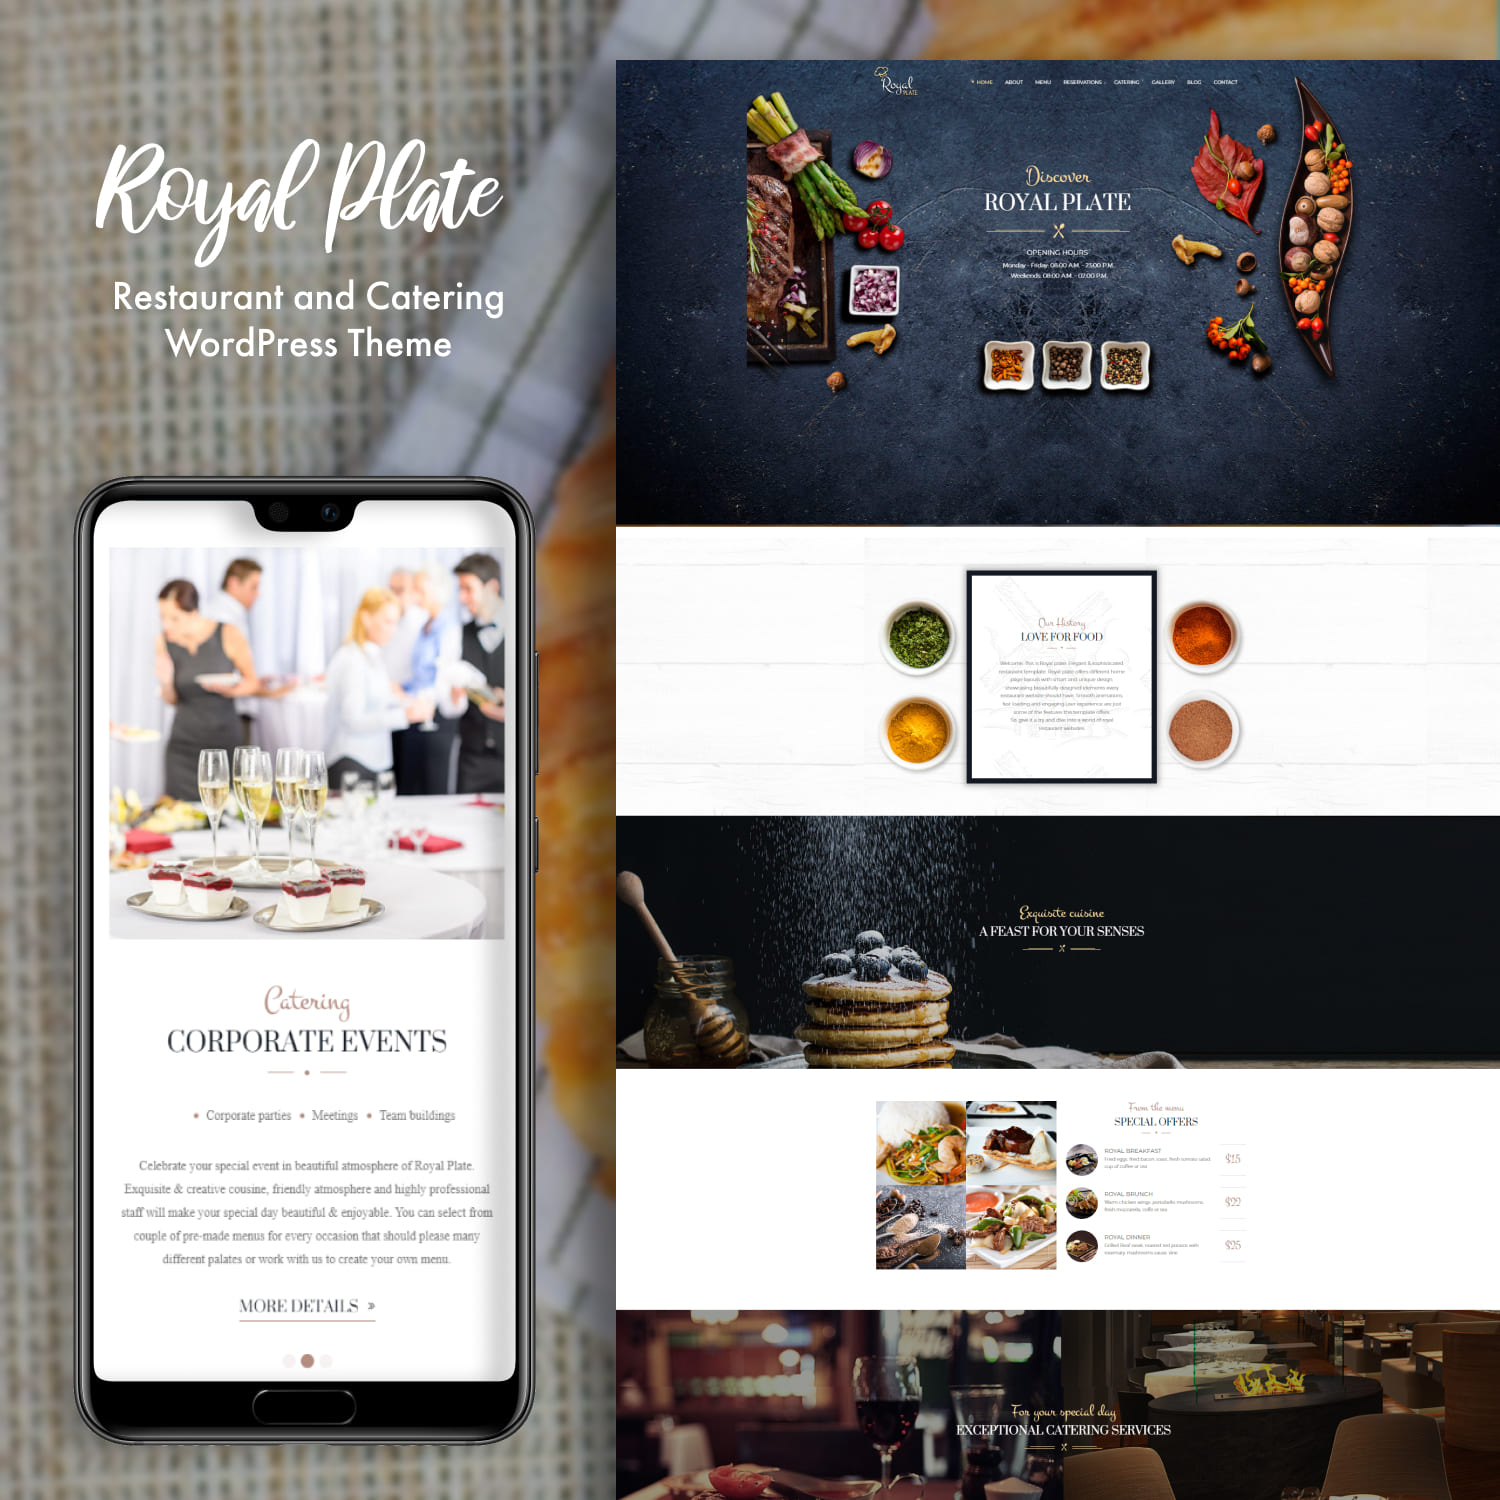
Credit: masterbundles.com
Frequently Asked Questions
How Do I Start Designing A WordPress Theme?
Begin by brainstorming your design layout in Photoshop. Create a wireframe to map out the structure. Focus on elements like header, footer, and sidebar. Ensure your design is responsive for various devices. Once satisfied, export the design elements for coding, keeping WordPress compatibility in mind.
Can Photoshop Be Used For WordPress Themes?
Yes, Photoshop is excellent for designing WordPress themes. It allows you to create detailed graphics and layouts. You can design every aspect visually, from headers to buttons. After designing, you can export and translate these designs into code for WordPress implementation.
What Software Is Needed For Theme Creation?
Primarily, you’ll need Photoshop for design and a code editor for development. Photoshop aids in crafting the visual aspects. A code editor, like Sublime Text or Atom, helps convert designs into HTML, CSS, and PHP. Together, these tools facilitate a complete theme creation process.
How To Ensure Theme Compatibility With WordPress?
Design with WordPress standards in mind. Use Photoshop to create adaptable layouts. Export graphics correctly and ensure they fit WordPress requirements. Code using WordPress-specific functions and hooks. Test thoroughly using different WordPress versions to ensure compatibility across updates.
Conclusion
Creating your own WordPress theme using Photoshop can be rewarding. You blend design and functionality to make a unique site. Start with clear ideas. Sketch your vision in Photoshop. Convert designs into code. Test your theme for responsiveness. Keep user experience in mind.
Make navigation easy and content visible. Update your theme regularly. This ensures security and compatibility. Enjoy the process. Your theme reflects your style and creativity. With patience, you can craft a theme that stands out. Embrace the learning journey. Your skills will grow with practice.


