
If you’ve ever felt limited by the default settings of a WordPress theme, you’re not alone. Imagine having the power to tailor your website’s appearance and functionality without touching a single line of code.
Creating a WordPress theme options panel puts this control directly in your hands. It allows you to customize your website with ease, ensuring it stands out and aligns perfectly with your brand. In this guide, you’ll discover simple steps to build your very own theme options panel, making your website truly yours.
Ready to unlock new possibilities and take your WordPress site to the next level? Keep reading to learn how.
Setting Up The Environment
First, you need to install WordPress on your computer. Use a tool like XAMPP or WAMP. These tools make it easy to create a local server. Next, download a theme you want to modify. Put this theme in the WordPress themes folder. This folder is in the wp-content directory.
Open your favorite code editor. Editors like Visual Studio Code or Atom are great choices. Now, you can start editing your theme files. Make sure to backup your files before you start. This way, you won’t lose your work if something goes wrong.
Check if you have PHP and MySQL installed. These are needed for WordPress to run. Ensure your web server is working properly. Finally, double-check all settings. Everything should be ready for your WordPress theme adventure!
Understanding Theme Options
WordPress theme options are settings for your website. They allow easy customization. These options can change colors, fonts, and layouts. Users can adjust settings without coding. Theme options make the site unique. They help in creating a personal style. Simple steps can set up these options. Developers use code to create options. Users see options in the WordPress dashboard. Panels provide a user-friendly interface. These panels have different sections. Each section has specific settings. The main goal is to make customization easy. Setting up theme options can be fun. It gives you control over your site.
Adding Theme Support
WordPress themes need support features. Add these in your theme. Theme support helps you use theme features. Open your theme’s functions file. Use the function add_theme_support(). This tells WordPress what your theme can do.
You can add support for features like post thumbnails. This lets you show images with posts. To add this, type: add_theme_support('post-thumbnails');. Another feature is custom headers. This lets you use your own header image. For this, write: add_theme_support('custom-header');.
Remember to save your changes. Check your theme to see new features. These steps make your theme more useful. Theme support is a key to better themes.
Creating A Custom Admin Page
Making a new menu is fun. First, you need a function. This function will call another function. Add the menu item here. Use add_menu_page() to do this. This function needs some things. A page title. A menu title. User ability. A unique slug. Finally, a callback function. This callback shows the page content.
Let’s create the page content. Make a new function. This function outputs your content. Use HTML inside this function. Add a title or text here. You can also add forms. Forms let users change settings. Keep it simple. Users like easy pages. Ensure everything is clear. Avoid complex words. Help users have a smooth experience.
Building The Options Form
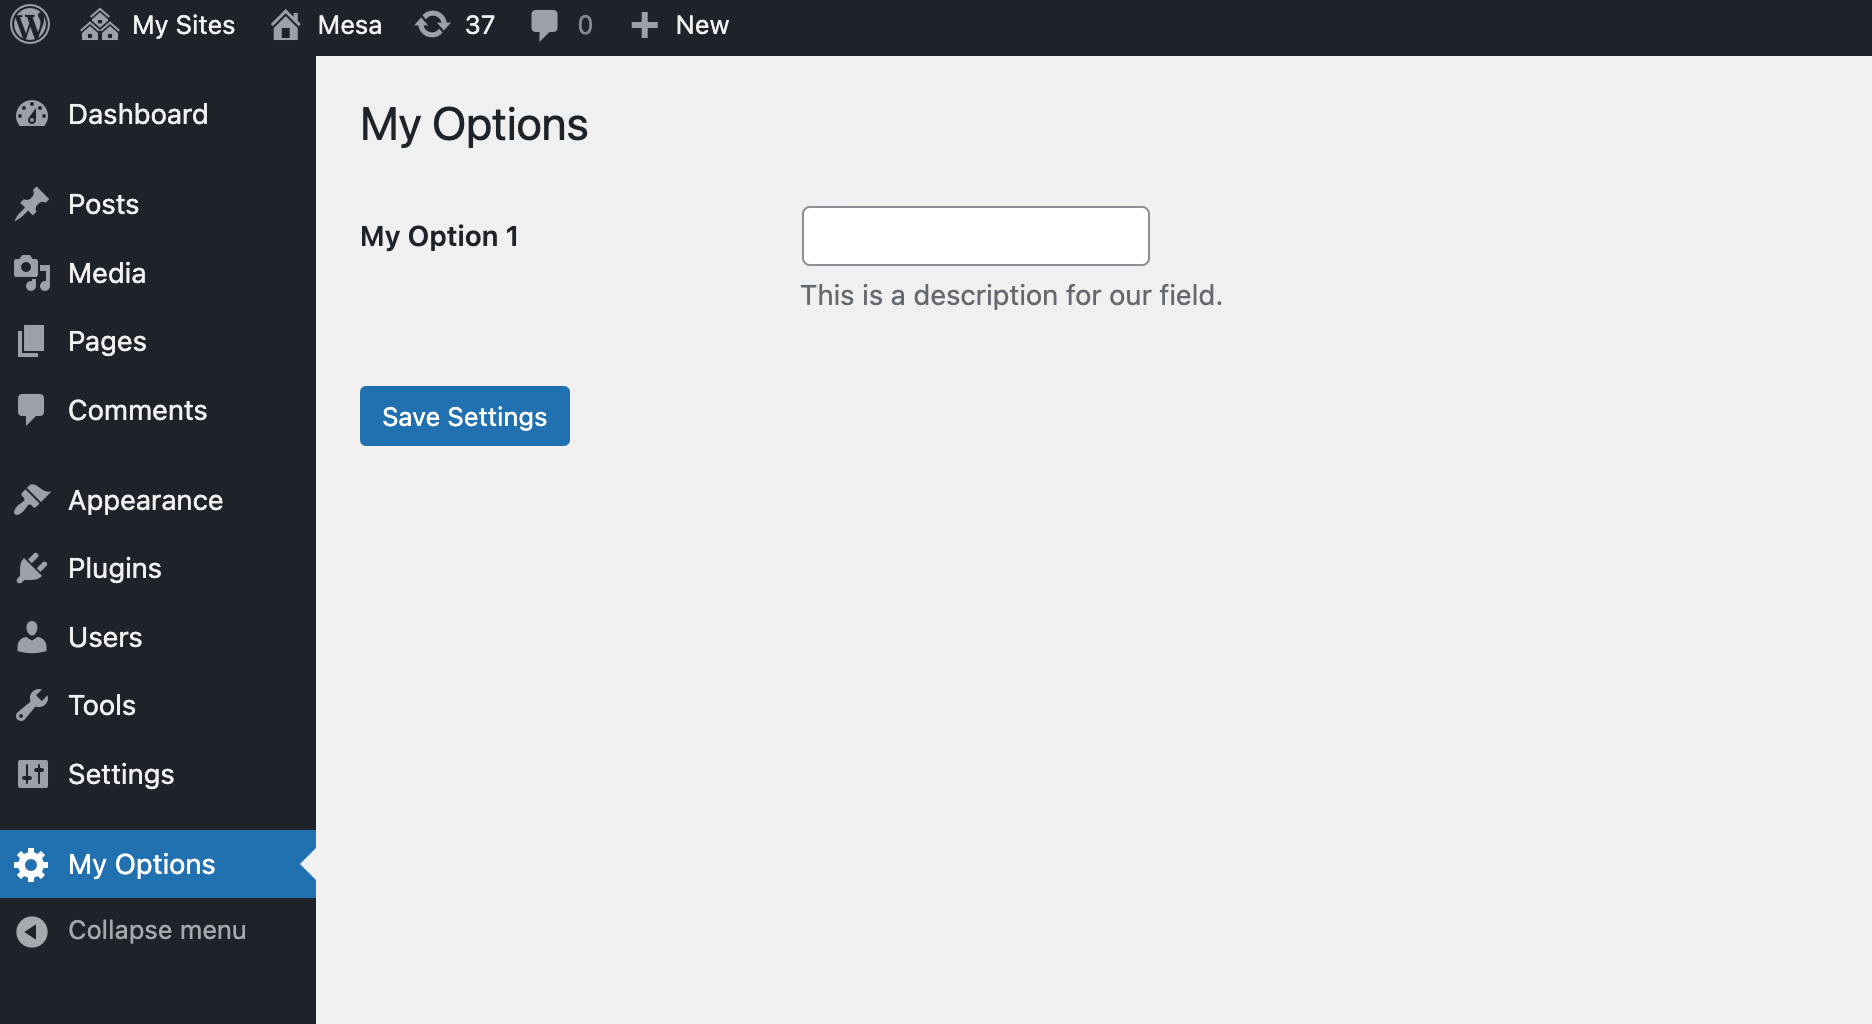
Form fields help users change settings. Use text fields for simple input. For choices, use radio buttons. Checkboxes work well for multiple selections. Drop-down menus can offer many options. Each field needs a label. Labels help users understand the field’s purpose. Use clear and simple language for labels.
Group related settings together. It makes it easy for users to find what they need. Use sections for different parts of the theme. Each section should have a clear name. This helps with navigation. Settings in each section should be easy to understand. Avoid clutter. Keep it simple and neat. Users appreciate a clean layout.
Credit: www.wpexplorer.com
Saving User Settings
Creating a WordPress theme options panel helps users save their settings easily. This panel allows customization of themes without coding. It enhances user experience by providing intuitive controls for theme adjustments.
Validating Input Data
Always check the data that users enter. Make sure it is safe and correct. This step is called validation. It protects your site from bad input. Use functions like sanitize_text_field() for text. For numbers, use absint() or floatval(). Never trust user input without checking it first.
Updating Options In Database
After validation, save the data to the database. Use the function update_option(). It stores the user settings. This function needs two things: option name and value. Make sure the option name is unique. This helps in easy retrieval later. Always confirm the data is saved correctly. Check by retrieving it with get_option(). This ensures the settings are stored properly.
Integrating With WordPress Customizer
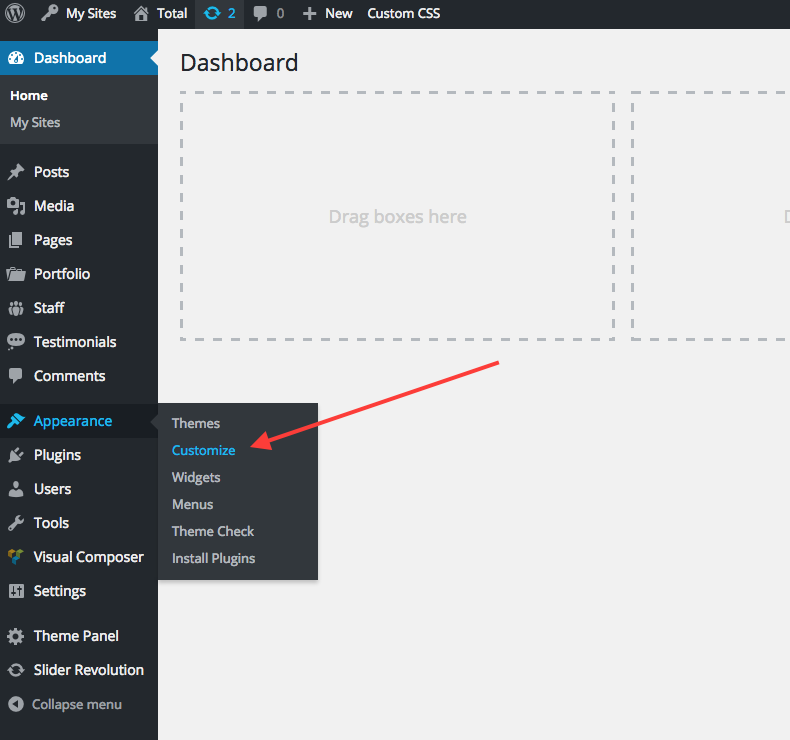
Use Customizer API for easy linking. Create new settings in the Customizer. Use register_setting() function. It helps save options. Connect each option to a control. Use add_control() method for this. Your options will appear in the Customizer panel.
The Customizer allows live preview. It shows changes instantly. Users see updates without saving. Use postMessage transport for this. It updates the preview in real-time. Ensure it is enabled for each setting. This makes the user experience smooth. The live preview helps users decide better. They view changes without refreshing the page.
Enhancing User Experience
Creating a WordPress theme options panel enhances user experience by offering customization features. Simplify theme design with intuitive settings for colors, fonts, and layout. Enhance engagement with easy-to-use interfaces.
Adding Help And Documentation
Help and documentation make themes easier to use. Clear instructions guide users through settings. Add a help tab in your options panel. This provides quick access to important information. Users appreciate simple guides and tips. These elements reduce confusion and improve user satisfaction. Always keep your documentation up-to-date.
Improving Aesthetics With Css
CSS styles make your panel look great. Use colors and fonts that match your theme. This ensures a consistent design. Good aesthetics make the panel easy to navigate. Users find it pleasing and intuitive. Simple CSS tweaks can have a big impact. Keep it clean and minimal for best results.
Testing And Debugging
Identifying common issues is the first step. Test each part of your theme. Check menus, headers, and footers. Look for problems. Are images missing? Are buttons working? Sometimes, small errors break a theme. Use tools to find them. Debugging tools are helpful. They show where issues are hiding.
Ensuring compatibility is important. Your theme should work on all devices. Test it on phones, tablets, and computers. Make sure it looks good everywhere. Check different browsers too. Firefox, Chrome, and Safari all display things differently. Avoid using features not supported everywhere. This keeps users happy. Always update your theme. New updates fix old problems. They add new features too.
Credit: totalwptheme.com
Deploying The Theme
First, make a new folder. Name it the same as your theme. Inside, put all your theme files. This includes your style.css, index.php, and any other files. Add a screenshot.png for your theme preview.
Create a zip file of this folder. This is your theme package. Keep it neat and organized. It helps WordPress understand your theme better.
Log in to your WordPress dashboard. Go to Appearance > Themes. Click on Add New. Select Upload Theme at the top. Choose your zip file and click Install Now.
After installation, click Activate. Your theme is now live. Check the site to see your changes. Sometimes you need to clear your browser cache. This helps show the new theme correctly.

Credit: webdesignerdepot.com
Frequently Asked Questions
What Is A WordPress Theme Options Panel?
A WordPress theme options panel is a user-friendly interface for customizing theme settings. It allows users to modify design elements, colors, fonts, and more without coding. It’s a convenient tool for personalizing a site, enhancing functionality, and improving user experience.
How Do I Add Theme Options In WordPress?
To add theme options, you need to create a custom options panel using WordPress functions. Typically, this involves registering settings, creating a menu, and building a form interface. You can utilize `add_theme_page()` to create a new options page under the Appearance menu.
Can I Customize Themes Without Coding?
Yes, you can customize themes without coding using the theme options panel. It offers various settings that let you adjust design elements easily. Many themes also come with built-in options that allow customization of colors, layouts, and fonts without any coding knowledge.
Why Use A Theme Options Panel?
Using a theme options panel simplifies customization for users. It eliminates the need for coding skills and enhances user experience. A well-designed panel offers flexible control over design elements, making it easier to personalize the site according to one’s needs and preferences.
Conclusion
Creating a WordPress theme options panel enhances user flexibility. It simplifies theme customization for everyone. A well-designed panel can improve the user experience significantly. Consistent practice helps in mastering the process. Remember to keep the interface intuitive and user-friendly. Test your options panel regularly to ensure functionality.
This process encourages creativity and innovation in theme design. With time, creating panels becomes second nature. Always prioritize ease of use for your users. Happy designing!


