
Are you eager to establish your online presence with a website but unsure where to begin? You’ve come to the right place.
Creating web hosting in GoDaddy is simpler than you might think, and it’s a crucial first step in launching your digital footprint. Whether you’re starting a blog, building an e-commerce platform, or showcasing your portfolio, knowing how to navigate GoDaddy’s user-friendly platform can save you time and effort.
In this guide, we’ll walk you through the process step-by-step, ensuring you have all the tools you need to get your website up and running smoothly. By the end of this article, you’ll be ready to create your web hosting account confidently, laying the foundation for your online success. Ready to dive in and unlock the potential of your website? Let’s get started!
Choosing A Hosting Plan
Web hosting on GoDaddy offers different types of plans. The main types include Shared Hosting, VPS Hosting, and Dedicated Hosting. Shared hosting is the most basic and affordable. VPS hosting provides more power and flexibility. Dedicated hosting gives you full control over a server. Choose based on your needs and budget.
It’s important to compare features and pricing. Shared hosting is cheaper but limited. VPS hosting costs more but offers better performance. Dedicated hosting is the most expensive but powerful. Look at storage, bandwidth, and support. Make sure the plan fits your requirements.
Credit: www.godaddy.com
Setting Up Your Account
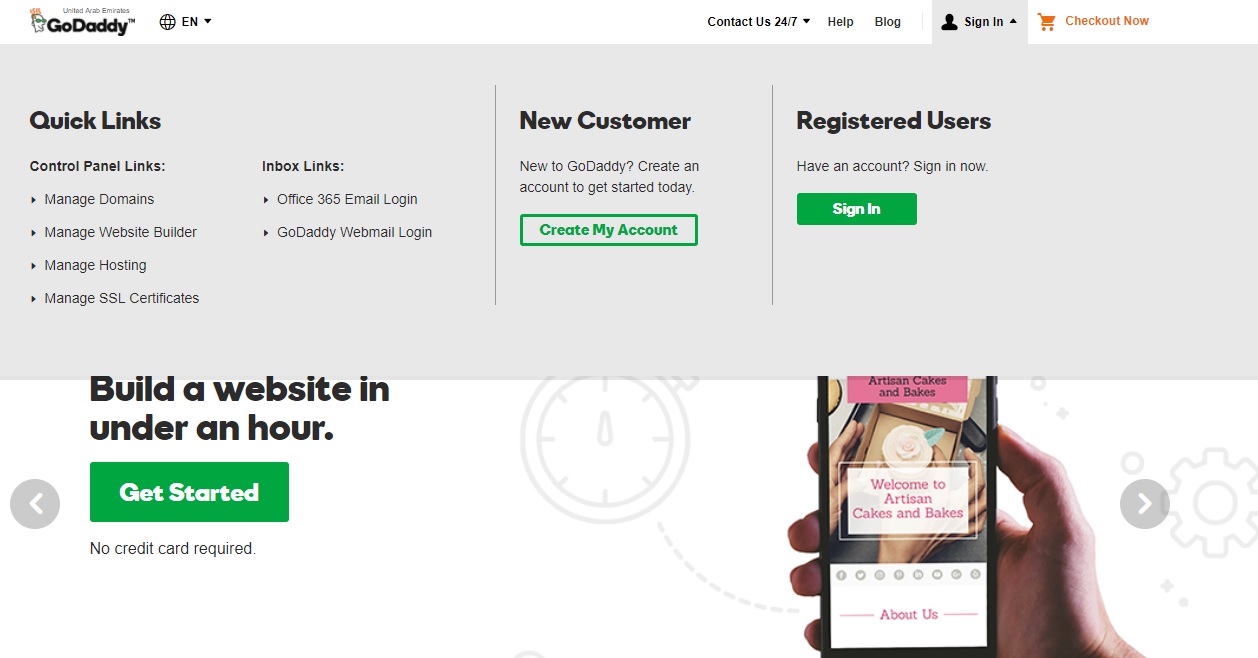
First, visit the Godaddy website. You will see a sign-up option. Click on it. Enter your email address, and create a strong password. This will keep your account safe. Add your personal details like name and address. Review all your entered details. Make sure everything is correct. Finally, click on the create account button. Now, you have a Godaddy account.
After you log in, you will see the dashboard. The dashboard has many options. You can manage your domains. You can also see your account settings. There is a menu on the left side. Use this menu to explore. You can find billing details. You can also find support options. It’s easy to use. Try clicking different sections to learn more.
Domain Name Registration
A good domain name is short and easy to remember. It should reflect your site’s purpose. Try not to use numbers or hyphens. They can be confusing. Research similar names to avoid confusion. Use keywords related to your business. This helps in search engines. Think of creative names that stand out. Check if the name is available. This is the first step.
Visit GoDaddy’s website to start. Enter your chosen domain name. The site checks if it’s available. If taken, try variations. Choose a domain extension like .com or .net. They are popular. Add the domain to your cart. Create an account or sign in. Fill in your details. Select the term you want. One year is common. Complete the payment process to register. Your domain is now yours.
Configuring Your Hosting
Start by logging into your GoDaddy account. Find the hosting dashboard. Look for the button that says “Manage”. Click it to open the control panel. The control panel has many tools. Use them to manage your website. Explore each section carefully. Learn what each tool does.
In the control panel, find the email section. Click on “Create” to start. Enter your desired email name. Choose a strong password. Make sure it is easy to remember. Set up as many accounts as you need. Check your email often. Ensure everything works right. If you need help, use the help section. It has answers for many questions.
Uploading Website Files
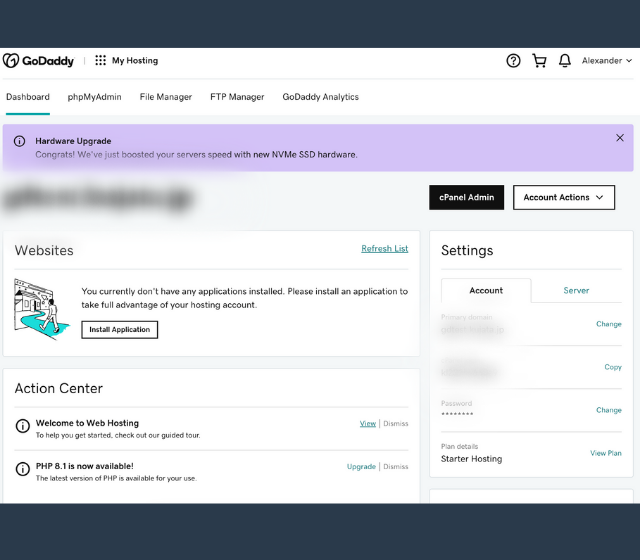
Godaddy’s File Manager helps you upload website files easily. First, sign into your Godaddy account. Navigate to the Web Hosting section. Click on Manage next to your domain. Find File Manager and open it. Select the folder where you want to upload files. Click Upload and choose your files. Wait for the upload to complete. Ensure files appear in the folder. Check your website to ensure everything works.
An FTP client is another way to upload files. Start by downloading an FTP client like FileZilla. Open the client and enter your Godaddy FTP details. These include server name, username, and password. Connect to the server. Select files on your computer. Drag them to the server folder. Wait for files to upload. Check your website after uploading. Make sure all files are in place.
Credit: www.godaddy.com
Managing Dns Settings
DNS records help direct internet traffic. They are like guides. Each record has a purpose. A Records link domain names to IP addresses. CNAME Records point one domain to another. MX Records handle email delivery. Understanding each type is vital. It helps keep your website running smoothly. Changes can take time to update. Patience is key.
Nameservers are like phone books. They tell browsers where to find your site. To update, log into your GoDaddy account. Go to your domain settings. Find the Nameservers section. Click on “Change”. Enter the new nameservers. Save the changes. It may take up to 48 hours. During this time, your website may not be accessible. Check back later to see if it works.
Ensuring Security
SSL certificates protect your website. They keep data safe. Encrypting data is vital. Hackers can’t read encrypted data. SSL creates a secure connection. Users trust secure websites. It improves your site’s reputation. Godaddy offers SSL certificates. It’s easy to install them. Follow simple steps. First, choose your SSL type. Then, order it. Finally, install it on your server. Always check your SSL status.
Security protocols are important. They protect your site. Use strong passwords. Change them often. Don’t share them. Enable two-factor authentication. It adds an extra layer of security. Keep software updated. Updates fix security holes. Monitor your site regularly. Look for unusual activities. Use firewalls. Firewalls block dangerous traffic. They keep hackers away. Backup your data often. Backups save your data if hacked.
Monitoring Website Performance
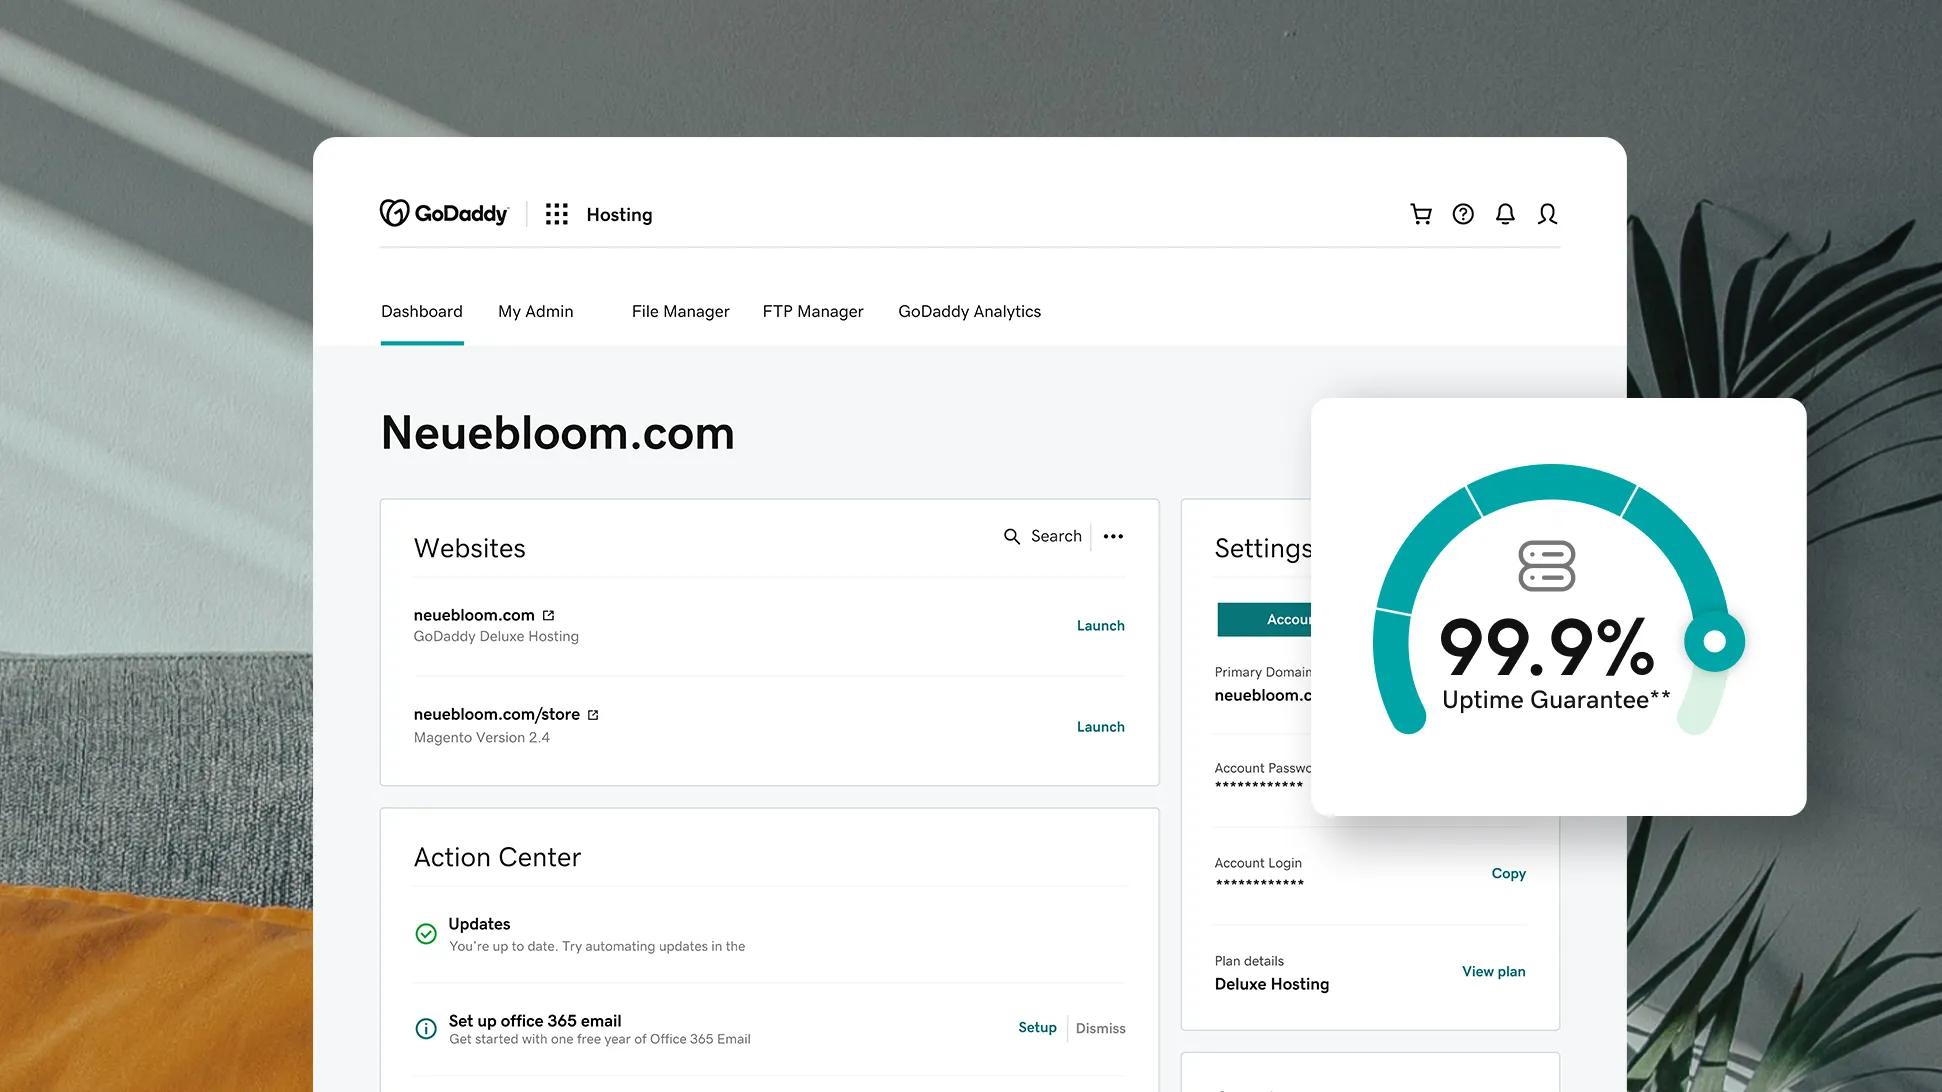
Creating web hosting in GoDaddy helps track website performance efficiently. First, choose a suitable hosting plan. Then, configure settings to optimize speed and uptime. This enhances user experience and reliability.
Analyzing Traffic Statistics
Track the number of visitors each day. Find out which pages are popular. Use tools to see where visitors come from. Check the time they stay on your site. Understand which pages they leave quickly. This helps in making improvements. More visitors mean better performance. A steady increase shows growth.
Optimizing Load Times
Fast websites keep visitors happy. Reduce image sizes for quicker loading. Use fewer plugins. Minimize scripts to speed up your site. Consider a caching plugin. These tools help load pages faster. Check your website’s speed using online tools. Aim for a load time under three seconds. Faster sites rank better in search engines.
Troubleshooting Common Issues
Creating web hosting in GoDaddy involves navigating setup challenges. Address DNS configuration errors and ensure proper domain linking. Identify issues with file uploads or database connections to keep your website running smoothly.
Resolving Domain Conflicts
Sometimes, domains can fight with each other. This happens in Godaddy too. Check if your domain is pointing correctly. Use the DNS settings for this. Make sure the nameservers match the ones given by Godaddy. If not, change them. This will help fix the problem. Also, clear your browser cache. It helps to see if the changes worked. Another trick is to use a different browser. This can show if the issue is with your browser.
Fixing Email Problems
Email problems can be tricky. First, check your email settings in Godaddy. Make sure the SMTP settings are correct. Double-check the username and password. If emails are not sending, check the outbox. Sometimes, emails get stuck there. Also, check if your email quota is full. This can stop new emails from coming in. If emails are not arriving, check the spam folder. Sometimes, emails hide there by mistake.
Credit: www.godaddy.com
Frequently Asked Questions
How To Setup Web Hosting In Godaddy?
Log into your GoDaddy account. Navigate to “My Products” and select “Web Hosting”. Click “Manage” next to your hosting account. Follow setup instructions to configure domain, email, and website settings. Save changes to finalize setup.
Does Godaddy Host Websites For Free?
No, GoDaddy does not offer free web hosting services. Hosting plans start at affordable prices, providing various features. Users can choose from shared, VPS, or dedicated hosting options. Each plan includes tools and resources to build and manage websites effectively.
Visit GoDaddy’s website for detailed pricing and plan features.
Is Godaddy Good For Website Hosting?
GoDaddy is a popular choice for website hosting. It offers reliable uptime and various hosting plans. Many users appreciate its user-friendly interface and extensive customer support. Some find its upselling tactics annoying. Overall, it’s a good option for beginners and small businesses seeking affordable hosting solutions.
Does My Godaddy Domain Come With Hosting?
A GoDaddy domain does not automatically include hosting. Hosting services are separate and need to be purchased individually. Consider exploring GoDaddy’s hosting plans to suit your website needs.
Conclusion
Creating web hosting on GoDaddy is straightforward. Follow steps carefully. First, set up your account. Next, choose the right hosting plan. Pick a domain name that stands out. Configure settings based on your needs. Utilize GoDaddy’s tools for easy management.
Regularly check performance to ensure smooth operation. Troubleshoot issues promptly. Remember, hosting is key for your website’s success. Keep your site updated and secure. Engage with your audience consistently. With GoDaddy, hosting becomes simpler. Your website is ready to grow.
Enjoy your journey in web hosting!


