
Imagine transforming a tiny, affordable gadget into your very own web hosting server. Sounds intriguing, right?
That’s exactly what you can do with a Raspberry Pi. This powerful little device is not only a fun project but a gateway to learning and exploring the world of web hosting without breaking the bank. Have you ever thought about hosting your own website, experimenting with different coding skills, or simply learning more about how web servers work?
Creating a Raspberry Pi web hosting server might be just what you need. It’s an opportunity to blend hands-on creativity with practical tech skills, all while saving money. By the end of this article, you will see how easy it is to set up your own server with a Raspberry Pi. You’ll be equipped with the knowledge and tools to make your ideas accessible online, right from your own home. Ready to dive in and unlock the potential of your Raspberry Pi? Let’s get started!
Choosing The Right Raspberry Pi Model
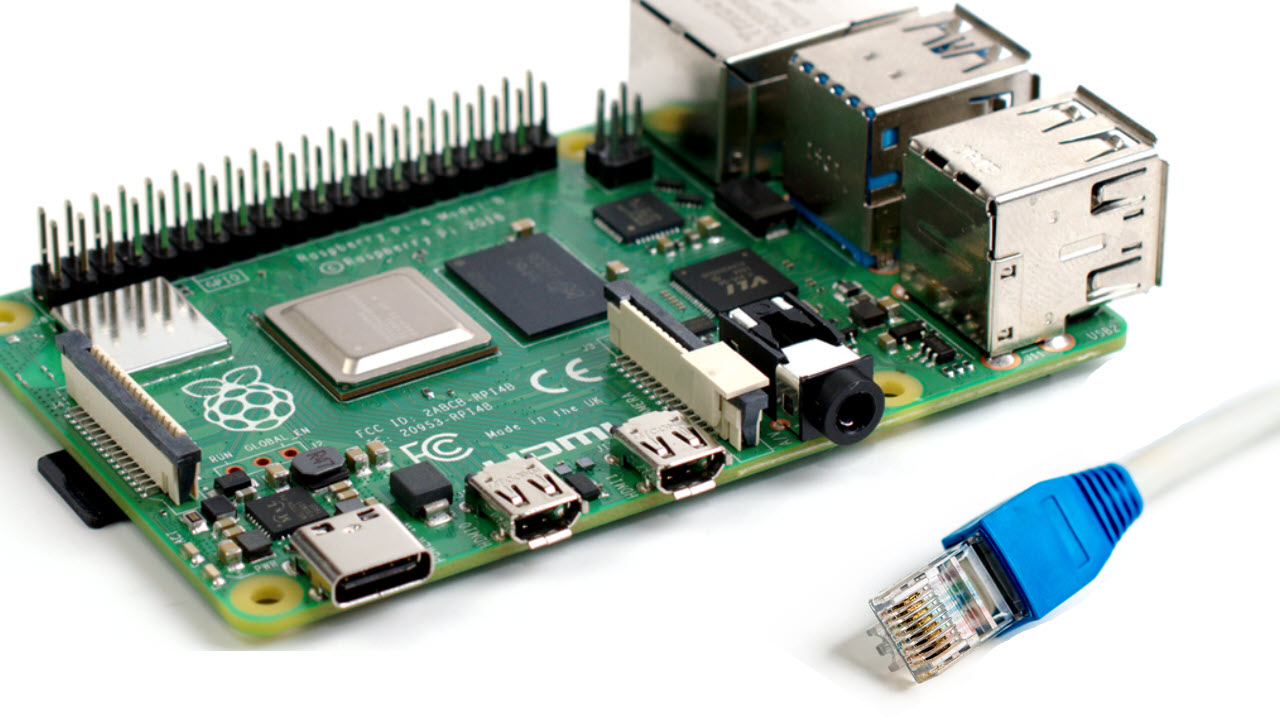
Different models of Raspberry Pi exist. Each model has unique features. For web hosting, Raspberry Pi 4 is a good choice. It offers more RAM and faster processing speeds. It can handle more tasks at once. Raspberry Pi 3 is also useful. It is cheaper but less powerful. Raspberry Pi Zero is small and very cheap. It might not be strong enough for web hosting. Consider your needs. More RAM means better performance. Check your budget too. Choose wisely based on your requirements.

Credit: www.raspberrypi.com
Setting Up The Hardware
Choose a reliable power supply for your Raspberry Pi. It needs 5V and 3A. Make sure it matches these specs. You also need a microSD card. This will store your web server files. Get a case to protect your Raspberry Pi. It keeps it safe from dust. You might want a cooling fan. This helps prevent overheating.
First, connect a monitor to the Raspberry Pi. This helps you see what you are doing. Use an HDMI cable for this. Next, attach a keyboard and mouse. These are needed to type and click. Plug them into the USB ports. Finally, ensure your internet connection is ready. Use either Wi-Fi or Ethernet cable. This is important for hosting websites.
Installing The Operating System
First, choose the right operating system (OS) for your Raspberry Pi. Most people use Raspberry Pi OS. It’s simple and easy to use. This OS works well for beginners. Other options include Ubuntu and Fedora. Make sure your OS choice fits your needs.
Download and install Raspberry Pi Imager on your computer. It’s a tool that helps you install the OS. Connect your SD card to your computer. Open the Raspberry Pi Imager. Click on “Choose OS” to select your desired OS. Then click on “Choose Storage” and select your SD card. Finally, click “Write” to start installing the OS on your SD card. This process may take a few minutes.
Configuring Network Settings
Choosing between Wi-Fi and Ethernet depends on your needs. Wi-Fi is wireless and easier. Ethernet is faster and more stable. For a server, Ethernet is better. It keeps the connection strong. Wi-Fi can drop if the signal is weak. This might affect your server. Choose wisely based on your setup.
Set a static IP address for your Raspberry Pi. It keeps your server’s address the same. Go to your router settings. Find the option to reserve an IP address. Enter your Raspberry Pi’s MAC address. Assign it a fixed IP. This helps find your server easily. It’s important for hosting a website.
Setting Up A Web Server
Start by installing Apache or Nginx on your Raspberry Pi. Apache is very popular and easy to use. Nginx is fast and good for high traffic. Use the command line to install. Type sudo apt-get install apache2 for Apache. For Nginx, type sudo apt-get install nginx. Wait for the installation to finish. Now, your Raspberry Pi can serve web pages. It’s like magic!
Check the server settings carefully. They are important for your site. Edit the configuration files to change settings. Find these files in the /etc/apache2/ or /etc/nginx/ folder. Use a text editor to open and edit them. Set permissions and ports. Save changes and restart the server. Make sure everything works. Test your site with a browser. See your site live!
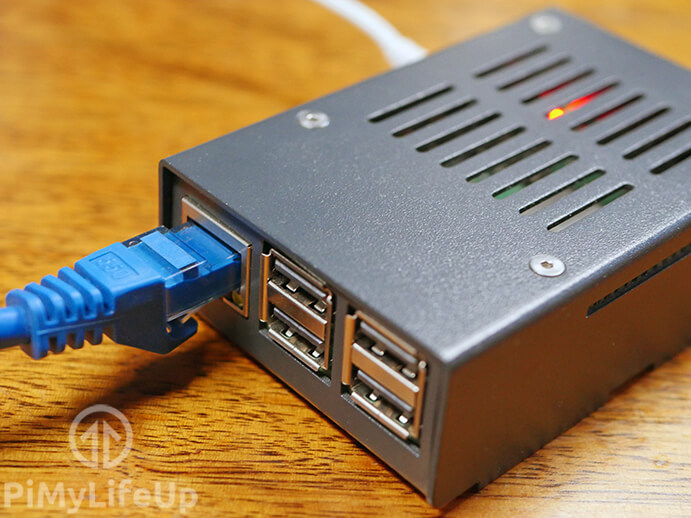
Credit: pimylifeup.com
Installing A Database
MySQL and MariaDB are both popular database systems. They help store data on your server. MySQL is well known and widely used. Many people trust it. It has strong support and many users. MariaDB is a newer option. It’s a branch of MySQL. It aims to be faster and more open. Both are good choices for Raspberry Pi. Your choice depends on your needs. Consider the features of each. Think about the community and support. You can switch between them easily. Try both if you like.
Setting up a database is important. First, install your chosen database system. Use commands like apt-get install for easy setup. Then, create a new user. Give this user the right permissions. This keeps your data safe. You can create tables to store information. Use SQL commands to manage your data. Keep your database updated. Regular updates ensure security. Always back up your data. Backups help if something goes wrong.
Securing Your Server
Creating a Raspberry Pi web hosting server involves installing necessary software and configuring network settings. Protecting your server requires setting strong passwords and enabling a firewall. Regular updates ensure security and smooth operation.
Setting Up A Firewall
A firewall keeps your server safe. It blocks bad traffic. Start by installing a firewall tool. UFW is a popular choice. Type sudo apt-get install ufw in the terminal. After installing, enable it by typing sudo ufw enable. Check status with sudo ufw status. Allow only necessary ports. Port 80 is for web traffic. Use sudo ufw allow 80 to open it. Remember to save your settings.
Enabling Ssh
SSH helps you control your server from far away. First, install it. Use sudo apt-get install ssh. To start SSH, type sudo service ssh start. Check if it’s running with sudo service ssh status. SSH is secure. It uses a strong password. Always choose a tough password. Avoid easy ones like “1234”. Your data stays safe with SSH.
Deploying A Website
Transfer your website files to the Raspberry Pi. Use FTP software for easy upload. Connect to the Pi with the software. Find your files on your computer. Drag and drop them to the Pi. Ensure all files are transferred. Double-check file paths. Keep file names simple. Avoid using spaces in names.
Check your website on a browser. Type the IP address of the Raspberry Pi. Wait for the site to load. Make sure all pages appear. Click links to test them. Look at images and text. Confirm everything shows correctly. Reload the page to test speed. Fix any broken links or missing content. Update the site if needed. Ensure your site works well.
Maintaining Your Server
Transform your Raspberry Pi into a functional web hosting server. This compact device efficiently manages your hosting needs. Enjoy affordable and customizable web solutions with Raspberry Pi.
Regular Updates
Keeping your Raspberry Pi server up to date is important. New updates often fix bugs and security issues. Use the terminal to update your server. Type sudo apt-get update and then sudo apt-get upgrade. This ensures your system is safe and works well. Regular updates help your server stay in good shape. Don’t forget to reboot your Raspberry Pi after updates. This makes sure all changes take effect. It’s a simple way to keep your server healthy.
Monitoring Performance
Checking your server’s performance is key. Use tools to see how your server is doing. One good tool is htop. It shows the CPU and memory usage. You can install it with sudo apt-get install htop. Open it by typing htop in the terminal. Watch for high usage numbers. If they are high, it means your server is working hard. This could slow down your website. Regular checks help keep your server fast and reliable.
Credit: www.tomshardware.com
Frequently Asked Questions
How To Host A Website On A Raspberry Pi 5?
Install Raspberry Pi OS and connect to the internet. Install Apache or Nginx web server software. Configure your server settings. Transfer your website files to the server directory. Ensure your router is set to forward traffic to the Raspberry Pi.
Access your website using your Raspberry Pi’s IP address.
Are Raspberry Pis Good For Server Hosting?
Raspberry Pis are good for small-scale server hosting due to their low cost and energy efficiency. They handle basic tasks like web hosting, file sharing, and media streaming well. For larger projects, they may struggle with performance limitations. Consider your project needs and Raspberry Pi’s capabilities before choosing it for server hosting.
Is The Raspberry Pi 3 Good For A Web Server?
Yes, Raspberry Pi 3 is suitable for a web server. It handles light web traffic effectively. This affordable device offers a compact solution for hosting small websites and applications. With proper setup and optimization, it serves efficiently, making it a popular choice for DIY enthusiasts and small-scale projects.
What Is The Best Web Server For Raspberry Pi 5?
Apache or Nginx are the best web servers for Raspberry Pi 5. Both offer high performance and scalability. They are easy to install and customize, with strong community support. Choose based on your project’s specific needs and preferences.
Conclusion
Setting up a Raspberry Pi web hosting server is rewarding. You learn new skills. You save money on hosting. It’s a fun project. Great for tech enthusiasts. Start small, then expand as needed. Remember, patience is key. Troubleshooting boosts learning.
A Raspberry Pi is versatile. Perfect for beginners and hobbyists. Explore more advanced options later. Enjoy your web hosting journey. Your server, your rules. Make it unique. Share experiences with others. Connect with a community. Keep learning, keep experimenting. A world of possibilities awaits.
Dive in, discover, and create. Your web hosting adventure begins now.


