
Are you ready to transform your WordPress theme into a customizable powerhouse? Imagine having the ability to tweak and tailor every aspect of your theme without touching a single line of code.
Creating a WordPress Theme Options Panel is your gateway to offering a seamless and personalized experience for your users, and it’s easier than you might think. In this guide, we’ll walk you through the essential steps to craft an intuitive and powerful options panel.
You’ll learn to provide your users with the flexibility they crave, enhancing their experience and boosting your theme’s appeal. Dive in and discover how you can elevate your WordPress theme to new heights, making it not just a design choice but a dynamic tool for creativity. Keep reading to unlock the secrets to a more versatile and user-friendly theme that stands out in the crowded digital landscape.
Choosing The Right Tools
Essential Plugins make your theme panel powerful. Some plugins add options easily. Plugins like Redux Framework are popular. They help create custom settings. Advanced Custom Fields is also useful. It lets you add fields to pages. Many developers prefer it for flexibility.
Frameworks are crucial for theme development. They offer a base to build upon. Some frameworks are lightweight. Others come with lots of features. Underscores is a popular choice. It provides templates and starter code. Bootstrap is another favorite. It helps with responsive design. It’s easy to integrate with WordPress.
Choosing the right coding editor is important. Editors like Sublime Text are fast and simple. They offer code suggestions. Visual Studio Code is another great option. It supports many languages. It’s free and customizable. These editors make coding easier.
IDEs are powerful tools for developers. They offer advanced features. PhpStorm is popular among WordPress developers. It offers code navigation and debugging. It makes coding more efficient. NetBeans is also a good choice. It supports PHP and other languages. It’s free and open-source.
Setting Up Your Theme
A child theme lets you change a theme without losing updates. First, make a new folder. Name it like your theme, adding ‘-child’ at the end. Next, make a style.css file in this folder. Put a header with the theme name and description. Important: link the parent theme. Finally, make a functions.php file. Use it to enqueue the parent theme’s styles. This keeps the look the same. Now, your child theme is ready. Easy, right?
Themes need files like style.css, index.php, and functions.php. Style.css controls the look. Index.php displays content. Functions.php adds features. Images go in an ‘images’ folder. Scripts are in a ‘js’ folder. Styles can be in a ‘css’ folder. All these files work together. They make the theme complete. Simple structure, but very important.
Integrating The Options Panel
The WordPress Customizer API helps create theme options. It is easy and flexible. You can add text fields, color pickers, and more. Each option can change the website look. Users can see changes live. This makes the website more interactive.
You start by adding customizer settings. Then, add controls for users. Finally, preview the changes live. This enhances user experience. It also simplifies theme customization.
Frameworks make adding theme options simple. They provide pre-built structures. You don’t need to code from scratch. Options frameworks save time and effort. They are perfect for beginners.
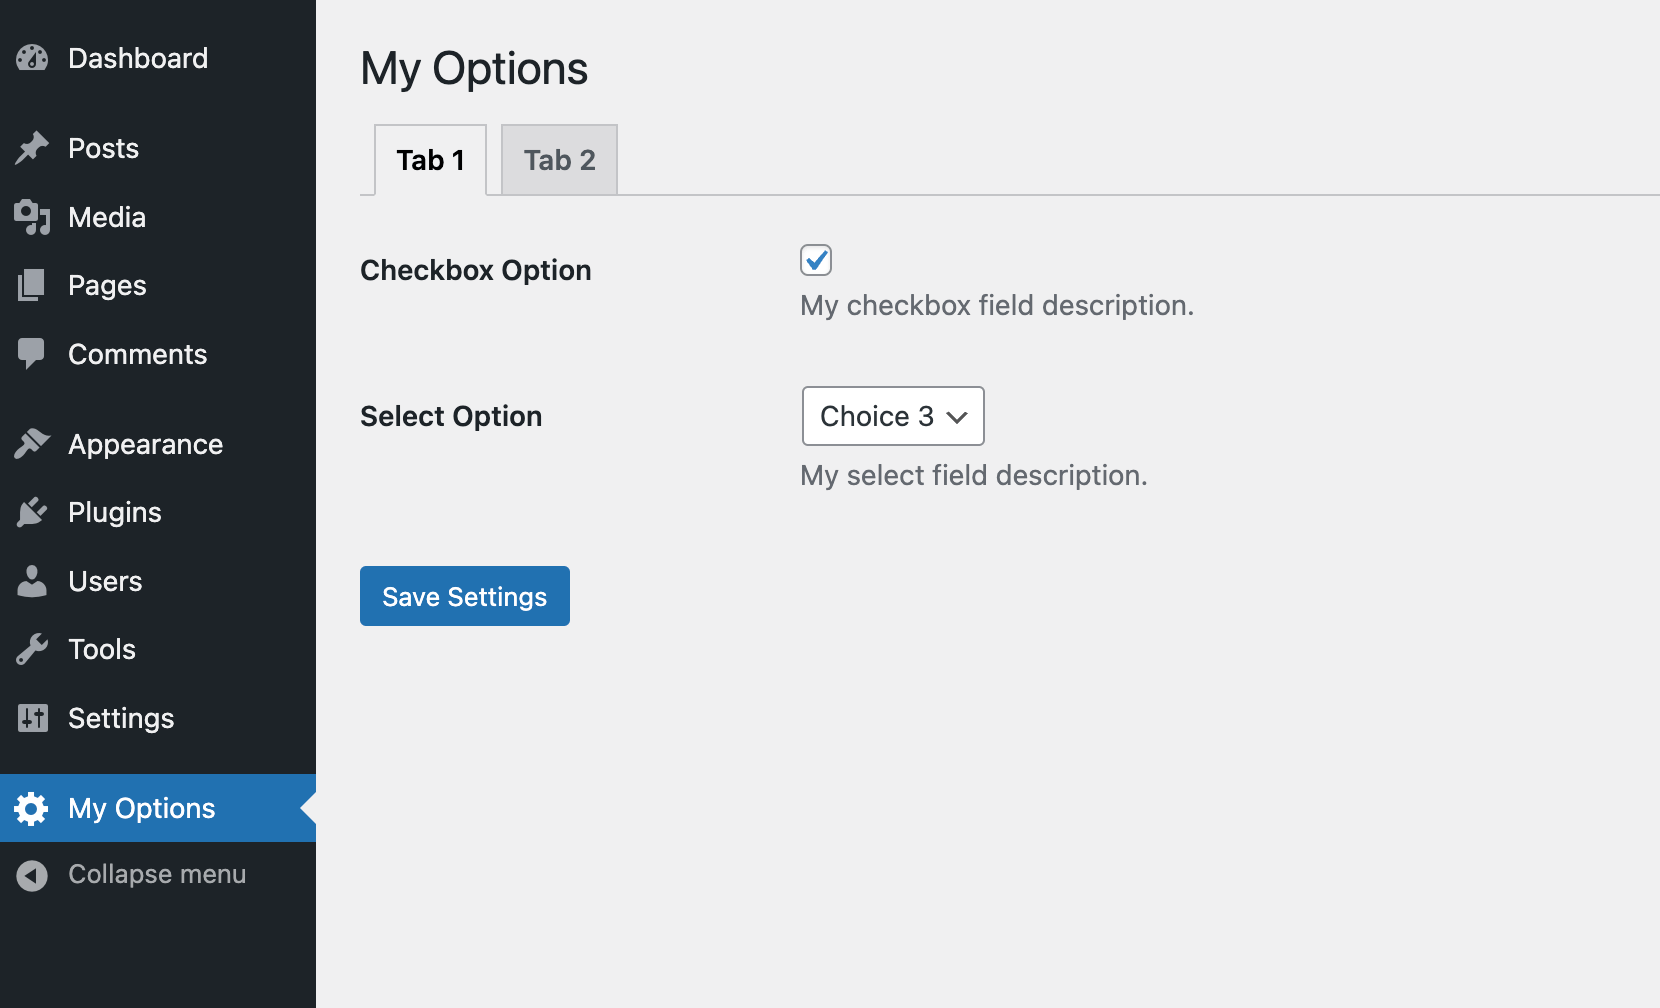
Choose a popular framework. Some are Redux, Options Framework, and Unyson. These frameworks offer user-friendly interfaces. They help in organizing theme options neatly. You can add tabs, fields, and sections easily. This makes theme management effective and simple.

Credit: webdesignerdepot.com
Designing The User Interface
The panel layout must be clear and tidy. Users love a neat screen. Buttons and links should be easy to find. Group similar items together. Use simple fonts and colors. This makes the panel look nice. A clear layout helps users do tasks fast.
Controls must be easy to use. Add sliders for easy adjustments. Use drop-down menus for options. Include checkboxes for simple choices. Tooltips can give extra help. They show tips when users hover. Make sure every control works well. Test them often.
Adding Custom Settings
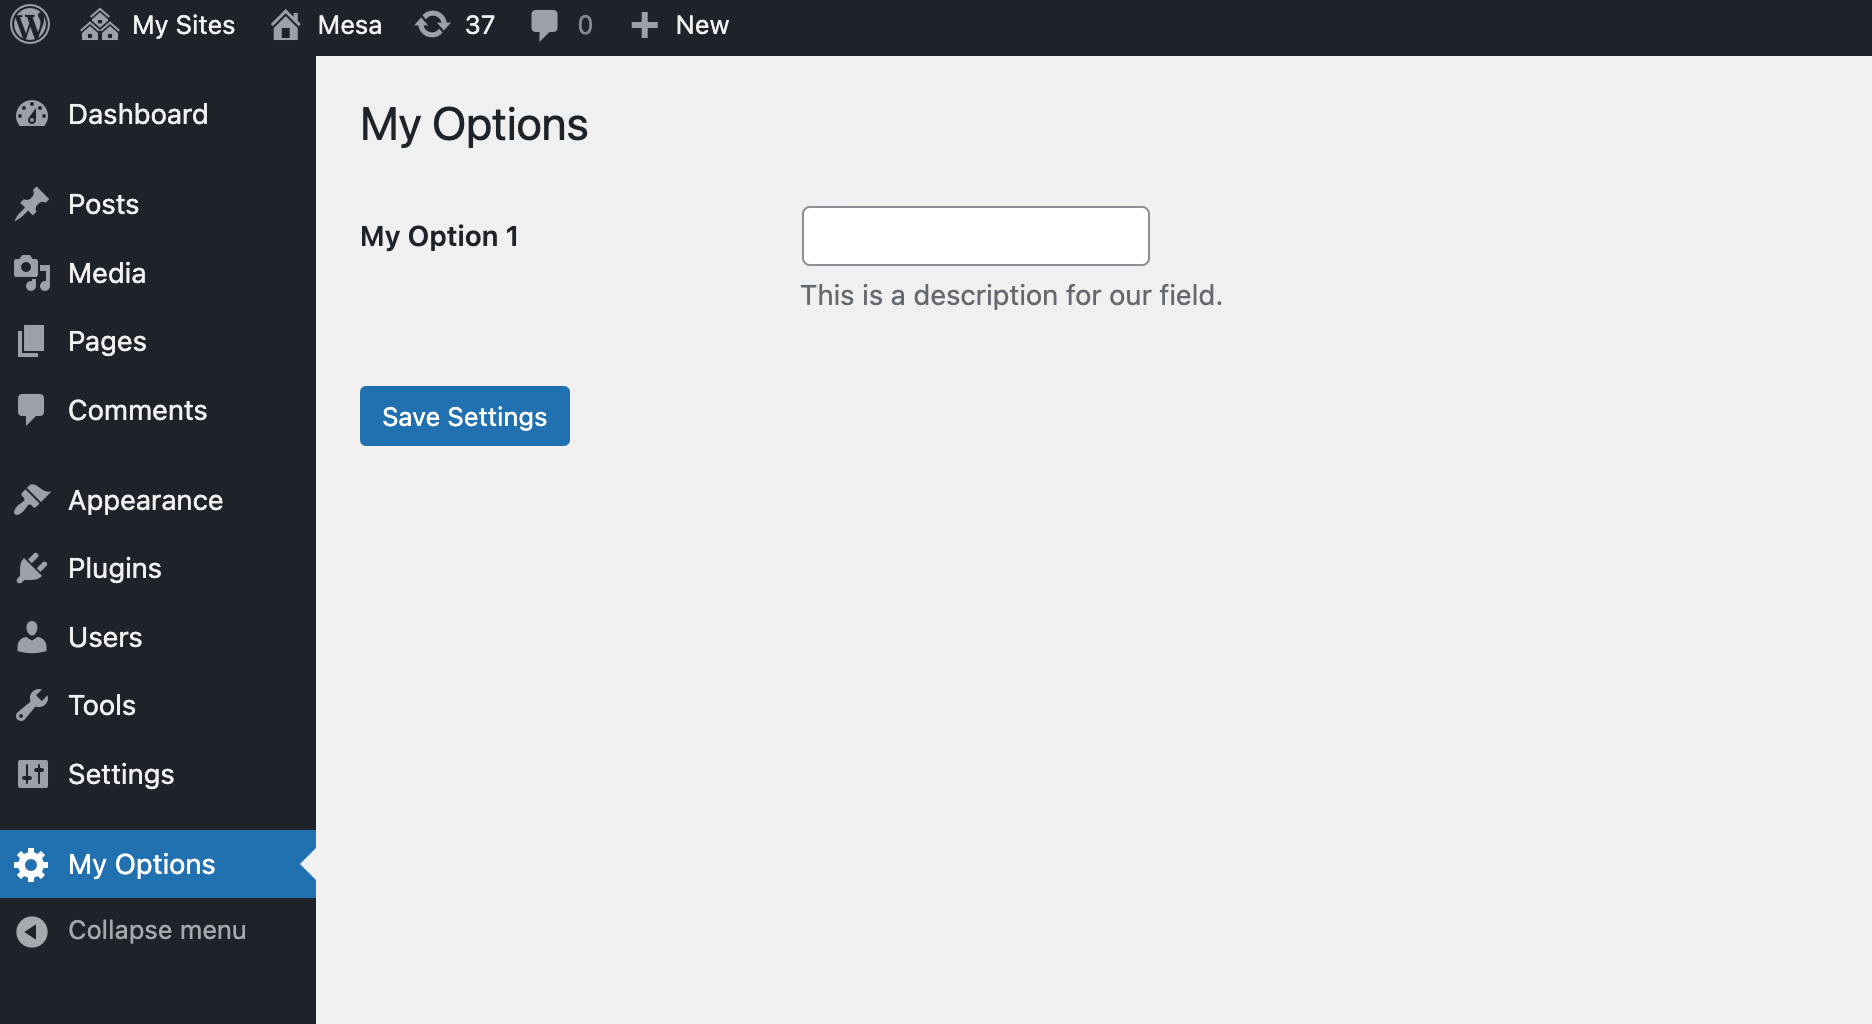
Custom settings make themes unique. Start by creating sections and fields. Use the add_settings_section() function. This function helps group options. Each section holds related fields. Use add_settings_field() to add fields. Fields collect data from users. Ensure each field has a unique ID. This prevents conflicts.
Fields need specific types. Text boxes, checkboxes, or dropdowns are common. Each type has a use. Text boxes are for short answers. Checkboxes allow multiple choices. Dropdowns limit choices to one. Always choose the right field type. This improves user experience.
Data validation is vital. It checks user input. Use the sanitize functions in WordPress. These functions clean data. They remove harmful elements. For text, use sanitize_text_field(). For URLs, use esc_url(). Always validate before saving data. This keeps the database safe.
Saving And Retrieving Options
Creating a WordPress theme options panel involves saving and retrieving options seamlessly. This allows users to customize their site easily. It’s essential for enhancing user experience and ensuring flexibility in design.
Storing Theme Options In Database
WordPress themes need to save options. Use the WordPress database for this. Store options using the update_option function. This function saves options safely. It makes sure data is stored correctly. You can store text, numbers, or arrays. Make sure to sanitize the data before saving. This keeps your site safe. Use functions like sanitize_text_field for text. Check numbers with absint. Always protect your site from bad data.
Fetching Options For Display
Retrieve options using the get_option function. This function fetches stored data. You can display options anywhere. Use them in theme files. Options can change how your site looks. Fetching options is easy. Just call get_option with the option name. This gets the saved value. Make sure your theme uses these options. This gives users control. They can change settings from the admin panel.
Enhancing Functionality
Adding third-party APIs can boost your theme’s power. APIs allow your site to talk with other sites. This helps in getting fresh data or services. For example, using a weather API shows real-time updates. Users love real-time information. This makes your site more useful.
Start by finding an API that fits your needs. Read its documentation carefully. Follow instructions to connect it to your theme. Ensure your code is clean and simple. This makes it easy to update later. Always test the API connection. Ensure it works as expected.
Custom widgets add special features to your site. They make your theme unique. Widgets can display recent posts or social media feeds. They help engage visitors. Create a plan for your widget. Decide what it will do and where it will go.
Use WordPress functions to build it. Write clear and simple code. This keeps your widget working smoothly. Test the widget often. Make sure it looks good on all devices. Users will enjoy using your site more with fun widgets.
Credit: www.wpexplorer.com
Testing And Debugging
Creating a WordPress theme options panel involves testing and debugging for smooth functionality. Ensure user-friendly navigation by checking every feature. Identify and fix any errors to enhance performance and reliability.
Identifying Common Issues
Identify problems quickly to ensure a smooth user experience. Themes often face issues like broken layouts or missing styles. Bugs can also cause slow loading times. Debugging helps find these problems. Fixing them makes your theme work better. Regular testing is key. It prevents users from facing errors. Quality themes help your website shine.
Using Debugging Tools
Debugging tools assist in finding errors swiftly. These tools spot issues in your code. They help locate missing functions. Common tools include Xdebug and Debug Bar. These tools give detailed reports. Reports make fixing errors easier. Debugging tools save time. They improve your theme’s performance. Good tools lead to a smooth user experience.
Deployment And Updates
Creating a WordPress theme options panel allows users to customize their site easily. This panel provides intuitive controls for changing colors, fonts, and layouts. Enhance user experience by offering flexibility in design choices.
Preparing For Theme Launch
Getting ready for a theme launch is exciting. First, check every feature. Make sure everything works. Test your theme on different devices. This helps to catch any bugs. Create a backup of your theme. Use it in case something goes wrong. Always have a support plan ready. This helps users who have questions.
Managing Future Updates
Updating your theme is important. It keeps it safe and fresh. Plan for regular updates. Write down what changes were made. This is called a changelog. Share the changelog with users. This keeps them informed. Test your updates before releasing. Make sure nothing breaks. Always listen to user feedback. It can help you improve your theme.
Credit: www.wpexplorer.com
Frequently Asked Questions
What Is A WordPress Theme Options Panel?
A WordPress theme options panel is a user-friendly interface. It allows users to customize theme settings without coding. It enhances flexibility by providing options for colors, fonts, layouts, and more. This panel improves user experience and makes theme customization accessible to non-developers.
How Do I Add A Theme Options Panel?
To add a theme options panel, use the WordPress Customizer API. First, register your settings and controls in the functions. php file. Then, create sections and settings using the Customizer functions. This process allows users to modify theme elements easily.
Why Use A Theme Options Panel In WordPress?
A theme options panel simplifies customization for users. It reduces the need for coding skills, enhancing user experience. This feature allows users to tailor themes to their preferences effortlessly. It also improves theme flexibility and adaptability to different needs.
Can I Customize My Theme Without Coding?
Yes, you can customize your theme without coding using the theme options panel. This panel provides various settings for colors, layouts, and fonts. It empowers users to personalize their website’s appearance easily. This feature is ideal for users with limited technical skills.
Conclusion
Creating a WordPress theme options panel enhances your site’s flexibility. Customization becomes easier with tailored settings. Users enjoy a personalized experience, boosting engagement. You also gain control over appearance and functionality. Begin by planning your desired features. Implement them using clear, structured code.
Test thoroughly to ensure usability and responsiveness. Remember, simplicity in design aids navigation and usage. Your panel should be intuitive for users, with clear labels and instructions. With patience and practice, your skills will improve. Soon, you’ll create panels that perfectly suit your WordPress theme’s needs.
Keep experimenting to refine your approach.


