
Have you ever come across a stunning HTML theme and wished you could transform it into a WordPress theme for your website? You’re not alone.
Many find themselves in this exact spot, yearning for the flexibility and power that WordPress offers while wanting to maintain the unique appeal of a favorite HTML design. The good news? Converting an HTML theme into a WordPress theme is not only possible but can be a rewarding process.
Imagine having full control over your website’s functionality and aesthetics, all while using a platform that’s known for its user-friendliness and SEO prowess. This guide is crafted to demystify the conversion process, breaking it down into easy-to-follow steps that even beginners can master. Keep reading, and you’ll soon be on your way to having a WordPress site that looks just as fantastic as the HTML theme you fell in love with.

Credit: www.wpexplorer.com
Understanding Html And WordPress Themes
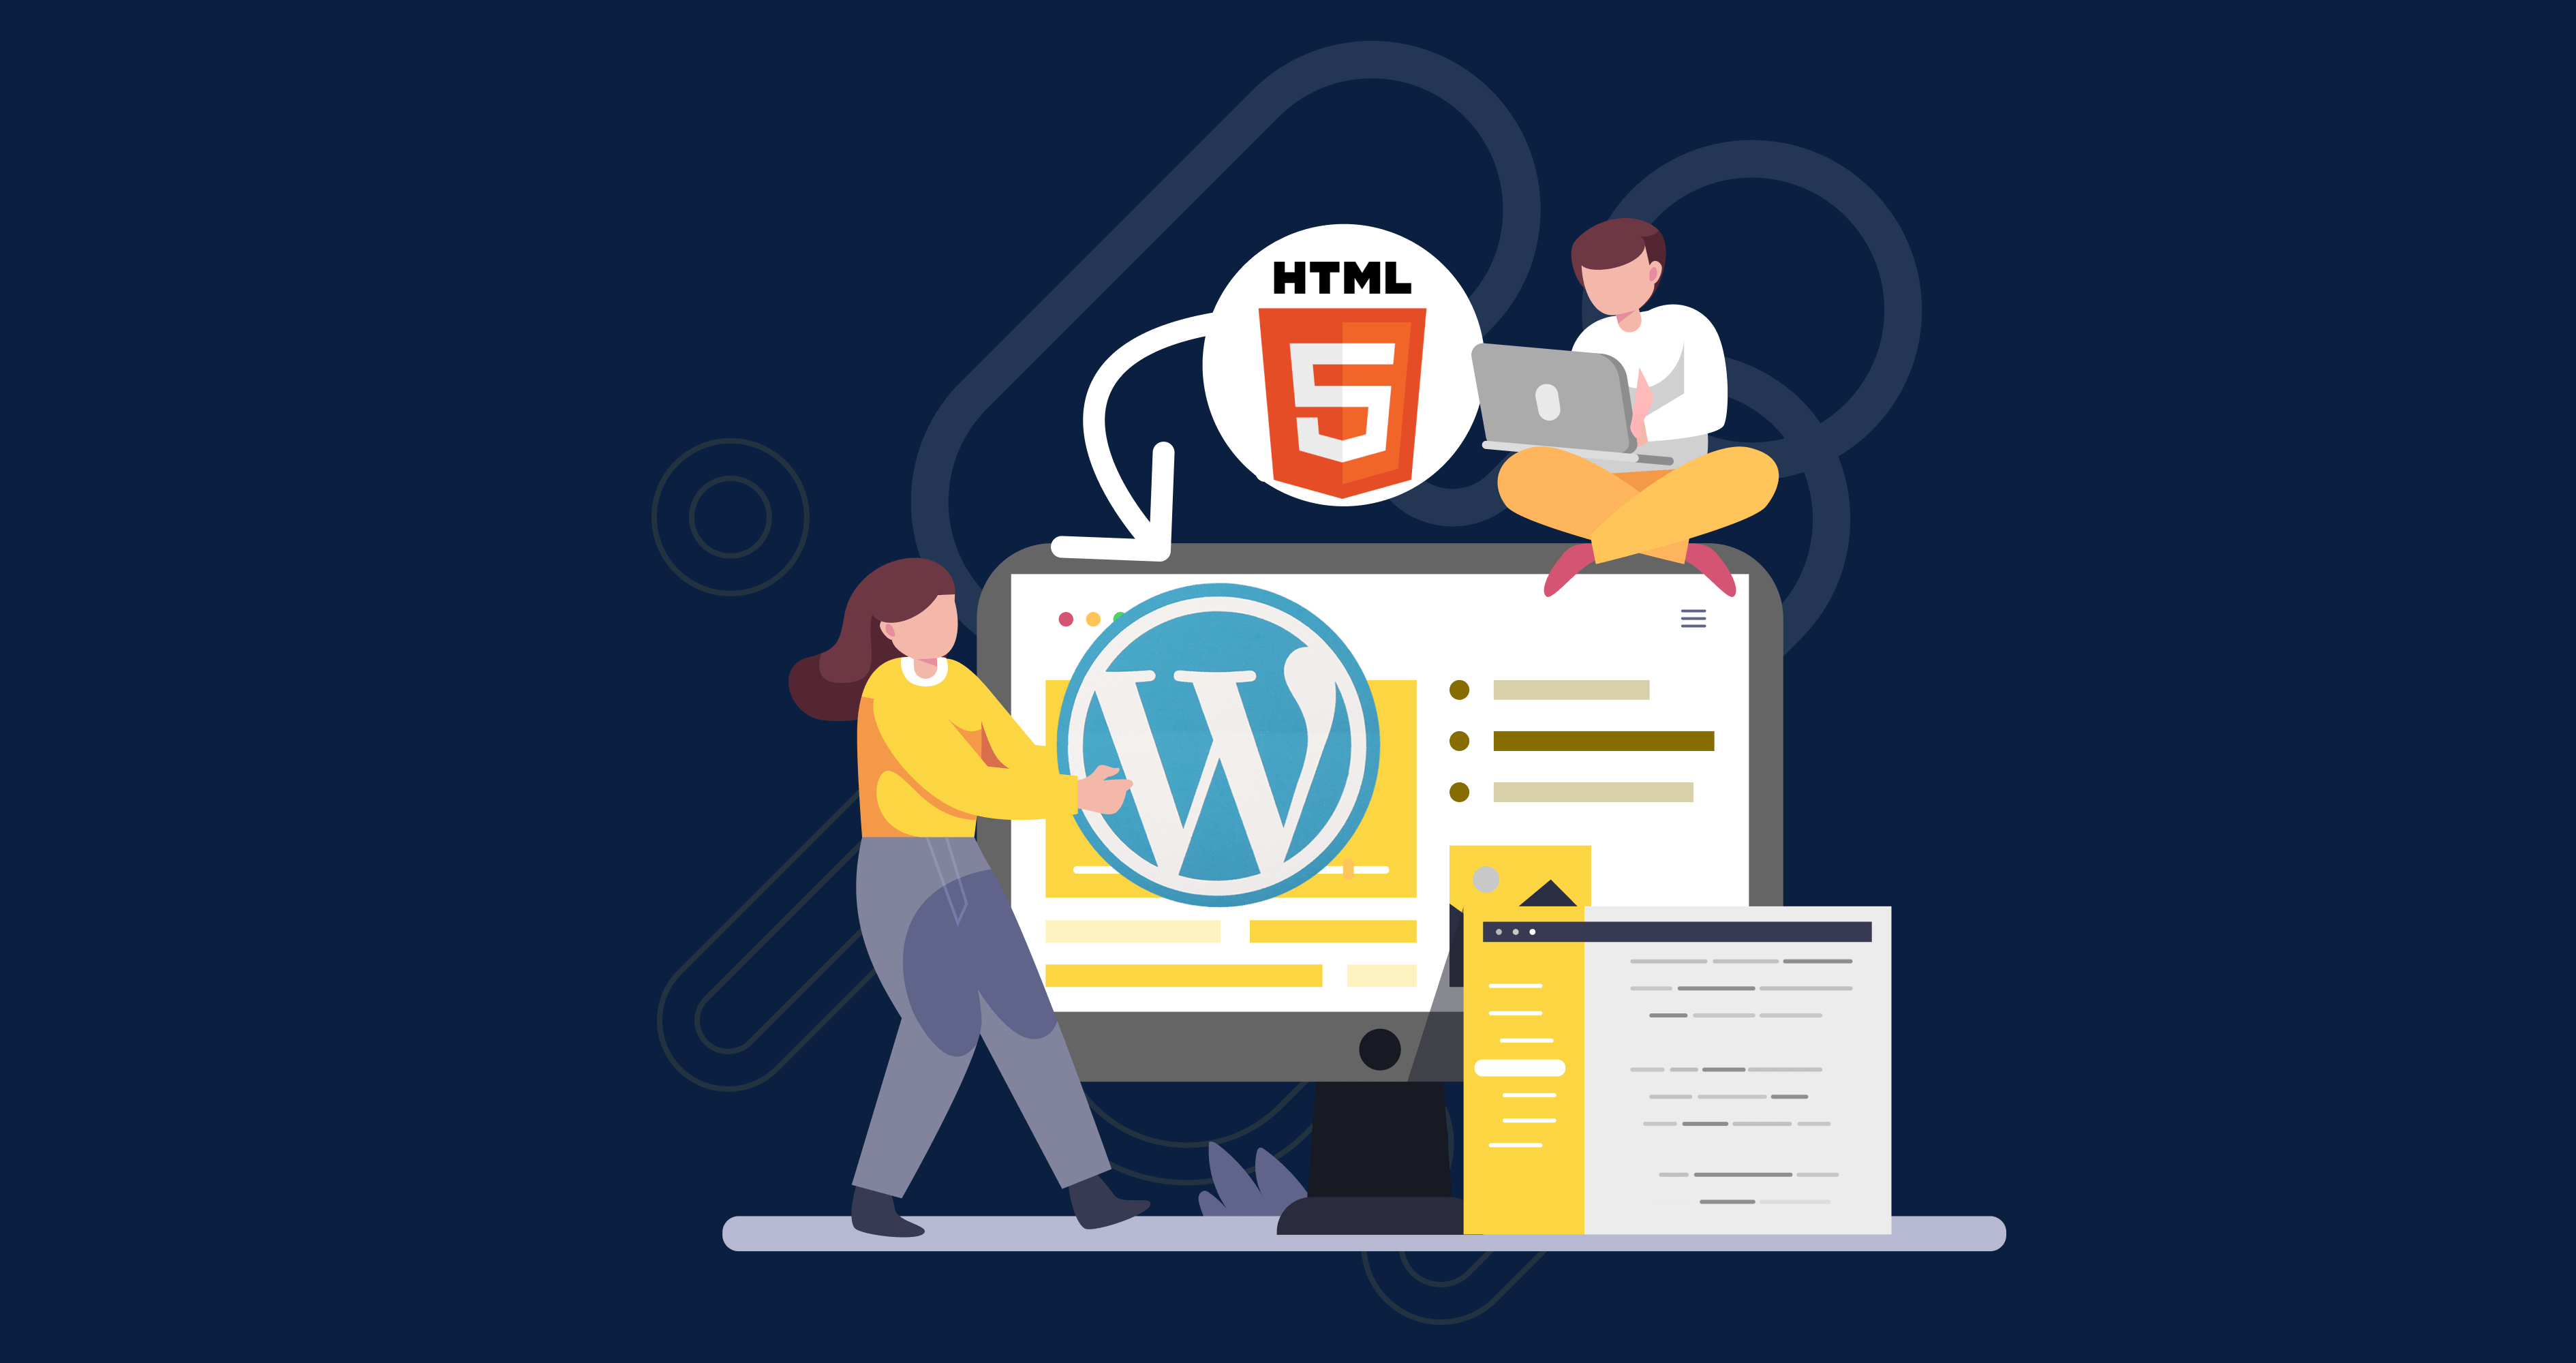
HTML themes are like the clothes for a website. They give it a look. They are made with HTML, CSS, and sometimes JavaScript. HTML is like the skeleton. CSS adds colors and styles. JavaScript makes things move. These themes are static. They don’t change by themselves. They look the same every time.
WordPress themes are different. They are dynamic. This means they can change. They can show new posts. They have templates and plugins. Templates decide where things go. Plugins add extra features. WordPress themes let users update content easily. No need to touch code. This makes them very popular.
Credit: www.intelivita.com
Setting Up The Development Environment
Transforming an HTML theme into a WordPress theme begins with setting up a development environment. Install necessary tools like WordPress, a local server, and code editor. Understanding the structure of WordPress themes is essential for a smooth conversion process.
Choosing The Right Tools
Start with a good code editor. Visual Studio Code is popular. It is free and easy to use. Choose a browser like Chrome or Firefox. They have helpful developer tools. You will need a local server. Try XAMPP or MAMP. They help run WordPress locally. Make sure your computer has enough space.
Installing WordPress Locally
First, download WordPress from its official site. Unzip the file after downloading. Move it to your server’s folder. Open your browser and type “localhost” to start. Follow the steps to set up WordPress. You will need to create a database. Use phpMyAdmin for this. Name your database clearly. Connect WordPress to this database. Set up a username and password. Keep them safe.
Analyzing The Html Theme Structure
Identifying Key Components is a crucial step. You need to break down the HTML theme. Look at the header, footer, and content sections. Understand how these parts fit together. Make a list of all the main components. This helps in the conversion process.
Reviewing HTML, CSS, and JavaScript Files is also important. Check each file and see what it does. HTML files show the structure. CSS files contain styles. JavaScript files add extra features. Write down the important parts in each file. This makes it easier to recreate them in WordPress.
Creating The WordPress Theme Folder
Create a new folder for your theme. Name it something simple. This folder will hold all theme files. Place it inside the wp-content/themes directory.
Every WordPress theme needs some files. Start with style.css for styling. Then create index.php for the main page. Don’t forget functions.php for theme functions.
Building The WordPress Theme Files
The style.css file is important. It tells WordPress about your theme. Add the theme’s name, author, and version. It helps WordPress know your theme’s details. The functions.php file adds features. You can include scripts and styles. It makes your theme work better. Both files are needed for your theme.
The header.php file holds the top part of your site. It includes the logo and navigation. It shows on every page. The footer.php file contains the bottom part. It often has contact info and links. Both files help in building a full webpage. Use them to make a complete theme.
Integrating Html Elements
Converting HTML to WordPress can seem tricky. HTML themes have static content. WordPress themes are dynamic. Use template tags to make HTML dynamic. Replace HTML code with tags. For example, replace the header code with php get_header(); ?. This tag fetches the header from the theme. It makes the header dynamic.
The Loop is a key part of WordPress. It displays posts dynamically. Add the Loop to your theme file. Use php if ( have_posts() ) : while ( have_posts() ) : the_post(); ? to start the Loop. This code checks for posts. It shows each post one by one. End the Loop with php endwhile; endif; ?. The Loop makes the content update automatically.
Adding WordPress Functionality
Transforming an HTML theme into a WordPress theme involves creating a style. css file and a functions. php file. Convert HTML files into PHP files and utilize WordPress template tags. This process integrates dynamic content, enhancing the theme’s flexibility and functionality.
Implementing Widgets And Menus
Widgets help add features to your theme. They can show recent posts or categories. To add widgets, use register_sidebar() function. This function makes widget areas. Menus help users navigate your site. Use register_nav_menu() function for menus. It lets you add custom menus. Always check for errors while coding. This ensures everything works smoothly.
Setting Up Custom Post Types
Custom post types make your site unique. They let you create different content types. Use register_post_type() function for this. It helps define new post types. You can name them anything you want. Custom post types can be for events or products. Always test them after creation. This ensures they work as expected.
Credit: wpengine.com
Testing And Debugging
Transforming an HTML theme into a WordPress theme involves thorough testing and debugging. Ensuring functionality, compatibility, and responsiveness is crucial. Detect and fix errors promptly to create a seamless user experience.
Checking Browser Compatibility
Different browsers display websites differently. It’s important to test your theme in multiple browsers. This ensures your theme looks good for everyone. Start with popular browsers like Chrome, Firefox, and Safari. Check how your theme appears in each one. Make sure all elements are visible and work properly. Use browser developer tools to find and fix issues. Testing ensures users have the best experience. A theme that works well in all browsers is user-friendly.
Resolving Common Issues
Sometimes themes have bugs or problems. These can confuse users. Start by identifying the problem. Look at error messages or broken parts of the theme. Use simple steps to fix these issues. Check if scripts or stylesheets are not loading. Ensure that links lead to the correct pages. Update plugins and themes regularly. This helps to fix many common problems. Debugging improves theme performance. A well-debugged theme keeps users happy.
Launching The WordPress Theme
Check all files. Ensure they are ready for deployment. Verify compatibility with WordPress. Review code for errors. Fix any bugs before uploading. Make sure your theme is responsive. Test on different devices. Everything should look good.
Create a backup of your theme. This is very important. You need a copy in case something goes wrong. Use a reliable tool for this step. Store the backup in a safe location. Now, you are ready to move to the next step.
Choose a reliable hosting provider. A good host makes your site fast. Use an FTP client to upload files. This tool helps move files easily. Enter your server details in the FTP client. Connect to your live server securely.
Upload all theme files to the server. Keep track of your uploads. Check for any missing files. Once uploaded, activate the theme in WordPress. Go to the dashboard and select your theme. Your new WordPress theme is now live.
Frequently Asked Questions
How Do I Start Converting Html To WordPress?
Begin by setting up a WordPress installation on your server. Create a new theme folder in the wp-content/themes directory. Copy your HTML structure into WordPress templates like header. php, footer. php, and index. php. Use WordPress functions to replace static content and ensure dynamic functionality.
Can I Use Html Theme Directly In WordPress?
No, HTML themes cannot be used directly in WordPress. They need conversion into WordPress themes. This involves creating WordPress-specific template files and functions. The conversion ensures dynamic content management and compatibility with WordPress features, like plugins and widgets.
What Tools Help Convert Html To WordPress?
Tools like Pinegrow, Elementor, and WP Bootstrap Starter can assist in converting HTML to WordPress. They provide frameworks and plugins that simplify the process. These tools offer design flexibility and support coding, helping integrate themes seamlessly into WordPress.
Is Coding Knowledge Required For Conversion?
Basic coding knowledge is helpful for converting HTML to WordPress. Understanding HTML, CSS, PHP, and WordPress functions aids the process. It ensures proper integration of dynamic content and customization. However, using tools and frameworks can simplify tasks for beginners.
Conclusion
Transforming an HTML theme into a WordPress theme is quite straightforward. It requires patience, attention to detail, and basic coding skills. First, break the HTML into WordPress template files. Next, convert stylesheets and scripts into WordPress format. Then, integrate dynamic features using PHP.
Test thoroughly to ensure functionality. This process enhances site flexibility and allows easier content management. Anyone can do it with practice and dedication. Embrace this journey to expand your web development skills. Remember, each step brings you closer to a fully functional WordPress theme.
Keep learning, keep experimenting. Happy coding!


