
Are you frustrated with your current web hosting provider? Maybe you’re tired of slow loading times, frequent downtimes, or lackluster customer support.
Changing your web hosting provider might seem like a daunting task, but it doesn’t have to be. In fact, with the right guidance, you can switch to a new host smoothly and start enjoying improved website performance in no time.
In this guide, you’ll discover straightforward steps to help you make the transition without losing sleep—or data. Whether you’re a seasoned webmaster or just starting out, we’ll simplify the process so you can focus on what truly matters: growing your online presence. Let’s turn that frustration into satisfaction as you learn how to change your web hosting provider seamlessly and efficiently. Keep reading, because this could be the game-changer your website needs!
Reasons To Switch Hosting Providers
Slow websites make visitors leave. A fast site is important. Users want quick page loads. Google ranks fast sites higher. This means more visitors. Performance issues can harm your business. Is your site slow? It might be time to switch.
Good customer support is crucial. You need help when things break. Quick support saves time. Bad support can be frustrating. Waiting long hours is not good. Think about changing if support is poor.
Hosting costs should match your budget. Some providers are expensive. Others might be cheaper for the same service. Find a provider that offers good value. Switch if you find a better deal. Saving money is always nice.
Credit: www.liquidweb.com
Evaluating New Hosting Options
There are different types of hosting services. Shared hosting is the most basic. Many websites use the same server. It is cheap but limited. VPS hosting is more flexible. You get your own part of the server. Dedicated hosting gives you a whole server. It is strong but costly. Cloud hosting is scalable. It grows with your needs.
First, identify your website’s needs. Is it a small blog or a big store? Do you need a lot of storage? Think about traffic too. More visitors need more resources. Will you need extra tools like databases? Write down what you need. This will help you choose.
| Feature | Importance |
|---|---|
| Storage Space | High |
| Bandwidth | Medium |
| Customer Support | High |
| Uptime Guarantee | Very High |
| Security Features | Very High |
Preparing For The Transition
Ensure that all your website data is safe. Create a backup of files and databases. Use a reliable tool for this task. Store backups in a secure place. Double-check your saved files. This is very important for your website’s safety.
Your domain name is crucial. Check if you have all domain details. Update any outdated information. Make sure you can access your domain registrar account. Keep the login details safe. It’s vital for a smooth transition.
Inform everyone involved about the change. Notify stakeholders like partners and customers. Share the transition timeline. Provide updates on any changes. Clear communication avoids confusion. Everyone will appreciate being informed.
Setting Up With The New Provider
Picking the right hosting plan is key. Different plans offer varied features. Shared hosting is affordable. VPS hosting offers more control. Dedicated hosting gives full control. Consider your website’s needs. Budget matters too.
Setting up the server is essential. Start by accessing the control panel. Choose server settings that suit your site. Adjust the security settings for safety. Ensure your site runs smoothly. Check server performance regularly.
Software makes your website functional. Install a content management system like WordPress. Add security plugins for safety. Choose tools that help your site’s speed. Make sure all software is updated. Test everything to ensure it works.
Transferring Your Website
Start by downloading all website files from your current host. You can use an FTP client for this task. Next, export your database using a tool like phpMyAdmin. This step saves your data. Afterward, upload files to the new host. Import the database into the new server. Ensure all files and data are in the right place. This will help avoid issues later.
Check if your website works well. Visit different pages. Make sure links open correctly. Look for missing images or broken links. Test forms by submitting a message. Ensure everything looks good on mobile and desktop. This step helps find errors before going live.
Sometimes, errors happen after a move. Common issues include broken links or missing images. Check file paths and update them if needed. Database errors can occur too. Ensure your database settings are correct. Contact your new host for help if problems persist. They can offer solutions or guidance.

Credit: www.whatsthehost.com
Updating Dns Settings
DNS means Domain Name System. It helps people find websites. Every website has a unique IP address. DNS turns names like “example.com” into these numbers. This makes it easy for people to visit sites.
To change DNS records, log into your domain account. Find the DNS settings section. Here, you can update the nameservers. You should use the nameservers given by your new hosting provider.
DNS changes take time to update. This is called propagation. It can take a few hours or up to 48 hours. During this time, some visitors might still see the old site. Be patient and check your site regularly.
Verifying The Successful Migration
Confirming a smooth transition to a new web hosting provider involves checking website functionality and data integrity. Ensure all files are intact, links work, and performance is optimized. Testing thoroughly helps identify issues early, ensuring your website remains accessible and reliable for users.
Checking Website Performance
Ensure your website loads quickly. Slow websites can lose visitors. Use tools like Google PageSpeed Insights to test. Look for any errors or broken links. Fix them right away. A fast site makes users happy.
Monitoring Traffic And Analytics
Check your website’s traffic numbers. Use tools like Google Analytics. See if visitors are coming. Compare with past data. Make sure there are no drops. Steady traffic means migration went well.
Ensuring Proper Security Settings
Security is key to a safe website. Make sure all settings are correct. Check for SSL certificates. They keep data safe. Update all passwords. Strong passwords protect your site. Keep an eye out for any threats.

Credit: www.liquidweb.com
Post-migration Best Practices
Switching web hosting providers involves careful planning to ensure smooth website performance. Verify data integrity, update DNS settings, and monitor site speed. Regularly check for broken links and optimize security settings to maintain website functionality and protect user information.
Regular Backups
Backups keep your website safe. Always save a copy of your data. This protects against data loss. Use backup tools weekly or daily. Most hosting providers offer these tools. Choose one that fits your needs. Automate backups for ease. This way, you don’t forget. Security is very important for your site.
Ongoing Performance Monitoring
Check your website’s speed often. Slow sites can upset visitors. Use tools to monitor performance. These tools alert you to issues. Fix problems quickly to keep users happy. Keep an eye on loading times. Fast sites are loved by search engines. This helps your site’s ranking.
Customer Support Utilization
Customer support can be very helpful. Use it when problems arise. They can solve issues fast. Make a note of their contact methods. Email, chat, and phone are common. Good support improves your experience. Always reach out with questions. They are there to help you.
Frequently Asked Questions
Can I Change My Web Hosting Company?
Yes, you can change your web hosting company anytime. First, choose a new host that meets your needs. Then, transfer your website files and domain to the new host. Ensure you backup your data before starting the process to avoid losing any information.
How To Transfer Web Hosting From One Company To Another?
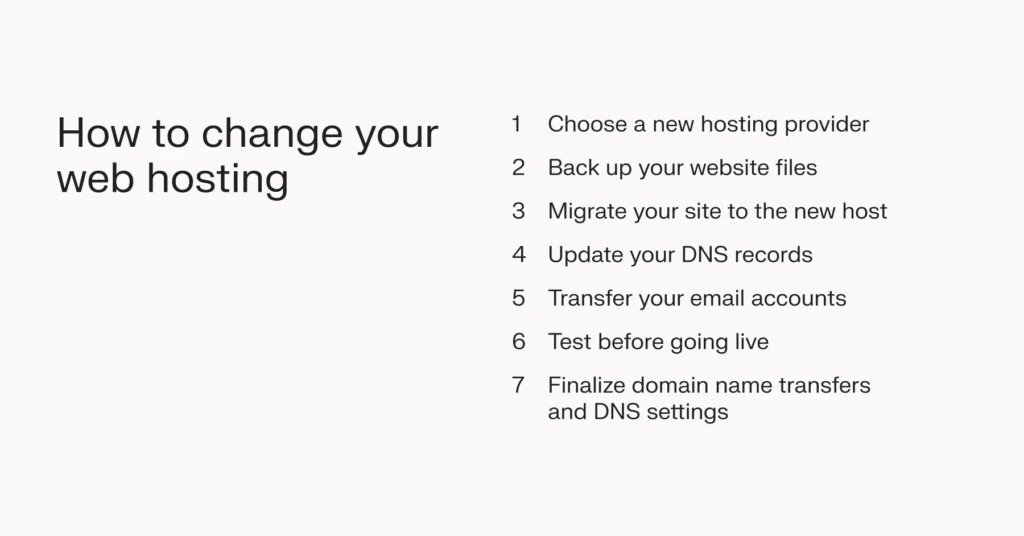
To transfer hosting, first back up your website data. Choose a new host and set up your account. Transfer your domain to the new host. Upload your website files to the new server. Update DNS settings to point to the new host.
Test your website to ensure it works correctly.
Can I Move My Website From Godaddy To Another Host?
Yes, you can move your website from GoDaddy to another host. Backup your files, databases, and email accounts. Choose a new hosting provider and follow their migration instructions. Update your domain’s DNS settings to point to the new host. Ensure everything functions correctly after the transfer.
How Do You Transfer Your Hosting Plan To A Different Server?
To transfer your hosting plan, back up your website files and databases. Choose a new server and restore your data. Update domain DNS settings to point to the new server. Test your website functionality. Contact support if needed for assistance during the transition.
Conclusion
Switching web hosting providers can seem tough, but it’s doable. Start by researching and choosing the best option for your needs. Backup your website files carefully. Ensure all data is secure. Follow the steps for a smooth transition. Test your website once everything is set up.
Check if everything works perfectly. Remember, patience is key during this process. With the right approach, you can change providers without stress. Your website will benefit from a better hosting solution. So take your time and enjoy the improvements. Your online presence deserves the best care and support.


