
Have you ever found yourself stuck with a WordPress theme that just doesn’t fit your vision? Maybe you’ve tried the usual methods to change it, but somehow, things just aren’t working out.
Don’t worry, you’re not alone! Many WordPress users face similar hurdles, but there’s a powerful tool at your fingertips that can help – your file manager. Imagine having the ability to switch your theme effortlessly, almost like flipping a switch.
By using your file manager, you can bypass the usual obstacles and take control of your website’s appearance with precision. This approach not only saves you time but also gives you a deeper understanding of how your site functions. In this guide, we’ll walk you through the simple steps to change your WordPress theme using your file manager. It might sound technical, but trust us, once you see how easy it is, you’ll wonder why you didn’t try it sooner. Whether you’re a seasoned WordPress user or a complete beginner, this method will empower you to create the website of your dreams. Ready to discover how? Let’s dive in!
Accessing File Manager
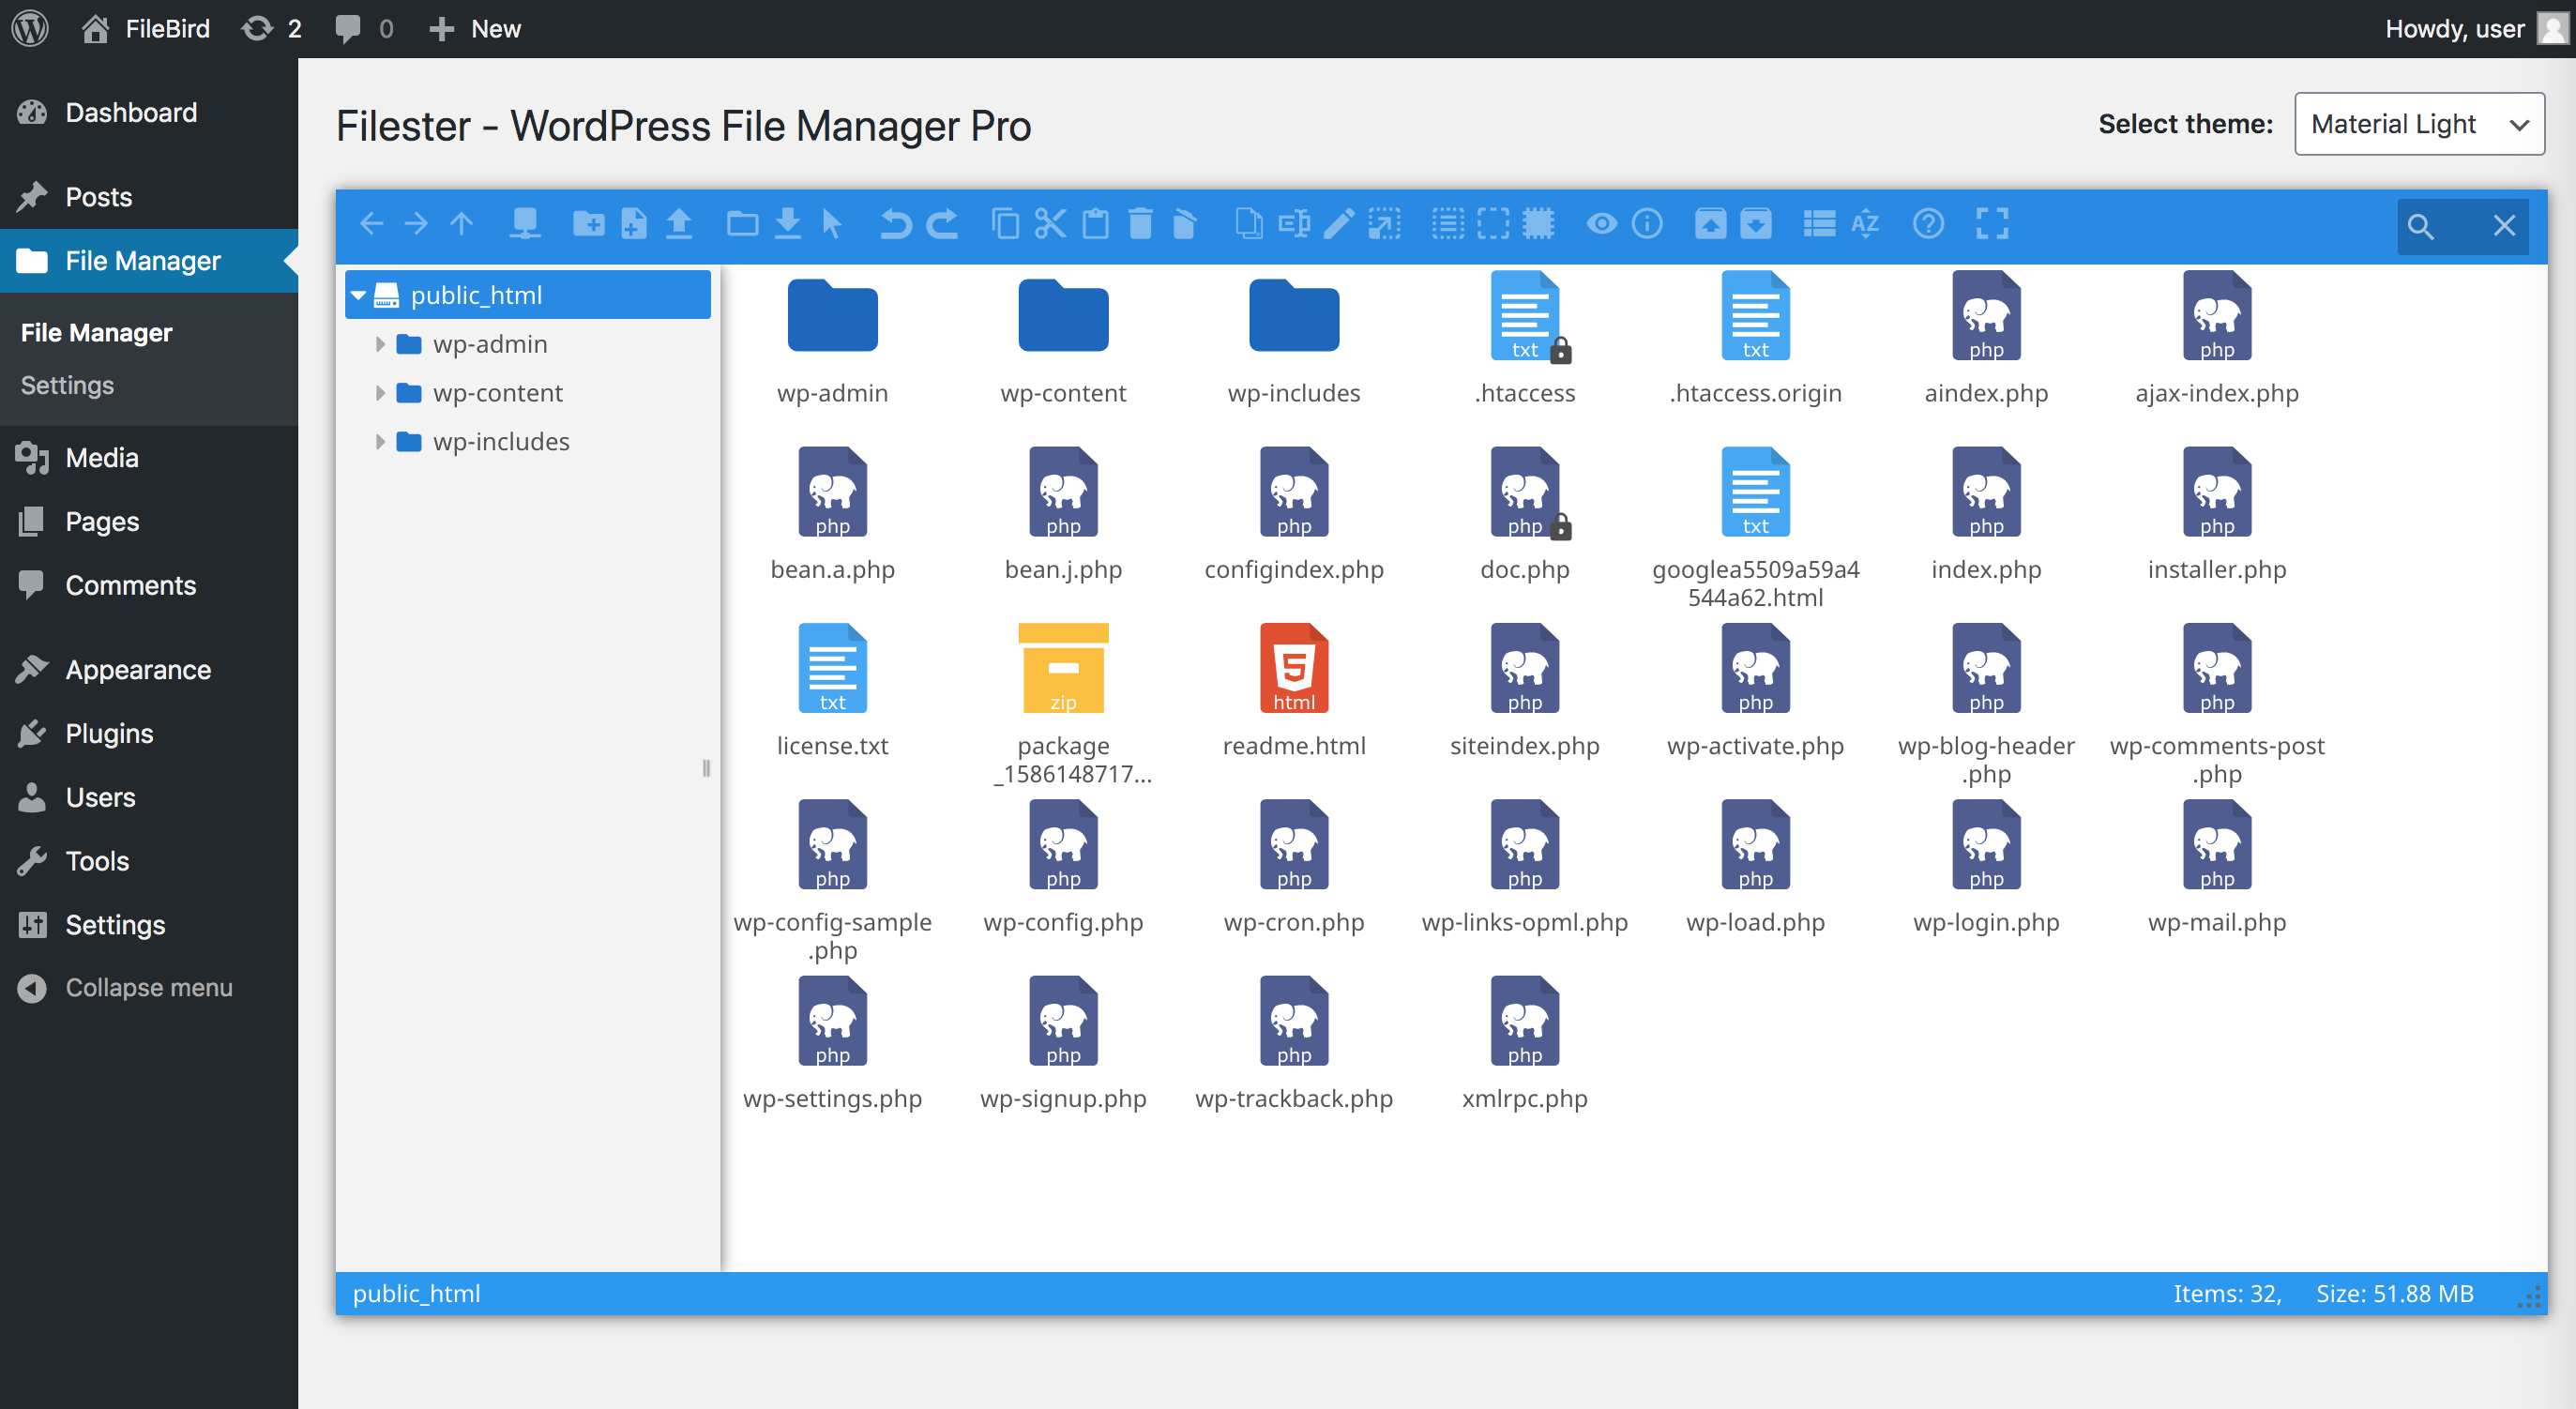
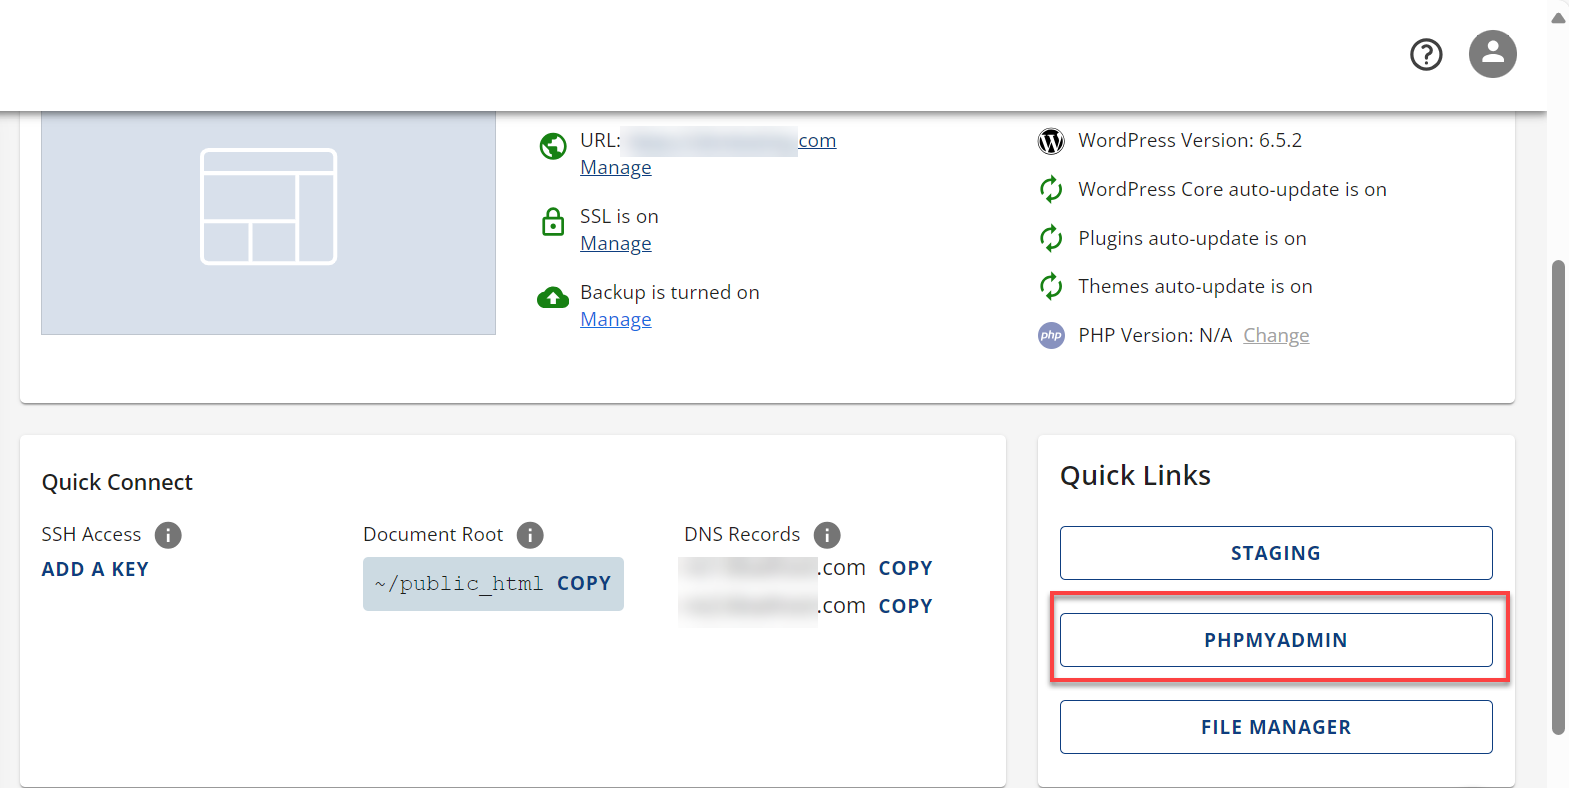
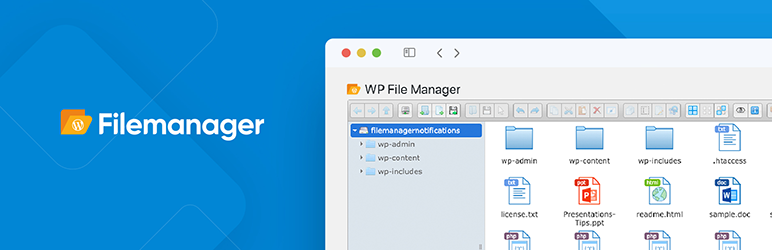
Find the file manager in your hosting panel. It’s usually in the main dashboard. Look for an icon or link. It might say “File Manager” or “Files”. Click on it to open. File Manager shows all your website files. It’s like a big folder.
Inside File Manager, find the WordPress folder. It’s often named public_html or www. Open it to see more files. Look for a folder named wp-content. This folder has your themes. Click to explore the themes. Each theme has its own folder.
Credit: ninjateam.org
Finding The Themes Folder
Discovering the themes folder is crucial for changing your WordPress theme via File Manager. Navigate to ‘wp-content’ and locate the ‘themes’ directory to upload or modify files. This method offers a direct way to manage theme changes efficiently.
Opening Wp-content
Locate the wp-content folder in your File Manager. This folder holds important files for your website. Click on it to open. Inside, you’ll find several folders. Themes folder is one of them. Click on Themes to see available themes.
Identifying The Themes Directory
The Themes Directory is easy to spot. It lists all the themes installed on your site. Each theme has its own folder. Check folder names to identify themes. If you need to change your theme, replace the current theme folder with a new one. Make sure the new theme is complete. Missing files can cause problems. Always backup your site before making changes.
Uploading A New Theme
Compressing theme files is a smart step. It makes uploading faster. To compress, right-click the theme folder. Select “Compress” or “Zip”. This creates a zip file. A zip file is smaller. It is easier to upload.
Next, use the File Manager upload function. Open your hosting control panel. Find the File Manager. Locate the “wp-content/themes” folder. Click “Upload”. Select the compressed theme file. Wait for the upload to finish. Once done, extract the theme files. Right-click the zip file. Choose “Extract”. This puts the theme files in the correct folder. Ensure all files are in the right place. Now, your theme is ready to use.
Credit: www.bluehost.com
Activating The New Theme
First, open the wp-config.php file from your file manager. Look for the line that says define('WP_DEBUG', false);. Change false to true. This will help spot errors if any. Save the file after changes.
Editing The Wp-config.php File
After editing, go to your database. Access it through phpMyAdmin. Here, find the table named wp_options. Inside this table, look for template and stylesheet. Change their values to your new theme’s name. This helps set the new theme correctly.
Setting The Theme In The Database
It’s important to be careful with changes in the database. Wrong changes might break your site. Always back up your database before making changes. This ensures you can restore if needed. After changes, check your site. Make sure everything works fine.
Troubleshooting Common Issues
A broken theme makes your website look bad. Check the theme files in the file manager. Sometimes, files are missing or damaged. Replace them with new copies. Always backup your files first. This way, nothing is lost.
Try activating the default WordPress theme. This helps find the problem. Rename the theme folder in the file manager. Use a new name like “theme-old”. WordPress will switch to a default theme. Now, you can fix the broken theme.
Wrong file permissions can block your theme. Set the right permissions to avoid this. Go to the file manager. Right-click on the theme folder. Choose “Permissions” or “Change Permissions”.
Set the number to 755. This allows WordPress to work well. Double-check all changes. Permissions should be safe and correct. This keeps your website running smoothly.
Verifying Theme Change
Clearing cache is important after changing a theme. Cached files can show old designs. Use a plugin or server settings to clear it. Refresh the site to see changes. This helps in seeing the new theme properly.
Next, check the frontend appearance. Open the homepage in a browser. Look for new colors and layouts. Ensure the site looks good. Check menus and buttons. They must work smoothly. If issues appear, tweak settings. Adjust theme options in the admin panel. This ensures the site looks as expected. Verify the theme change for a clean look.
Credit: wordpress.org
Frequently Asked Questions
How To Access WordPress File Manager?
To access WordPress File Manager, log in to your hosting account’s control panel. Navigate to the File Manager section. Locate the WordPress directory, often named ‘public_html’ or similar. This allows you to manage files directly, including theme changes.
Can I Change WordPress Theme Via File Manager?
Yes, you can change your WordPress theme using File Manager. Access the ‘wp-content/themes’ directory. Upload your new theme folder here. Then, log in to your WordPress dashboard and activate the new theme.
What Are The Risks Of Changing Themes Manually?
Manually changing themes can risk breaking your site if done incorrectly. Ensure you have a backup before proceeding. Errors in file uploads or deletions can lead to site downtime or loss of custom settings.
How To Backup WordPress Before Changing Theme?
Before changing your theme, create a full backup. Use a plugin like UpdraftPlus or access your hosting control panel. Ensure database and file backups are included. This safeguards your data against potential errors during the theme change.
Conclusion
Changing your WordPress theme through File Manager is straightforward. Just follow the steps carefully. Ensure you have a backup before starting. Access File Manager in your hosting account. Navigate to the themes folder and upload your new theme. Activate the theme through WordPress Dashboard.
Check your site for any issues. Fix them as needed. This method is useful for direct theme uploads. It helps when you can’t access the WordPress admin panel. Practice makes it easier. With time, you’ll get more comfortable with the process.
Happy blogging and theme changing!


