
Are you feeling stuck with your current web host? Frustrated by slow speeds, downtime, or unhelpful customer service?
You’re not alone. Many website owners have experienced the same challenges and have found a solution in switching to Bluehost. The process of changing web hosts might seem daunting, but it doesn’t have to be. Imagine having a reliable hosting partner that boosts your website’s performance and provides top-notch support.
With Bluehost, you can enhance your site’s reliability and speed with just a few simple steps. Ready to find out how? Let’s dive into the straightforward process of moving your website to Bluehost, so you can focus on what truly matters: growing your online presence.
Reasons To Switch To Bluehost
Bluehost offers affordable pricing for website hosting. Many find their prices fit well within budgets. 24/7 customer support is available to help with any issues. This can make website management easier. Bluehost provides reliable uptime, which means your site stays online. Visitors can access your site anytime. Free domain is offered with certain plans. This helps save money on domain costs. Easy WordPress installation is a feature many users appreciate. It simplifies the process of starting a blog or website.
Bluehost’s user-friendly interface makes managing websites simple. Even beginners can navigate it easily. Secure hosting ensures your site stays safe from threats. This protects your data and keeps users’ information secure. Scalable options allow your site to grow over time. As your needs increase, Bluehost can accommodate them. Strong reputation in the hosting community is a plus. Many users trust Bluehost for their web hosting needs.
Preparing For The Transfer
It’s important to backup your website before changing hosts. This keeps your data safe. Use tools like FTP or hosting control panels. Download all files and databases. Save them in a secure place. A backup is like a safety net. It helps if something goes wrong. Keep the backup until the transfer is complete.
Gather all your important information before starting the transfer. This includes your domain name details. Also, note down your current hosting account information. Keep your database login details ready. Knowing your website’s requirements is also important. This makes the transfer process smoother. Always keep this information handy.
Setting Up A New Bluehost Account
Bluehost offers different plans. They have Basic, Plus, and Choice Plus. Basic is good for one website. Plus and Choice Plus allow unlimited sites. Choose based on your needs. Think about how many sites you have. Also, consider future growth.
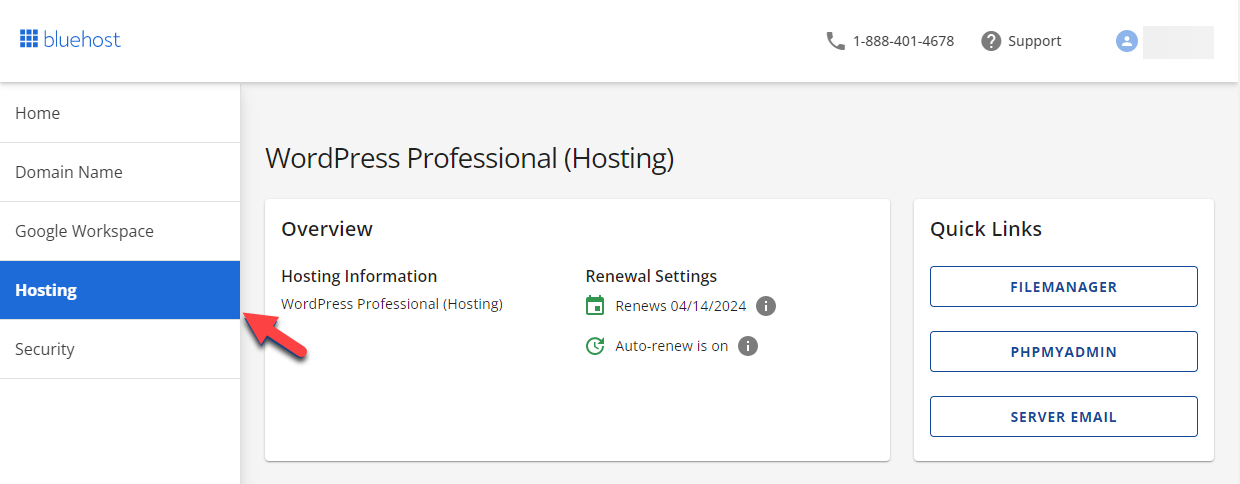
Go to the Bluehost website. Click on the “Get Started” button. Enter your email address. Choose a strong password. Bluehost may suggest extras. You can add them later. Fill out your payment details. Finish by clicking “Submit”.
After signup, check your email. You will get a welcome email. Follow the steps in the email. This will help set up your account. Now, your Bluehost account is ready to use.
Credit: www.bluehost.com
Transferring Your Domain
First, check if your domain is locked. This keeps it safe from changes. Go to your current registrar’s website. Find the domain management section. Look for the lock status. If it’s locked, click to unlock it. This step is important for transferring your domain smoothly.
To transfer, you need an EPP code. This code is a key. It helps move your domain to Bluehost. Visit your current registrar’s site again. Look for the option to request an EPP code. They might email it to you. Once received, keep it safe. You will need it for the transfer process.
Migrating Your Website Files
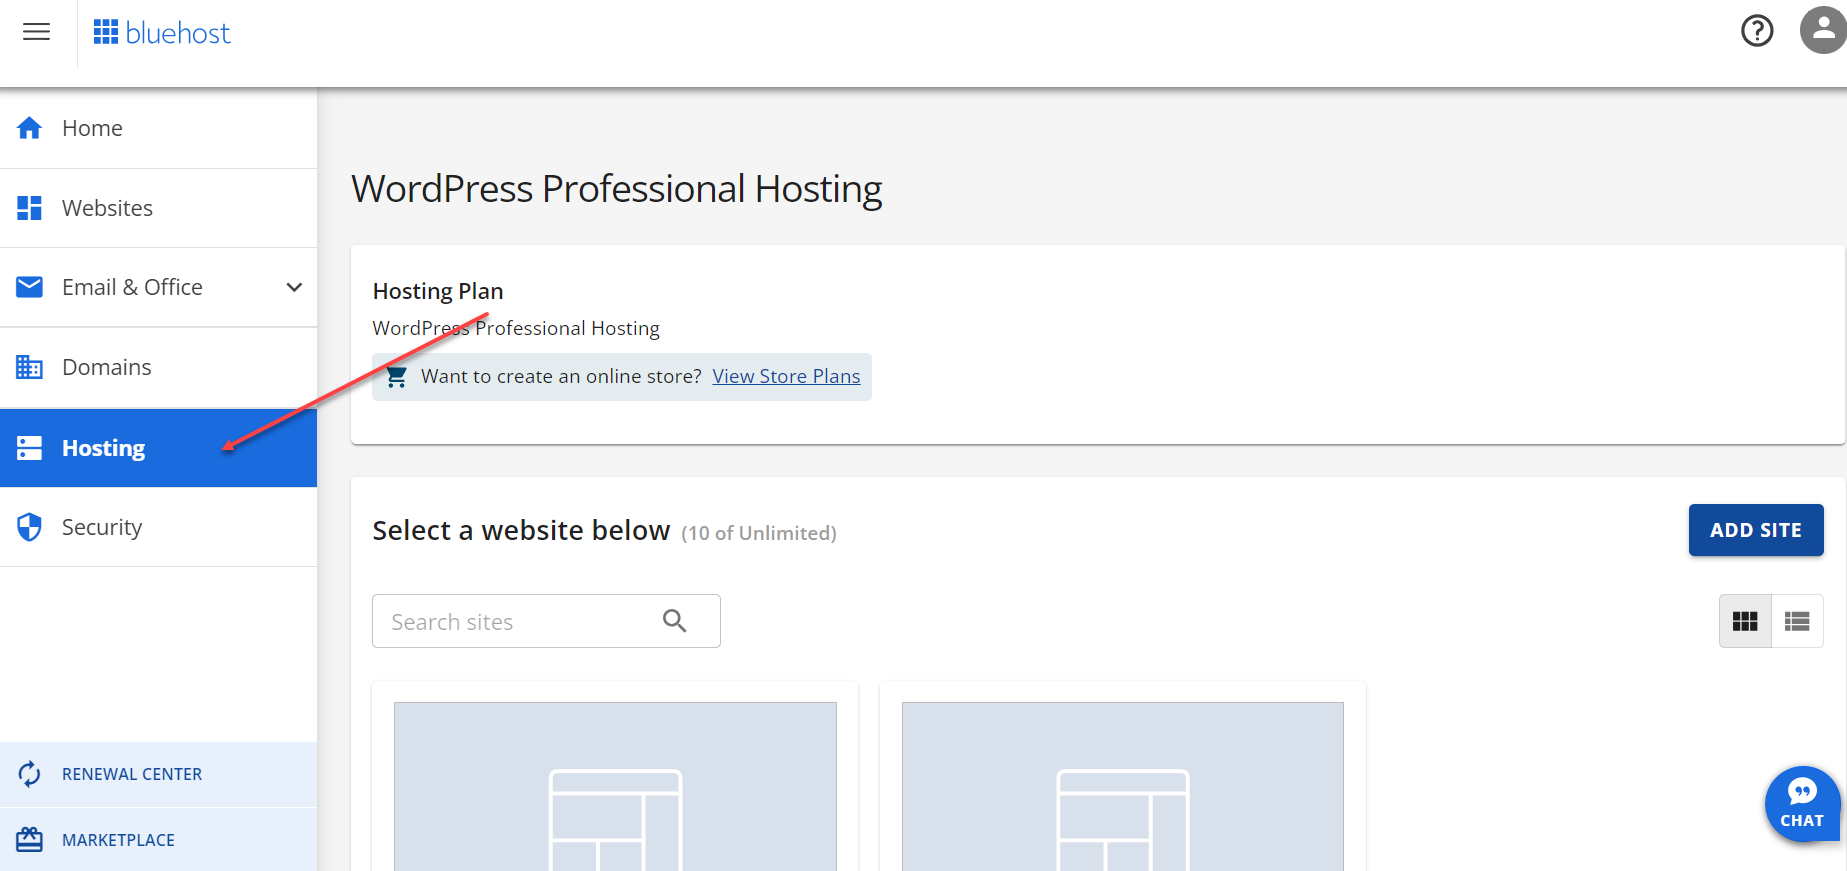
Start by logging into your Bluehost account. Use the file manager tool. Locate the files from your old host. Select all the files you want to move. Click the upload button. Wait for the process to complete. Check if all files are uploaded properly. Fix any errors you find.
Access the database section in Bluehost. Create a new database. Import your old database data. Ensure all data is correctly imported. Set up user permissions. Test the database connection. Verify all data is accessible. Make adjustments if needed. Check for any missing data. Fix any database errors.
Credit: www.bluehost.com
Updating Dns Settings
First, log into your domain registrar. Look for the DNS settings section. Here, you will find your DNS records. You need to change these to point to Bluehost’s servers. Replace the old nameservers with Bluehost’s nameservers. These are usually ns1.bluehost.com and ns2.bluehost.com.
After updating, save your changes. The changes will not happen right away. This is called propagation time. It can take up to 48 hours. During this time, your site may not work properly. Be patient and check back later. If your site is still down after 48 hours, contact Bluehost support. They can help fix any issues.
Testing Your Website
Errors can break your website. Fix them before going live. Check every page. Ensure links work. Look for broken images. Use online tools. They help spot problems. Fix any issues you find. Double-check your changes. Ensure everything looks right. Mistakes can confuse visitors. They may leave your site. Keep your site error-free.
Your website must work well. Test all features. Try forms and buttons. Make sure they work. Check on different devices. Test on phones and tablets. Your site should look good everywhere. Fast loading is important. Slow sites lose visitors. Use tools to check speed. Improve if needed. A smooth site keeps visitors happy.
Canceling The Old Hosting Service
First, make sure your website is safely on Bluehost. Check all files and data. Everything must be there. Once you see it’s complete, you can cancel the old service. Go to the old host’s dashboard. Look for account settings. Find the cancel option. Follow the steps they give you. Some hosts might ask why you are leaving. Answer if you want. Your focus is to stop any payments. Ensure that no more charges come from the old host. Keep a record of all steps. This helps in case you need proof later.
Confirming Transfer Completion
Check your website on Bluehost. Visit the site in your browser. Does it load well? Are all pages working? If everything is okay, the transfer is done. If not, check the files again. You might need to fix something. Always make sure everything is smooth. This ensures your visitors have no trouble. Happy visitors mean success.
Finalizing Account Closure
After confirming the transfer, finalize the old account. Go to the old host’s settings. Look for a final closure option. Click it to close your account. This will stop any future issues. Make sure you receive a confirmation. It should say the account is closed. Keep this confirmation safe. It’s proof that you are done with the old host. Double-check that no payments are pending. You want everything to be clear.
Tips For A Smooth Transition
Switching to Bluehost can simplify your web hosting experience. Ensure a smooth transition by backing up your site. Transfer files and update DNS settings promptly to avoid downtime.
Common Pitfalls
Changing web hosts can be tricky. Missing important files is a common mistake. This can cause site errors. Always back up your site first. DNS settings can also be confusing. They need to point to your new host. Some people forget this step. It can lead to downtime. Check your email settings too. They must be updated with your new host. Not doing this can cause lost emails.
Best Practices
A smooth switch to Bluehost needs planning. Start by checking your contract terms. Know when your current hosting ends. This avoids paying extra fees. Backup your website files. Use tools like cPanel for this. Test your site on Bluehost before going live. This finds any issues early. Update your domain settings to point to Bluehost. Do this after testing. Your emails must move too. Set them up on Bluehost for seamless communication.

Credit: medium.com
Frequently Asked Questions
How Do I Change My Web Hosting Provider?
To change your web hosting provider, back up your site, choose a new host, and migrate files. Update your domain’s DNS settings to point to the new host. Test your site thoroughly to ensure a smooth transition.
How Do I Transfer A Website From One Hosting Account To Another?
Transfer your website by backing up files and databases. Choose new hosting and upload the backup. Update domain DNS settings. Verify the transfer and ensure functionality. Consider using a migration plugin for efficiency.
Can I Transfer My Domain To Bluehost?
Yes, you can transfer your domain to Bluehost. Ensure your domain is unlocked and obtain the EPP code. Follow Bluehost’s domain transfer instructions for a smooth process. This usually takes 5-7 days. Remember, domain privacy protection must be disabled before initiating the transfer.
How Do I Change Hosting On Bluehost?
Log in to your Bluehost account. Go to the “Domains” tab. Select “Transfer” or “Assign” for hosting change. Follow the instructions provided to complete the process. Contact Bluehost support for assistance if needed.
Conclusion
Switching web hosts can feel daunting, but it doesn’t have to be. Follow these steps to move smoothly to Bluehost. Prepare your files and backups carefully. Check everything after the move. Take time to explore Bluehost’s features. Their support team is ready to help with any issues.
You now have the tools to manage your website confidently. Enjoy your new web hosting experience with Bluehost. Remember, a strong host makes your site more reliable. Happy hosting!


