
Switching your web host can feel like a daunting task. Whether you’re seeking better performance, improved security, or just a more budget-friendly option, the process might seem overwhelming.
But, what if I told you that it doesn’t have to be? Imagine your website running smoother, faster, and more efficiently than ever before. Picture fewer outages and happier visitors. This guide will walk you through each step of changing your web host, breaking it down into simple, manageable tasks.
You’ll find that making the switch is easier than you think. Stick with us, and soon, you’ll confidently transition your website to its new home, reaping the benefits without the hassle. Ready to dive in and unlock your site’s full potential? Let’s get started!
Assessing Your Web Hosting Needs
Changing your web host involves assessing factors like uptime reliability and customer support. Consider transfer options and data backup plans. Ensure new hosting meets your website’s specific needs for a smooth transition.
Identifying Current Requirements
Think about what your website needs now. Look at the storage space you use. Check your monthly visitors. These numbers help you know your needs. You need enough bandwidth. It keeps your site running smoothly. Consider your website type. Blogs need less space than stores. Knowing these needs is very important. Make a list. It helps you choose better later.
Evaluating Future Growth
Plan for growth. Your website may get bigger. You may need more storage soon. Visitors could increase. Make sure your host can handle more traffic. Think about adding new features. You might need more resources later. Pick a host that lets you upgrade easily. Check if they support future changes. This helps you avoid problems later.
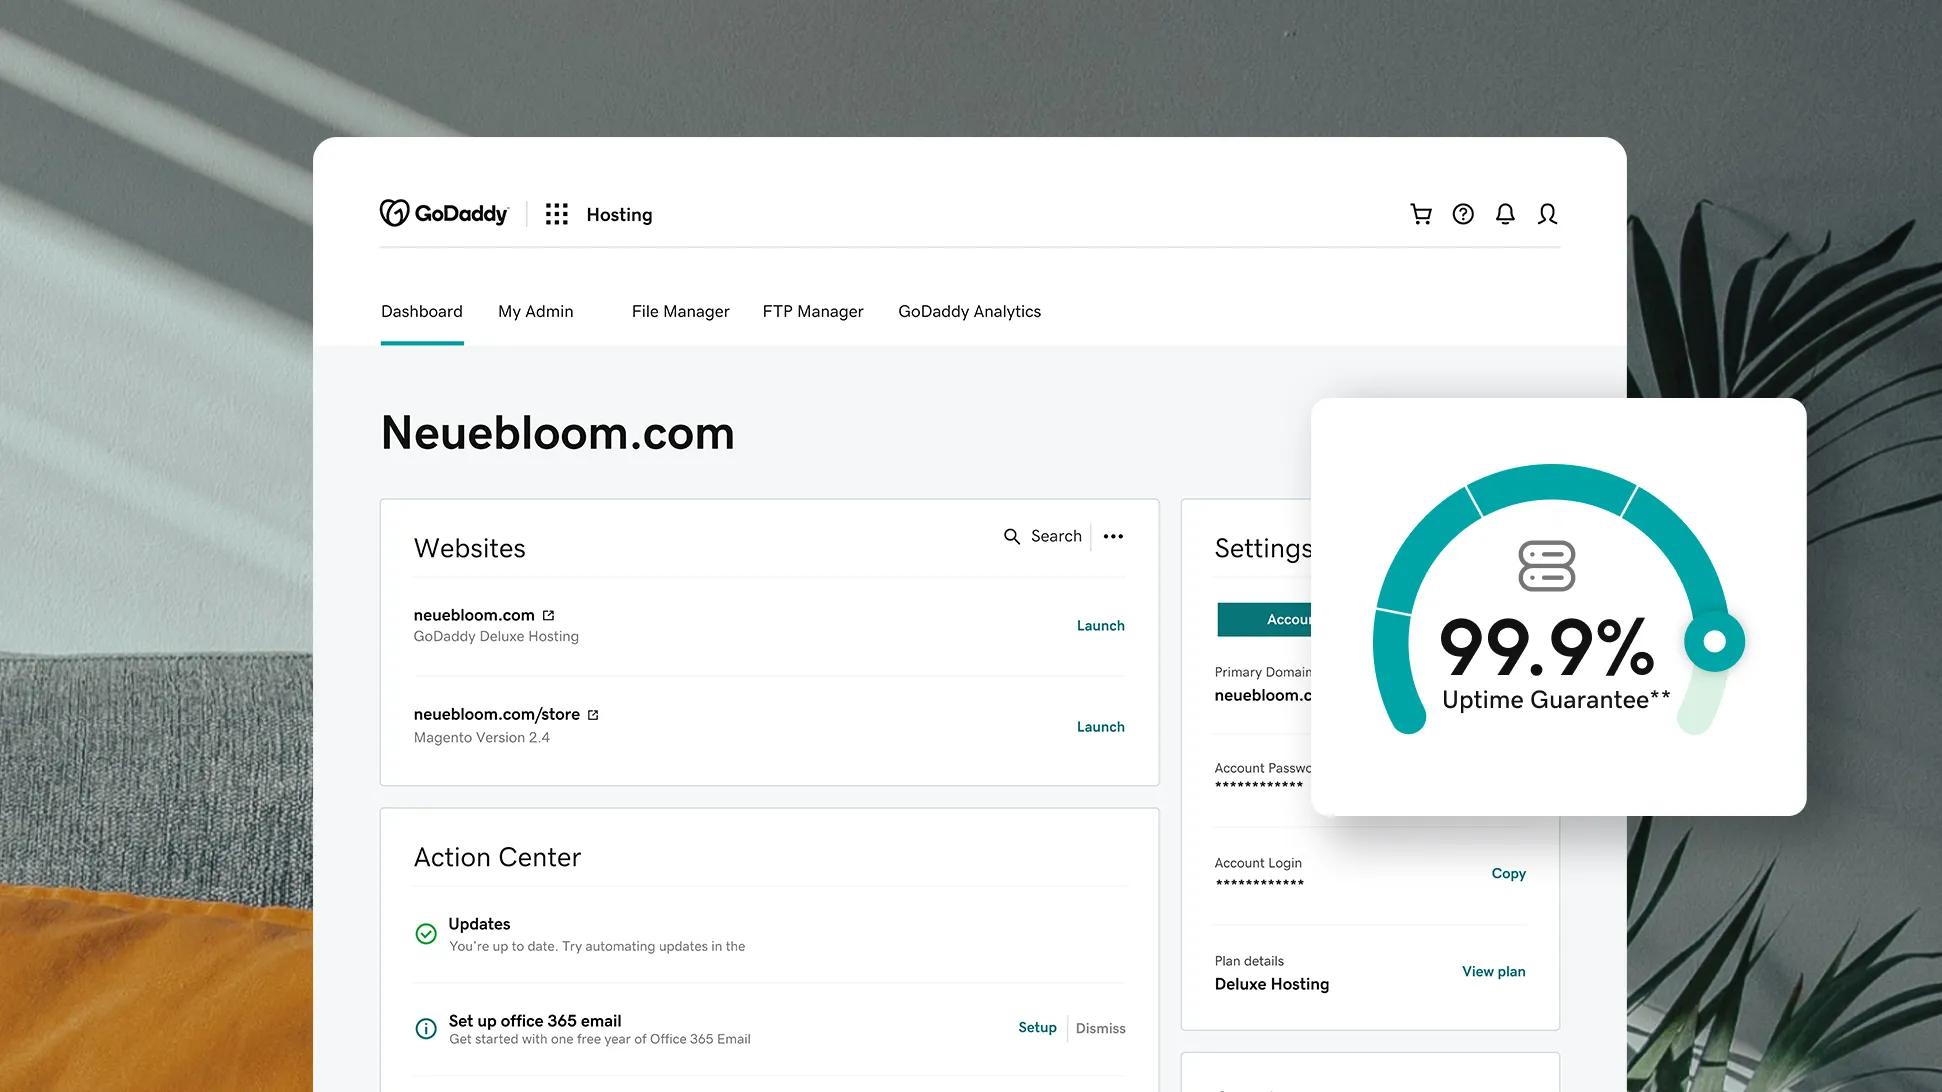
Credit: www.godaddy.com
Choosing The Right Web Host
It is important to find the best web host. Look at the features they offer. Consider price and storage. Think about the bandwidth you need. Some hosts give you unlimited bandwidth. Others have limits. Check if they offer SSL certificates for security. Some hosts also provide free domain names. Make sure you know what you need.
Read what others say about the host. Reviews tell you about real experiences. They help you know if the host is reliable. Testimonials can show you if people are happy. Look for reviews on trusted websites. Be cautious of only positive reviews. It’s good to see some constructive feedback too.
Customer support is very important. Make sure they have 24/7 support. You might need help anytime. Check if they offer live chat or phone support. Email support can be slow sometimes. Fast support is helpful during website problems. Good support makes you feel secure.
Preparing For The Transition
Always create a backup of your website files. This keeps your data safe. Use a trusted tool for this task. Save the backup in more than one place. Think cloud storage and an external drive. Check that all files are saved. Missing files can cause big problems.
Write down your current settings. This includes domain details and server settings. Keep this info in a safe place. It helps during the switch. Take screenshots of key areas. This visual aid is handy if needed later.
Let your users know about the upcoming change. Send them an email or a message. Tell them why the switch is happening. Assure them their data is safe. This builds trust and keeps them informed.

Credit: community.cloudflare.com
Migrating Your Website
First, download all your website files. Use an FTP client to do this. Then, export your database from the old host. It is usually done through phpMyAdmin. After downloading, upload these files to the new host. Import the database using the new host’s phpMyAdmin.
Access your domain registrar. Update the DNS settings to point to the new host. This tells the internet where to find your website. It may take a few hours. Sometimes, even a day or two.
Check if the website works. Visit your domain in a browser. Ensure all pages load correctly. Fix any broken links or errors. Test every feature and form. Everything should work as expected.
Troubleshooting Common Issues
Websites sometimes stop working. This is called downtime. Check if the server is on. Contact your new host if needed. Make sure your DNS settings are correct. These settings help people find your site. Keep a backup of your site. This helps if things go wrong.
Broken links are links that do not work. Use a tool to find them. Fix these links by updating URLs. This keeps your site healthy. A site with many broken links is hard to use. Users might leave the site.
Emails might not work after changing hosts. Update your email settings. These settings tell emails where to go. Check the MX records in your DNS. They direct your emails. Contact support if emails still fail. They can help solve the issue.
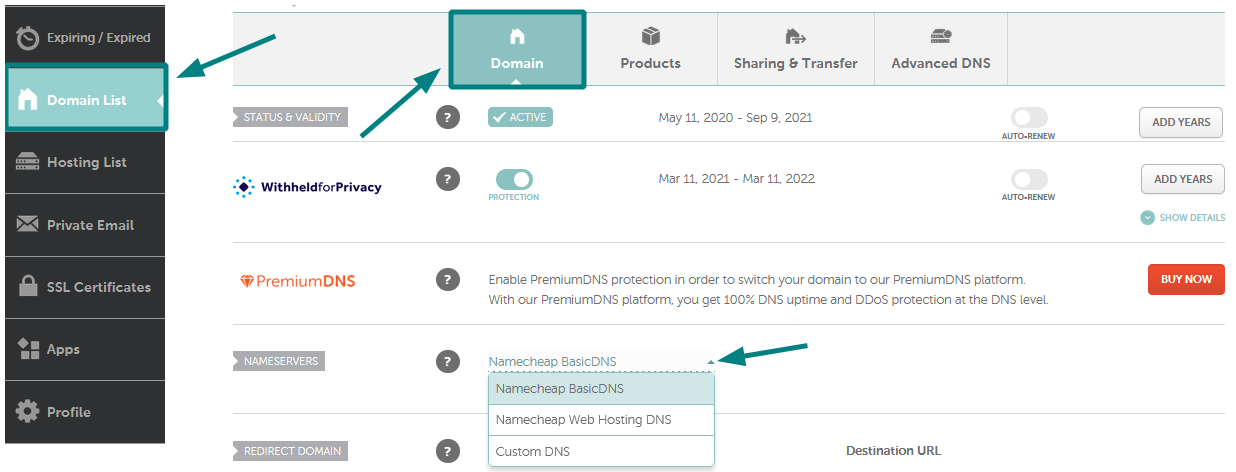
Credit: www.namecheap.com
Optimizing Performance On The New Host
Switching web hosts involves careful planning to ensure smooth performance. Start by backing up your website data. Next, choose a reliable host and transfer files using FTP. Make sure to update DNS settings for seamless transition. Finally, test your site on the new host to ensure optimal performance.
Enhancing Speed And Security
Changing hosts can boost your website’s speed. Faster websites attract more visitors. Ensure your new host uses modern servers. Secure your site with an SSL certificate. It protects data between the site and users. Regularly update your software and plugins. This helps to prevent hackers. Backup your data regularly to avoid loss.
Utilizing New Features
New hosts often offer exciting features. Use them to improve user experience. Content Delivery Networks (CDNs) can make your site faster. This helps by storing copies of your site globally. Automated backups are another great feature. They keep your data safe. Explore your host’s control panel. It has tools to manage your site easily.
Monitoring Website Performance
Check your website’s performance often. Load speed is crucial for users. Use tools like Google PageSpeed Insights. It helps find speed issues. Keep track of uptime. This shows how often your site is live. Analyze traffic to understand user behavior. Regular monitoring ensures everything works smoothly.
Frequently Asked Questions
How Do I Transfer My Website To Another Host?
To transfer your website, back up your files, export your database, and update domain settings. Upload files and import the database to the new host. Test your site before completing the transfer.
Is It Easy To Change Website Hosting?
Changing website hosting can be straightforward with proper planning. Start by backing up your site. Next, choose a new hosting provider and migrate your files. Update your domain’s DNS settings. Ensure everything works correctly after migration. Consult your new host’s support for assistance.
How Do I Change The Server Of My Website?
To change your website server, choose a new hosting provider. Backup your data, then transfer files using FTP. Update DNS records to point to the new server. Test your website thoroughly. Ensure everything is functioning correctly before finalizing the move.
Can I Keep My Domain But Change Host?
Yes, you can keep your domain and change your hosting provider. Update your domain’s DNS settings to point to the new host. This process ensures your website remains accessible after switching hosts. Always backup your website files before making any changes.
Conclusion
Changing your web host can be simple. Follow the steps carefully. First, research hosting options. Next, backup your website files. Then, transfer your domain. Finally, ensure everything works smoothly. Your website’s performance may improve. Choose a host that meets your needs.
Take your time with each step. This way, you avoid mistakes. A good host supports your website growth. Now, you are ready to make the change. Enjoy better service and website reliability. Your website deserves the best hosting. Make the switch today for peace of mind.


