
Are you looking to refresh the look of your Astra Ecommerce WordPress site? Changing theme images can be a simple yet effective way to breathe new life into your online store.
Whether you’re aiming to captivate your audience with stunning visuals or align your site with your brand’s identity, updating your theme images can make a significant impact. You don’t have to be a web design expert to make these changes.
In this guide, we’ll walk you through the easy steps to transform the appearance of your site. Ready to unlock the potential of your ecommerce store and keep your customers engaged? Let’s dive in and discover how you can effortlessly change theme images in Astra.
Understanding Astra Theme
Astra Theme offers flexibility in customizing images for your ecommerce site. Change your theme images by accessing WordPress dashboard, selecting “Appearance,” then “Customize. ” Navigate to “Header” or “Background” to upload and adjust images, enhancing the visual appeal of your store effortlessly.
Features Of Astra
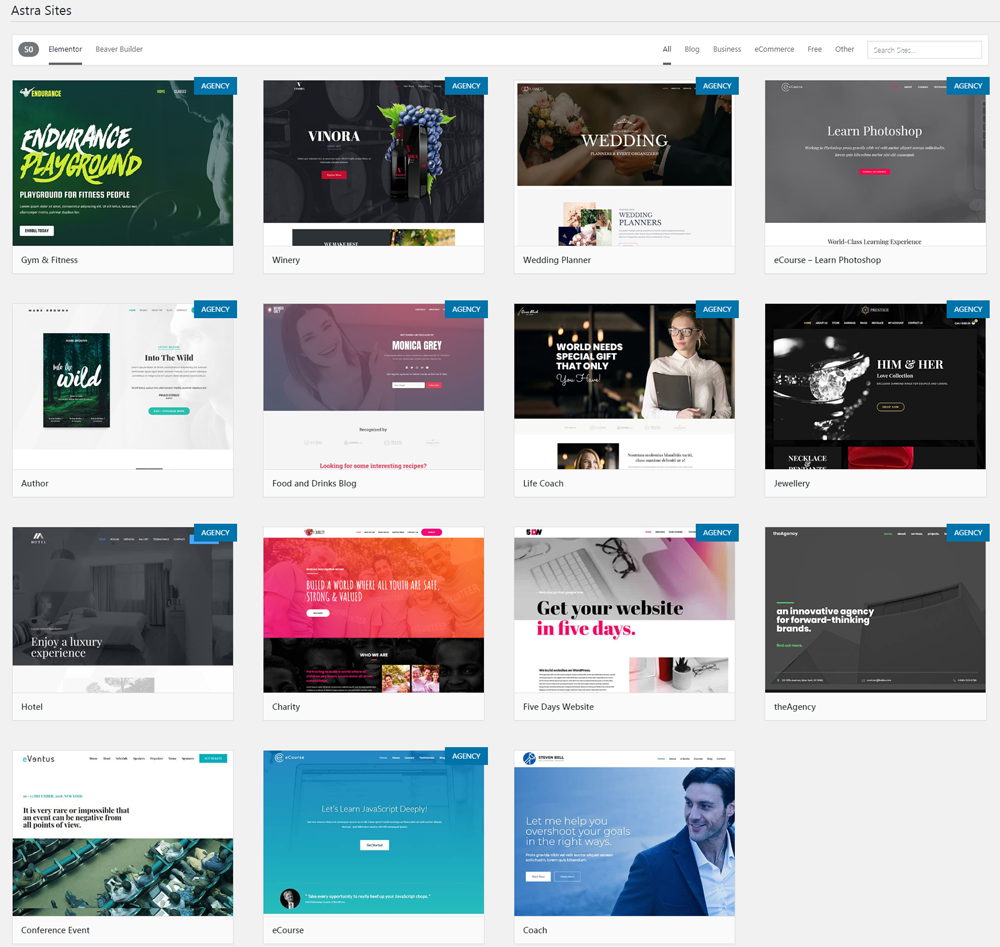
Astra is a fast and light theme. It loads quickly and uses less memory. This theme is easy to use. You can change it without coding. Astra works with page builders like Elementor and Beaver Builder. It has pre-made templates that help in building websites fast. You can use these templates for different types of sites. Astra is also mobile-friendly. It looks good on phones and tablets.
Benefits For Ecommerce
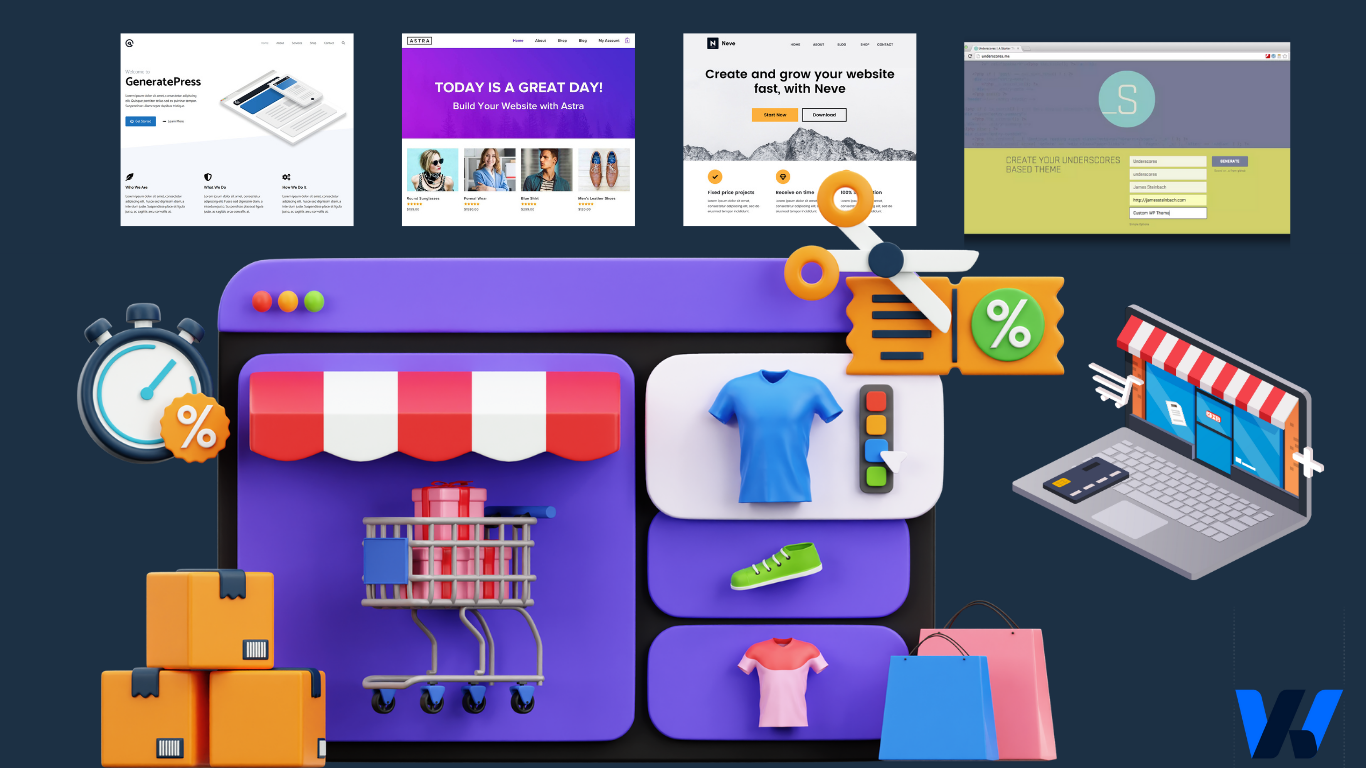
Astra is great for online stores. It works well with WooCommerce. This helps in creating online shops easily. Astra offers many customization options. You can change colors and layouts without much effort. This theme supports fast loading. A fast website helps in keeping visitors happy. Astra also helps in SEO. This can make your store rank better in searches.
Credit: www.csshero.org
Preparing For Image Changes
Always save your current settings first. Use plugins to help with this. They store your theme settings and images safely. This way, nothing gets lost. You can return to your old settings if needed. Check regularly that your backups are working. They protect your site from errors.
Choose images that fit your theme. Look for high-quality pictures. They make your site look better. Name your files clearly. This helps you find them later. Keep all images in one folder. This keeps everything organized. Resize images to fit your theme well. They should load quickly and look good.
Accessing WordPress Dashboard
First, open your web browser. Type your website URL. Add “/wp-admin” at the end. Press enter. You will see the login page. Enter your username and password. Click the login button. You will enter the WordPress dashboard. This is where you make changes.
Look at the left menu. Find Appearance. Click on it. A menu will expand. Choose Astra Options. This is where you find theme settings. Here, you can change images. Explore the options. Make sure to save changes. This will update your site.
Credit: wpriders.com
Customizing Theme Images
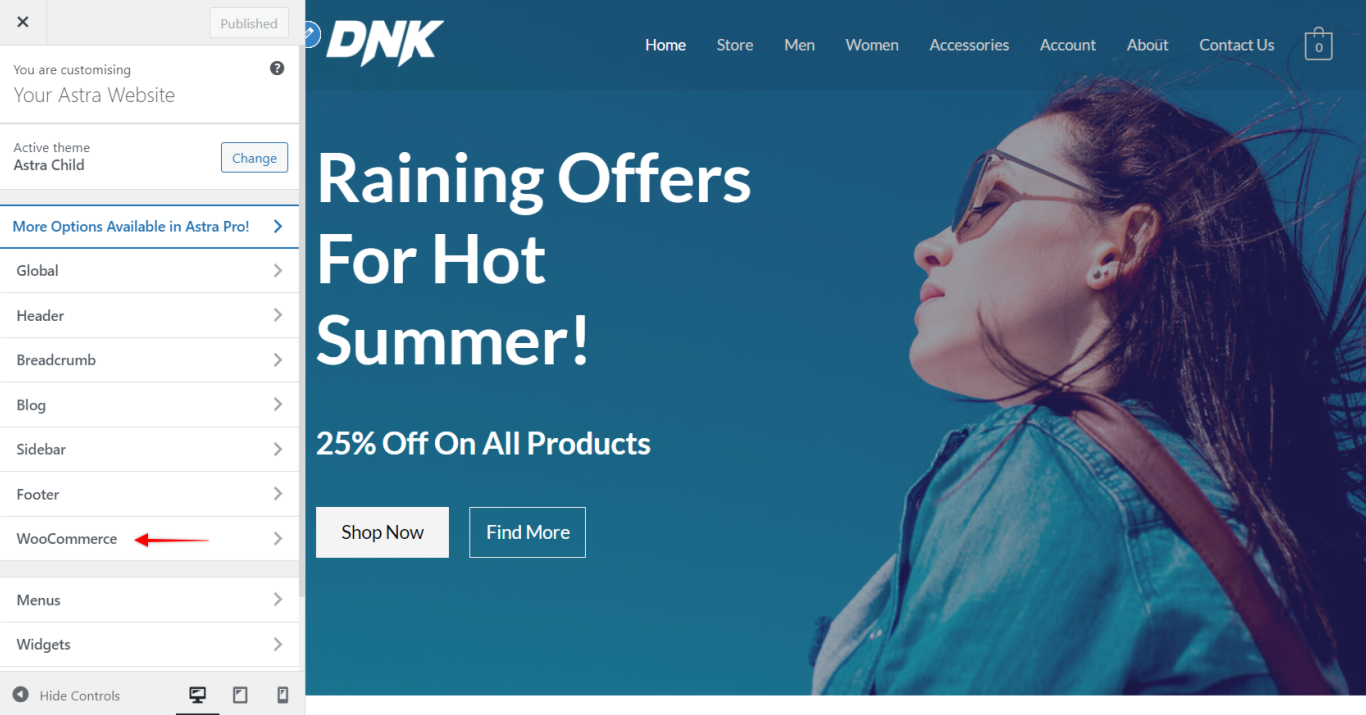
The WordPress Customizer is simple to use. Start by opening your dashboard. Find the “Appearance” tab. Click on “Customize.” Here, you see many options. Select “Header” or “Footer” for image changes. Choose your image. Then, click “Publish.” Your changes are now live. It’s that easy!
First, go to your media library. Click “Add New” to upload. Choose a file from your computer. Make sure it’s the right size. Large files can slow your site. Next, go back to the Customizer. Find the section for your new image. Select it from the library. Save changes to update your theme. Now your store looks fresh!
Adjusting Image Sizes
Images should have a clear resolution. This helps them look good on screens. The usual size is 1000 pixels wide. Smaller images can make your site load faster. Always check the image size before uploading. Large images can slow down your website.
Many tools can help you edit images. Photoshop is popular and used by many. There are free tools too, like GIMP or Canva. These tools can help resize images easily. You can crop, rotate, and adjust brightness. It’s easy to learn and use these tools. Practice makes perfect!
Credit: wpastra.com
Testing The New Images
Make sure the images look good on your site. Check each page. It’s important that every image is in the right spot. Ensure images load quickly. Slow images can frustrate users. Look for any broken images. Fix them right away. Test different browsers. Images should look the same everywhere.
Images must fit all screen sizes. Check them on phones and tablets. Ensure no image is cut off. Use tools to test responsiveness. Many online tools are free. Adjust image sizes if needed. A good image is clear and sharp. Always update images for better quality. Users like sites with nice images.
Troubleshooting Common Issues
Changing theme images in Astra Ecommerce WordPress can be straightforward. Navigate to the WordPress dashboard and select “Appearance,” then “Customize. ” From there, locate the “Header” or “Background” options to upload and adjust your new images easily. Ensure images are optimized for fast loading and enhanced user experience.
Image Not Displaying
Images might not show up on your site. This can be due to broken links or missing files. Check that image URLs are correct. Ensure images are in the media library. Refresh the page to see if images appear. Clear cache in your browser. Sometimes cache causes image issues. Verify that your theme settings allow image display.
Slow Loading Times
Slow load times frustrate users. Check image sizes. Large images can slow down a site. Optimize images for better speed. Use tools to compress images. Look at your hosting service. Slow servers affect speed. Remove unnecessary plugins. They can make pages load slowly. Keep your WordPress updated. Updates improve performance.
Finalizing And Saving Changes
Easily change theme images in Astra Ecommerce WordPress. Navigate to Appearance, then Customize. Update images and finalize by saving changes.
Saving Customizations
Ensure all changes are correct. Click the Save button. This stores your customizations. Saved changes are permanent. Double-check before saving. You can go back and edit later. Keep your website fresh. Update themes regularly. Save often to avoid losing work. Saving secures your edits. Always save changes immediately.
Viewing Live Changes
Check how your site looks live. Click the Preview button. See changes instantly. Make adjustments if needed. Live view helps spot errors. Refresh to see updates. It shows your site’s final look. View changes on different devices. Ensure your site looks good everywhere. Live previews are important. They help you finalize design.
Frequently Asked Questions
How To Upload New Theme Images In Astra?
To upload new theme images in Astra, go to your WordPress dashboard. Navigate to Appearance > Customize > Header or Footer. Select an image section and click “Change Image” to upload a new one. Ensure the image is optimized for web use to maintain site speed and quality.
Can I Customize Astra Theme Images Easily?
Yes, customizing Astra theme images is straightforward. Use the WordPress Customizer for real-time previews and adjustments. Navigate to Appearance > Customize and select sections like Header or Footer. Replace images, adjust sizes, and apply changes instantly. Astra’s flexibility makes image customization efficient and user-friendly.
What Size Should Astra Theme Images Be?
Astra theme images should be optimized for fast loading. Typically, header images should be around 1200×600 pixels. Footer or logo images are best kept smaller, around 500×500 pixels. Ensure images are compressed without losing quality to enhance site performance and user experience.
Are Astra Theme Images Mobile-responsive?
Yes, Astra theme images are designed to be mobile-responsive. The theme automatically adjusts images for different screen sizes. Ensure images are optimized for both desktop and mobile views. Use the WordPress Customizer to preview mobile responsiveness and make necessary adjustments for optimal display.
Conclusion
Changing theme images in Astra Ecommerce WordPress is straightforward. Start by accessing your WordPress dashboard. Navigate to the customizer. Choose the “Header” or “Background” section. Select new images. Save your changes. Refresh the page to view updates. Regularly updating images keeps your site fresh.
Engaging visuals attract more visitors. Remember, quality images reflect professionalism. Keep image sizes optimized for faster loading. Ensure your images align with your brand. Happy customizing!


