
Are you ready to give your WordPress website a fresh look? Changing the navigation menu color in the Twenty-Ten theme is a simple yet effective way to make your site stand out.
Imagine your visitors instantly captivated by a vibrant menu that reflects your brand’s personality. You don’t need to be a coding expert to do it. In this guide, you’ll discover step-by-step instructions that make the process a breeze. Whether you’re looking to match your menu to your logo or simply want a change, this article will walk you through everything you need to know.
Get ready to transform your website and grab your visitors’ attention from the moment they land on your page. Let’s dive in!
Credit: wedevs.com
Accessing Theme Files
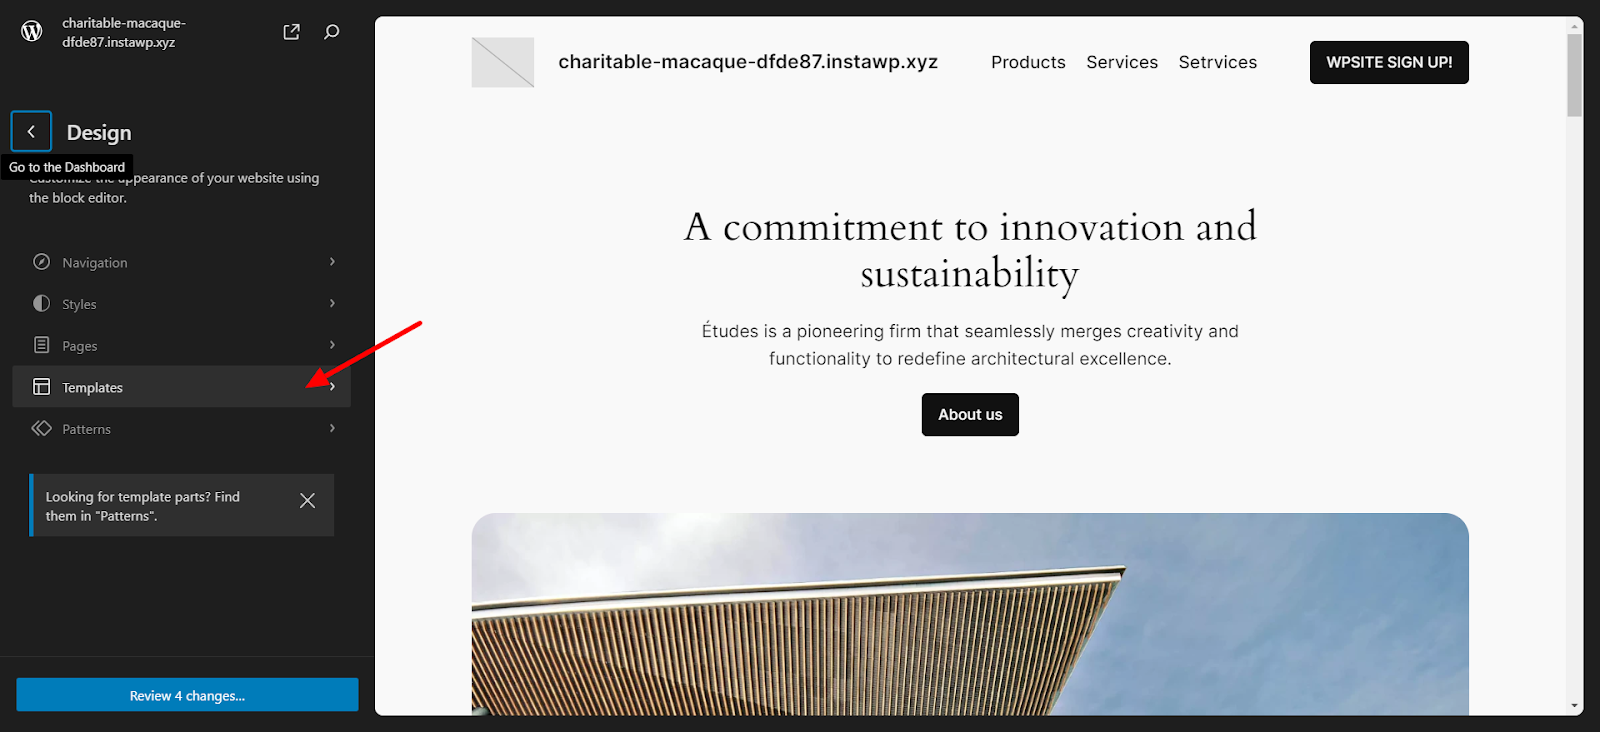
Change the navigation menu color in WordPress Twenty-Ten by editing the CSS in the theme files. Access the Appearance section, select Editor, and modify the style. css file. Save changes to see the new color instantly.
Locating The WordPress Dashboard
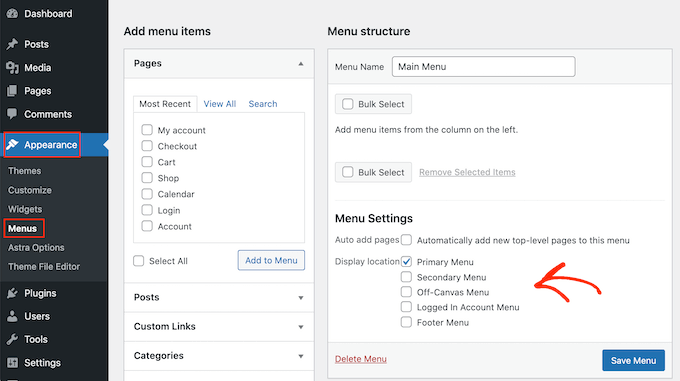
First, log into your WordPress Dashboard. It’s where you manage your site. Look for the menu on the left. Find the Appearance option. Click on it. This will show more options. The dashboard is your control center. You can change many things here. But today, we’ll focus on the menu color.
Navigating To Appearance Editor
Under Appearance, find Editor. Click on it. You will see the theme files here. These files control how your site looks. You need to find the style.css file. It is important for design changes. Always be careful when editing files. A small mistake can break your site. So, make sure you know what to change.
Finding The Style Sheet
The style.css file holds the theme’s styles. It’s like a big coloring book. You find it in your theme folder. This file tells the website how to look. It controls colors, fonts, and more.
Find the section for the navigation menu in style.css. Look for lines with words like #navigation or .menu. These lines control the menu’s look. Change the color code to make it different. Use a hex code, like #123456. Save changes, then check your site. The menu color should be new now.
Editing Css For Menu Color
First, find the CSS file in your WordPress theme. Look for style.css in the file manager. Open it to see all the CSS code. You need to find the section for the navigation menu. This is often labeled as #access or nav. Check the properties listed under it. We will edit these to change colors. Make sure you are in the right section. Editing the wrong part can affect other parts of the site.
Find the background-color property. Change it to the color you like. Use a color code or name. For example, background-color: blue;. Next, find the color property. This controls the text color. Change it to make the text readable. Use a light color if the background is dark. This way, the menu looks nice and is easy to read. Save your changes. Refresh your website to see the new colors.
Credit: www.wpbeginner.com
Using Custom Css Plugin
First, go to your WordPress dashboard. Click on the “Plugins” option. Then click on “Add New.” In the search bar, type “Custom CSS.” Several plugins will appear. Choose a plugin with good reviews. Click on the “Install Now” button. After installation, click on “Activate.” Now, the plugin is ready to use.
Go back to your dashboard. Look for the “Appearance” tab. Click on it. Then select “Custom CSS.” A new window will open. Here, you can add your CSS code. To change menu color, type: nav { background-color: #yourcolorcode; }. Replace #yourcolorcode with your color code. Click on “Save Changes” to update. Now, your menu will have a new color.
Previewing Changes
Make sure to save your work often. It helps to see changes instantly. Use the preview button to check your design. See how the menu looks. If you like it, keep the changes. If not, try again. Adjust colors until it fits your style. Always remember to save after each change. This avoids losing your progress. Real-time preview helps in making quick decisions.
Sometimes, changes don’t appear. Check your browser cache. Clear it often. This helps in seeing new changes. If the menu color is wrong, check your code. Look for mistakes. Correct them quickly. If problems persist, ask for help. Use forums or guides. Many people face similar issues. Solutions are often simple. Just be patient and thorough.
Finalizing Customizations
Changing the navigation menu color in the WordPress Twenty-Ten theme is simple. Access the theme’s style. css file in Appearance, then customize the color code under the navigation section. Save changes to see the new menu color instantly.
Ensuring Cross-browser Compatibility
Browsers display colors differently. Test your site on all major browsers. Check if the menu color looks the same on each one. This helps give users a consistent experience. Use tools like BrowserStack for testing. Ensuring uniformity is key for user satisfaction. Troubleshoot any differences you find. Make adjustments to CSS if needed.
Backing Up Theme Files
Before making changes, save your theme files. This prevents loss of your original settings. To back up, go to your WordPress dashboard. Use the “Export” option under “Tools”. Save the files to your computer. Consider using a backup plugin for safety. Plugins like UpdraftPlus make backups easy. Restore your theme if anything goes wrong. This step ensures you don’t lose your work.

Credit: www.youtube.com
Frequently Asked Questions
How Do I Change Menu Color In Twenty-ten?
To change the menu color in the Twenty-Ten theme, navigate to Appearance > Customize. Then, go to Additional CSS and add your custom CSS code to modify the navigation menu color.
Can I Use A Plugin To Change Menu Color?
Yes, you can use plugins like Simple Custom CSS. These plugins allow you to easily add custom CSS to change the navigation menu color in the Twenty-Ten theme.
Is Custom Css Needed For Menu Color Change?
Yes, custom CSS is often required to change the navigation menu color in the Twenty-Ten theme. This method allows for specific customization without altering the theme’s core files.
Where Do I Add Custom Css In WordPress?
Add custom CSS by navigating to Appearance > Customize. Then, select Additional CSS. Here, you can input your CSS code to change the navigation menu color in the Twenty-Ten theme.
Conclusion
Changing the navigation menu color in the Twenty-Ten theme is simple. Follow the steps to customize your WordPress site easily. A personalized menu color can enhance your website’s appearance. It helps reflect your brand’s identity. With these tips, you can achieve a professional look.
No need for advanced coding skills. Just a few adjustments, and your site looks fresh. Experiment with colors to find what suits you best. Keep your site engaging and visually appealing. This small change can make a big impact. Customize your WordPress theme effortlessly and enjoy your new design.


