
Are you struggling to change the language in your WordPress theme? You’re not alone.
Navigating language settings can feel like decoding a complex puzzle, especially when all you want is a seamless user experience for your visitors. Imagine being able to speak directly to your audience in their preferred language. This not only enhances user engagement but also builds trust and connection.
In this guide, you’ll discover step-by-step how to tweak these settings effortlessly. With a few simple clicks, you can transform your website into a multilingual haven, ensuring that your message reaches a wider audience. Ready to make your website more inclusive and accessible? Let’s dive in and unlock the full potential of your WordPress theme!
Credit: blog.templatetoaster.com
Language Settings In WordPress
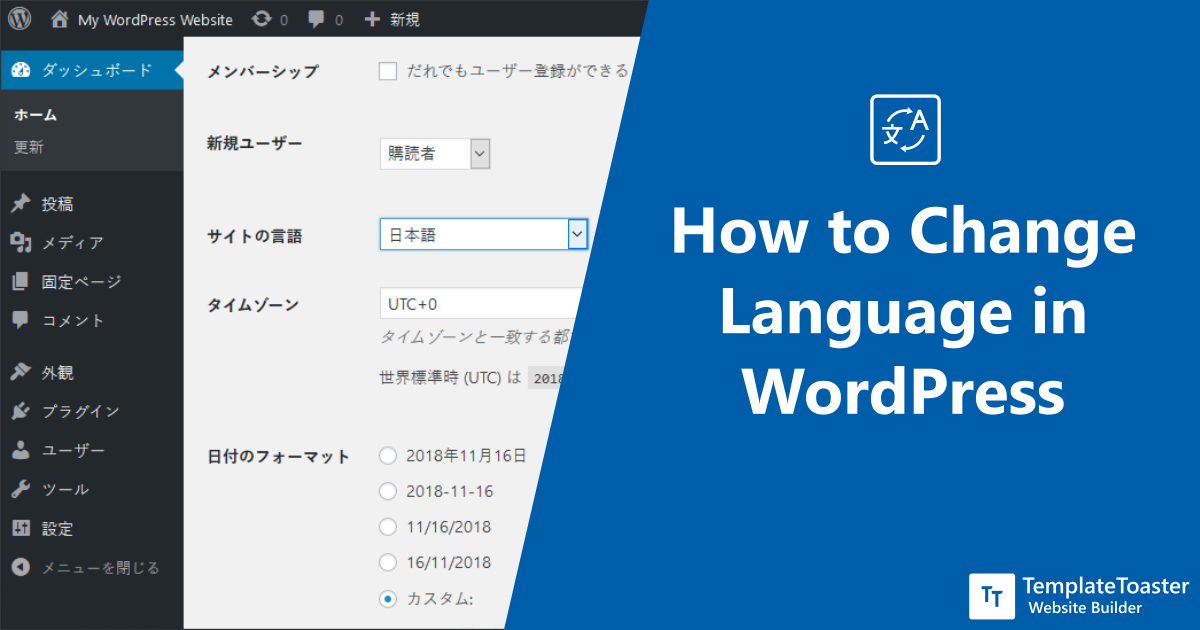
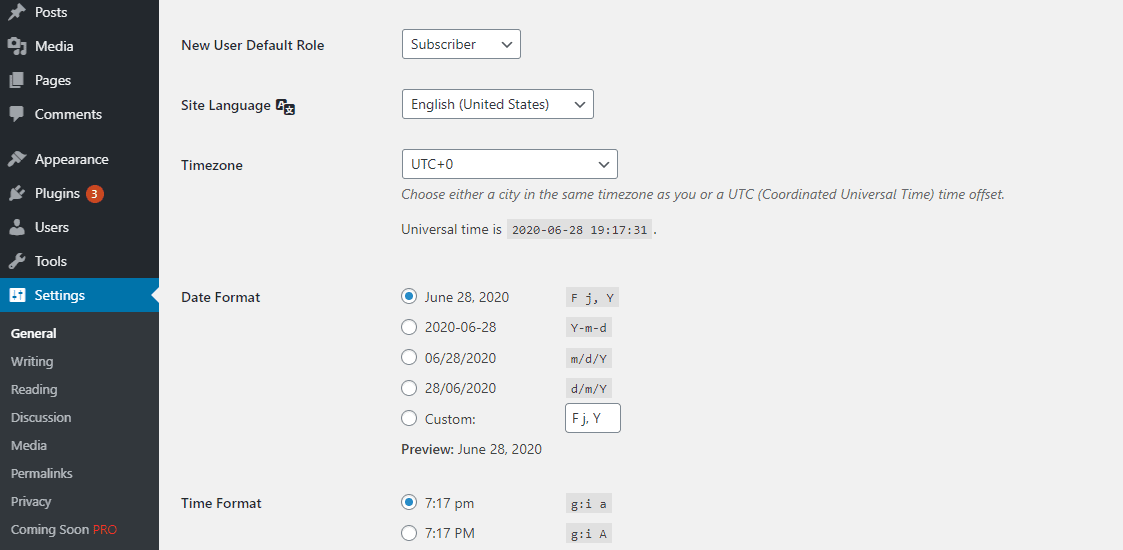
WordPress makes changing the site language easy. First, go to your dashboard. Find the Settings menu on the left side. Click on it. Next, click General. Here, you can see the language option. Choose your desired language from the dropdown menu. Don’t forget to click Save Changes at the bottom. Your site will now display in the chosen language.
Some themes might not support all languages. In such cases, check the theme’s documentation. It may offer specific instructions. Alternatively, use plugins for better language support. Plugins like Polylang or WPML can help. These plugins make your site multilingual. This allows visitors to choose their preferred language easily.
Credit: www.navthemes.com
Choosing A Multilingual Theme
Picking a theme with language options is important. Some themes support many languages. Others might not. Check the theme description first. Look for “multilingual” or “translation-ready” words. These themes work well with language plugins. Plugins like WPML or Polylang are good choices. They help translate your site. A theme should be easy to use. Simple settings make changes quick. You want a theme that updates often. Regular updates fix bugs and add new features. Read reviews from other users. They share their experiences. Good reviews mean the theme works well. Bad reviews might mean problems. Choose wisely.
Using WordPress Dashboard
First, log in to your WordPress dashboard. You will see many options. Look for Settings on the left menu. Click on it to open more choices. You should find General Settings. Click on it. Now, you can change many things about your site here. But for language, focus on one thing.
In General Settings, scroll down. You will see Site Language. This is where you change the language. Click the dropdown menu. Choose the language you want. After selecting, go to the bottom. Click Save Changes. Your site will now use the new language. Easy, right?
Installing Language Plugins
There are several plugins to change the language in WordPress. Some popular ones include Polylang and WPML. These plugins are easy to use. They help make your site multilingual. Choose the one that fits your needs.
First, go to your WordPress dashboard. Click on Plugins and then Add New. In the search box, type the plugin name. For example, “Polylang” or “WPML”. Click on Install Now next to the plugin. After that, click on Activate. Your plugin is now ready to use.
Configuring Language Plugins
Choose a language plugin from the WordPress store. Popular options include Polylang and WPML. Install the plugin and activate it. Go to the plugin settings. Add the languages you want for your site. Set the default language. Save your changes.
Language switchers help users change languages easily. Find the language switcher option in your plugin settings. Select the style you like. Some plugins offer dropdown menus. Others use flags or buttons. Drag and drop the switcher to your site menu. Test the switcher to ensure it works properly. Make sure it is visible to users.
Translating Theme Content
Use WordPress translation plugins to change theme language. Plugins like Poedit or Loco Translate help. They allow you to edit theme files. Download the theme’s .po file. Open it in the plugin. Translate each line. Save changes. Upload the new file to your site. Check your site. Ensure translations appear correctly. Manual translation is precise. But it takes time. It’s great for small sites.
Try automatic translation tools for faster results. Plugins like Google Language Translator can help. They translate themes quickly. These tools are easy to use. Add a widget to your site. Visitors can select their language. Automatic tools are fast. But translations may not be perfect. Best for large sites with many languages. Always review translations for accuracy.
Adjusting Theme Files
WordPress uses .po and .mo files for language changes. These files contain text strings for translation. Use a tool like Poedit to edit them. Open the .po file in Poedit. Change the English text to your language. Save the changes. This creates a new .mo file. Upload the new .mo file to your theme folder. Your site language will change.
Loco Translate is a popular plugin for language change. Install and activate it from the WordPress dashboard. Go to Loco Translate in the menu. Select your theme. Click on “New Language”. Choose your desired language. Translate the text strings. Save your changes. Your theme will now show in the new language.
Credit: blog.templatetoaster.com
Testing Language Changes
Previewing your site in different languages helps you see changes clearly. Check if the content displays as expected. Make sure menus and buttons are translated correctly. Look at the homepage and other pages. Every page should be checked. This ensures consistency across the site. If something looks wrong, fix it right away. Use tools to help with translation if needed. Always verify the appearance after changes.
Ensuring consistency across pages is very important. Every page must look the same. Headers, footers, and sidebars should match in all languages. Check for missing translations on each page. Make sure images and videos are in the right place. Consistent design makes the site look professional. People will find it easier to use. Regular checks help keep it all right.
Common Issues And Fixes
Language errors can be tricky in WordPress themes. Often, users face problems with language files not loading correctly. To fix this, make sure your language files are in the right folder. Check if the file names match your language code. Sometimes, themes have hardcoded text strings. This means text won’t change even with language files. To solve this, use a plugin like Loco Translate to edit these strings. Always update your theme to the latest version. This can fix many language errors.
Troubleshooting Language Errors
Language errors are common in WordPress themes. Check if your theme supports multiple languages. If not, use a translation plugin. Make sure language files are in the correct folder. Check file names; they should match your language code. Hardcoded text can cause problems. Use Loco Translate to change text strings. Always keep your WordPress updated. This helps avoid language errors.
Updating Theme Compatibility
Compatibility issues can affect language settings. Always update your theme. New updates fix bugs and add language support. Check if your theme is compatible with translation plugins. Plugins like WPML or Polylang are useful. If your theme does not support these, consider switching to a more compatible theme. Regular updates improve performance and language compatibility.
Frequently Asked Questions
How Do I Change Language In WordPress Theme?
To change the language in WordPress, go to the dashboard. Navigate to Settings, then General. Select your preferred language from the Site Language dropdown. Save changes to update your theme’s language. Some themes may require additional language files for complete translation.
Can I Use Plugins For Language Change?
Yes, plugins like WPML or Polylang can help. They offer simple interfaces to translate your site. These plugins allow you to customize language settings and improve multilingual support. Ensure your theme is compatible with the chosen plugin.
Does Changing Language Affect Seo?
Changing language can impact SEO. Ensure translations are accurate and relevant. Use hreflang tags to indicate language versions. Proper language settings can enhance user experience and improve search engine rankings. Maintain consistent content quality in all languages.
Are All WordPress Themes Multilingual?
Not all themes are multilingual-ready. Check theme documentation for language support. Some themes come with language files. If not, you may need plugins or custom solutions. Always choose themes that support your language needs.
Conclusion
Changing the language in your WordPress theme is straightforward. Follow the steps, and your site will speak your language. Start by accessing the WordPress dashboard. Use the language settings to pick your preferred language. Ensure the theme supports the language you choose.
Always check for updates in theme settings. This enhances compatibility. Now, your WordPress site can connect better with your audience. Easy language adjustments can make a huge difference. Keep your site inclusive and accessible. Remember, small changes can improve user experience significantly.
Happy blogging with your newly customized language settings!


