
Are you tired of seeing the same old header every time you visit your WordPress site? Does it feel like your website isn’t quite reflecting your brand’s personality?
You’re not alone. Many WordPress users face the challenge of customizing their sites, especially when using a premade theme. But here’s the good news: changing your header is simpler than you might think, and doing so can breathe new life into your website.
Imagine the impact of a well-designed header. It’s often the first thing your visitors see. A captivating header can grab attention, convey your brand message, and keep people exploring your site. In this guide, you’ll discover easy, step-by-step instructions to update your WordPress theme’s header. Whether you’re looking to change the logo, adjust the menu, or tweak the design, you’ll find everything you need right here. Let’s dive in and transform your website’s look to reflect your unique style and vision. Keep reading to unlock the full potential of your WordPress header!
Choosing The Right Theme
Some themes allow you to change headers easily. Others may have limited options. Check if the theme has a customizer tool. This tool lets you make changes without coding. Look for themes that offer live previews. These previews show changes instantly. You can see how your header will look.
Not all themes work well with plugins. Some themes might break if you install new plugins. Always check if your theme is compatible with popular plugins. This ensures your site runs smoothly. Pick a theme that is updated regularly. Regular updates keep your theme safe and fast.
Accessing Theme Settings
Begin by logging into your WordPress Dashboard. Find the left menu. Look for Appearance. Click on it. Then select Customizer. This opens the theme settings. You are now in the right place. The dashboard is simple. You can see many options. Each option is for a different setting.
The theme customizer is key. It helps you change things. You can edit your site. Your header, colors, and fonts. To find it, go to Appearance. Choose Customizer. It’s easy to use. It shows changes live. You see your site update. Make sure to save your work. Click the Publish button. Now your header looks new.
Customizing The Header
Open your WordPress dashboard. Find the Appearance menu. Click on Customize. This opens the theme customizer. Look for the Header section. Here, you can change the text. You can also upload a new logo. Make sure the logo fits. It should not be too big. Click Publish to save changes.
In the customizer, look for layout options. You can move the logo. Change its position. Try different alignments. Left, right, or center. You can also change colors. Choose a background color. Make sure it matches your theme. Explore font options. Pick a font that is easy to read.
Save all changes. Click Publish again. Now, your header looks new. It matches your style.
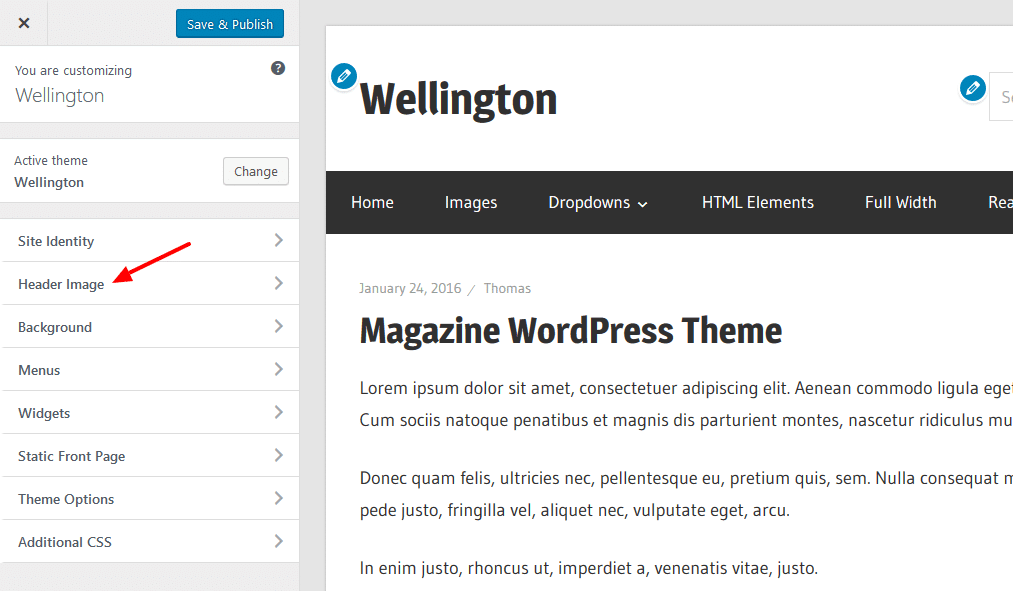
Credit: themezee.com
Using Custom Css
To change a header in a WordPress theme, use Custom CSS. First, find the right CSS class or ID for your header. Open your WordPress dashboard. Go to Appearance and then click on Customize. Look for the Additional CSS option. Click on it. A box appears where you can type your CSS code. Type your new CSS rules here.
To target header elements, use the correct selector. A selector is a code word that tells CSS what to style. Use .header-class if the header has a class. Use #header-id if it has an ID. Write the CSS rules inside curly brackets. Use font-size to change text size. Use color to change text color. Check your changes on the website.
Installing Header Plugins
Choosing the right plugin is important. Explore plugins that offer easy customization. Some plugins allow you to edit header size. Others let you change header colors. Look for plugins with user-friendly interfaces. Some plugins are free, while others need payment. Read reviews before installing. Reviews help in choosing the best option. Check if the plugin works with your theme. Not all plugins fit every theme. Compatibility is key for smooth operation.
Exploring Header Plugin Options
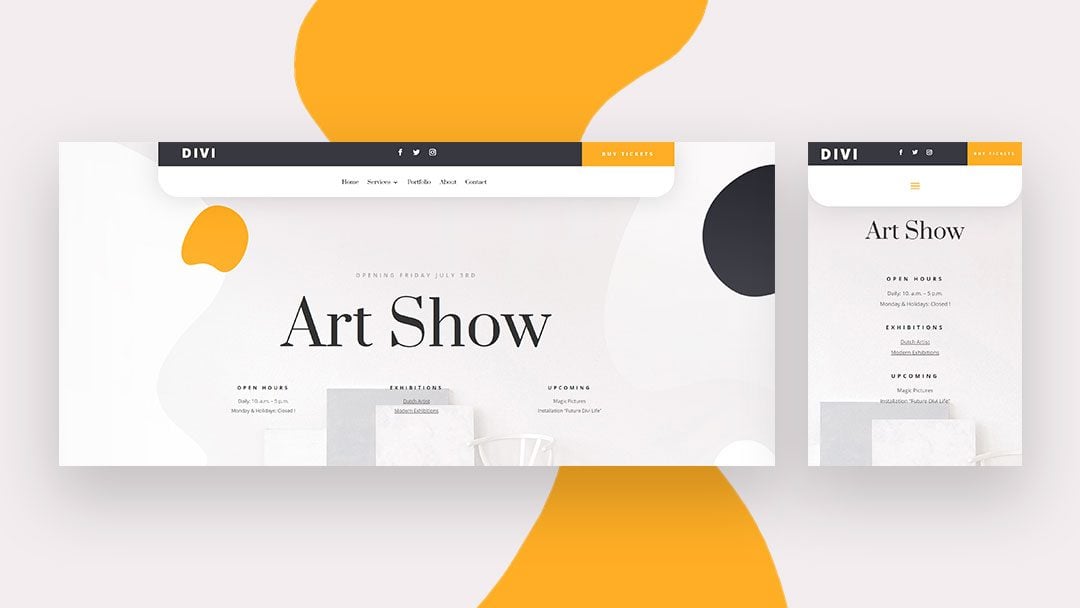
Many plugins offer different features. Some plugins include drag-and-drop options. This makes editing simple and quick. Others have pre-designed templates. Templates save time and effort. Choose plugins with responsive designs. A responsive design looks good on any device. Test plugins before final use. Testing ensures everything works well.
Integrating Plugins With Your Theme
Integration is a crucial step. Some plugins need extra steps to integrate. Follow instructions to connect plugins with themes. Most plugins provide guides. Guides make integration easy. Update plugins regularly. Updates fix bugs and improve features. Ensure theme supports plugin updates. Backup your site before changes. Backups protect your data.
Credit: www.elegantthemes.com
Testing Header Changes
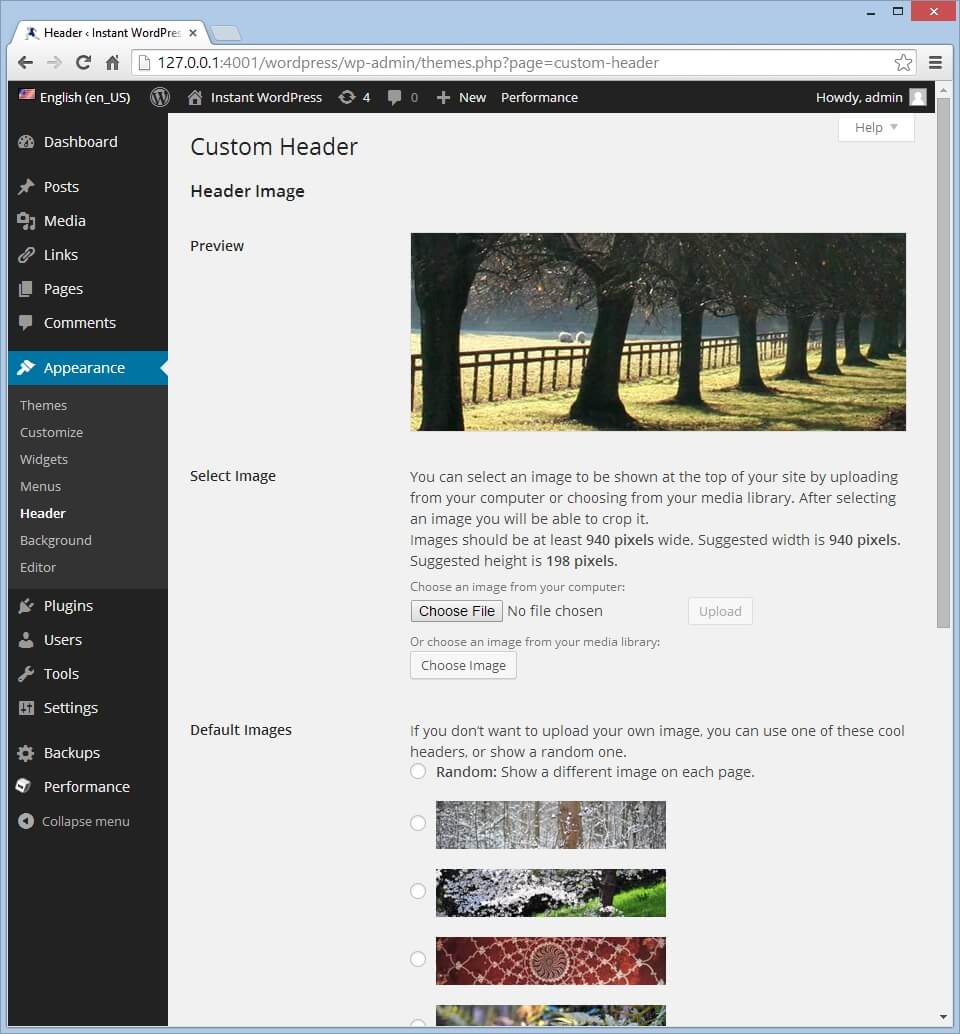
Change your header in a premade WordPress theme easily. Access the dashboard, go to ‘Appearance’, then ‘Header’. Customize the design to fit your style. Adjust colors, fonts, and images with just a few clicks. Make sure to preview changes before saving.
Previewing On Different Devices
Use a responsive design checker to see your header. Make sure it looks good on phones and tablets. Adjust the layout if needed. Your header must fit all screens. This way, users can see it clearly. Responsive design is important. It keeps users happy.
Ensuring Cross-browser Compatibility
Open your website in different browsers. Check if the header looks the same. Popular browsers include Chrome, Safari, Firefox, and Edge. Sometimes, headers may look different. This can confuse users. Fix any issues you find. Use browser developer tools to help. Consistent headers make your site look professional.
Troubleshooting Common Issues
Changing a header in a premade WordPress theme often causes confusion. Start by accessing the WordPress dashboard. Navigate to the ‘Appearance’ section and select ‘Customize’. Here, you can adjust the header settings. Save changes to see the update on your site.
Resolving Layout Problems
Layout problems can be frustrating. They make your website look messy. A common issue is elements not aligning. Check your theme settings first. Many themes have layout options. Adjust these settings. Another reason could be custom CSS. Look for any incorrect code there. Fix the errors. Preview the changes. Sometimes, widgets can cause layout problems. Remove or rearrange them. See if that helps. Always clear your browser cache. It shows the latest changes. If problems persist, contact theme support. They can provide guidance.
Addressing Plugin Conflicts
Plugins can sometimes clash with themes. This leads to errors. Deactivate all plugins first. Reactivate them one by one. Check your site after each activation. This helps find the conflicting plugin. Disable the problematic one. Look for alternatives if needed. Always update plugins regularly. Older versions might not work well. Use plugins from trusted sources. Read reviews before installing. Some plugins have settings that interfere. Check and adjust these settings. Keep your theme and plugins compatible. This ensures smooth functioning.
Maintaining Theme Updates
Updating Without Losing Customizations is very important. First, make a list of your changes. This helps in tracking. Use a child theme for custom changes. It keeps your edits safe. A child theme does not erase when you update. Remember to update plugins too. They help your theme work better. Always check for new versions.
Backing Up Your WordPress Site is a must. It protects your data. Use a backup plugin. Some are free, others cost money. Back up your site before making changes. Store your backup in a safe place. This could be the cloud or your computer. Backing up ensures you don’t lose your work. Regular backups are a good habit.
Credit: www.theblogstarter.com
Frequently Asked Questions
How Can I Change My Theme Header?
To change your theme header, access the WordPress dashboard. Navigate to “Appearance” and select “Customize. ” Look for the “Header” section. Here, you can modify elements such as logo, background, and text. Save changes once you’re satisfied with the new header design.
Can I Customize Header Text In WordPress?
Yes, you can customize header text in WordPress. Go to the WordPress dashboard, click “Appearance,” and choose “Customize. ” Find the “Header” section and edit the text there. Make sure to save your changes to update the header text.
Is It Possible To Add A Logo In The Header?
Adding a logo in the header is possible in WordPress. Navigate to “Appearance” in your dashboard and select “Customize. ” Locate the “Header” section, upload your logo image, and adjust its size and placement. Save your changes to apply the new logo.
How Do I Change Header Background Color?
To change header background color, go to “Appearance” and select “Customize. ” Find the “Header” section and choose the background color option. Pick your desired color from the palette and save your changes to update the header background.
Conclusion
Changing your header in a WordPress theme is easy. Follow the steps. Customize the look to fit your brand. Explore different design options. Use theme settings for quick changes. Check your work. Preview before saving changes. Mistakes can happen. Always have a backup.
Practice makes perfect. Experiment with different styles. Don’t fear trying new things. Your header defines your website. Make it unique. Stand out from the crowd. Keep your audience in mind. Focus on clarity and simplicity. Visitors appreciate a clean design.
A well-crafted header boosts engagement. Now go and create your perfect header!


