
Are you struggling to get your WordPress website to look just right? One crucial aspect that many overlook is the photo cover.
It’s the first thing your visitors see, and it sets the tone for your entire site. You want it to be perfect, but figuring out how to adjust it can be a headache. Don’t worry, you’re not alone, and you’ve come to the right place.
This guide will walk you through the steps to adjust your photo cover in a WordPress theme effortlessly. Imagine having a website that immediately captures your audience’s attention and conveys your message clearly. By mastering this simple yet impactful tweak, you can elevate your site’s visual appeal instantly. Ready to transform your website and make a lasting impression? Let’s dive in and unlock the secrets to a standout photo cover.
Selecting The Right Theme
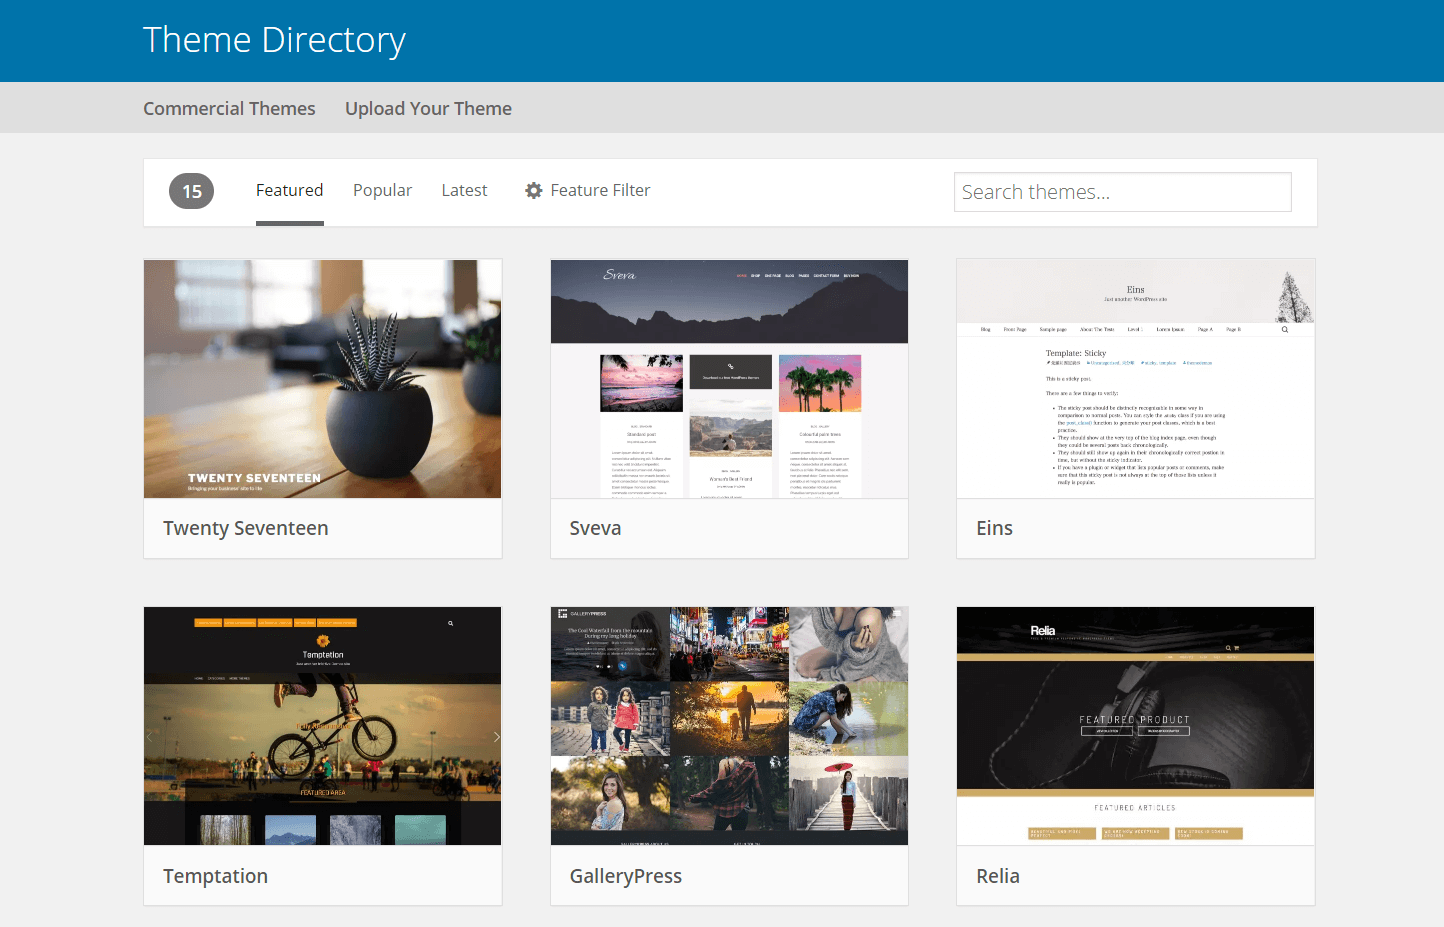
Choosing a WordPress theme is fun. Not all themes work with photo covers. Theme compatibility is crucial. Some themes might not show your photo right. This can make your site look bad. Always check if the theme supports photo covers. Read the theme description. Look for user reviews. These help in knowing if others had issues.
Responsive design considerations are important too. A theme should look good on phones and computers. Many people use phones to browse. If your photo cover looks bad on a phone, people might leave your site. Test the theme on different devices. Make sure your photo looks great everywhere. A good theme makes your site look neat and professional.
Credit: wpengine.com
Accessing The WordPress Dashboard
First, open your browser. Type your website address. Add “/wp-admin” at the end. Press enter. You will see the login page. Enter your username. Type your password. Press the login button. Now, you are in the WordPress Dashboard.
Look for the Appearance option. It is on the left side. Click on it. You will see different options. Choose the Customize option. Here you can change many things. Look for the Header or Cover Photo option. Click on it to adjust your photo.
Customizing The Header Image
Start by opening your WordPress dashboard. Find the Appearance tab on the left. Click it. Then, select Customize. Look for the Header Image option. Click on Add New Image. Choose a photo from your computer. Make sure the photo is clear. Photos should be in JPG or PNG format. Upload the photo. WordPress will show a preview. Happy with the photo? Click Save & Publish. Your new header photo is now live!
Open the Media Library. Find the photo you uploaded. Click on it. Look for the Edit Image button. You can see the dimensions there. Adjust the width and height. Make sure it fits your theme. Too large? It might look blurry. Too small? It might not cover the space. Keep adjusting until it looks right. Save the changes. The photo now fits perfectly!

Credit: www.wp4toastmasters.com
Using Theme Customizer
Open your WordPress dashboard. Look for the Appearance option in the menu. Click on it. A drop-down menu will appear. Choose Customize. This will open the Theme Customizer. It is a powerful tool. You can change many things here. This includes your photo cover.
In the Theme Customizer, find the Header Image section. It is usually on the left side. Click on it to open. You will see options for adding or changing images. Upload a new image if you want. Or choose one from the media library. Adjust its position if needed. Save changes before exiting. This ensures your photo cover looks good.
Adjusting Image Position
Centering a photo cover can make it look nice. To do this, find the customize option in WordPress. Look for the image settings. Choose center for your image position. This will align your photo in the middle. It helps with balance. Visitors will find it easy to see. A centered image is neat. It looks good on all devices. Try it and see the change.
Photos must match the theme layout. This makes the website look better. Check your theme’s layout options. Align the photo with the content. It should blend in with the text. Use the preview feature in WordPress. This helps you see the result. Adjust if needed. Good alignment is key. It keeps the design tidy.
Utilizing Plugins For Enhanced Control
Many plugins help with header images. They make it easy. Header Image Plugin is popular. It lets you change images quickly. Smart Slider 3 is another choice. It adds slideshows to headers. WP Header Images gives more control. You can set different images for pages. These plugins are easy to use. They make photos look better.
Find a plugin you like. Go to your dashboard. Click on “Plugins“. Choose “Add New“. Search for your plugin. Click “Install“. Wait a bit. After installing, click “Activate“. Your plugin is ready. Now, change your photo covers easily.
Testing Across Devices
Phones and tablets show websites differently. It’s important for your photo covers to look good on small screens. Use tools to see how your site looks on different devices. Adjust the photo size so it fits well. Responsive design is key. It helps your photos adjust automatically. This makes your site look good on all devices.
Different browsers can show your website differently. Test your photo covers in Chrome, Firefox, and Safari. Make sure they look good everywhere. Use browser tools to check this. If issues appear, fix them right away. Code can sometimes act differently in various browsers. Consistent design is important for a good user experience. Users should enjoy your site in any browser.

Credit: www.wpzoom.com
Troubleshooting Common Issues
Sometimes, images just won’t show up. First, check if the image file exists. Make sure the file name is correct. Sometimes, even a small mistake in the name can cause problems. Ensure the image is uploaded to the media library. If not, upload it again. Verify the theme settings. Some themes have special image settings. Check if these are correct. Double-check the image URL. It should match the file location. Also, check browser settings. Disable any ad blockers that might block images.
Blurry images can be frustrating. Ensure the original image is high quality. Always upload images in their original size. Check if WordPress is resizing them. WordPress sometimes compresses images. This can lower quality. Use image editing tools. These can sharpen and enhance images. Check your theme. Some themes resize images automatically. Adjust these settings if needed. Consider using plugins. Some plugins help improve image quality. They provide better compression options.
Frequently Asked Questions
How Do I Change The Cover Photo In WordPress?
To change the cover photo, go to your WordPress dashboard. Navigate to Appearance, then Customize. Select the Header Image or Cover Photo option. Upload your desired image from your computer. Save your changes. The new cover photo will now be displayed on your site.
Can I Use Any Image As A Cover Photo?
Yes, you can use any image as your cover photo. However, ensure the image is high quality and the correct size. This ensures it looks professional and fits your theme’s layout. Avoid copyrighted images unless you have permission to use them.
Why Is My WordPress Cover Photo Blurry?
A blurry cover photo may be due to incorrect dimensions or low resolution. Check your theme’s recommended image size. Ensure your image matches these dimensions. Upload a high-resolution version of the image. This should resolve any blurriness issues you are experiencing.
What Is The Ideal Size For A WordPress Cover Photo?
The ideal cover photo size depends on your theme. Generally, a width of 1200 pixels and a height of 675 pixels works well. Check your theme documentation for specific recommendations. Using the correct size ensures your cover photo displays correctly and looks professional.
Conclusion
Adjusting photo covers in WordPress themes is straightforward. Start by accessing your theme settings. Customize images for a fresh look. Choose high-quality pictures that fit your site’s mood. Use WordPress tools for easy editing. Experiment with different designs. Test on various devices to ensure responsiveness.
Stay creative and maintain consistency. Keep your audience engaged with visual appeal. Regular updates keep your site dynamic. Learning this skill enhances your site’s aesthetics. Practice leads to improvement. Enjoy the process of customizing your WordPress theme. Your site reflects your unique style.


