
Want your WordPress site to stand out with a unique look? Adding your own font can give your website a fresh, personal touch that grabs attention and keeps visitors engaged.
But maybe you’re unsure where to start or worried it might be too technical. Don’t worry—you’re in the right place. This guide will walk you through simple steps to add your own font to WordPress, even if you’re not a tech expert.
By the end, you’ll have the tools to make your site truly yours. Ready to make your website unforgettable? Let’s dive in!
Choosing The Right Font
Choosing the right font is key to making your WordPress site look good. The font sets the mood and helps visitors read your content easily. Picking a font that fits your site’s style and purpose makes a big difference. Consider the font’s look, readability, and how it matches your brand. Also, think about how it works on different devices.
Font Types And Formats
Fonts come in different types like serif, sans-serif, and script. Serif fonts have small lines at the ends of letters. They look classic and formal. Sans-serif fonts are clean and modern. Script fonts look like handwriting and add a personal touch.
Font files use formats such as TTF, OTF, WOFF, and WOFF2. TTF and OTF are common for desktop use. WOFF and WOFF2 are made for the web. WOFF2 is faster and better for website loading speed.
Where To Find Free And Premium Fonts
Many websites offer free fonts for personal and commercial use. Google Fonts is a popular place with many choices. Other free sources include Font Squirrel and DaFont. Premium fonts come from sites like Adobe Fonts and MyFonts. Premium fonts often have better design and support.
Licensing And Usage Rights
Fonts come with licenses that say how you can use them. Some fonts are free for personal use only. Others allow commercial use. Read the license carefully to avoid legal issues. Using fonts without permission can cause trouble. Always check if the font allows web embedding and modification.
Credit: www.hostinger.com
Preparing Your Font Files
Preparing your font files is the first step to add custom fonts to WordPress. Proper preparation ensures your fonts work well across all browsers and devices. It also helps keep your website fast and smooth. This section guides you on how to prepare your font files correctly for WordPress.
Converting Fonts To Web-friendly Formats
Fonts come in many formats, but not all work on the web. Web-friendly formats like WOFF and WOFF2 are best. These formats load faster and support most browsers. Use free tools or software to convert your fonts. Upload original font files, then download them in WOFF and WOFF2 formats. This step ensures your fonts display correctly on all devices.
Organizing Font Files For Upload
Keep your font files neat and easy to find. Create a folder named “fonts” on your computer. Place all converted font files in this folder. Use clear names for each file, such as “custom-font.woff” or “custom-font.woff2.” Organizing helps avoid confusion during upload. It also speeds up the process of adding fonts to WordPress.
Uploading Fonts To WordPress
Uploading fonts to WordPress lets you use custom styles on your site. It makes your website look unique and professional. You can upload fonts in two main ways. Each way suits different users based on their comfort with tools.
Using Ftp Or File Manager
FTP and File Manager let you upload font files directly to your server. First, connect to your website using an FTP client or your hosting control panel’s File Manager.
Find the folder named wp-content/themes/your-theme or create a new folder like fonts. Upload your font files there. Supported font formats include .woff, .woff2, .ttf, and .otf.
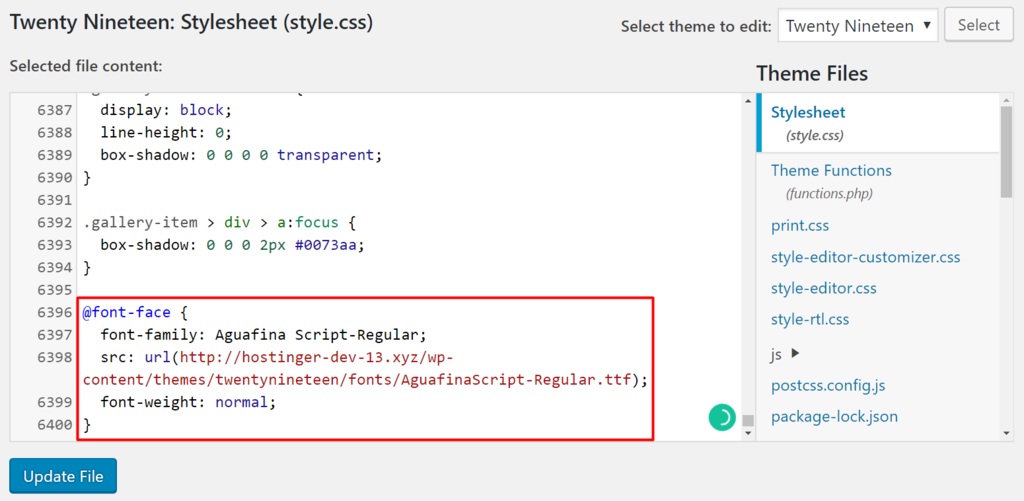
After uploading, note the file path. You need this path to add the font in your CSS file. Use the @font-face rule to link the font files to your website style.
Uploading Via WordPress Dashboard
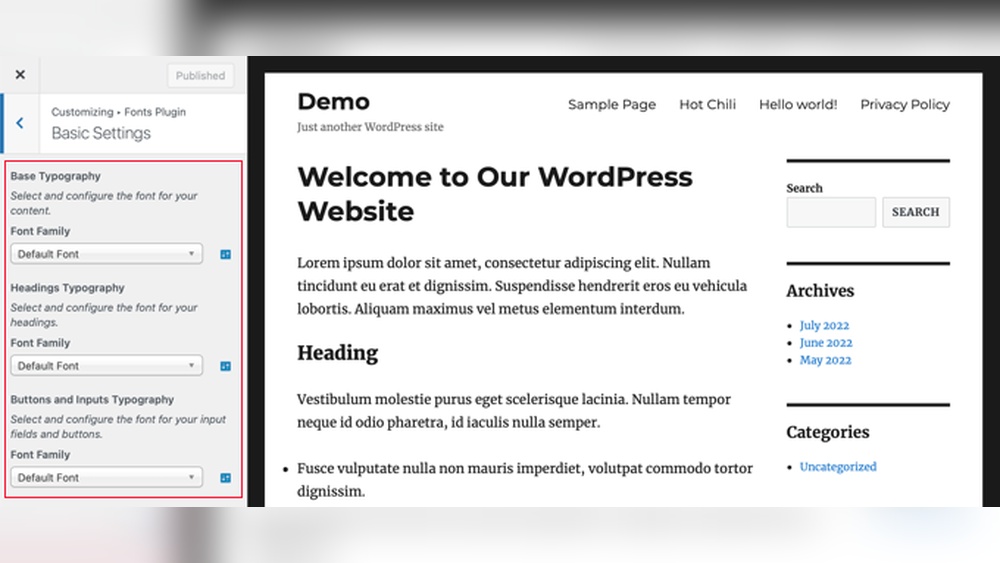
The WordPress Dashboard allows font upload using plugins. Install a plugin like “Use Any Font” or “Custom Fonts” for easy uploading.
After installing, open the plugin settings. Upload your font files in the provided area. The plugin will handle file storage and linking automatically.
This method is easier for beginners. It avoids dealing with server files and code. You can then use the fonts in your theme or page builder.
Adding Custom Fonts With Css
Adding custom fonts with CSS gives your WordPress site a unique look. It lets you use fonts that match your style. You do not need plugins for this. Just write some simple CSS code.
This method works by telling the browser where to find your font files. Then, you tell the site which text should use the new font. It is a clean and fast way to improve typography.
Writing @font-face Rules
The first step is creating the @font-face rule in your CSS file. This rule links the font files to your website. You need to upload your font files to the WordPress server first.
Here is an example of the code:
@font-face { font-family: 'MyCustomFont'; src: url('fonts/mycustomfont.woff2') format('woff2'), url('fonts/mycustomfont.woff') format('woff'); font-weight: normal; font-style: normal; } Replace MyCustomFont with your font name. Adjust the file paths to match where you stored your fonts. Include different file formats for better browser support.
Applying Fonts To Elements
After defining the font, apply it to parts of your site. Use CSS selectors to choose headings, paragraphs, or other elements. For example:
body { font-family: 'MyCustomFont', Arial, sans-serif; } This code sets the entire site text to your font. Add a fallback font like Arial for safety. You can also target specific elements:
h1, h2 { font-family: 'MyCustomFont', Georgia, serif; } This changes only the main headings. Custom fonts improve your site’s design and readability.
Using Plugins For Custom Fonts
Using plugins to add custom fonts in WordPress is a simple and safe method. Plugins handle the coding and font files for you. This way, you can focus on choosing the right style for your website. Plugins also offer easy font management and quick updates.
Many plugins support popular font formats like TTF, OTF, and WOFF. They also let you apply fonts to different parts of your site. This control helps keep your website consistent and professional.
Top Plugins For Font Uploads
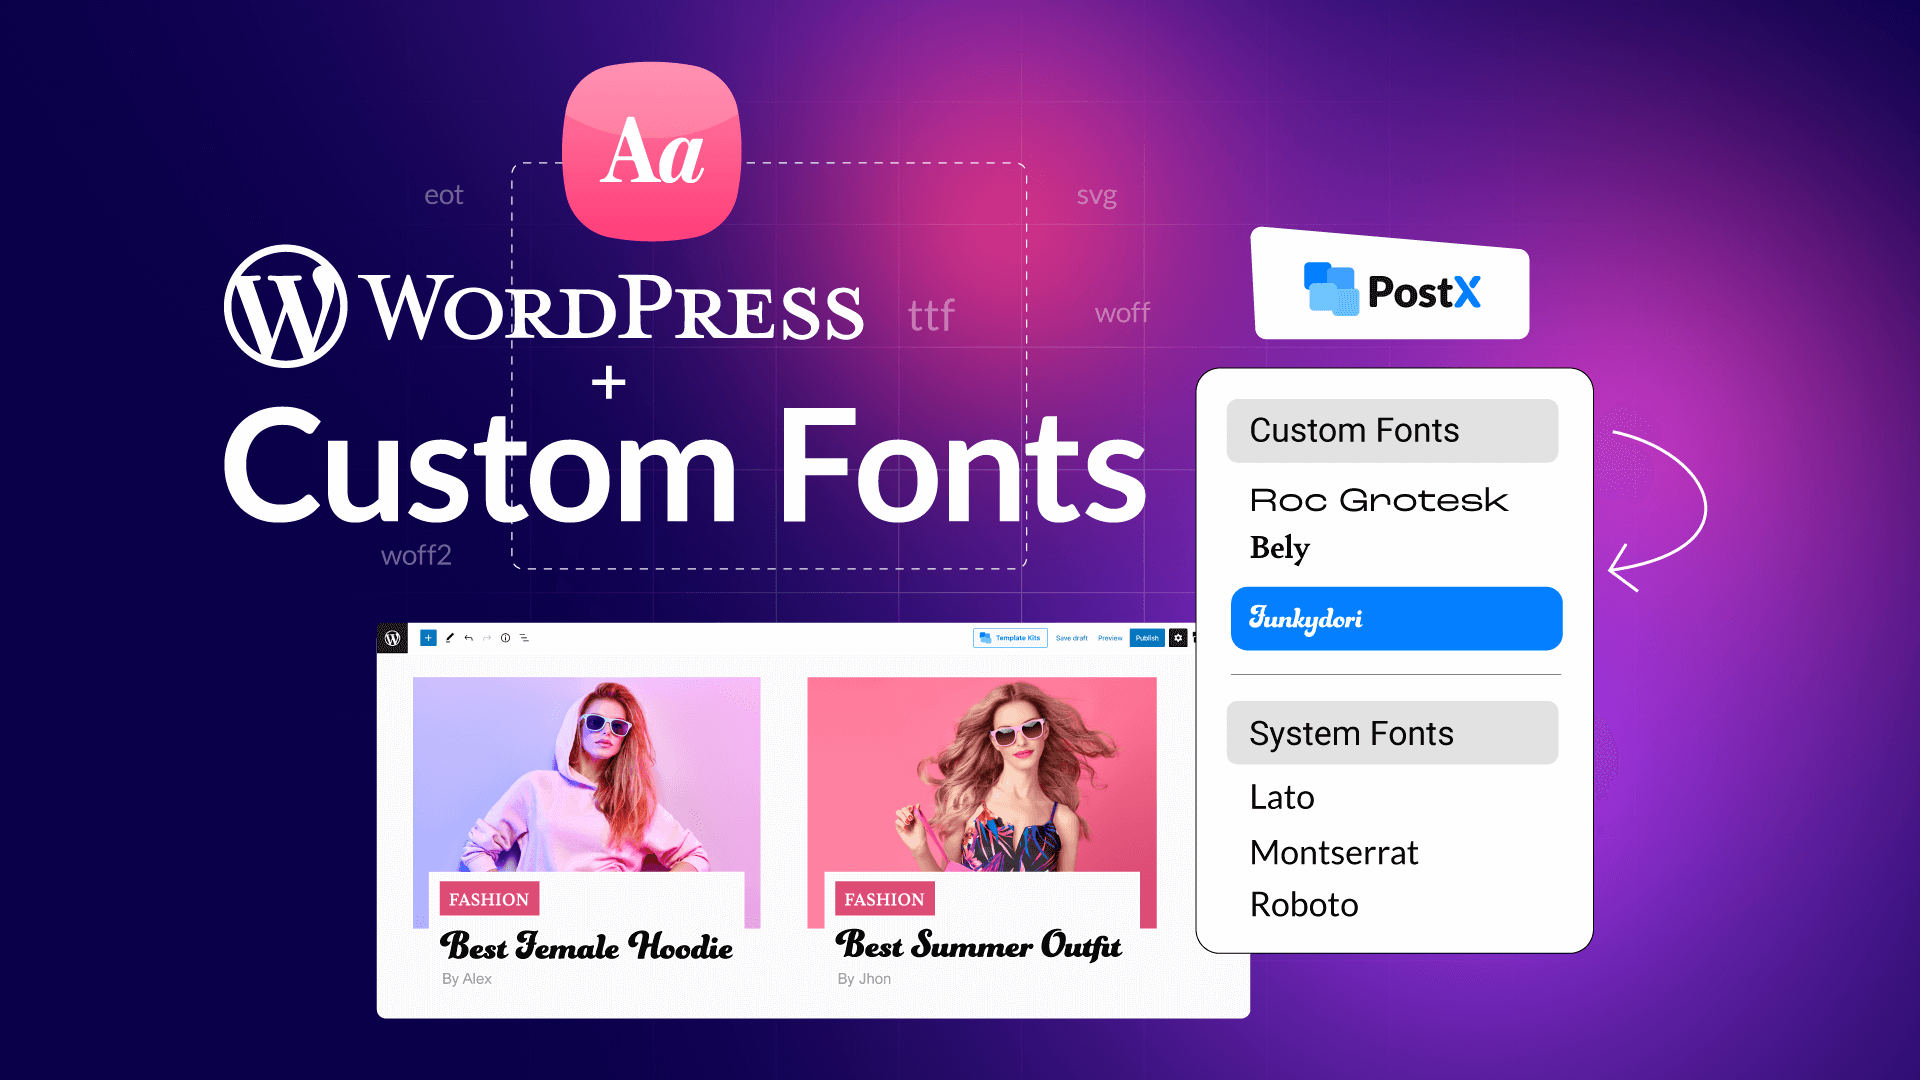
Several plugins stand out for adding custom fonts to WordPress. “Use Any Font” lets you upload fonts directly from your computer. “Custom Fonts” integrates well with many themes and page builders. “Font Organizer” offers a user-friendly dashboard to manage fonts easily.
Each plugin supports common font types and easy font application. These plugins are updated regularly and have good user reviews. Choose one that matches your site’s needs and your comfort level with WordPress.
Step-by-step Plugin Setup
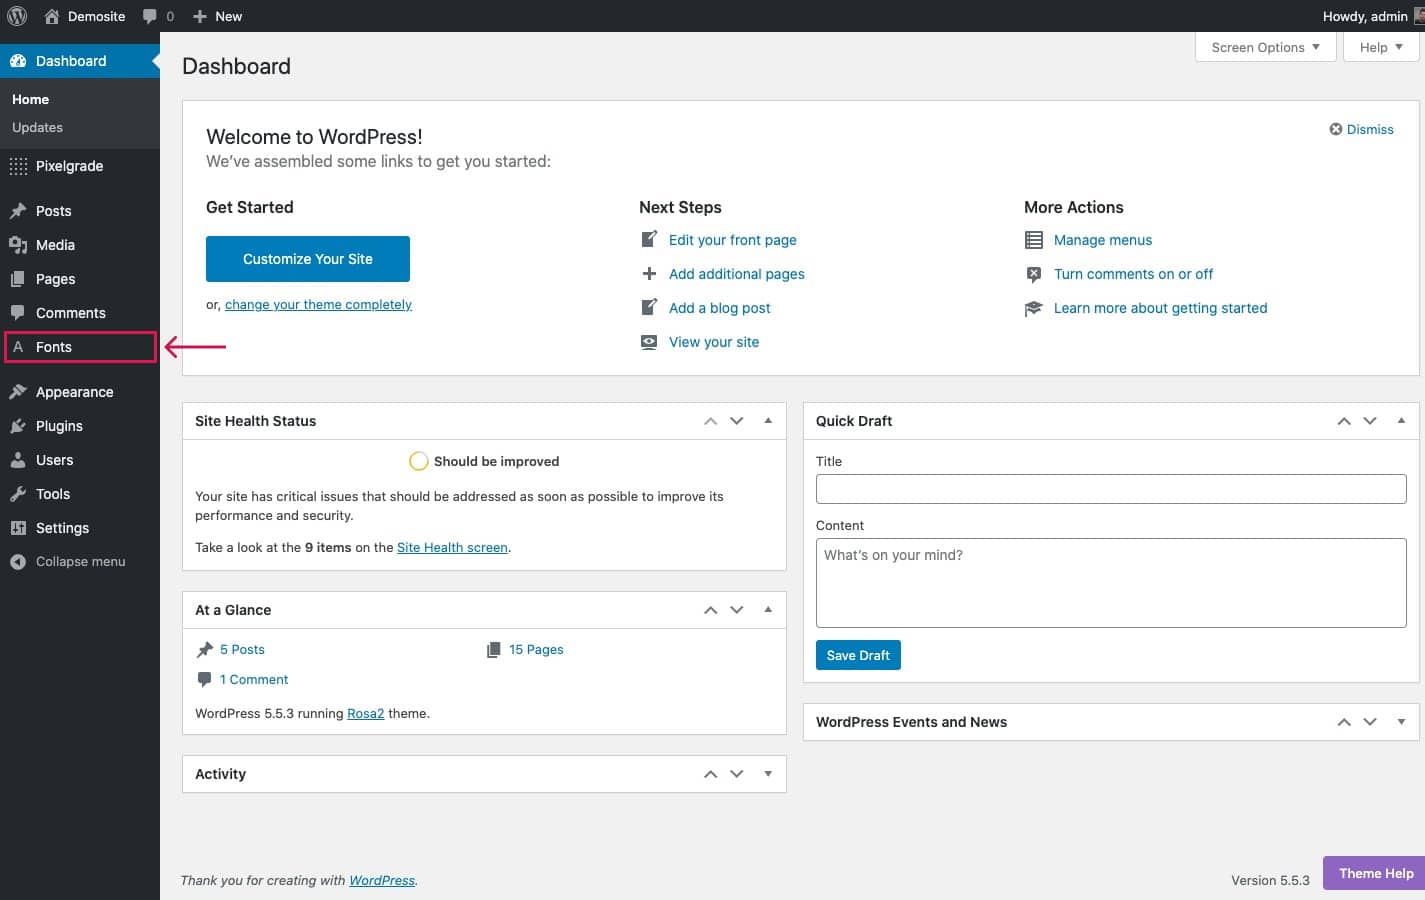
Start by installing your chosen font plugin from the WordPress plugin library. Activate the plugin after installation. Next, open the plugin’s font upload area in your dashboard.
Click the upload button and select your font file. Wait for the upload to finish. Assign a name to the font for easy identification. Save your settings before applying the font.
Go to the plugin’s font assignment section. Choose where you want the font to appear, like headings or body text. Save your changes and check your website to see the new font in action.
Credit: www.wpxpo.com
Testing Font Appearance
Testing font appearance is a key step after adding a new font to WordPress. It ensures your font looks good and reads well. This step helps avoid problems that can affect site design and user experience. Checking font display on different browsers and devices is important. This guarantees a consistent look for all visitors.
Cross-browser Compatibility
Different browsers may show fonts differently. Chrome, Firefox, Safari, and Edge can display the same font with slight variations. Test your font on each major browser to spot issues early. Look for spacing, size, and style differences. Fix these with CSS adjustments or font settings. A consistent font look builds trust and improves site professionalism.
Mobile Responsiveness
Many users visit websites on phones and tablets. Fonts should be easy to read on small screens. Test your font on various mobile devices and screen sizes. Check if the font size adjusts and remains clear. Avoid fonts that appear too thin or too bold on mobiles. Mobile-friendly fonts improve user experience and keep visitors engaged.
Troubleshooting Font Issues
Adding your own font to WordPress can sometimes cause issues. These problems can affect how your site looks and performs. Troubleshooting helps you fix these problems quickly. It also improves your site’s user experience and speed.
Common Problems And Fixes
Fonts may not appear as expected. This can happen if the font file is missing or not linked correctly. Check the font file path in your CSS. Make sure it matches the location on your server.
Some browsers might not support certain font formats. Use formats like WOFF or WOFF2 for better support. Convert your font files if needed using free online tools.
Sometimes, fonts load slowly. This delay can cause a flash of unstyled text. Use font-display: swap in your CSS to improve this. It shows a fallback font until your custom font loads.
Performance Optimization Tips
Large font files slow down your site. Compress font files before uploading. Smaller files load faster and save bandwidth.
Limit the number of font styles and weights. Using many styles increases load time. Stick to the fonts you really need.
Use a CDN to deliver fonts faster worldwide. This reduces the distance between your server and visitors. It makes your font load quicker for everyone.
Credit: pixelgrade.com
Frequently Asked Questions
How Do I Upload Custom Fonts To WordPress?
To upload custom fonts, use a plugin like “Use Any Font” or add the font files via FTP. Then, link them in your theme’s CSS for proper display.
Can I Use Google Fonts With My WordPress Site?
Yes, you can easily add Google Fonts via plugins or by manually embedding the font’s CSS in your theme’s header.
What File Formats Are Supported For WordPress Fonts?
WordPress supports TTF, OTF, WOFF, and WOFF2 font formats. WOFF and WOFF2 are preferred for web use due to better compression.
Is It Safe To Add Custom Fonts To WordPress?
Yes, adding custom fonts is safe if you use trusted plugins or properly upload font files. Always back up your site before making changes.
Conclusion
Adding your own font to WordPress makes your site unique. It helps you match your brand style easily. The steps are simple and take little time. You only need basic tools and some patience. Your website will look better and more professional.
Try different fonts to see what fits best. Keep your site easy to read for all visitors. Now, you can personalize your WordPress site with confidence.


