
Are you ready to transform the look and feel of your WordPress site without the pressure of going live immediately? Adding themes to your WordPress localhost environment is the perfect way to experiment and refine your design ideas safely.
Imagine crafting a stunning website that perfectly embodies your vision, all while having the freedom to make mistakes and learn without any risk. In this guide, you’ll discover just how simple it is to install and activate themes on WordPress localhost.
By the end, you’ll feel empowered to unleash your creativity and give your website the makeover it deserves. Stick around to unlock the secrets of seamless theme integration on your local setup.
Setting Up WordPress On Localhost
First, download and install a local server. Popular choices are XAMPP or WAMP. These tools help run WordPress on your computer. Follow the installation steps provided by the software. Once installed, open the server control panel. Ensure the Apache and MySQL services are running.
Go to the WordPress official site. Find and download the latest WordPress package. The file is usually in a zip format. Extract the zip file to your local server’s root directory. This is often named htdocs or www. This step prepares WordPress files for setup.
Open your browser and type localhost/phpmyadmin. This opens the database management page. Click on Databases at the top. Enter a name for your new database. Click the Create button. Your database is now ready for WordPress. Remember this name for later use.
Credit: wpmet.com
Accessing WordPress Dashboard
Begin with turning on your local server. Use tools like XAMPP or MAMP. Ensure the server is running. Check the control panel. Make sure Apache and MySQL are active. Without them, WordPress won’t work.
Open your web browser. Type localhost/wordpress in the address bar. This is where your site lives locally. You should see your site’s homepage. If not, check your server again. Make sure paths are correct.
Find the login page at localhost/wordpress/wp-admin. Enter your username and password. These were set during WordPress installation. Click the login button. You’ll enter the dashboard. From here, you can manage your site.
Downloading WordPress Themes
Picking the right theme source is important. Trusted sources keep your site safe. Popular sites include the WordPress repository and ThemeForest. Always check reviews before downloading. This ensures quality and safety.
Free themes are great for beginners. They cost nothing and are easy to use. Premium themes offer more features. They include updates and support. Think about your needs before choosing. Free is good for simple sites. Premium is better for advanced features.
Once you pick a theme, download the files. Make sure to save them on your computer. You will usually get a .zip file. This file is important for installation. Always download from a trusted source. This keeps your site secure.
Installing Themes Via Admin Dashboard
First, log into your WordPress dashboard. Look on the left side menu. Click on Appearance. This is where you change the look of your site. You will see a list of options. Choose Themes. This will show you all available themes.
To add a new theme, click on Add New. Then, click on Upload Theme at the top. Choose the theme file from your computer. Make sure the file is in .zip format. Click on Install Now to upload it.
After installing, a success message will appear. Click on Activate to use the new theme. Your site’s appearance will change. Check your site to see the new look.
Manual Theme Installation
Find the WordPress folder on your computer. Open it. Search for the wp-content folder. Inside, you will see a folder named themes. This is where themes live. You can add new ones here.
Download your desired theme. It should be a .zip file. Extract the files from the zip. Move the extracted folder to the themes folder. This step makes the theme ready for use. Make sure the folder is complete and not missing files.
Open your WordPress dashboard. Go to the Appearance section. Click on Themes. You will see the theme you just added. Click Activate to use it. Your site will now display the new theme.
Customizing Installed Themes
The Theme Customizer is a tool in WordPress. It helps you change how your site looks. You can find it under the Appearance menu. Choose Customize. This opens many options. You can change colors and fonts. You can also add a logo. See changes live before saving. This makes it easy to try new styles. Feel free to explore every setting.
Every theme has its own settings. Go to Appearance and click on Themes. Then choose the Theme Details option. Here, adjust different settings. Some themes offer layout changes. Others let you change the header image. Always remember to save your changes.
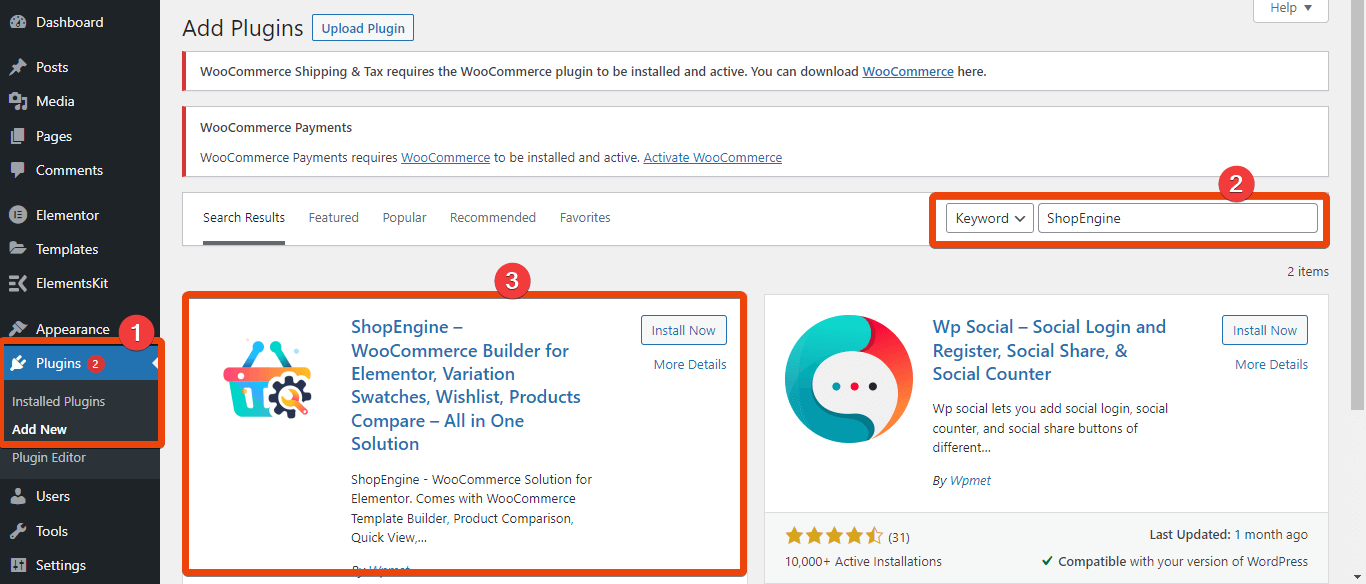
Widgets add special features to your site. Find them under Appearance and click on Widgets. Drag and drop widgets into sidebars. Plugins are like apps for your site. Go to Plugins and click Add New. Search for plugins you need. Then install and activate them. Both widgets and plugins help make your site unique. They add function and style.
Troubleshooting Common Issues
Installation can stop if files are corrupted. Check your theme files. They should be complete. Make sure you downloaded from a trusted site. Sometimes, themes need a specific WordPress version. Update WordPress if needed. Also, check your PHP settings. They might need adjustments for the theme to work.
A theme may not look right after installing. This means it could be broken. First, activate a default theme. Does the site work now? If it does, the problem is with your theme. Reinstall or choose another. Always use themes with good reviews. They are likely to work better.
Some themes do not work with certain plugins. Disable all plugins first. Then, enable them one by one. This will show the plugin causing trouble. Update both the theme and plugins regularly. Old versions might not be compatible. Always backup your site before making big changes.

Credit: cmsminds.com
Credit: www.wpzoom.com
Frequently Asked Questions
How Do I Install A Theme On Localhost?
To install a theme on localhost, first download your desired theme file. Next, access your WordPress dashboard, navigate to “Appearance” > “Themes” and click “Add New”. Upload the theme file, then activate it. This process lets you test themes locally before deploying them to your live site.
Can I Use Any Theme On Localhost?
Yes, you can use any WordPress theme on localhost. Download your theme file and upload it through the WordPress dashboard. Ensure the theme is compatible with your WordPress version. Testing themes locally helps you customize and troubleshoot before implementing them on your live website.
What Are The Benefits Of Using Themes On Localhost?
Using themes on localhost allows you to test and customize without affecting your live site. You can experiment with different designs and functionalities safely. This setup helps developers and designers refine themes and create a polished, professional look for the live website.
Is It Safe To Add Themes On Localhost?
Adding themes on localhost is safe and doesn’t affect your live website. It allows you to test changes in a controlled environment. This setup ensures you identify issues and customize designs effectively before deploying them to your public WordPress site.
Conclusion
Adding themes to WordPress on localhost is simple and rewarding. It enhances your site’s look without going live immediately. Experiment freely with different designs. Local setup is perfect for testing new styles. You gain confidence in theme management. Remember to choose themes that match your site’s purpose.
Keep your design user-friendly and responsive. This way, visitors have a great experience. Enjoy personalizing your site with creativity. Now, you’re ready to explore more features of WordPress. Happy designing and have fun building your website!


