
Are you ready to transform your WordPress site with a fresh new look? Adding a theme you’ve purchased can be a game-changer for your website’s design and functionality.
You might be feeling a mix of excitement and a bit of apprehension about the process, but don’t worry—you’re not alone. Many people feel the same way when stepping into the world of WordPress themes. Imagine capturing your visitors’ attention with a stunning design that mirrors your brand’s personality perfectly.
We’re going to simplify the entire process of adding your purchased theme to WordPress. You’ll discover step-by-step instructions tailored just for you, eliminating any guesswork. By the end, you’ll not only have a beautiful new theme up and running but also a sense of accomplishment and confidence in managing your WordPress site. So, let’s dive in and unlock the full potential of your website together!
Choosing The Right Theme
List what you need in a theme. Think about the purpose of your site. Do you want a blog, store, or portfolio? Each has different needs. Write down these needs. This helps in finding the perfect theme.
Make sure the theme works with your WordPress version. Some themes need specific plugins to work well. Check if the theme is responsive. This means it looks good on phones and tablets.
Look at the features the theme offers. Does it have a customizable layout? Can you change colors and fonts? Check for SEO-friendly options. Good themes help your site rank better in search results.
Credit: www.namecheap.com
Downloading Your Purchased Theme
Log in to the website where you bought the theme. Use your username and password. Find your account or dashboard page. This is where your purchases are listed. Look for the theme you purchased. You might need to search your order history. Click on the theme name to view its details.
Once you see your theme details, find the download button. This button lets you save the theme to your computer. Sometimes, it appears as a link. Click the link or button to start downloading. Ensure your internet connection is stable. Some downloads may take a few minutes.
After clicking the download button, a save window appears. Choose a location to store your theme file. It’s best to save it in a folder you can find easily. Make sure the file type is correct, usually a zip file. Click save and wait for the download to complete.
Uploading The Theme To WordPress
First, open your web browser. Type your website’s URL with “/wp-admin” at the end. Enter your username and password. Click the login button.
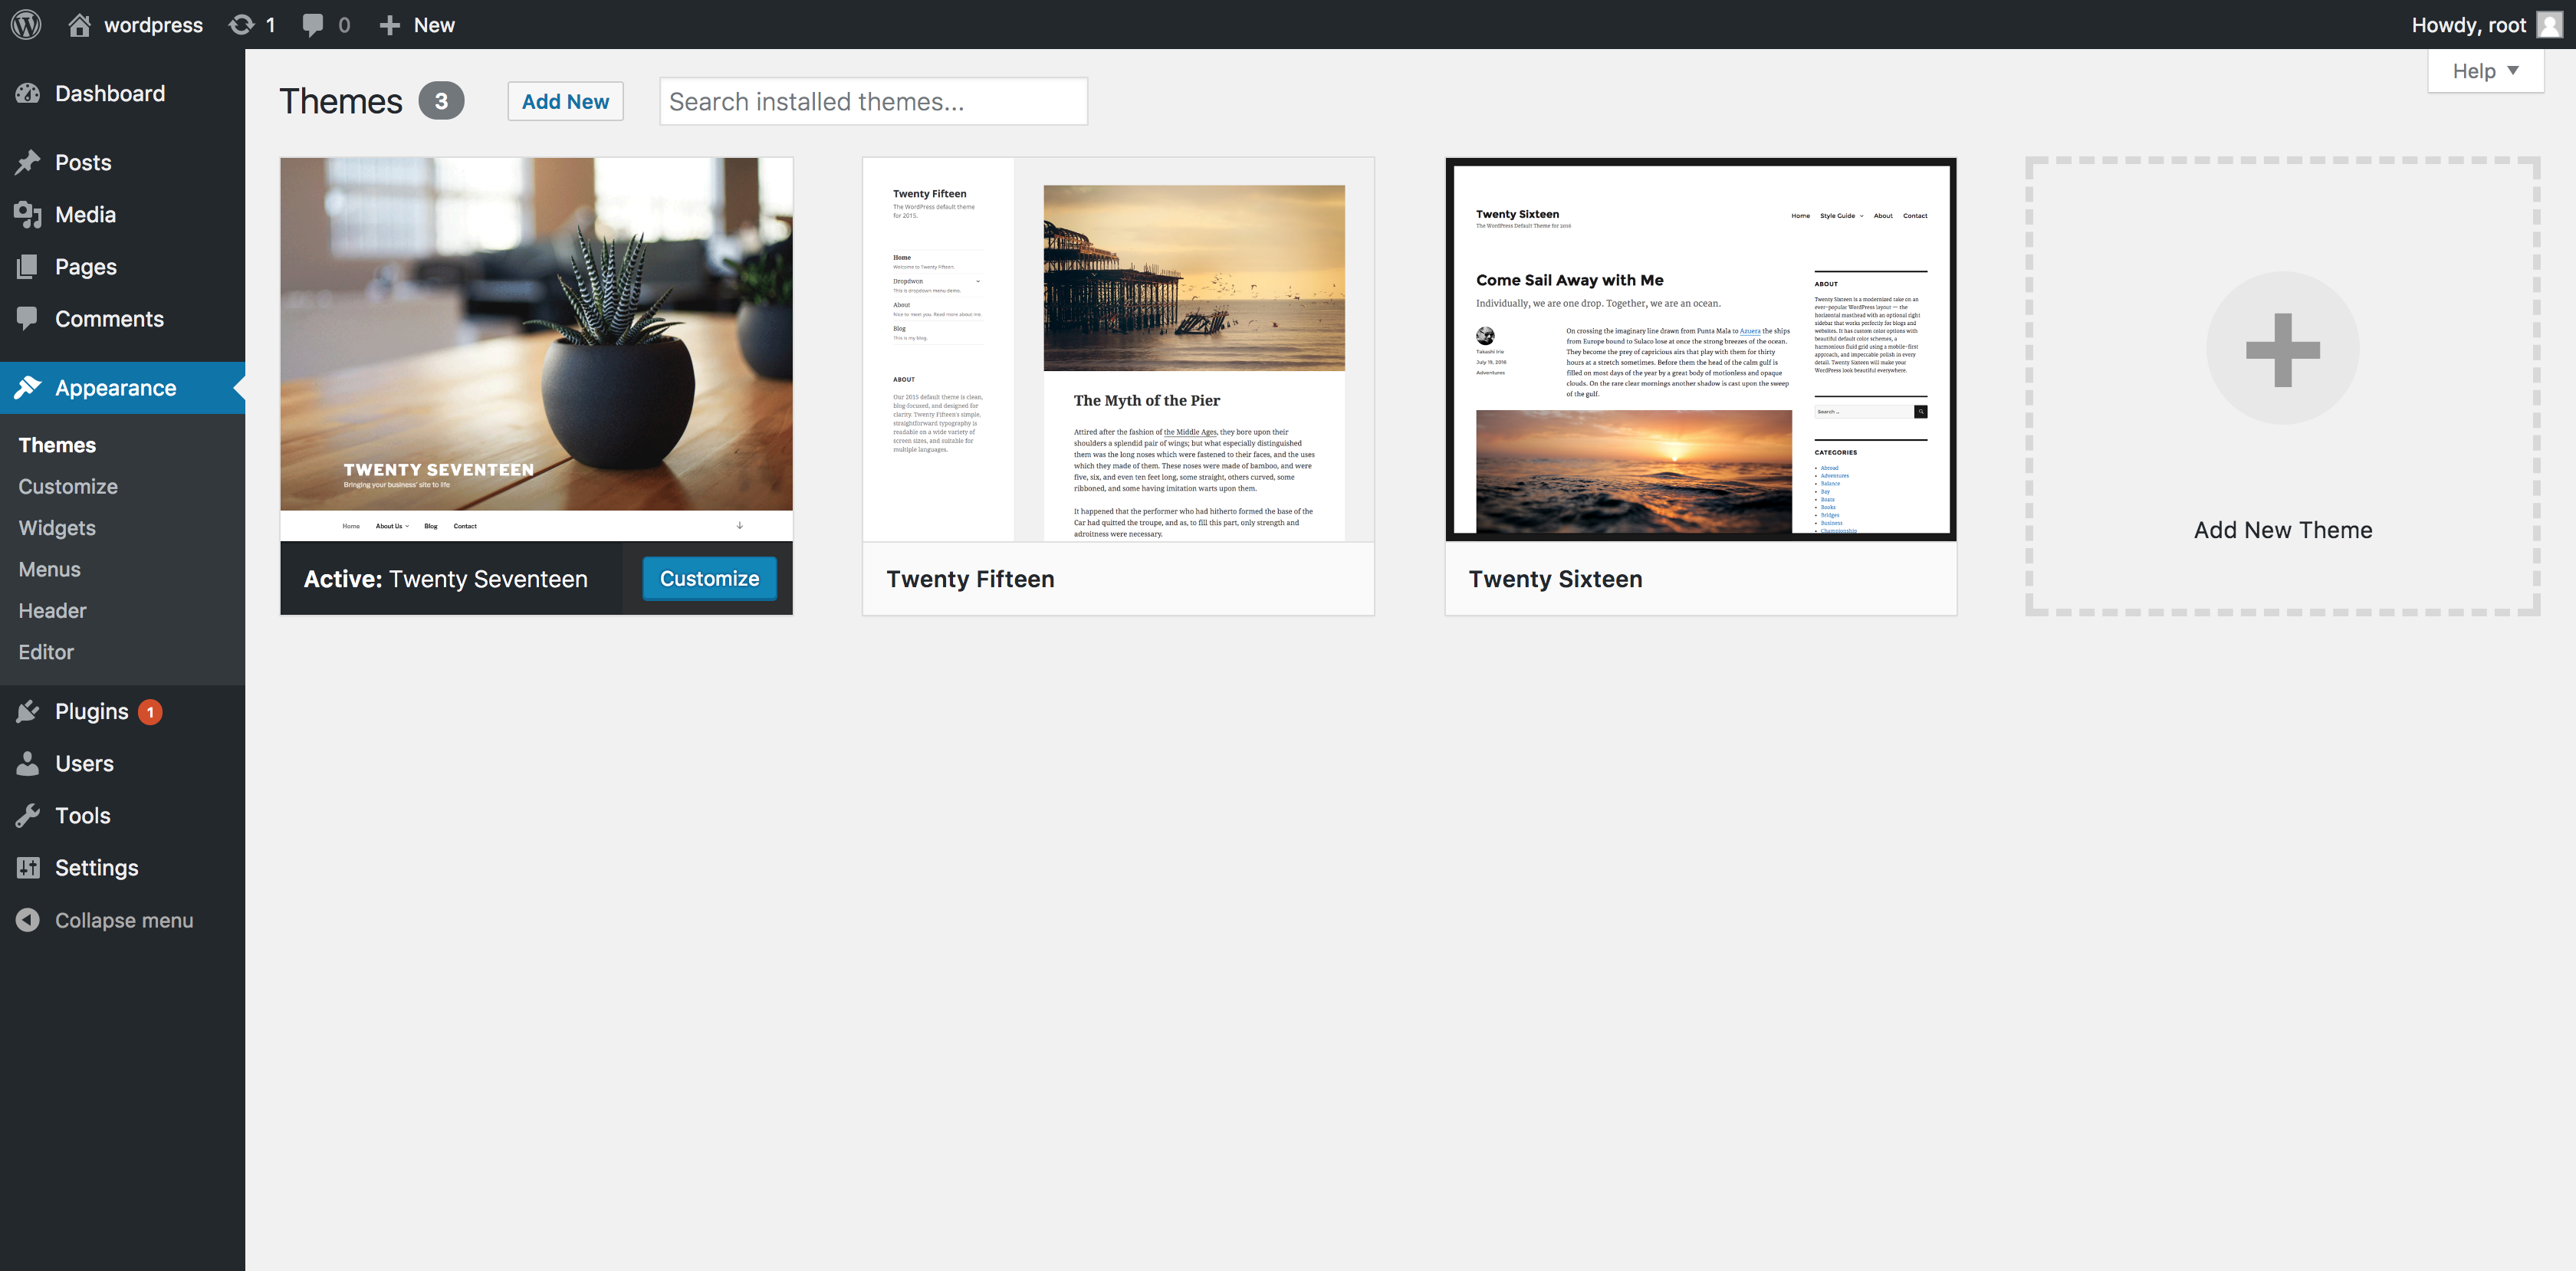
Once inside, look for the Appearance tab. It’s on the left side. Click on it. Now, find the Themes option. Tap on it.
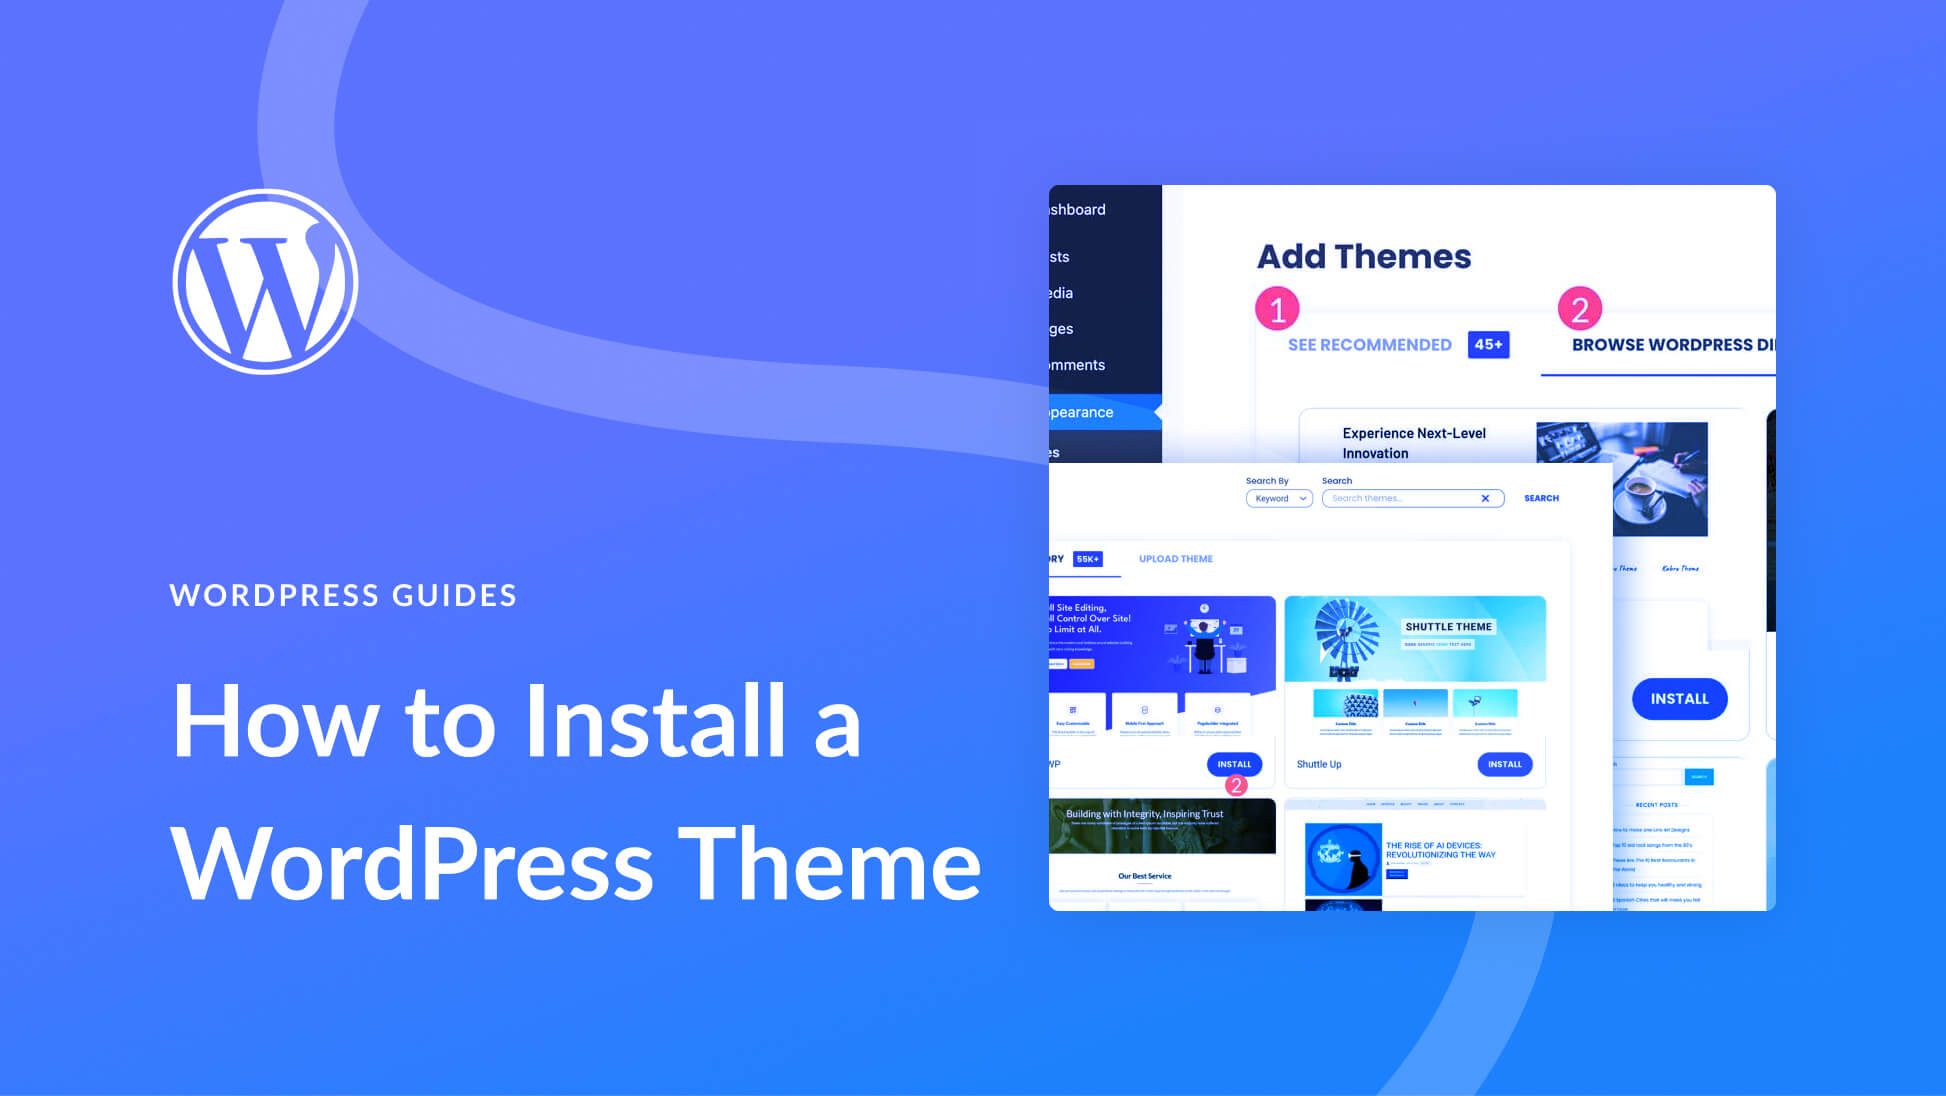
You should see an Add New button at the top. Click it. Then, click the Upload Theme button. A new window will open. Click Choose File. Find your theme’s zip file. Select it, then click Install Now. Wait for the upload to finish.

Credit: www.youtube.com
Installing The Theme
First, go to your WordPress dashboard. Find the Appearance menu. Click on Themes. Here, you will see many themes. Look for the Upload Theme button at the top. Use this button to upload your new theme. After uploading, it will appear in the list. Select your uploaded theme from the list.
Once you have selected the theme, find the Activate button. This button is next to the theme name. Click on Activate to set the theme live. Your website will now have a new look. It is as simple as that.
After activation, visit your website. Check if the theme looks right. Ensure all parts are visible. Make sure nothing is missing. If everything looks good, the installation is successful. If not, try reinstalling the theme.
Customizing Your Theme
The WordPress Customizer is a tool to change your theme. Access it from your dashboard. Here, you can change colors and fonts. You can also change the layout. Changes can be seen live. This helps in choosing the best look for your site.
Theme settings let you tweak your website’s look. Navigate to the theme options. Here, you can alter the header and footer. You can also change site width. Make sure to save changes. This ensures your settings are updated. Experiment to find what suits your needs.
Widgets and plugins add extra features. Use widgets for sidebars and footers. They can show recent posts or a search bar. Plugins are like apps for your site. They can add contact forms or sliders. Both are easy to add and remove. This keeps your site fresh and useful.
Credit: www.elegantthemes.com
Troubleshooting Common Issues
Installing a purchased theme on WordPress can sometimes be tricky. Ensure your theme file is in. zip format, then navigate to ‘Appearance’ and ‘Themes’ in your WordPress dashboard. Click ‘Add New’, choose ‘Upload Theme’, and select your. zip file.
Resolving Installation Errors
Install errors can be frustrating. Check your WordPress version first. It must match the theme’s requirements. Also, ensure your theme is not corrupted. Download it again if needed. Sometimes, file size can cause problems. Increase your server’s upload limit. Follow your hosting provider’s guide to do this.
Addressing Compatibility Conflicts
Themes sometimes clash with plugins. Disable plugins one at a time. Check if the theme works after each one. Update both WordPress and your theme regularly. Newer versions fix many issues. Old versions often cause problems. Check theme documentation for known conflicts.
Seeking Support And Assistance
Stuck with a problem? Ask for help. Most theme developers offer support forums. Look for answers there. You can also email their support team. Explain your issue clearly. Include screenshots if you can. This helps them understand your problem better.
Frequently Asked Questions
How Do I Upload A Purchased Theme To WordPress?
To upload a purchased theme, go to your WordPress dashboard. Navigate to Appearance > Themes > Add New. Click on “Upload Theme,” choose your theme’s ZIP file, and then click “Install Now. ” Once installed, activate the theme to apply it to your site.
Ensure the theme is compatible with your WordPress version.
Can I Customize A Bought WordPress Theme?
Yes, you can customize a bought WordPress theme. Most themes offer customization options under Appearance > Customize. You can modify layouts, colors, fonts, and more. For advanced changes, use a child theme or custom CSS. Always back up your site before making significant customizations.
What Should I Do After Installing A Theme?
After installing a theme, customize it to fit your needs. Set up widgets, menus, and homepage settings. Ensure all theme features are activated. Check for any theme-specific plugins to enhance functionality. Test your site for responsiveness and compatibility on different devices and browsers.
Why Is My Theme Not Installing?
If your theme isn’t installing, check the file format. It should be in ZIP format. Ensure your WordPress version is compatible with the theme. Verify your server has adequate memory and storage. If issues persist, contact your theme provider for support or consult WordPress forums for help.
Conclusion
Adding a theme to WordPress is simple and rewarding. Start by purchasing a theme that fits your needs. Download the theme files and log into your WordPress dashboard. Navigate to “Appearance” and then “Themes. ” Click “Add New” and upload your theme files.
Activate the theme once uploaded. Customize it to match your website’s style. Themes can improve your site’s look and feel. They also enhance user experience and engagement. Follow these steps, and your WordPress site will shine. Enjoy your newly themed website!


