
Are you looking to make your WordPress posts stand out with eye-catching featured images? Adding text directly onto your featured image can grab attention and boost engagement instantly.
But if you’re unsure how to do it, don’t worry—you’re in the right place. You’ll discover simple, step-by-step ways to add text to your featured images without needing any advanced design skills. By the end, your posts will look more professional and inviting, helping you attract more readers.
Ready to transform your WordPress site? Let’s dive in!

Credit: wplift.com
Choosing The Right Featured Image
Choosing the right featured image is key to make your blog post stand out. The image should match your content and catch the reader’s eye. It helps visitors understand your topic before reading. A good featured image also improves your site’s look and feel.
Image Size And Quality
Use images with the right size to fit your website layout. Too large images slow down your site. Small images look blurry and unprofessional. Choose high-quality images that are clear and sharp. Check the resolution to ensure it looks good on all devices.
Selecting Eye-catching Visuals
Pick images that grab attention quickly. Bright colors and simple designs work well. Avoid crowded or confusing pictures. Choose visuals that relate to your blog topic. Faces, nature, or action shots often attract more views. The right image invites readers to explore your post.
Using WordPress Built-in Editor
Using the WordPress built-in editor is a simple way to add text on your featured image. You don’t need extra plugins or tools. The editor lets you control your content and images easily. This method works well for most WordPress themes and keeps your site fast and clean.
Accessing The Featured Image Settings
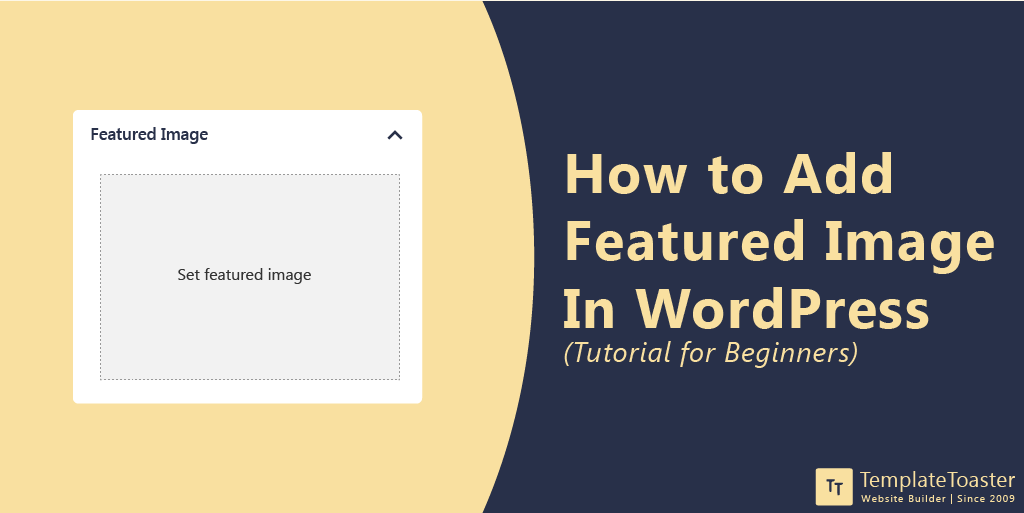
First, log in to your WordPress dashboard. Go to the post or page where you want to add text on the featured image. On the right side, find the “Featured Image” box. Click “Set featured image” to open the media library. Choose an image or upload a new one. After selecting, click “Set featured image.” This sets the image for your post.
Adding Text With Block Editor
Once the featured image is set, open the Block Editor for your post or page. Add a “Cover” block by clicking the plus icon. Inside the Cover block, select your featured image or upload the same image again. The Cover block allows you to add text directly over the image.
Type your text in the block. You can change the font size, color, and alignment. Use simple words and keep the text short for better visibility. The Block Editor shows a live preview, so you see how the text looks on the image. Save or update your post to keep the changes.
Adding Text With Plugins
Adding text to your featured images can enhance your blog’s look. It helps highlight key points and attracts readers’ attention. Using plugins makes this process simple and quick. Plugins offer easy tools to place text exactly where you want on images.
Plugins also provide options to style the text. You can change font, size, color, and position. This lets you match the text with your website’s design. No coding skills are needed. Just install, activate, and customize.
Top Plugins For Image Text Overlay
Several plugins help add text to images in WordPress. “Image Hover Effects” allows text overlays with animations. “WP Image Overlay” offers simple text placement and styling. “Featured Image Caption” adds captions directly to featured images. These tools are popular for their ease and features.
Installing And Activating Plugins
Go to your WordPress dashboard. Click “Plugins” then “Add New.” Search the plugin by name. Click “Install Now” and wait a few seconds. Then press “Activate.” The plugin is ready to use. You can find settings in the dashboard menu.
Customizing Text Appearance
Open the plugin settings or image editor. Type your desired text for the featured image. Choose the font style and size that fits your site. Pick colors that stand out but match your theme. Adjust the text position using drag or preset options. Preview the image to see how it looks. Save changes when satisfied.

Credit: wordpress.com
Using External Tools For Text Overlay
Using external tools to add text on your featured image gives more control over the design. These tools let you customize font, size, color, and position easily. You can create a polished look before uploading the image to WordPress. This method helps ensure your text stands out and matches your blog style perfectly.
Popular Image Editing Software
Many free and paid programs help add text to images. Photoshop is a top choice for professionals. It offers many fonts and effects. GIMP is a free alternative with similar features. Canva is user-friendly and works online. It has ready-made templates for quick edits. Paint.NET is simple and good for basic text overlays. Each software suits different skill levels and needs.
Creating Text Overlay Before Upload
Start by opening your chosen software. Load the image you want to edit. Use the text tool to type your message. Adjust font size, style, and color to fit the image. Move the text to the best position for visibility. Save the edited image in a web-friendly format like JPEG or PNG. Upload this final image as your featured image in WordPress. This process ensures your text looks perfect every time.
Optimizing Text For Seo And Readability
Optimizing text on a featured image helps both readers and search engines. Clear, readable text draws attention and improves user experience. SEO-friendly text boosts your site’s visibility and ranks better in search results.
Good text optimization balances style with function. It makes the message easy to read and understand. This section covers how to choose fonts, colors, and text placement for strong impact.
Choosing Fonts And Colors
Select simple fonts that are easy to read on all devices. Sans-serif fonts like Arial, Helvetica, or Open Sans work well. Avoid fancy or script fonts that can confuse readers.
Use colors that contrast with the background image. High contrast improves readability and catches the eye. For example, dark text on a light background or white text on a dark background.
Limit font colors to two or three to keep the design clean. Use brand colors if possible to build recognition and trust.
Placing Text For Maximum Impact
Place text where it does not hide important parts of the image. Corners or empty spaces are good spots. Keep text away from busy or cluttered areas.
Use enough spacing around the text to avoid crowding. This helps readers focus on the message quickly.
Align text consistently, either left, center, or right. Consistent alignment improves the overall look and feel.
Credit: blog.templatetoaster.com
Troubleshooting Common Issues
Troubleshooting common issues helps keep your featured images clear and effective. Problems with text or images can confuse visitors and lower site quality. Fixing these issues fast improves user experience and site appearance.
Text Not Showing On Featured Image
Text may not appear due to theme or plugin conflicts. Check if your theme supports text overlays on featured images. Some themes disable this feature by default.
Clear your browser cache. Old files can hide recent changes. Disable plugins one by one to find conflicts. Use a simple text color that contrasts with the image background.
Sometimes, CSS settings hide text. Look for “display:none” or “visibility:hidden” in your style files. Adjust these to make text visible.
Image Loading Problems
Images may fail to load because of file size or format. Use JPEG or PNG files under 1MB for faster loading. Large images slow down your site and may not show properly.
Check your image URL. Broken links stop images from appearing. Upload images directly to the WordPress media library for best results.
Sometimes, server or hosting issues cause loading delays. Contact your hosting provider if images keep failing. Also, disable any caching plugins temporarily to test image loading.
Frequently Asked Questions
How Can I Add Text To A Featured Image In WordPress?
To add text on a featured image, use image editing plugins like Canva or Photoshop. Alternatively, use WordPress block editor’s image overlay feature or CSS customizations to add stylish text layers directly on your images.
Which WordPress Plugins Help Add Text On Featured Images?
Popular plugins include Elementor, WPBakery, and Image Hover Effects. These allow easy text overlays and customization on featured images without coding knowledge, enhancing image appeal and SEO.
Can I Add Seo-friendly Text On Featured Images?
Yes, adding descriptive, keyword-rich text on featured images improves SEO. Use alt text and overlay captions relevant to your content to boost search engine visibility and user engagement.
Is Coding Required To Add Text On WordPress Featured Images?
No, coding isn’t necessary. Use WordPress block editor’s built-in tools or user-friendly plugins to add and style text on featured images easily without any programming skills.
Conclusion
Adding text to a featured image in WordPress is simple and useful. It helps your posts stand out and share your message clearly. You can use built-in tools or plugins to do this quickly. Practice a few times to find what looks best for your site.
Clear, readable text on images attracts more visitors. Keep your design neat and easy to read. Start adding text today to make your WordPress posts more engaging and professional.


