
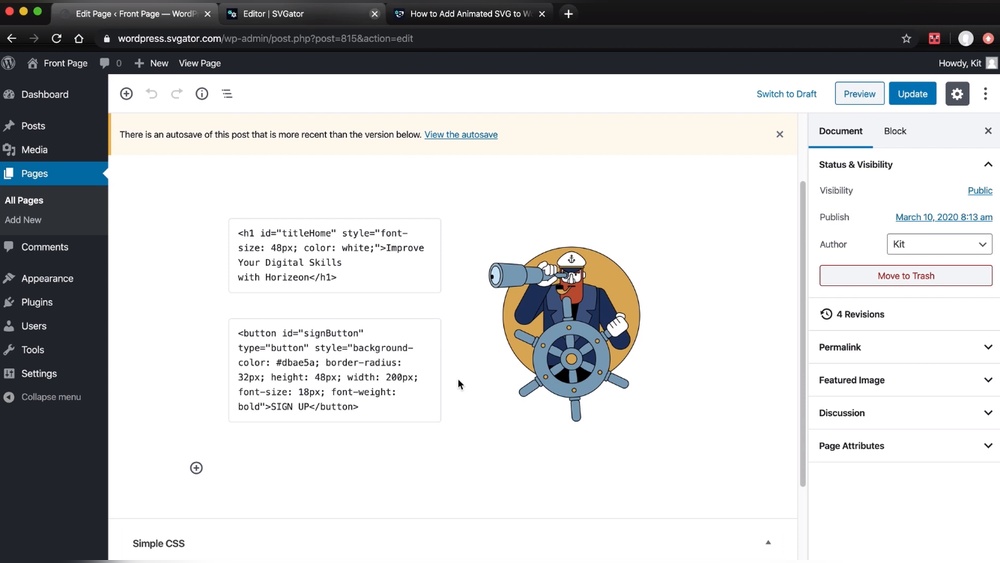
Are you looking to make your WordPress site stand out with sharp, scalable images? Adding SVG files can give your website crisp graphics that look perfect on any screen size.
But if you’ve tried before, you might know WordPress doesn’t let you upload SVGs by default. Don’t worry—this guide will show you exactly how to add SVG to WordPress safely and easily. By the end, you’ll have the skills to boost your site’s design without compromising security.
Ready to get started? Let’s dive in.
Credit: wetopi.com
Benefits Of Using Svg In WordPress
Using SVG files in WordPress offers many benefits for website owners and designers. SVGs are vector graphics, which means they look great on all screen sizes. They also help improve website speed and allow easy design changes. Understanding these benefits can help you create better websites.
Scalability And Quality
SVG images keep their quality no matter the size. Unlike traditional images, they do not get blurry or pixelated. This makes them perfect for logos, icons, and graphics on all devices. Your website will look sharp and professional everywhere.
Improved Website Performance
SVG files are usually smaller than other image types like JPEG or PNG. Smaller files load faster, making your website quicker. Faster websites keep visitors happy and reduce bounce rates. Using SVGs can improve your site’s overall performance.
Customization Flexibility
SVGs can be easily edited with code or design tools. You can change colors, shapes, and sizes without losing quality. This flexibility lets you match your website’s style perfectly. It also makes updates simple and quick.
Credit: themeisle.com
Preparing Svg Files For WordPress
Preparing SVG files for WordPress is a key step before uploading them. SVG files are vector images that scale well and keep your site sharp on all devices. But not all SVGs are ready to use right away. They need to be optimized and cleaned to work safely and quickly in WordPress.
Taking time to prepare SVGs ensures your website runs smoothly. It also protects your site from security risks. Proper preparation helps keep your site fast and visually consistent.
Creating Optimized Svgs
Start by simplifying your SVG file. Remove any unnecessary details and hidden layers. This reduces file size and improves loading speed. Use tools like SVGOMG or SVGO to clean up the code automatically.
Keep only the essential paths and shapes. Avoid embedding large images or fonts inside the SVG. Use simple colors and basic shapes to keep it light. Smaller SVGs improve site performance and user experience.
Ensuring Security And Clean Code
SVG files can contain code that poses security risks. Remove any scripts or embedded JavaScript. This protects your site from attacks or malicious code.
Check the SVG code for unusual elements before uploading. Use trusted tools to sanitize the SVG file. Clean code ensures WordPress accepts the file and displays it correctly.
Only upload SVGs from trusted sources. Always scan your files for malware. Safe and clean SVGs keep your WordPress site secure and stable.
Enabling Svg Uploads In WordPress
WordPress does not allow SVG files by default. This is because SVG files can carry security risks if not handled properly. To use SVG images safely, you must enable SVG uploads in WordPress. There are two main ways to do this: using plugins or adding code manually. Both methods help WordPress recognize and allow SVG files.
Using Plugins To Allow Svg Uploads
Plugins are the easiest way to enable SVG uploads. They handle security and file settings for you. Many plugins are free and simple to use. Just install a plugin that allows SVG uploads. Activate it and check the settings. Some plugins also sanitize SVG files to keep your site safe. This method requires no coding and works well for most users.
Manual Code Method For Svg Support
You can add a small code snippet to your theme’s functions.php file. This lets WordPress accept SVG files without a plugin. The code adds SVG MIME types to the list of allowed file types. Be careful with this method. It does not sanitize SVG files, so only upload files from trusted sources. This method is good for users who want minimal plugins on their site.
Adding Svgs To WordPress Content
Adding SVGs to WordPress content can improve your site’s visuals and performance. SVGs are scalable, lightweight, and look sharp on any screen size. They are perfect for logos, icons, and simple graphics.
WordPress does not allow SVG uploads by default. You need to follow specific steps to upload and use SVG files safely. Below are easy ways to add SVGs to your WordPress content.
Uploading Svgs To Media Library
WordPress blocks SVG uploads for security reasons. Use a plugin like “Safe SVG” to enable SVG uploads. After installing the plugin, go to the Media Library.
Click “Add New” and select your SVG file. The file will upload like any other image. Always check your SVG files for malicious code before uploading.
Inserting Svgs Into Posts And Pages
After uploading, open the post or page editor. Click the “Add Media” button and choose your SVG from the library. Insert it into the content like a normal image.
You can adjust the size and alignment in the editor. SVGs keep their quality even when resized. This flexibility helps maintain a professional look.
Using Svgs In Widgets And Menus
SVGs also work well in widgets and menus. Go to Appearance > Widgets to add an image widget. Upload or select your SVG file to display it.
For menus, use a plugin that supports SVG icons. Add SVGs next to menu items to enhance navigation. This method improves user experience and site design.
Troubleshooting Common Svg Issues
Adding SVG files to WordPress can improve your site’s look with sharp, scalable images. Sometimes SVGs do not show or work right. These issues can stop your design from shining.
This section helps you fix common SVG problems fast. Clear steps make troubleshooting simple. No need to guess or get stuck.
Fixing Display Problems
SVGs may not appear due to file errors. Check if the SVG code is clean and valid. Use an online validator to scan your file.
Sometimes WordPress blocks SVG files by default. Use a trusted plugin that allows safe SVG uploads. Also, clear your browser cache to see changes.
Handling Security Warnings
SVG files can contain harmful code. WordPress may warn or block SVG uploads for safety. Always use SVGs from trusted sources.
Sanitize SVG files before uploading. Plugins can help remove unsafe code automatically. This reduces security risks for your site and visitors.
Cross-browser Compatibility Tips
Not all browsers support every SVG feature. Test your SVG images on major browsers like Chrome, Firefox, and Edge.
Keep SVGs simple to avoid display issues. Avoid complex filters or scripts inside SVG files. This ensures your images look good everywhere.
Enhancing Svgs With Animation And Interactivity
SVGs are not just static images. They can move and respond to users. Animations and interactivity make your WordPress site more lively. Visitors will notice and enjoy the dynamic effects. These features keep users engaged and improve the overall experience.
Adding animation and interactivity to SVGs is easier than many think. Basic CSS can create smooth movements. JavaScript can add complex, interactive effects. Both methods work well inside WordPress, enhancing your site’s visuals.
Adding Css Animations
CSS animations let you move parts of an SVG smoothly. You can change colors, shapes, or positions over time. Simple animations include fading, sliding, or rotating elements. Use keyframes to control the animation steps precisely. These effects run fast and do not slow down the site.
To add CSS animations, target the SVG elements with classes or IDs. Write CSS rules that define the animation behavior. Apply the animation on page load or on hover. Hover animations react when users move the mouse over the SVG. This small effect boosts interactivity and user interest.
Using Javascript For Dynamic Effects
JavaScript provides deeper control over SVG animations. It can respond to clicks, mouse movements, or page events. You can create interactive charts, games, or storytelling visuals. JavaScript changes SVG properties in real time for dynamic results.
Use libraries like GreenSock (GSAP) or Snap.svg for easier coding. These tools simplify complex animations and interactions. Add event listeners to SVG elements for user actions. This way, the SVG reacts instantly to user input. JavaScript makes SVGs feel alive and engaging.
Credit: themeisle.com
Frequently Asked Questions
How Can I Upload Svg Files To WordPress Safely?
To upload SVG files safely, use a trusted plugin like “Safe SVG. ” It sanitizes SVG code and prevents security risks. Avoid uploading SVGs directly to reduce vulnerabilities. Always keep your WordPress and plugins updated for added protection.
Why Are Svg Files Not Allowed By Default In WordPress?
WordPress blocks SVG uploads by default due to security concerns. SVG files can contain harmful scripts if not sanitized. Using plugins to enable safe SVG uploads helps protect your site from malicious code and maintains performance.
What Are The Benefits Of Using Svg Images In WordPress?
SVG images are scalable without quality loss, making them perfect for responsive designs. They have smaller file sizes, which improves website loading speed. SVGs are easy to customize with CSS, enhancing your site’s visual appeal and SEO.
Which Plugins Help Add Svg Support In WordPress?
Popular plugins like “Safe SVG” and “SVG Support” enable SVG uploads safely. They sanitize SVG files and allow easy insertion into posts or pages. These plugins ensure SVG compatibility without compromising site security or performance.
Conclusion
Adding SVG files to WordPress is simple and useful. SVG images keep your site sharp on all screens. You just need to follow safe steps to allow SVG uploads. This protects your site from security problems. Use plugins or code snippets as explained.
Now, your website can look more professional and load faster. Try adding SVGs today for clearer, smaller images. Your visitors will notice the difference. Keep practicing to get comfortable with the process.



