
Are you looking to enhance your WordPress site’s navigation and keep your visitors engaged? Adding a “Next Post” link can do just that, creating a seamless browsing experience for your audience.
Imagine guiding your readers effortlessly through your content, encouraging them to spend more time on your site and explore what you have to offer. This simple tweak not only boosts user engagement but also improves your website’s overall performance. Curious about how to implement this feature effortlessly?
Let’s dive into the step-by-step process, ensuring your blog becomes a reader’s paradise.
Benefits Of Linking Posts
Linking posts makes your website easier to explore. Readers find new content quickly. This keeps them on your site longer. More page views help your blog grow. Linking helps search engines understand your content. This can improve your search rankings.
Links guide readers to related topics. This improves their experience. It can make them want to return for more. Sharing related content can also boost engagement. Readers might comment or share your posts. This interaction is very valuable.

Credit: make.wordpress.org
Choosing The Right Plugin
Many WordPress plugins help link posts. YARPP is one option. It finds related posts. Inline Related Posts shows links inside content. Jetpack offers many features. Linking posts is one. Each plugin has unique tools. Pick one that fits your needs.
Think about plugin features. Some plugins offer customization. Others focus on simplicity. Consider how easy it is to use. Some plugins need coding skills. Others are user-friendly. Check if the plugin updates often. Updated plugins work better. They have fewer bugs. Read reviews before choosing. Reviews help find good plugins.
Installing A WordPress Plugin
Log into your WordPress site. Use your username and password. Find the dashboard after logging in. It’s the main page. Look for the menu on the left side. This menu helps you navigate. It has different options. You will use it to add plugins.
Click on the “Plugins” option in the menu. Then, select “Add New“. You will see a search bar. Type the plugin name you need. Press “Enter” to search. Wait for the results. Find the plugin you want. Click “Install Now“. After installing, click “Activate“. Your plugin is now ready to use.
Credit: www.wpexplorer.com
Configuring The Plugin Settings
Configure plugin settings to add next post links in WordPress. Enhance navigation by linking posts together seamlessly. Improve user experience with easy steps for better site engagement.
Setting Up Navigation
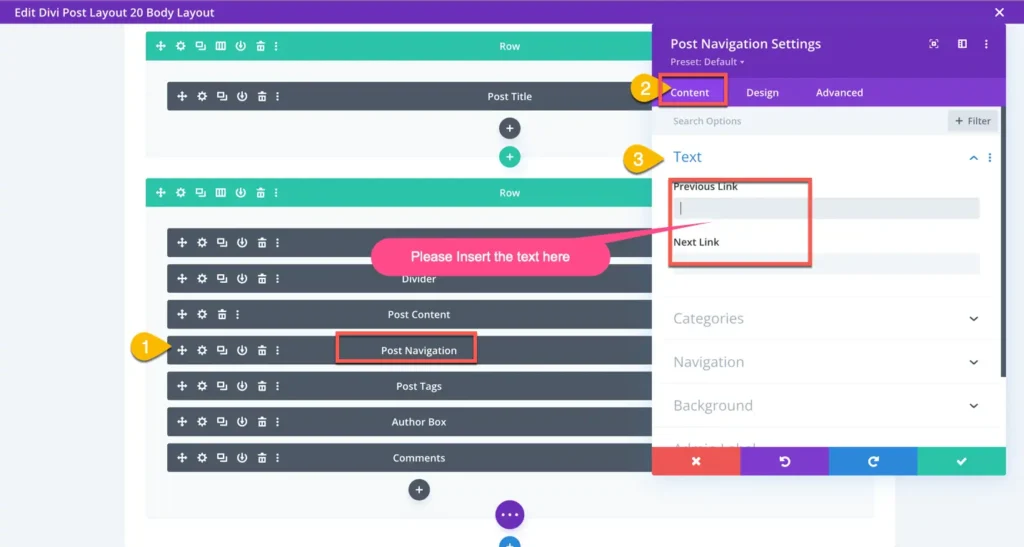
Start by finding the plugin in your WordPress dashboard. Click on it to open the settings. Look for the navigation section. You need to choose how users will move between posts. You might see options like arrows or text links. Pick the style you like most. Make sure it is easy for everyone to use. Save your changes after making your choice. This will help people find related posts.
Customizing The Appearance
Go to the appearance settings in the plugin. Here, you can change colors and sizes. This makes the links match your site’s theme. Choose colors that are easy to see. Test them to ensure they stand out. You can also change fonts. Pick one that is clear and simple. Adjust these settings to make your site look better. Save everything once you are happy.
Manually Linking Posts
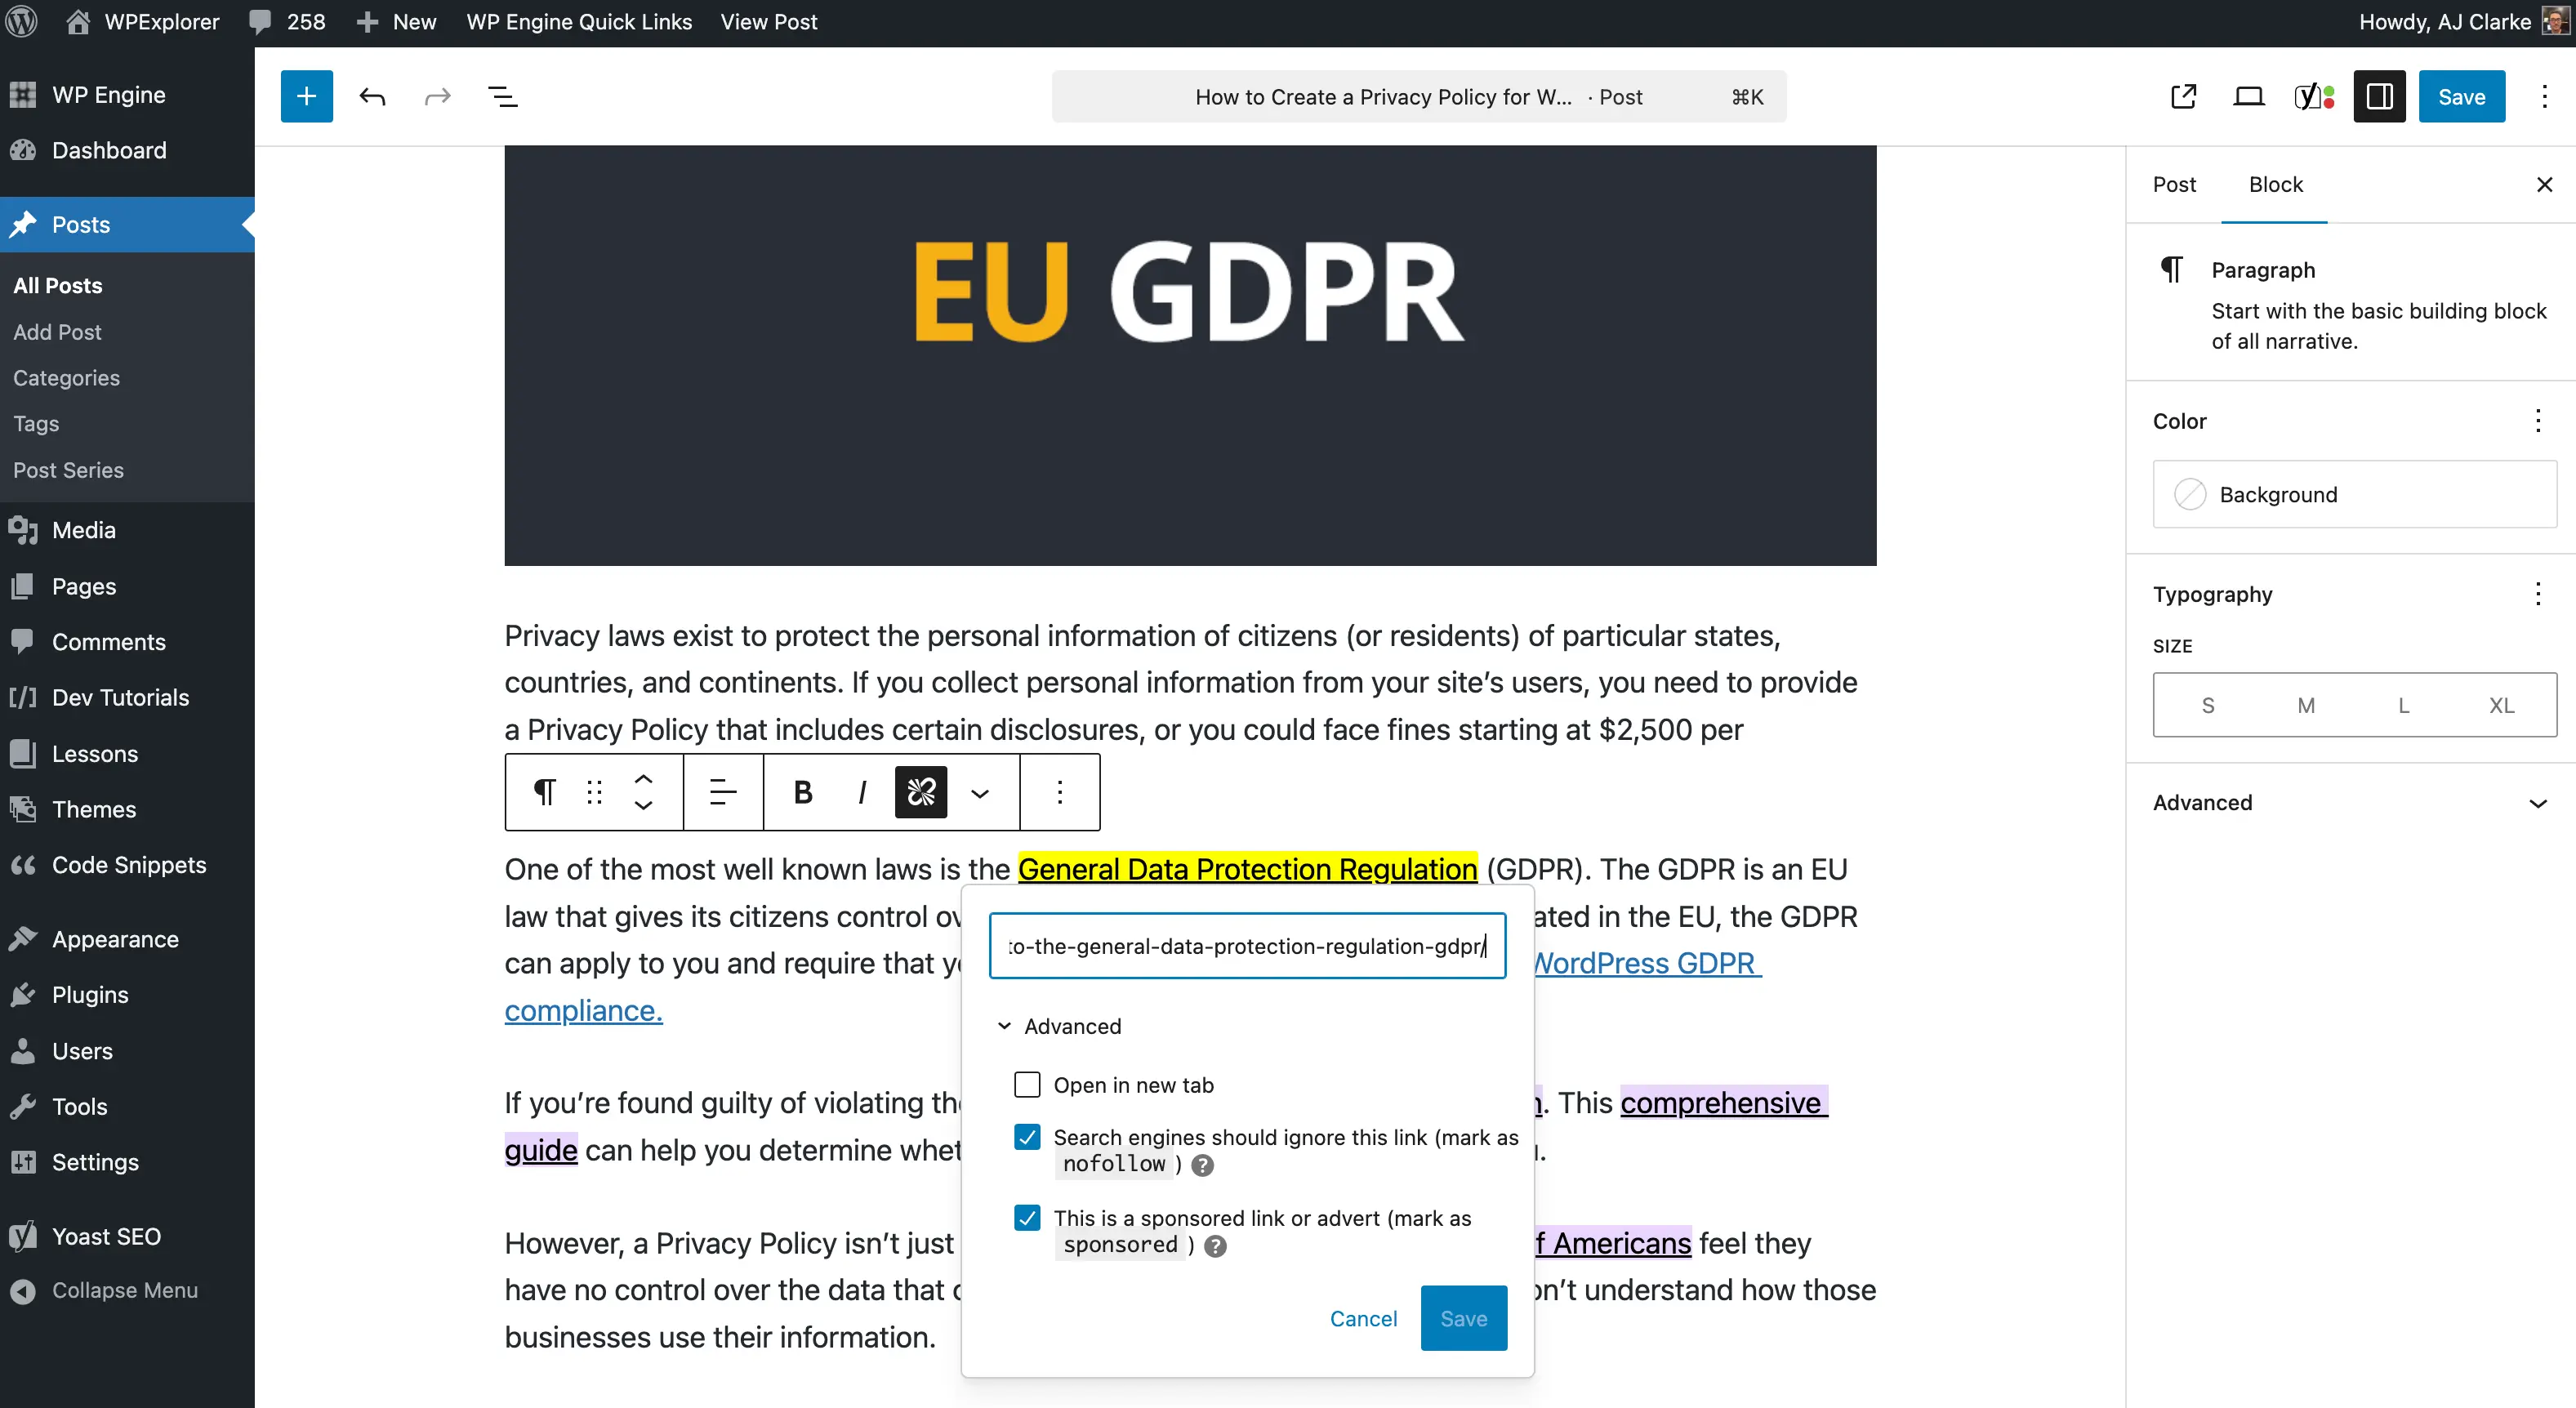
Linking posts can be simple. Use HTML to link posts together. Find the post URL you want to link. Copy the URL. Go to your post editor. Add the URL to the text. Highlight the text. Click the link button in the editor. Paste the URL. Now your posts are linked. Repeat for more links. This method is easy for beginners.
Shortcodes are like magic. They make tasks simple. To use shortcodes, go to the post editor. Find the place for the link. Write the shortcode there. Shortcodes look like this: [nextpost url="http://example.com"]. Replace “http://example.com” with your post URL. Shortcodes are powerful. They keep your post tidy. Anyone can use shortcodes with ease.
Credit: diviextended.com
Testing The Post Links
Click on the next post link to see if it works. Check if the link takes you to the right post. Make sure the link is easy to find. It’s important to test links on different devices. If a link doesn’t work, fix it fast. Broken links confuse readers.
Show your links to a friend. See if they can follow them. Listen to their feedback. Sometimes others spot issues we miss. Testing helps keep your site user-friendly.
Verifying Functionality
Ensure each link functions on all browsers. Use Chrome, Firefox, and Safari. Each should show the same results. Check the speed of loading. Slow links frustrate users. A quick load keeps them happy. Keep testing links often.
Websites update over time. Old links might break. Regular checks ensure everything works. Always aim for a smooth user experience.
Ensuring Mobile Compatibility
Most people use phones to read blogs. Your links must work on phones. Test the links on a smartphone. See if they are easy to click. Make sure they don’t overlap. Text and links should be clear.
Check links on both Android and iPhone. Different phones show things differently. Adjust the size if needed. A good mobile experience keeps readers returning.
Best Practices For Linked Posts
Visitors like to explore more. Linking posts can help them do this. Place links at the end of each post. Use clear and simple words. This helps users find what they want. Also, it keeps them on your site longer. It makes your website feel like a friendly place.
Search engines love linked posts. They help in keeping SEO scores high. Use anchor text with keywords. Make sure the links are relevant. This helps in ranking better. Keep the links updated. Broken links can harm your site’s reputation. Ensure all links work well.
Frequently Asked Questions
How Do I Add A Next Post Link In WordPress?
To add a next post link in WordPress, you can use the `next_post_link()` function. This function allows you to seamlessly connect posts, enhancing user navigation. Simply insert it within your theme’s template files, typically in `single. php`, to guide readers to subsequent content effortlessly.
Can I Customize The Next Post Link Text?
Yes, you can customize the text of the next post link. Use the `next_post_link()` function with custom text parameters. This customization helps you tailor navigation text to match your site’s tone, ensuring a consistent and engaging user experience.
Is There A Plugin For Linking WordPress Posts?
Yes, plugins like “Related Posts” help link WordPress posts. These plugins automatically display related content, improving navigation and reader engagement. Simply install and configure them according to your preferences, and enhance the browsing experience on your site.
How Do I Style Next Post Links In WordPress?
To style next post links, use CSS in your theme’s stylesheet. Target the link’s class or ID to apply desired styles. Customizing the appearance ensures your navigation links align with your site’s design, enhancing overall aesthetics and user experience.
Conclusion
Connecting posts in WordPress enhances user experience. It guides readers smoothly through related content. This approach keeps them on your site longer. More engagement can boost your site’s performance. Implementing linked posts is simple and effective. It helps in organizing your blog content better.
Users find it easier to navigate through posts. This can lead to more interaction and sharing. Overall, linking posts strengthens your website’s structure. Try it and see the benefits. It’s a useful strategy for any blogger. Happy blogging!


