
Are you looking to expand your monitoring capabilities in Nagios with ease? Adding a new host via the web interface might sound like a daunting task, but it’s simpler than you think.
Imagine being able to effortlessly keep an eye on all the critical components of your network, ensuring everything runs smoothly without a hitch. In this guide, you’ll discover a straightforward, step-by-step process to add new hosts, allowing you to harness the full potential of Nagios.
By the end of this article, you’ll feel confident in managing your network like a pro. So, let’s dive in and get you started on mastering your Nagios setup!
Prerequisites
Nagios Core should be installed. It’s the base software for monitoring. Nagios Plugins need to be present. They help in monitoring various services. A web server like Apache or Nginx is essential. It hosts the Nagios web interface. PHP is needed. It helps Nagios work with the web server. Ensure all these are installed and updated. Regular updates fix bugs and improve security.
Check if you have the right permissions. Admin rights are needed to add hosts. Without them, changes won’t save. Verify your account’s role on Nagios. Only admins can make system changes. If unsure, ask your system admin. They can grant the necessary permissions. Permissions ensure only authorized changes happen. This keeps the system secure.
Credit: www.pagerduty.com
Accessing Nagios Web Interface
Start by opening your web browser. Type the Nagios URL in the address bar. Press “Enter” to go to the login page. You will see a login form. Enter your username and password. Click the “Login” button. If details are correct, you will enter the dashboard.
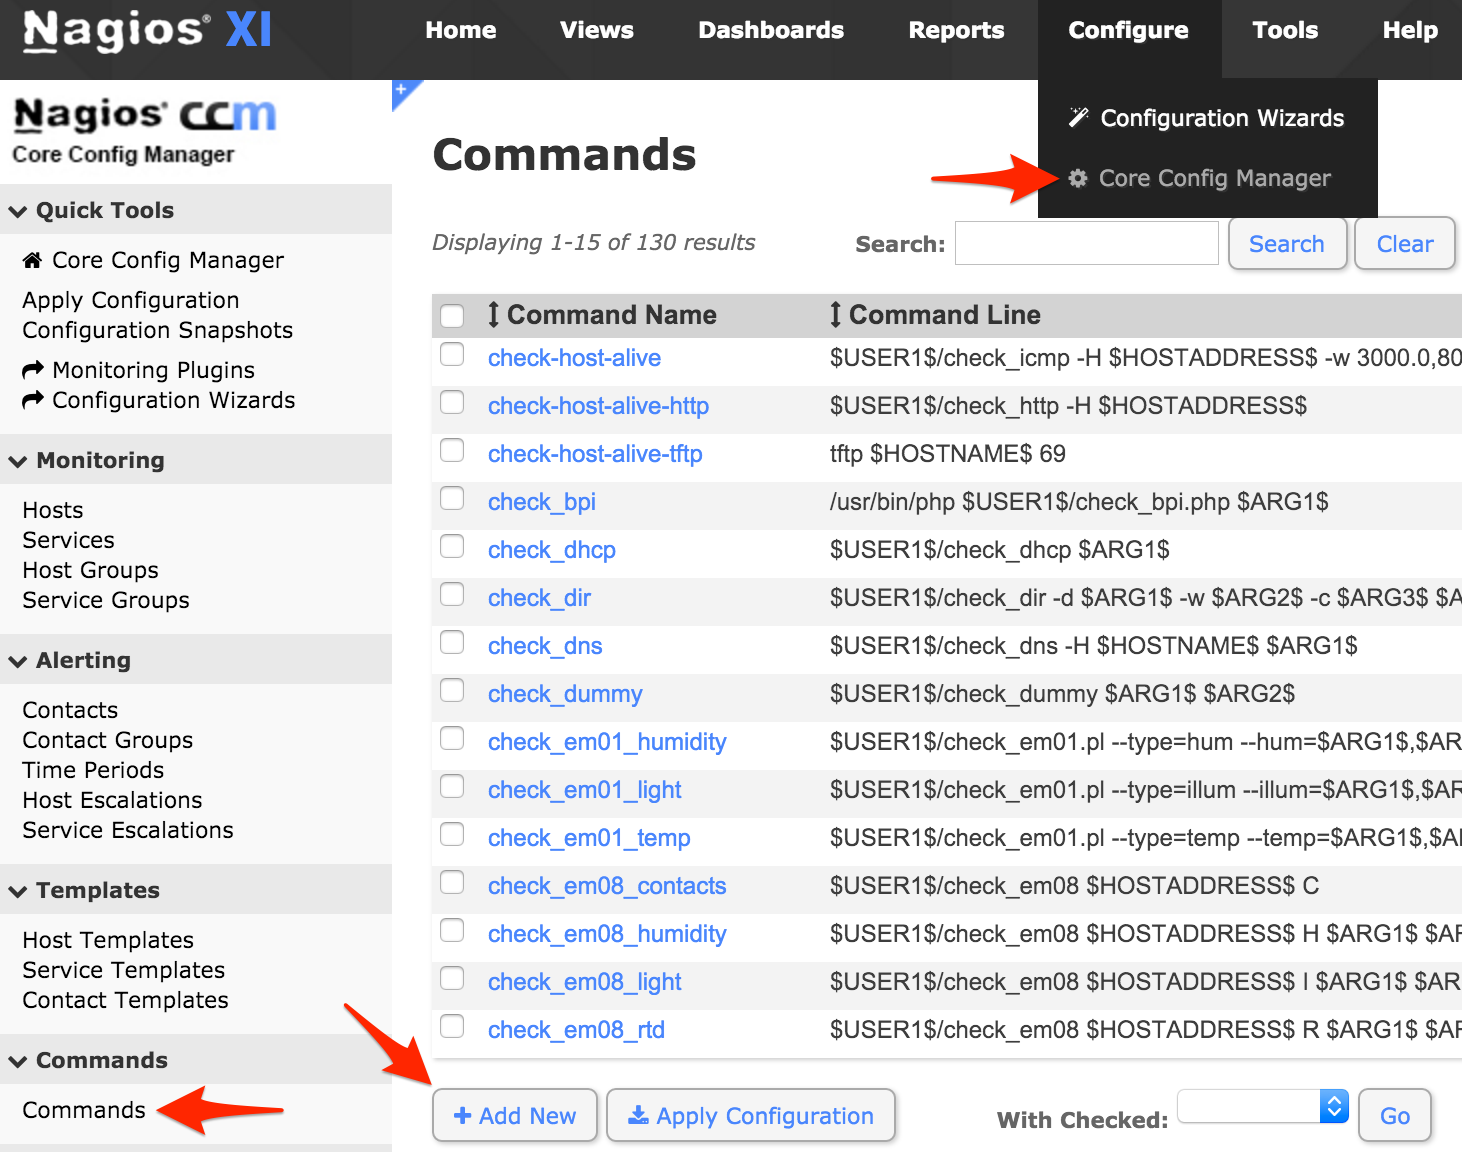
The dashboard shows many options. Look for the “Hosts” section. Click on it to manage hosts. You can see a list of all hosts. To add a new host, find the “Add New” button. Follow on-screen instructions to add details. Save changes to update the host list.
Configuring Host Settings
Every host needs a unique name. This helps in identifying it easily. The alias is like a nickname. It should describe the host well. Both the name and alias are important. They help in managing hosts better.
Each host must have an IP address. This address helps in locating the host on a network. It is like a home address for computers. Always double-check the IP. Mistakes can cause problems.
Hosts can belong to a group. Groups make managing hosts easier. Choose the right group for your host. It helps in organizing the network. If the host fits multiple groups, select the most suitable one.
Credit: www.tecmint.com
Defining Host Parameters
Define the check command for the new host. This command tests the host’s status. Choose a command from the list. Make sure it suits the host type. Use simple commands for basic checks. Save the configuration once done.
Set up notification settings for the host. Decide who gets alerts when the host changes status. Choose contacts from the list. Set times for sending notifications. Ensure the settings match your needs. Click save to store your choices.
Add custom variables for specific needs. These are extra settings for the host. Use simple names for variables. Assign values that are easy to remember. Custom variables help manage hosts better. Save changes after adding variables.
Testing Host Configuration
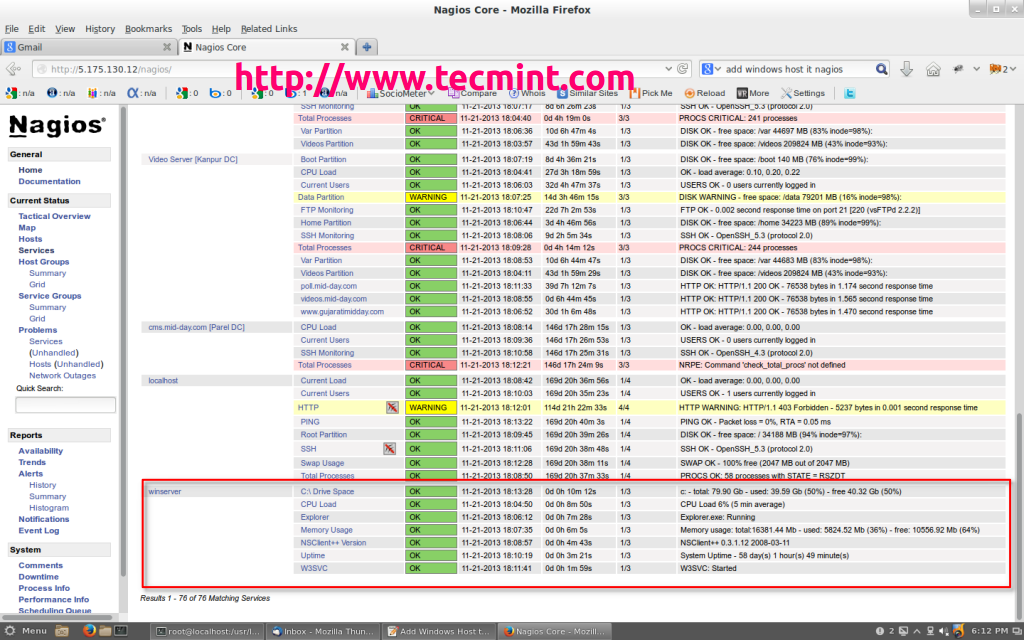
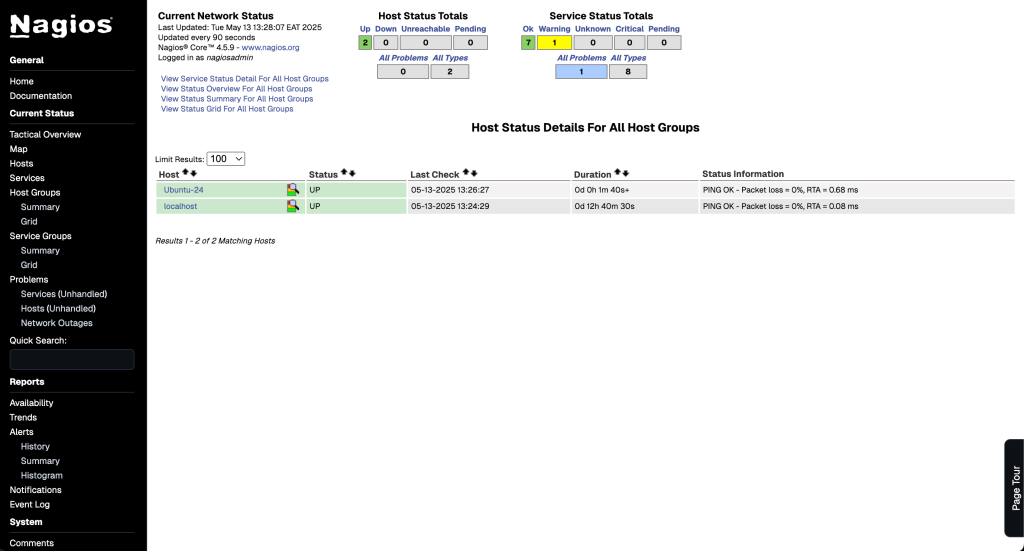
Verify the host configuration on Nagios. Open the web interface. Navigate to the specific host section. Check if the host is listed. Confirm the host’s status is active. Ensure the settings align with your expectations. If issues arise, review the settings closely.
Verification Steps
- Access the Nagios web interface.
- Find the host section.
- Check if the host appears.
- Ensure the host status is active.
- Verify the settings match your requirements.
Troubleshooting Common Issues
Hosts may not appear due to incorrect configurations. Double-check the host settings in Nagios. Verify all input details are accurate. Ensure network settings are correctly configured. Review any error messages shown. Adjust settings as needed. If issues persist, consult the Nagios documentation. Documentation provides further guidance.
Saving And Applying Changes
Updating the configuration file is key. It helps Nagios recognize new hosts. First, access the Nagios web interface. Find the configuration section. Click to add details for your new host. Include its name, IP address, and services to monitor. Once finished, save the changes.
After saving, apply the changes. This step is crucial. It ensures your new host is active in Nagios. Use the ‘Apply Configuration’ option. It updates Nagios with the new details. Make sure there are no errors. Check the status section to verify.
Configuration File Update
Updating the configuration file is simple. Open the Nagios interface. Locate the configuration settings. Add your new host details carefully. Save the file to store changes.
Restarting Nagios
Restarting Nagios is necessary after updates. It reloads the system with new settings. Use the restart option in the web interface. This ensures everything works correctly. Check that your new host appears. Verify it is functioning as expected.
Credit: cloudspinx.com
Frequently Asked Questions
How Do I Add A New Host In Nagios?
To add a new host in Nagios, edit the configuration files. Define the host in the “hosts. cfg” file. Specify IP address, host name, and other details. Restart the Nagios service to apply changes. Ensure the new host is monitored by adding service checks.
Use Nagios web interface to verify settings.
How To Add Remote Host In Nagios?
To add a remote host in Nagios, edit the configuration files. Define host and service details in the ‘hosts. cfg’ and ‘services. cfg’ files. Restart the Nagios service to apply changes. Ensure the remote host’s NRPE plugin is correctly installed and configured for monitoring.
How Do I Add A Windows Host To My Nagios Monitoring Server?
Install NSClient++ on the Windows host. Configure the NSClient++ settings for Nagios. Update Nagios server with host details. Verify monitoring setup in Nagios. Restart Nagios services.
How Do I Add Users To Nagios?
Access the Nagios server via terminal. Edit the ‘htpasswd. users’ file in the Nagios directory. Use the ‘htpasswd’ command to add users. Restart the Nagios service to apply changes. Ensure users are assigned appropriate permissions within Nagios configuration files for access.
Conclusion
Adding a new host in Nagios is a simple process. With the web interface, the task becomes even more straightforward. You can manage your network efficiently. Follow the steps carefully. Double-check each configuration for accuracy. This ensures proper monitoring. Remember, practice makes perfect.
Mistakes are learning opportunities. Keep experimenting and improving. Your network deserves the best care. With each addition, your skills grow. Stay curious and keep exploring Nagios features. This will enhance your network management abilities. Happy monitoring!


