
Struggling to personalize your WordPress site and make it truly yours? Adding your logo to your WordPress theme can be a game-changer for your branding.
Especially if you’re using the popular Twenty Eleven theme, incorporating your logo can help visitors instantly recognize your brand, boosting your site’s professionalism and memorability. Imagine landing on a site and being greeted by a familiar emblem; it builds trust and connection right away.
In this guide, you’ll discover a straightforward way to add your logo to the Twenty Eleven theme. By the end, you’ll be able to showcase your unique brand identity with pride and ease. Ready to transform your site and captivate your audience? Let’s dive in!
Choosing The Right Logo
The size of your logo is very important. A logo that is too big can look messy. If it is too small, it may not be seen well. Standard logo size for a website is often around 250×100 pixels. This size fits well on most sites. Your logo should be clear and easy to read at this size.
File Formats are also important. Use formats like PNG or SVG. These formats keep your logo clear. They do not lose quality when resized. PNG works well for logos with many colors. SVG is great for logos with simple lines. Always choose the best format for your logo’s style.
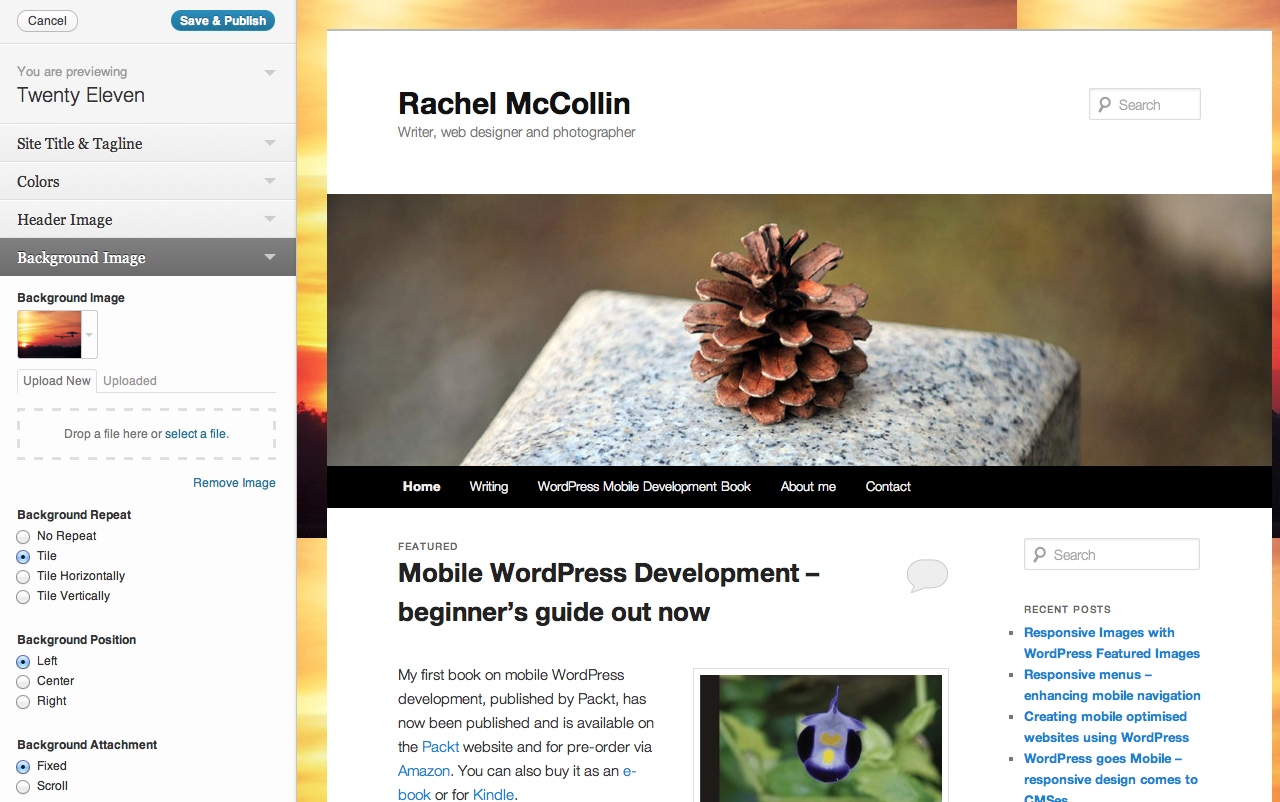
Credit: www.smashingmagazine.com
Accessing The Theme Editor
Access your WordPress Dashboard first. Find the Appearance option. Click on it. Then select Theme Editor. This opens the editor.
Locate the style.css file. It’s in the list on the right. Click to open it. Make sure to read the code carefully. You will add code here.
Backup your theme files. Changes can be risky. Use a child theme. It keeps the main theme safe. Be careful with code changes. Mistakes can break your site.
Test changes before going live. Use a staging site. It’s a safe place to test. If unsure, ask for help. Experts can guide you.
Modifying The Header Code
Find the header.php file in your WordPress theme. This file is in the theme’s folder. Access it using a file manager or FTP. Look for the wp-content/themes/twentyeleven directory. Open the header.php file in a text editor. This file controls the header section. It is important for adding your logo. Be careful when editing this file.
Insert the logo code in the correct place. Find the line with tag to display the logo. Specify the logo’s URL in the src attribute. Use a small logo file for fast loading. Save the changes after editing. Check your site to see the logo. Make sure it looks good on all screens.
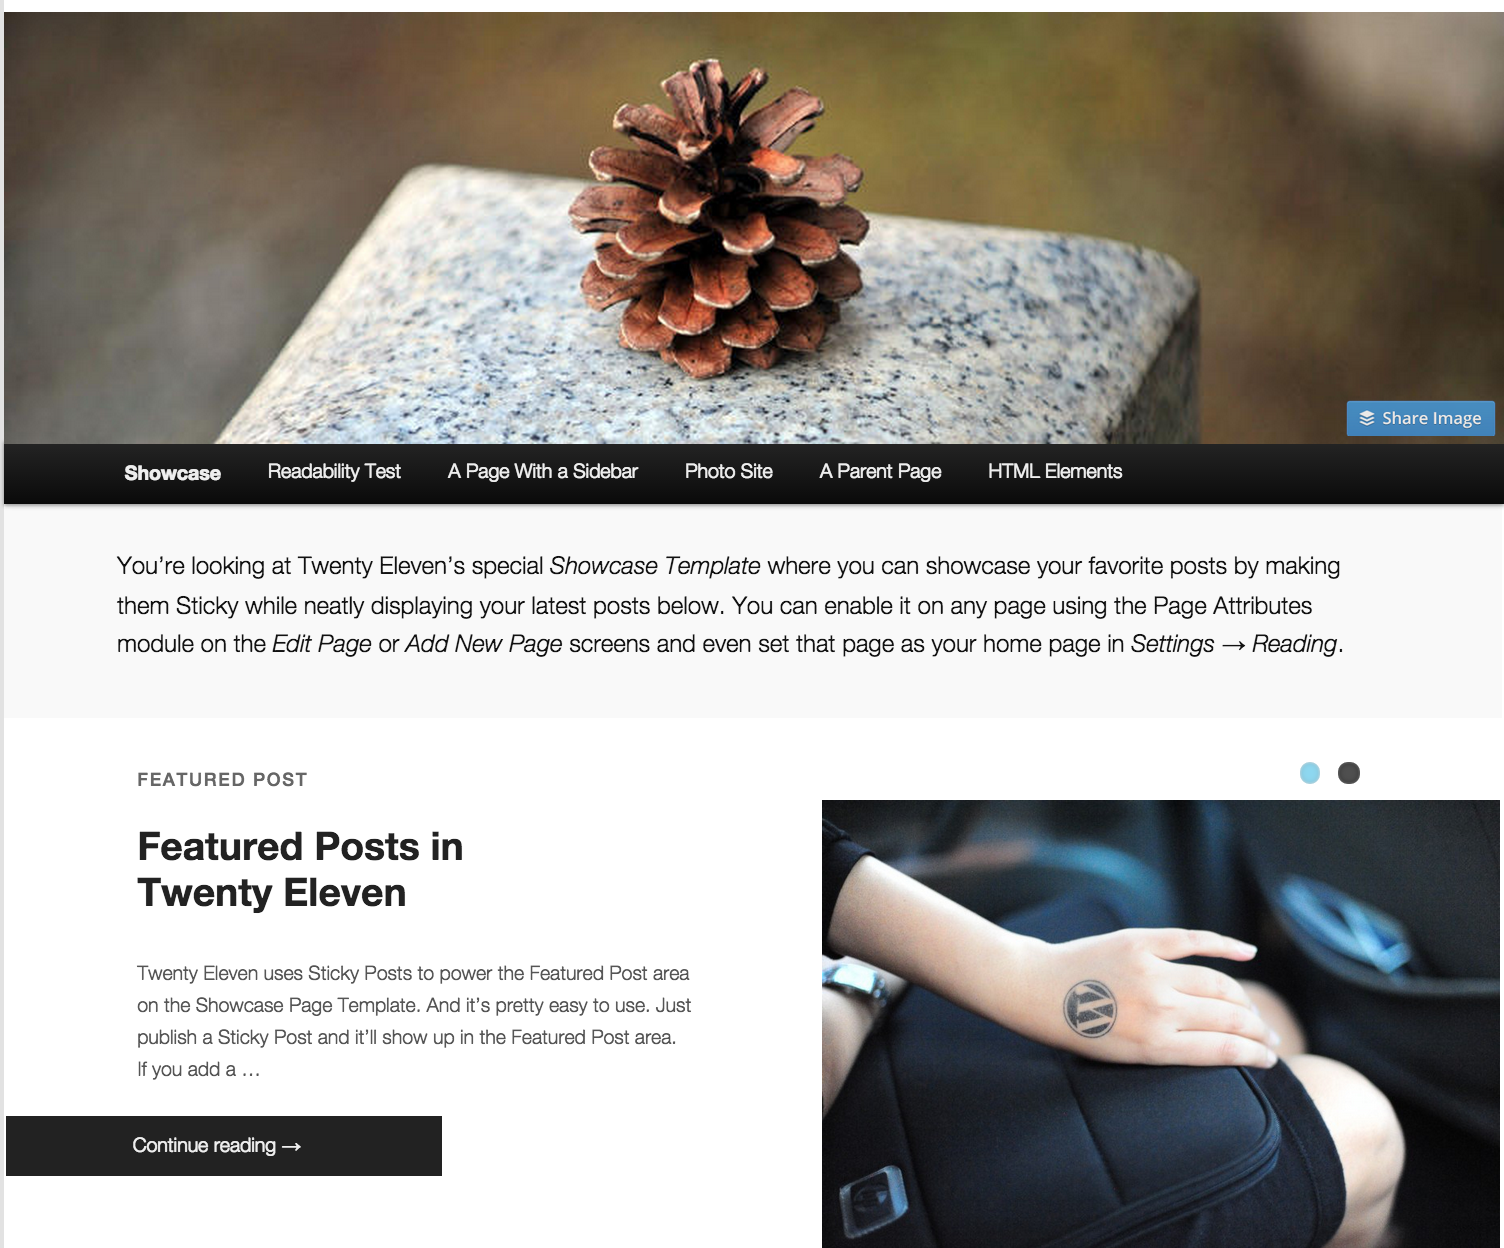
Credit: www.csshero.org
Uploading The Logo Image
First, log into your WordPress dashboard. Find the Media option on the left side. Click on it. Select Add New. Now, click the Select Files button. Choose your logo image from your computer. Wait for the upload to finish. Once uploaded, click on the image. Copy the URL. You will need this URL later.
Open your FTP client. Connect to your WordPress site. Navigate to the wp-content folder. Open the themes folder. Find the twentyeleven folder. Upload your logo image here. Ensure the image name is simple. Use lowercase and no spaces. This helps WordPress find it easily.
Customizing Css For Logo
To change the logo position, open your theme’s CSS file. Find the .site-title or .custom-logo section. Add margin or padding properties. This will move the logo up, down, left, or right. You can use pixels or percentages. Test small changes. Check how it looks on the screen. Adjust until the logo is in the perfect spot.
Adjusting Logo Position
Use CSS to change how the logo looks. Add margin or padding values. Move the logo where you want. Try different values. See what looks best. Check on phones and computers. Make sure it looks good everywhere.
Responsive Design Adjustments
Your logo must look nice on all devices. Use media queries in CSS. This helps the logo fit small screens. Change the size or position of the logo for phones. Make sure the logo is not too big. Test on different devices. Adjust until it looks perfect everywhere.

Credit: wordpress.org
Testing The Logo Display
Cross-Browser Compatibility is important. A logo must look good on all browsers. Start by checking the logo on Chrome. Then, open Firefox and Safari. Does the logo appear the same? Ensure the logo size is consistent. Adjust the CSS if needed. Some browsers may need tweaks. Test on Internet Explorer too. It’s still used by some people.
Mobile View Testing is crucial. Many people use phones to browse. Open your site on a mobile device. Is the logo clear? It should not be too big or small. Check the site on different devices. Try a tablet and a phone. Make sure the logo looks good everywhere. Adjust settings if it doesn’t. A clear logo helps people know your brand.
Troubleshooting Common Issues
First, check if the image file is uploaded correctly. Go to the Media Library in WordPress. Ensure the logo is present and visible. If the logo is missing, upload it again. Sometimes, the image path is incorrect. Double-check the path in the theme settings. Ensure it points to the correct image file.
Alignment issues can occur with the logo. Check the CSS settings of your theme. Locate the section responsible for logo alignment. Sometimes, adding custom CSS helps. Use properties like margin and padding. Adjust them to align the logo properly. Another option is to use a WordPress plugin. Some plugins allow easy alignment fixes. Always preview changes before saving.
Frequently Asked Questions
How Do I Upload A Logo In Twenty Eleven?
To upload a logo in the Twenty Eleven theme, go to the WordPress dashboard. Navigate to Appearance > Customize > Site Identity. Here, you can upload your logo by clicking on the ‘Select Logo’ button. Ensure your logo is optimized for web use for the best results.
Can I Change The Logo Size In Twenty Eleven?
Yes, you can change the logo size in the Twenty Eleven theme. After uploading your logo, use CSS to adjust its dimensions. Add custom CSS under Appearance > Customize > Additional CSS. Specify the desired width and height to fit your design preferences.
What File Format Should My Logo Be?
Your logo should be in a web-friendly format like PNG or JPEG. PNG is ideal for logos with transparent backgrounds. Ensure your logo is optimized for web use to maintain quality and reduce loading time. This enhances user experience and boosts your site’s SEO.
Is It Possible To Add A Logo Without Coding?
Yes, you can add a logo without coding in the Twenty Eleven theme. Use the WordPress Customizer under Appearance > Customize > Site Identity. Upload your logo and adjust settings as needed. No coding knowledge is required for this process.
Conclusion
Adding your logo to the Twenty Eleven theme boosts branding. It’s simple and enhances your site’s appearance. Follow the steps for quick results. Upload, adjust, and save your logo. A personalized touch makes your site stand out. Visitors notice the logo instantly.
Familiar branding builds trust and recognition. Your site looks professional and polished. Consistent visuals strengthen your online presence. Take a moment to update your theme today. A small change leads to big impacts. Engage your audience with a memorable logo.
It’s an easy way to improve your WordPress site. Try it now and see the difference.


