
Are you struggling to give your WordPress site a unique identity with the Twenty Thirteen theme? Adding a custom logo is a simple yet powerful way to make your website stand out and resonate with your brand.
Imagine the sense of satisfaction as your logo proudly sits on your site, catching every visitor’s eye and leaving a lasting impression. This guide will walk you through the process of adding a logo to the Twenty Thirteen theme step-by-step, ensuring you won’t miss a beat.
Whether you’re new to WordPress or just looking to refresh your site’s appearance, you’ll find this guide easy to follow and packed with practical tips. Ready to transform your website into a true reflection of your brand? Let’s dive in!
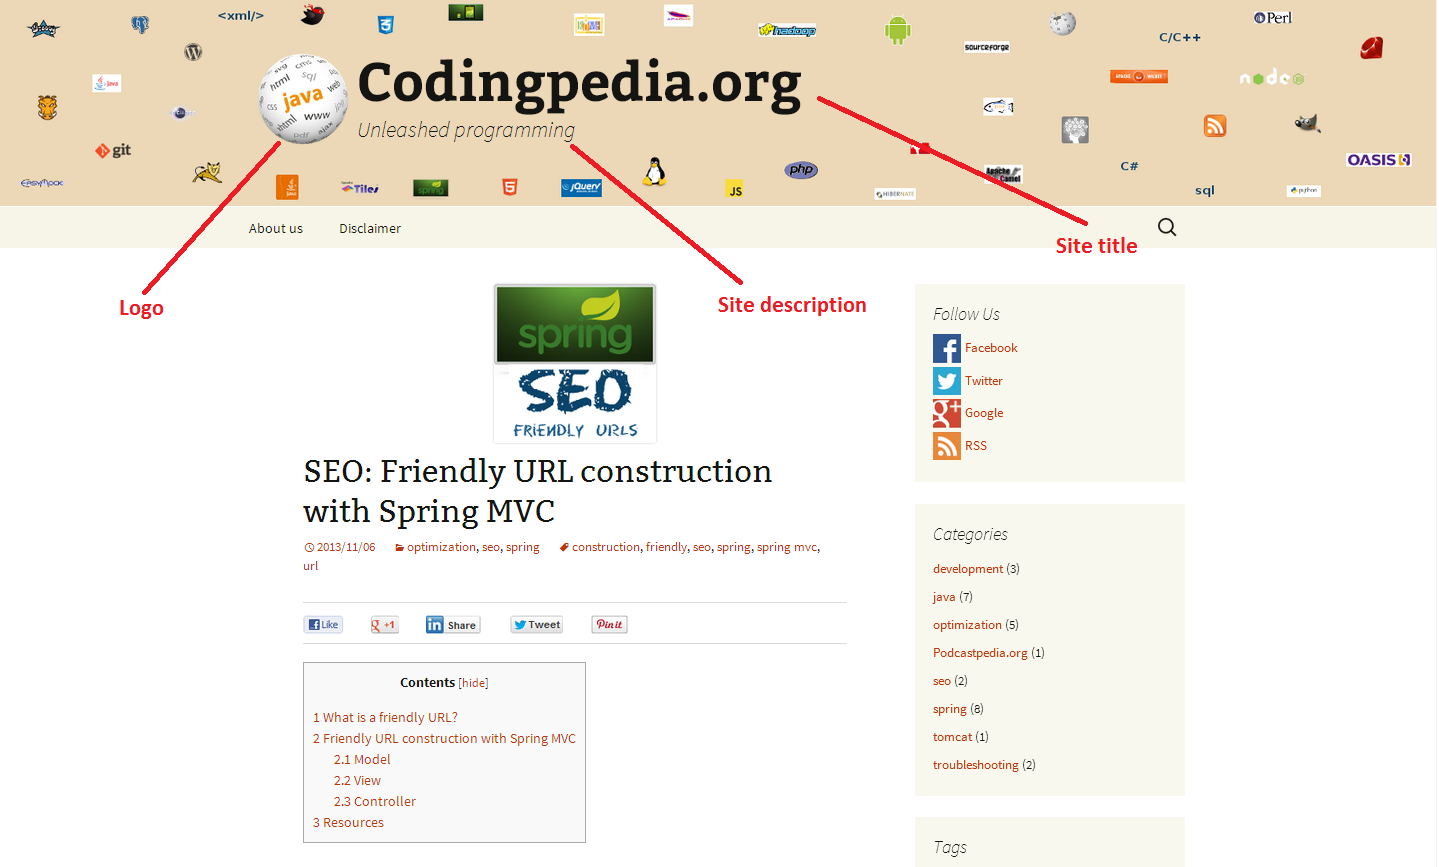
Credit: www.codepedia.org
Choosing The Right Logo
Adding a logo to the Twenty Thirteen theme is simple. Start by accessing your WordPress dashboard. Navigate to Appearance, then click Customize. Look for Site Identity, upload your logo, and save changes. Your logo should now display on your site.
Keep it clear and relevant for brand recognition.
Logo Dimensions
It’s important to get the right size for your logo. A logo that is too big can look awkward. Too small, and it might not be clear. A good size is around 200×200 pixels. This size fits well on most screens.
The logo should be in a square shape. Square logos are easy to fit. They look nice on the website. Make sure the logo is simple and clear.
File Formats
A logo can be in different file formats. The most common is PNG. PNG keeps the background clear. You can also use JPEG. JPEG is good for pictures. Make sure the file size is not too big. A big file can slow down your website. Keep it under 500 KB for best results.
Accessing Theme Settings
Log in to your WordPress dashboard. Find the Appearance tab on the left. Click on it. A menu will appear. Select Customize. This opens the Theme Customizer.
Look for the Site Identity section. Click on it. You will see options for the site title. Also, the tagline and logo. Click on the Select Logo button. Choose your logo from the media library. Or upload a new one. Adjust the logo size if needed. Click Save & Publish to finish.
Uploading The Logo
Open your WordPress dashboard. Click on “Media”. Then, select “Add New”. A new page will appear. You can now upload your logo. Simply drag your logo file. Drop it into the box. Or click on “Select Files”. Choose your logo file from your computer. The logo file should be in JPEG or PNG format. Once uploaded, it will appear in the media library. Remember the file name.
Go to your WordPress dashboard again. Click on “Appearance”. Then, choose “Customize”. The customizer panel will open. Select “Site Identity”. Here, you will find the logo option. Click on it. Choose the logo you uploaded. Click “Select” to assign it. Finally, click on “Publish” to save changes.

Credit: www.flickr.com
Adjusting Logo Placement
Choose the right position for your logo. It can be at the top, bottom, or center. The top is often the best choice. It makes the logo easy to see.
Changing the position is simple. Go to the WordPress dashboard. Find the Theme Customizer. Click on the “Header” section. Here, you can move your logo. Try different spots to see what looks best.
Alignment means where the logo sits. It can be left, right, or center. The center is popular. It looks neat and balanced.
To change it, use the Theme Customizer again. Look for alignment options. Move the logo until it looks right. Save your changes when done.
Custom Css For Logo
Adding a logo to the Twenty Thirteen theme needs custom CSS. Use the WordPress dashboard for this.
Navigate to Appearance and click on Customize. Find the Additional CSS section. Enter your CSS code here.
Use the CSS class for the logo area. Add properties like width, height, and background-image. Customize according to your needs. Check changes in the preview.
Styling Tips
- Use consistent colors for a neat look.
- Ensure the logo size fits well.
- Keep text readable around the logo.
- Test on mobile devices for responsiveness.
- Use padding for spacing.
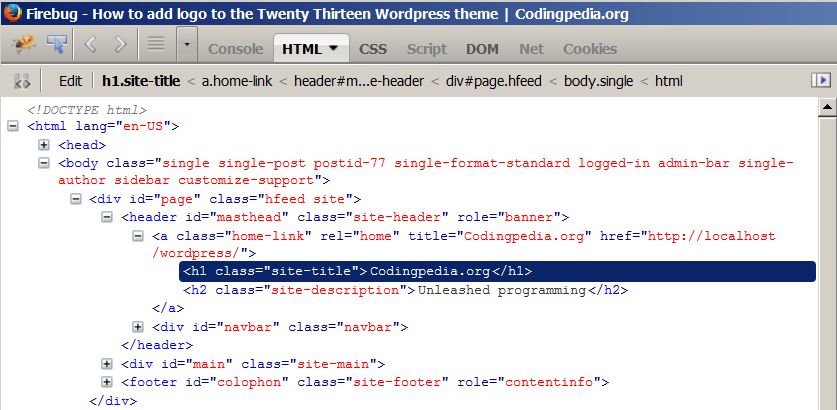
Credit: www.codepedia.org
Testing Logo Appearance
Updating your WordPress Twenty Thirteen theme with a logo involves a few simple steps. Navigate to the theme customizer, locate the “Header Image” section, and upload your logo. Adjust settings to ensure it displays well.
Responsive Checks
Check if the logo looks good on all devices. Use a phone and a tablet for this. The logo should be clear and not blurry. Try rotating the device. Does the logo stay in place? It’s important for it to fit well.
Browser Compatibility
Test the logo in different web browsers. Use Chrome, Firefox, and Safari. Make sure the logo looks the same in each. Sometimes a logo can look different. This happens because of browser settings. Find out if this is an issue.
Troubleshooting Common Issues
Struggling to add a logo to the Twenty Thirteen theme in WordPress? Navigate to the theme customizer under “Appearance. ” Choose “Header Image” to upload your logo. Adjust size and placement for perfect alignment. Troubleshoot by checking theme settings if the logo doesn’t appear correctly.
Logo Not Displaying
Sometimes the logo does not show up. This might be due to incorrect file paths. Ensure the file path is correct in the theme settings. Check if the logo file format is supported. Common formats include JPEG, PNG, and GIF. Also, verify that the logo has been properly uploaded to the media library.
Image Quality Problems
Blurry logos can be frustrating. Ensure the logo is high resolution. A low-quality image will appear blurred. Resize the logo to fit the theme’s dimensions. Use image editors like Photoshop or GIMP. Maintain the original aspect ratio to avoid distortion. Save the image in a lossless format like PNG for best results.
Frequently Asked Questions
How Do I Customize The Twenty Thirteen Logo?
To customize the logo in Twenty Thirteen, access the WordPress dashboard. Navigate to Appearance > Customize, then select Site Identity. Here, you can upload your desired logo image, adjust its size, and preview changes. Click ‘Publish’ to save and apply the new logo to your theme.
Can I Change Logo Size In Twenty Thirteen?
Yes, you can change the logo size in Twenty Thirteen. After uploading your logo in the Customizer, you can adjust its dimensions using the size settings. Ensure the logo fits well within your site’s header area. Preview changes before publishing to ensure it looks perfect.
Is Twenty Thirteen Logo Responsive?
Yes, the Twenty Thirteen logo is responsive. When you upload your logo through the Customizer, it automatically adjusts to different screen sizes. This ensures it displays correctly on mobile devices, tablets, and desktops. Always check the preview to confirm the logo’s responsiveness across various devices.
Can I Add A Logo Without Coding?
You can add a logo without coding by using the WordPress Customizer. Simply go to Appearance > Customize > Site Identity. Upload your logo image, adjust settings, and click ‘Publish’ to save changes. This user-friendly interface eliminates the need for any coding skills.
Conclusion
Adding a logo to your WordPress site is simple. It helps your brand stand out. The Twenty Thirteen theme makes this easy. You’ve learned the steps to customize your site. Now, your website reflects your identity. No more generic looks.
Just follow the steps outlined. Soon, your logo will shine on your site. It adds a personal touch. Your visitors will remember your brand. A professional look is key for success. Enjoy the new look of your WordPress site. Your logo is more than an image.
It’s your brand’s face online.


