
Are you looking to expand your WordPress website’s reach by making it accessible to a global audience? Adding a language choice to your WordPress theme can be the key to opening up new avenues for engagement and user satisfaction.
Imagine your visitors feeling right at home, navigating through your content in their preferred language. This simple tweak can significantly enhance user experience, boost your site’s SEO, and increase your audience base. But how exactly do you go about adding this multilingual feature to your WordPress site?
You might think it’s a complex process, but with the right guidance, it’s easier than you might believe. This guide will walk you through the steps to seamlessly integrate a language selection option into your WordPress theme, ensuring you cater to a diverse, global audience without breaking a sweat. Keep reading to discover how you can make your website more inclusive and user-friendly.
Choosing A Multilingual Plugin
WPML is a popular choice. It supports many languages. Another option is Polylang. It is free and easy to use. TranslatePress is good too. It offers a live editor. This helps to see changes as you translate. Each plugin has its own features. Choose the one that fits your needs.
Some plugins offer automatic translation. Others let you translate by hand. Some plugins support SEO. This helps your site rank better. It’s important to check plugin support. Good support means help is there if needed. Some plugins also offer a free version. This lets you try before you buy.
Look for plugins that are easy to use. Check if they support your language. Make sure they work with your theme. Some plugins offer e-commerce support. This is important if you sell products. Check if they have good reviews. Happy users mean a reliable plugin.
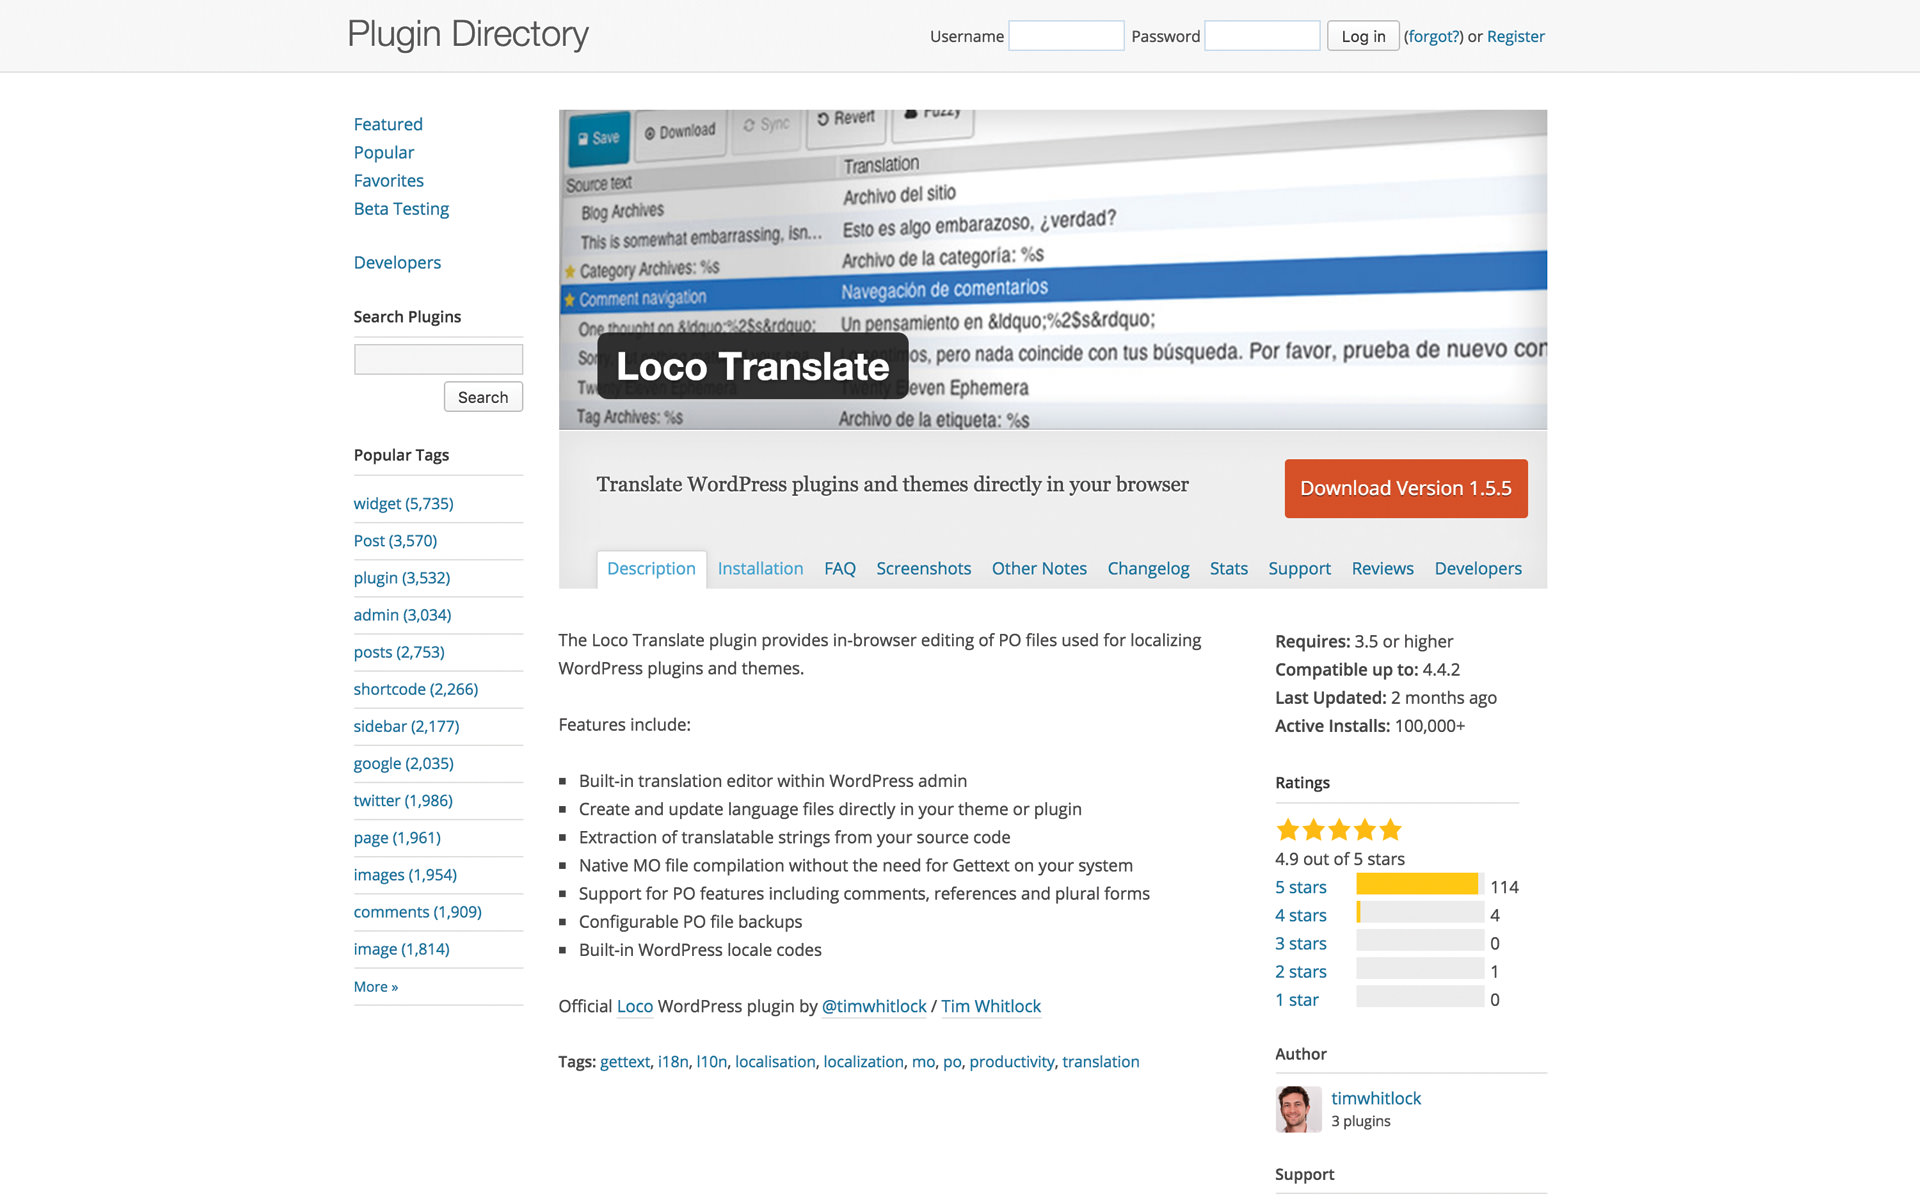
Credit: support.undsgn.com
Installing A Multilingual Plugin
First, find a good plugin for languages. Download it to your computer. Next, go to your WordPress dashboard. Click on “Plugins” and then “Add New”. Select “Upload Plugin” from the top. Choose the file you downloaded. Click “Install Now”. Wait for a few seconds. The plugin will install automatically.
Once installed, you need to activate the plugin. Go back to the “Plugins” section in your dashboard. Look for the plugin you installed. Find the “Activate” button next to it. Click it to enable the plugin. Now, your website can use different languages. Follow any extra steps given by the plugin. This helps set up languages properly.
Configuring Language Settings
Install a language plugin to start. Popular plugins are WPML or Polylang. Activate the plugin from your WordPress dashboard. Go to the plugin settings. Choose the languages you want. The plugin will add these languages to your site. Now, visitors can select their preferred language. This makes your site accessible to more people.
Open the language plugin settings. Find the default language option. Select your main language from the list. This language will show first on your site. It is the default language for all users. Save your changes. Your site now has a main language. Users can still change to other languages. This makes your site easy to use.
Translating Theme Content
Manual translation needs time and patience. First, find the theme files. Look for .po files for translations. Use a tool like Poedit. Open the file and start translating. Save the changes when done. Upload the new file back to the site. Your theme will now show in the new language.
Automatic tools make the task easier. Install a plugin like Google Language Translator. Go to plugin settings. Choose the languages you need. The plugin translates your theme on-the-fly. This method is fast and easy. But, translations may not be 100% accurate. Always check for errors.
Adjusting Theme Design For Multiple Languages
Adding a language switcher is easy. Go to your WordPress dashboard. Click on Appearance and then Widgets. Add a new widget for the language switcher. Choose where you want it to appear. The menu or sidebar is a good spot. Make sure users can find it easily.
Responsive design is important. The switcher must work on all devices. Tablets and phones included. Test it on different screen sizes. Adjust if it doesn’t look good. Use CSS to make changes. Keep the design simple. Simple designs load faster. Fast sites are better for users.
Check accessibility. Everyone should use the switcher. Add labels to the switcher. Labels help users know its function. Use contrasting colors. This makes the switcher stand out. Adjust colors for readability. Good design helps users navigate the site easily.
Credit: translatepress.com
Testing Language Functionality
Check if the website shows the right language options. Switch between different languages. Make sure text changes correctly. Test all pages for language settings. See if menus and buttons adjust. Verify if images and media display properly. Look for missing translations. Fix any broken links. Ensure the site looks neat.
Read translated content carefully. Compare it to the original text. Look for grammar mistakes. Make sure sentences make sense. Confirm words are translated correctly. Pay attention to special terms. Check dates and numbers formats. Adjust if needed. Ask a native speaker for help. Ensure translations are clear. Keep content simple.
Seo Considerations For Multilingual Sites
Enhancing WordPress themes to support multiple languages boosts SEO performance. Integrate language options easily with plugins like WPML or Polylang. These tools simplify adding language selectors, ensuring your site is accessible to a global audience.
Language Tags And Meta Data
Language tags help search engines know the language of your site. Use them for each page. They guide the search engines. They help users find the right content. Meta data is also important. It includes titles and descriptions. Keep them clear and concise. They should match the language of the page. This boosts search engine optimization.
Focus on user experience. Make sure the language choice is easy. Use flags or dropdowns. This helps users switch languages. Keep it simple. Users should find it quickly. This improves site engagement. It boosts rankings. Search engines notice this. They value good user experience.

Credit: docs.themeisle.com
Maintaining And Updating Translations
WordPress themes support language options by integrating multilingual plugins. These plugins help maintain and update translations efficiently. Customize your theme’s language choice to enhance user experience and reach a wider audience.
Regular Content Updates
Content changes often on websites. Always update translations to match. New pages need translation too. This keeps all languages up to date. A clear website helps all users. Use translation tools for easy updates. These tools save time and effort. Assign a team member for this task. Regular checks ensure nothing is missed.
Handling Plugin Updates
Plugins are important for WordPress. They add features to your site. Plugin updates can change how they work. Always update translations after plugin changes. This keeps everything working smoothly. Check for new plugin features. Translate any new text they add. This keeps your site user-friendly. A well-maintained site attracts more visitors.
Frequently Asked Questions
How To Enable Language Switcher In WordPress?
To enable a language switcher, install a multilingual plugin like WPML or Polylang. Configure the languages you want to support. Add the language switcher widget to your theme’s header or footer. Customize its appearance to match your theme design. Test the switcher to ensure it works smoothly.
Can I Add Multiple Languages To My Theme?
Yes, you can add multiple languages to your WordPress theme. Use a multilingual plugin like WPML or Polylang. Configure each language you want to support. Translate your theme elements, posts, and pages. Ensure your site’s navigation and SEO settings are optimized for multiple languages.
Is A Multilingual Plugin Required For Language Choice?
Yes, a multilingual plugin is required for language choice in WordPress. Plugins like WPML or Polylang facilitate language management. They help translate content and provide language switchers. These plugins are easy to install and configure, offering a seamless multilingual experience for users.
How Does Language Choice Affect Seo?
Language choice positively affects SEO by targeting a broader audience. It improves user experience by offering content in their preferred language. Ensure proper hreflang tags are used. Optimize each language version for local search engines. This enhances visibility and engagement across different regions.
Conclusion
Adding language options to your WordPress theme enhances user experience. Visitors feel more comfortable navigating your site in their preferred language. This simple customization can attract a global audience. Keep your content accessible for all. It’s important. With WordPress, language choice is not complicated.
You can make your site multilingual with ease. Engage more users by offering them choices. More languages mean more reach. Remember, a user-friendly site encourages more visits. Make language selection a priority. Your audience will appreciate the effort. Start today and improve your WordPress site.
Happy customizing!


