
Are you looking to make your WordPress site more visually appealing by adding image placeholders? You’re in the right place!
Images can dramatically transform your website, capturing attention and enhancing the user experience. Whether you’re a seasoned developer or a WordPress newbie, learning how to seamlessly integrate image placeholders into your theme can significantly boost your site’s aesthetic appeal and functionality.
Imagine having the power to effortlessly showcase stunning visuals that resonate with your audience and keep them engaged. In this guide, you’ll discover simple yet effective steps to add image placeholders, ensuring your website not only looks professional but also stands out in the crowded digital space. Stay tuned to unlock the secrets to a visually captivating WordPress theme that draws in visitors and keeps them coming back for more.
Choosing The Right Image Format
JPEG images are great for photos. They have small file sizes. PNG images keep details clear. They are perfect for logos. Both formats have their uses. Choose the right one for your needs.
High resolution images look clear. They take more space. Low resolution images load fast. They might look blurry. Balance is key. Use the right size for your theme.
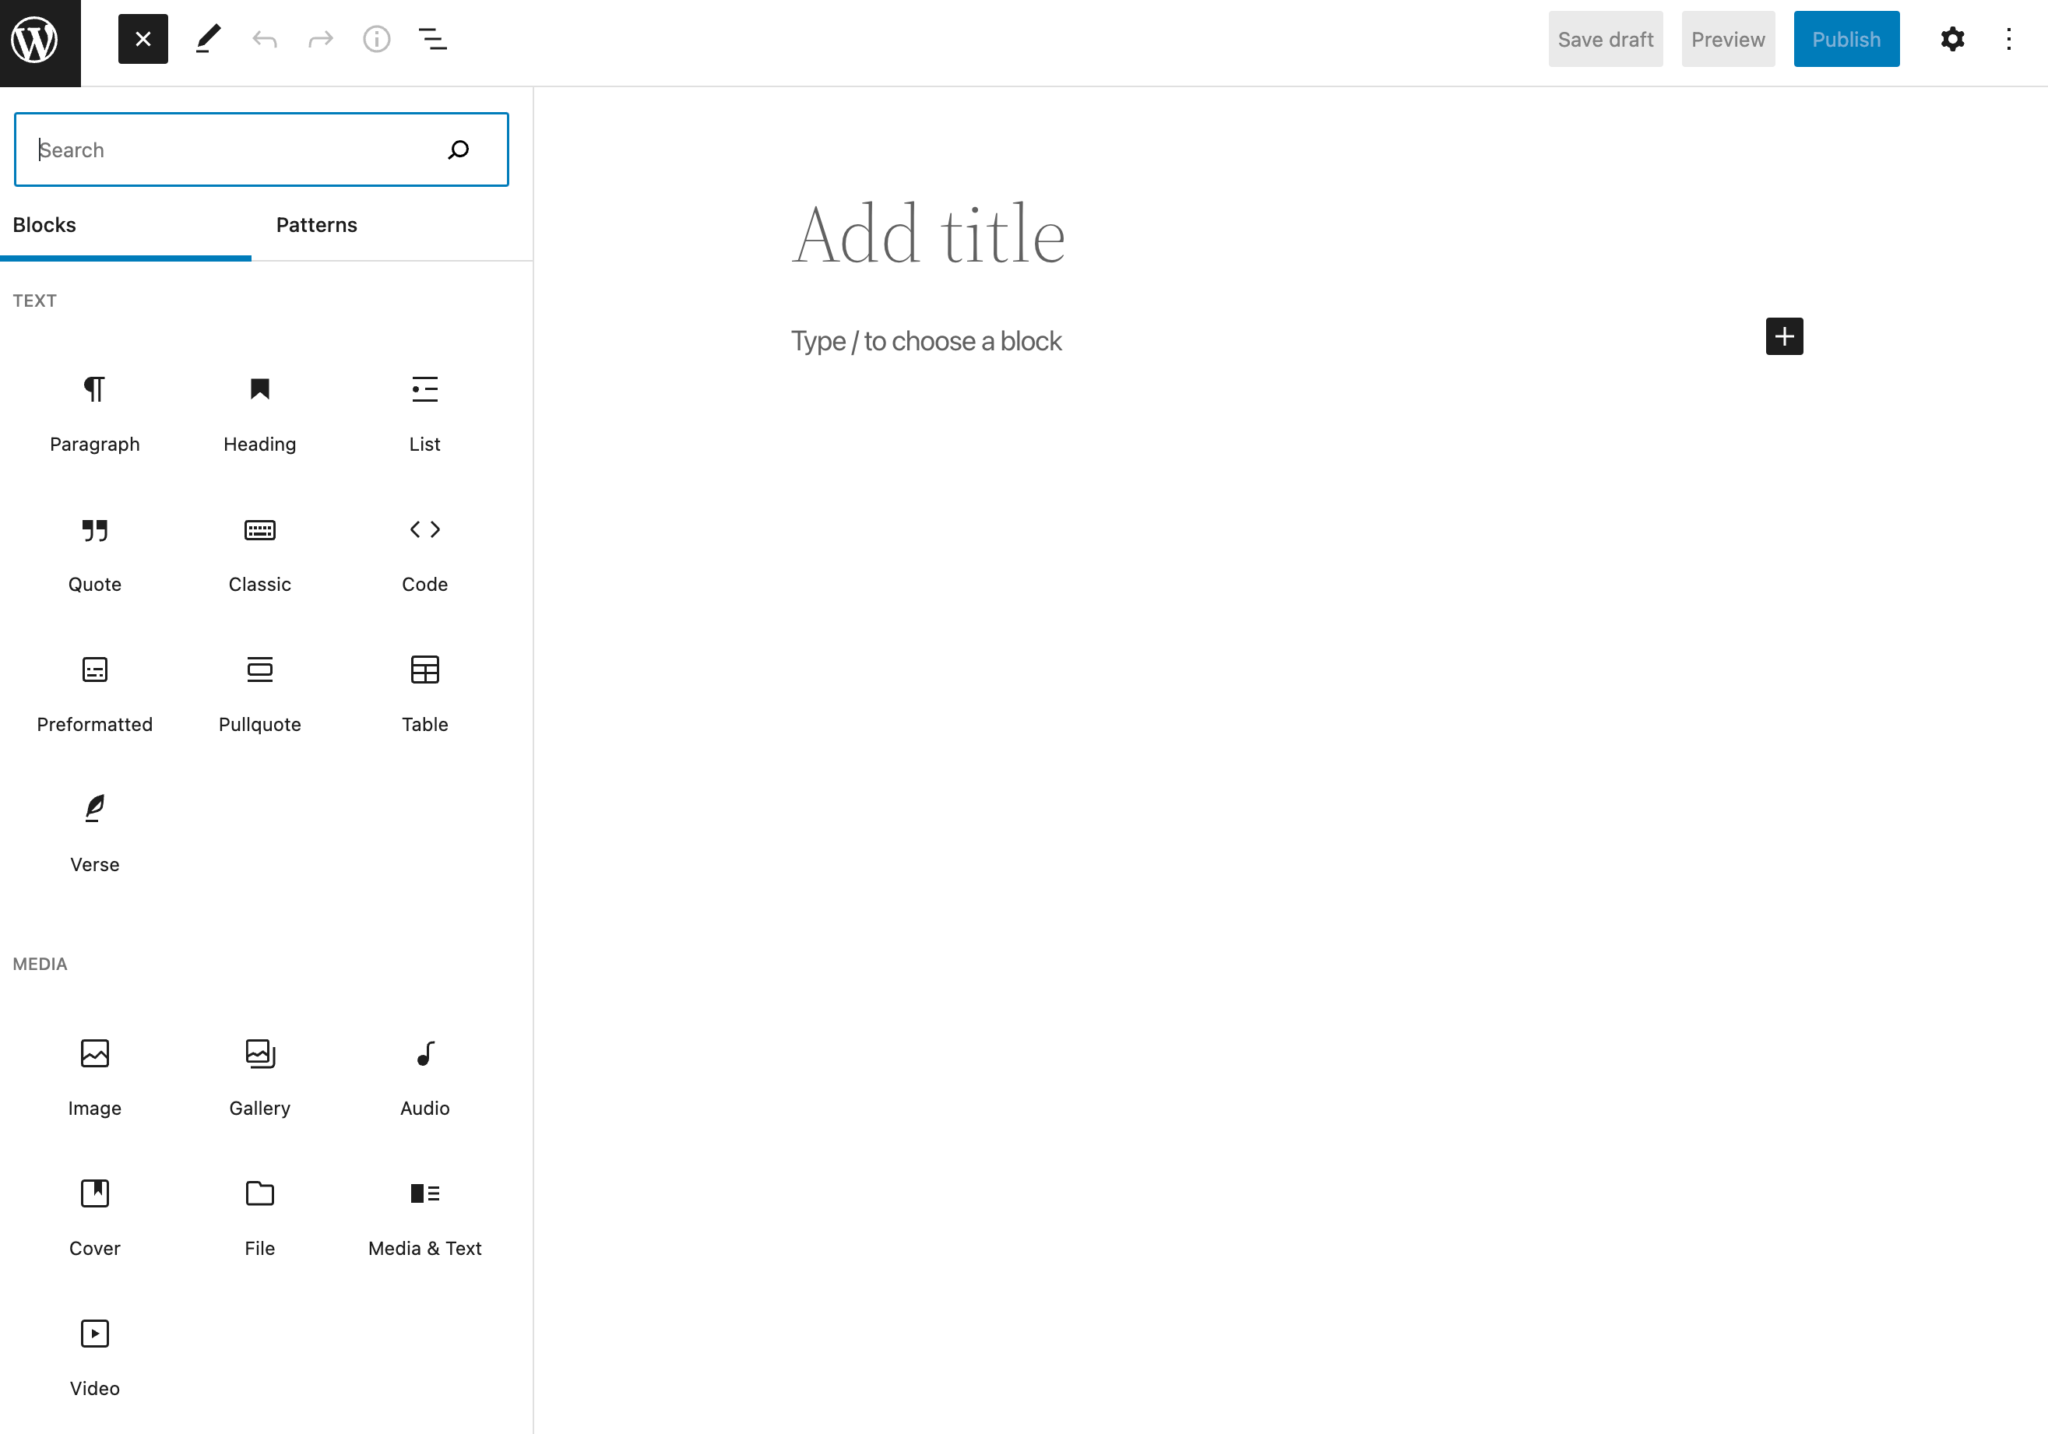
Credit: torquemag.io
Preparing Your Image
Many tools can help you edit images. Popular ones include Photoshop and GIMP. These tools allow you to crop, adjust colors, and add text. Photoshop is well-known for its many features. GIMP is free and easy to use. Both are great for beginners and experts alike. These tools can make your images look clear and attractive.
Small images load faster. Resize images to fit your website needs. Tools like TinyPNG and JPEGmini help reduce image size. This keeps your website fast and smooth. Large images can slow down your site. Always check image size before uploading. A smaller size makes for a better user experience.
Uploading Images To WordPress
The Media Library is a simple way to add images. First, go to your WordPress dashboard. Click on “Media”, then “Add New”. You will see a button that says “Select Files”. Click it. Choose the image from your computer. The upload will start. Once done, the image appears in the library. You can now use it in your posts or pages. Adding images this way is easy and fast.
Direct file uploads need an FTP client. First, connect to your website. Locate the wp-content folder. Open it. Inside, find the uploads folder. Drag your image file here. This method is for advanced users. Be careful with file names. Use simple names with no spaces. This keeps your site organized.
Modifying Theme Files
Enhancing your WordPress theme involves editing theme files to include image placeholders. Start by accessing your theme’s code via the WordPress dashboard. Locate the spot in your theme files where you want to add an image and insert the necessary HTML or PHP code.
Accessing Theme Editor
First, go to your WordPress dashboard. Find the Appearance menu. Click on Theme Editor. This opens your theme files. You can see the code here. Be careful while editing. Mistakes can break your site. It’s best to backup your files first. Seek help if unsure.
Identifying Key Template Files
Identify the right template file. Common files include header.php and footer.php. Others are single.php and page.php. Use these files to add images. Find the right spot in the code. Add your image code there. Save the changes. Check your site to see the image. This task may need some practice.
Integrating Images In Theme Templates
Adding images to your theme is simple. Use the tag in HTML. This tells the browser to show an image. CSS helps style your images. It can make them look pretty. Use width and height to set the size. Use border-radius to make corners round. Try box-shadow for a shadow effect. These tools make images look nice.
PHP can make images change. Use PHP to show different images each time. Place code in your template files. Use the get_template_directory_uri() function. This finds the image folder. Use echo to display images. PHP makes images dynamic. Users see new images often. It makes your site interesting. Easy with the right code.

Credit: wordpress.com
Customizing Image Display
Add image spaces to your WordPress theme effortlessly with easy steps. Customize layouts by adjusting theme files and using widgets. Enhance visual appeal by placing images where they fit best.
Adjusting Image Dimensions
Changing image size in WordPress is easy. First, go to your dashboard. Next, navigate to the media settings. Here, you can set default sizes for images. Choose from thumbnail, medium, and large options. Adjust these sizes to fit your theme. This helps images look neat and tidy.
Styling With Css
CSS can make images look better. Use CSS to add borders or shadows. This gives images a unique style. You can also use CSS to change image alignment. Align images to the left, right, or center. This makes your website look professional. Add CSS rules in your theme’s style.css file. This ensures the changes apply site-wide.
Testing Image Placement
Ensuring images look good on all devices is crucial. Cross-device compatibility matters. Check images on phones, tablets, and computers. Each device shows images differently. Adjust sizes and positions for each. Use responsive design tools. These help images fit right on every screen. Test often. Testing catches mistakes early. Fix any issues right away. Small changes make a big difference.
Browsers handle images in unique ways. Browser testing is important. Try images on Chrome, Firefox, and Safari. Each browser might change image looks. This can affect user experience. Use browser tools for testing. They show how images appear. Check for broken or missing images. Ensure images load fast. Slow images can annoy users. Fix any problems quickly. Keep testing until everything works well. Happy users stay longer on your site.
Ensuring Seo Optimization
Alt text is important for images. It helps with search engines. It tells what the image is about. Use simple words in alt text. Image titles also matter. They show when you hover over the image. Use different words for alt text and titles. This helps in SEO.
An image sitemap lists all images. It helps search engines find them. Add your image sitemap to Google Search Console. This makes sure all images get indexed. Sitemaps help improve your site’s visibility. They make images more searchable. Always update your sitemap with new images.
Troubleshooting Common Issues
Easily insert images into your WordPress theme by identifying the right template files. Access the theme editor, locate the desired file, and use the WordPress media uploader to add your image. Save changes and refresh your site to see the update.
Broken Image Links
Broken image links can be frustrating. They often occur due to incorrect URL paths. Check the image URL in your theme settings. Make sure it points to the correct location. Sometimes, images get moved or deleted. Always verify the file path before saving changes. If links remain broken, consider re-uploading the image. Ensure the image is in the correct media folder. This simple step often fixes the issue.
Image Loading Problems
Slow image loading can affect user experience. Large image files take longer to load. Optimize images by reducing their size. Use tools like TinyPNG or JPEG Optimizer. Smaller images load faster and improve site speed. Check your internet connection too. A slow connection might be the problem. Ensure that WordPress settings allow for image display. Sometimes, plugins can interfere. Disable any unnecessary plugins to see if it helps.

Credit: qodeinteractive.com
Frequently Asked Questions
How To Add Images In WordPress Themes?
To add images in WordPress themes, you can use the Customizer. Navigate to Appearance > Customize, then select Header or Background Image. Upload your desired image and adjust settings as needed. You can also add images directly in theme files using HTML or PHP code, but ensure proper paths are set.
Can I Use Plugins To Add Image Places?
Yes, you can use plugins to add image places in WordPress themes. Popular plugins like “Advanced Custom Fields” allow you to create custom image fields. This makes it easy to add image placeholders without altering theme code. Ensure the plugin is compatible with your theme and WordPress version.
What Is The Best Image Format For Themes?
The best image format for WordPress themes is JPEG for photographs due to its compression efficiency. PNG is preferred for images requiring transparency or high quality. SVG is great for scalable graphics like logos. Choose formats based on image type and website performance considerations.
How Do I Optimize Images For WordPress?
To optimize images for WordPress, use image compression tools like TinyPNG or Smush. Compress images before uploading to reduce file size. Use appropriate dimensions and formats. Implement lazy loading to improve site speed. These practices enhance performance without sacrificing image quality.
Conclusion
Adding image placeholders enhances your WordPress theme. It improves visual appeal. Visitors engage more with rich visuals. Follow the steps shared above. Customize your theme effortlessly. Practice makes perfect. Experiment to find what works best. Images tell a story. They capture attention instantly.
Use high-quality images. Optimize them for faster loading. Remember, balance is key. Too many images can slow your site. Keep it simple yet attractive. Now, you’re ready to make your theme visually stunning. Enjoy creating and customizing your WordPress site with ease!


