
Are you looking to give your WordPress website a fresh and inviting look? Adding a header image can be a game-changer, transforming your site’s first impression and drawing visitors in.
Imagine the impact of a captivating image that perfectly represents your brand or content, greeting every visitor right at the top of your page. It’s not just about aesthetics; a well-chosen header image sets the tone and mood for your entire site.
In this guide, you’ll discover how easy it is to add a header image to your WordPress theme, even if you’re not a tech wizard. Let’s dive in and make your website truly stand out!
Credit: quadlayers.com
Selecting The Right Image
Picking the right image size is key. It affects how your site looks. Images that are too big can make your site slow. Too small and they look blurry. Balance is important. Check your theme’s guide. It will tell the best size. Most themes like wide images. Often, 1200 pixels wide works well. Height can vary. Look at your site preview. This helps in choosing the best fit.
Quality matters for images. High-quality images look sharp. But, large files can slow down loading. Use tools to compress images. They keep quality but make files smaller. JPEG is good for photos. PNG is better for graphics. Test different images. See what looks best. Remember, clear images make your site look nice. Always aim for clear, crisp visuals.
Credit: www.elegantthemes.com
Accessing WordPress Dashboard
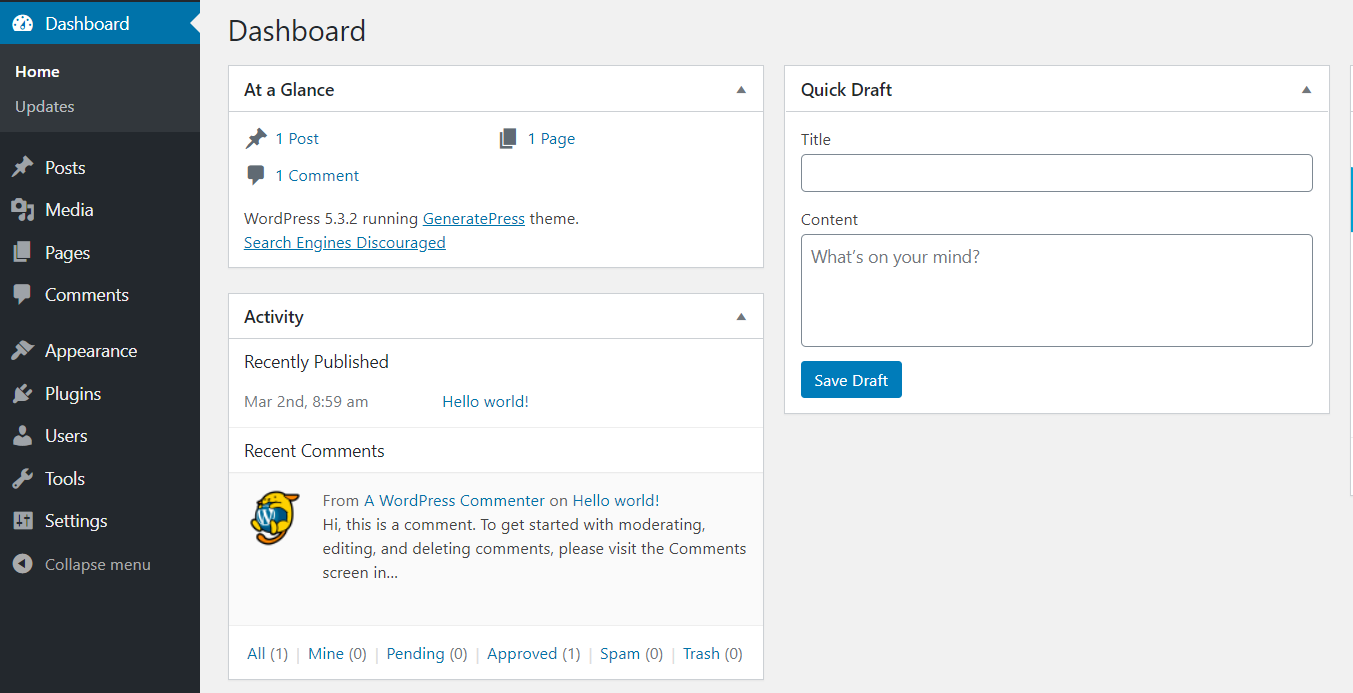
Start by opening your web browser. Type your WordPress site URL. Add “/wp-admin” at the end. Press enter. You will see the login screen. Enter your username and password. Click the login button. You are now in the WordPress dashboard.
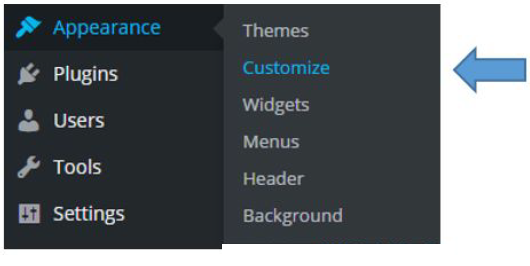
Look at the left side menu. Find the Appearance option. Click on it. A list will appear. Choose the Customize option. This opens the theme editor. Here, you can change the header image. It’s simple and easy.
Uploading The Header Image
First, open your WordPress dashboard. Click on Appearance in the sidebar. Find the Header option and click it. Now, you see where to add a new image. This is the Header Image Option. It helps you change the look of your site.
Click on Add New Image. A new window opens. Choose Media Library to pick an image. Select the image you like. Then click Select and Crop. Now your image is ready. It shows at the top of your page.
Click on Add New Image. Then, choose Upload Files. Click Select Files to pick an image from your computer. Choose the image and click Open. Once uploaded, click Select and Crop. Your image will now appear at the top.
Credit: www.library.illinois.edu
Customizing The Header Image
Choose the perfect spot for your header image. Align it to the left, center, or right. Make sure it looks balanced on all devices. Check both desktop and mobile views. A centered image often looks best. But it’s your choice. Experiment with different positions. Find what works for your site.
Decide if you want the image always visible. Or only on the homepage. Some themes let you hide it on certain pages. This can keep pages clean. It can also make your site load faster. Be sure to test each change. Make sure it looks good everywhere. Sometimes, less is more.
Saving Changes
Previewing the Header is important. See how your changes look. Click the “Preview” button. This shows you the new header image. Make sure it fits well. Check if the image is clear. Does it match your theme?
After previewing, it’s time for Saving and Publishing. Click “Save” to keep changes. Then, hit “Publish” to show the image live. This makes your header visible to everyone. Always save your work. This prevents losing changes. Publishing is the final step. It makes your site look great.
Troubleshooting Common Issues
Upload errors can be frustrating. Check the image file size first. Ensure it is not too big. Use a smaller file if necessary. Double-check your internet connection. A slow connection can cause problems. Clear your browser’s cache. This can help with upload errors. Disable any plugins temporarily. Some plugins may block uploads.
Images not displaying? Verify the file type. Only use compatible formats like JPEG or PNG. Check theme settings. Some themes require specific image dimensions. Adjust image size to fit the header space. Refresh the page after changes. This ensures updates are visible. Consult your theme’s documentation. It may have specific display guidelines.
Frequently Asked Questions
How Do I Change Header Image In WordPress?
To change the header image in WordPress, go to your dashboard, click on ‘Appearance’, then ‘Customize’. From there, select ‘Header Image’, upload your new image, and save changes. Ensure the image fits your theme’s recommended dimensions for optimal display.
Can I Use Any Image For My Header?
Yes, you can use any image for your header, but it should be high-quality and appropriately sized. Check your theme’s recommended dimensions to ensure the image doesn’t distort. Optimizing the image for web will improve loading times and user experience.
Why Is My Header Image Not Displaying?
Your header image might not display due to incorrect dimensions or upload errors. Ensure the image matches your theme’s size requirements. Verify you’ve saved changes in the ‘Customize’ section. Check your browser’s cache and refresh the page to see updates.
Is Header Image Important For Website Design?
Yes, header images are crucial for website design. They create a visual impact and set the tone for your brand. A well-chosen header image can enhance user engagement and improve the site’s aesthetic appeal. Ensure it aligns with your overall branding strategy.
Conclusion
Adding a header image to your WordPress theme is simple. Start by choosing a high-quality image. A picture that fits your brand. Next, locate the theme customization options. Most themes have easy access to these settings. Follow the steps to upload your image.
Adjust the size if needed. Preview your changes before saving. Always check your website on different devices. This ensures the header looks good everywhere. A well-chosen image enhances your website’s appeal. It creates a strong first impression. Keep experimenting until you find the perfect look.
Happy designing!


