
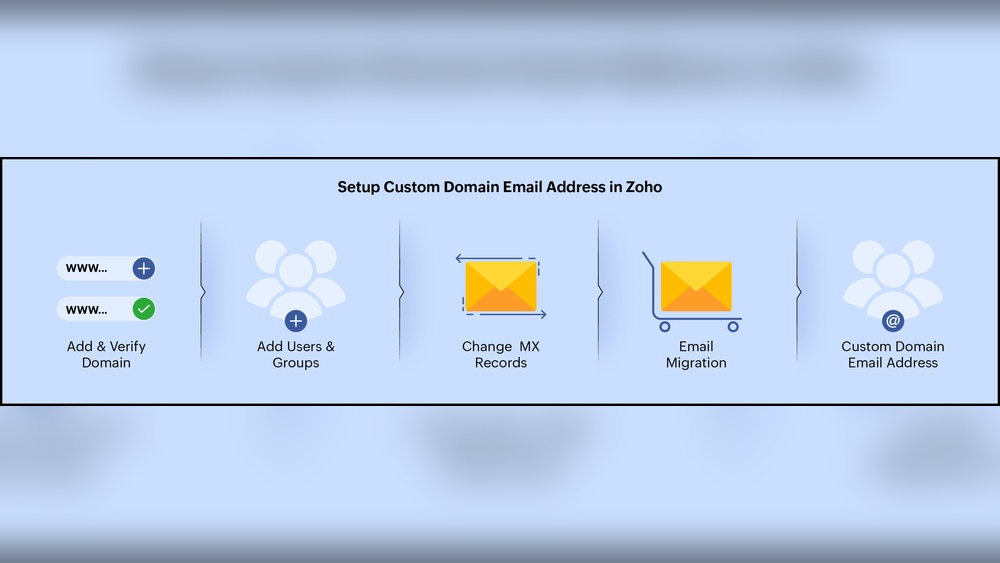
Are you ready to make your business look more professional with a custom email address? Adding email to your domain host is easier than you think, and it can boost your brand’s trust and credibility instantly.
Whether you want to set up a simple contact email or create multiple accounts for your team, this step-by-step guide will walk you through the process clearly and quickly. By the end, you’ll have your email up and running, making your communication smoother and more reliable.
Keep reading to find out exactly how to do it—no tech jargon, just straightforward instructions you can follow right now.
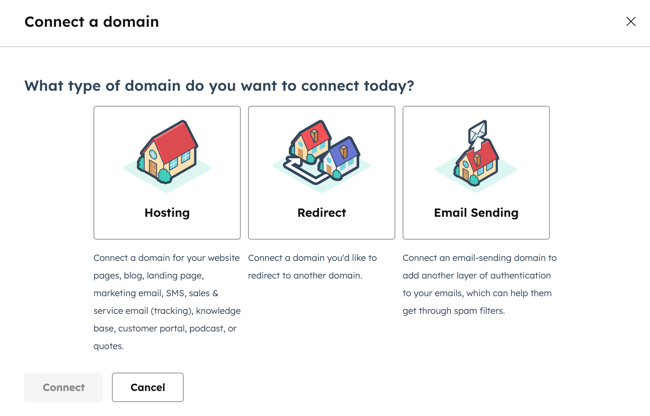
Credit: knowledge.hubspot.com
Choose The Right Email Service
Choosing the right email service is important for your domain host. It affects your communication and business image. Picking the best option depends on your needs and budget. Some services offer free plans while others charge fees. Understanding these can help you decide wisely.
Free Vs Paid Options
Free email services save money but have limits. They usually offer less storage and fewer features. Ads may appear in your inbox. Paid options provide more space and no ads. They also include better security and support. Choose based on how much you use email and what features matter most.
Popular Email Providers
Many people use well-known email providers with their domain. Google Workspace is popular for its tools and reliability. Microsoft 365 offers strong security and integration. Zoho Mail is affordable and easy to use. Each provider has unique features. Check their plans and pick one that fits your needs.
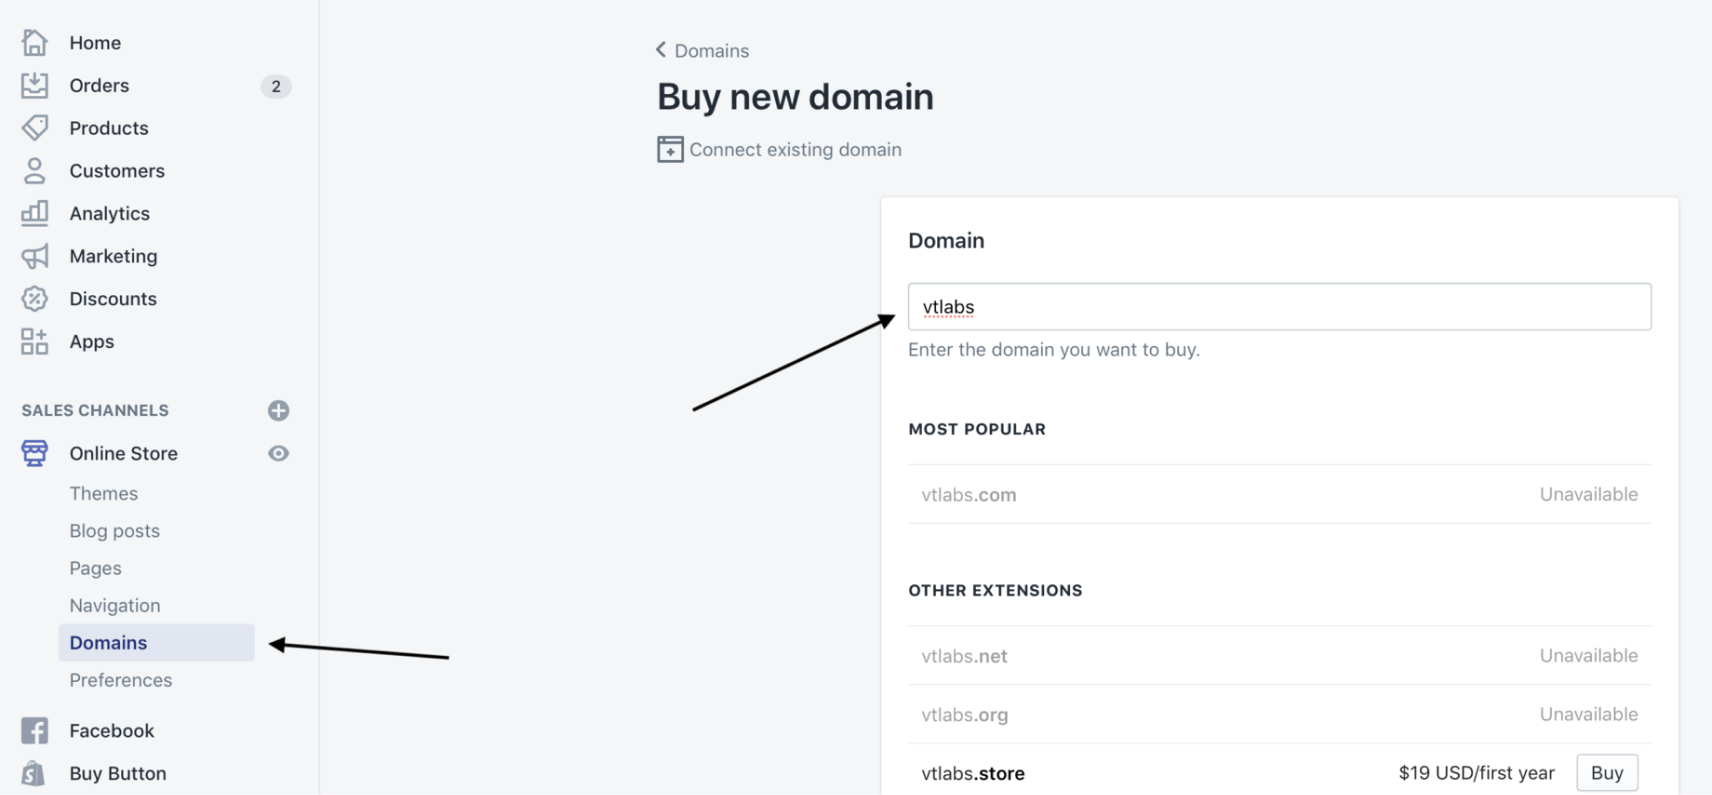
Credit: www.vtlabs.org
Access Your Domain Host Control Panel
Accessing your domain host control panel is the first step to adding email to your domain. This panel holds all the tools you need to manage your domain and email settings. Understanding how to navigate it makes the process simple and fast.
Most control panels are user-friendly. They provide clear options to set up and manage your email accounts. Knowing where to find these options saves you time and avoids confusion.
Login Credentials
Start by visiting your domain host website. Use your username and password to sign in. These login credentials are usually given when you register your domain.
Keep your credentials safe. Losing them means you cannot access your control panel. If you forget them, use the “forgot password” link to reset.
Locate Email Settings
After logging in, find the section for email management. This might be called “Email,” “Mail,” or “Email Accounts.” Some hosts place it under “Services” or “Advanced Settings.”
Click on this section to open email options. Here, you can create new email addresses, manage existing ones, and configure email forwarding.
Create New Email Account
Creating a new email account on your domain host is simple. This process lets you use your custom domain for emails. It makes your communication look professional and trustworthy. Follow clear steps to set up your new email quickly.
Set Username And Password
Start by choosing a username for the email account. This is the part before the “@” symbol. Pick a name that is easy to remember and relevant to the user or role. Next, create a strong password. Use a mix of letters, numbers, and symbols. This keeps the account secure from hackers and spam. Avoid simple or common passwords. Confirm the password by typing it again.
Assign Storage Limits
Email accounts need storage space to save messages. Assign a storage limit to control how much space the email can use. This helps manage server resources and prevents overload. Choose a size based on user needs and plan limits. If unsure, start with a medium size that fits most users. You can adjust the limit later as needed. Setting limits keeps email performance smooth and efficient.
Configure Dns Records
Configuring DNS records is a key step to link your email with your domain host. This setup tells the internet where to send your emails. It also helps protect your email from spam and phishing attacks. Proper DNS records ensure your emails reach inboxes safely and not the junk folder.
DNS records include several types. The most important for email are MX, SPF, and DKIM. Each has a specific role in email delivery and security. Let’s explore how to update these records for your domain.
Update Mx Records
MX records direct emails to your mail server. Without correct MX records, emails will not arrive. To update MX records, access your domain host’s DNS settings. Remove old MX entries if they exist. Add new MX records given by your email provider. Make sure to set the priority values correctly. Lower numbers mean higher priority. Save changes and wait for DNS propagation. This process can take up to 48 hours.
Add Spf And Dkim
SPF and DKIM protect your email from spoofing. SPF (Sender Policy Framework) shows which servers can send emails for your domain. Add an SPF record by creating a TXT record in DNS. Include your email provider’s server IPs in the record.
DKIM (DomainKeys Identified Mail) adds a digital signature to your emails. This verifies your email is not altered during transit. Your email provider will give you a DKIM key to add as a TXT record. Enter the key in your DNS settings exactly as provided.
Both SPF and DKIM help improve your email reputation. They reduce chances of your emails being marked as spam. After adding these records, test your email setup with online tools. Confirm your DNS records are correct and active.
Verify Email Setup
Verifying your email setup is a key step after adding email to your domain host. It ensures your email works correctly and reaches the intended recipients. This process helps avoid email delivery problems and improves communication reliability.
Verification checks confirm that your domain records are properly configured. These records include MX, SPF, DKIM, and DMARC, which protect your email from spam and spoofing. Without verification, your emails may end up in spam folders or be blocked.
Send Test Emails
Begin by sending test emails from your new domain email address. Send emails to different providers like Gmail, Yahoo, or Outlook. This helps check if your emails are delivered and displayed correctly.
Observe the email subject, body, and attachments for any issues. Test both sending and receiving emails to ensure full functionality. If you get error messages, note them for troubleshooting.
Check Delivery Status
Use your domain host or email service dashboard to review delivery status. Look for any failed or delayed messages. Delivery reports often show if your emails passed SPF, DKIM, and DMARC checks.
Check spam or junk folders too, as emails might be misclassified. If emails do not arrive, verify your DNS settings. Correct any misconfigurations to improve delivery success.
Set Up Email Client
Setting up an email client helps you send and receive emails easily. It connects your domain email to your computer or phone. This way, you can manage emails without logging into a web browser. The process is simple and takes only a few steps.
Choose Email Client
Pick an email client that fits your device and needs. Popular options include Outlook, Thunderbird, and Apple Mail. Most clients work on Windows, Mac, and mobile devices. Choose one with a clean interface and good support.
Some clients offer extra features like calendar and contact syncing. These can help keep your work organized. Make sure the client supports your email protocol, usually IMAP or POP3.
Enter Server Settings
Find your email server settings in your domain host’s control panel. You need the incoming and outgoing server details. The incoming server is usually called IMAP or POP3 server. Outgoing server is the SMTP server.
Enter the server names, ports, and security types exactly as provided. Use SSL or TLS for secure connections. Then, input your full email address and password for login. Check all details twice to avoid errors.
After saving the settings, test your connection. Send a test email to confirm everything works. Your email client should now sync with your domain email smoothly.
Troubleshoot Common Issues
Adding email to your domain host can sometimes cause issues. Troubleshooting these problems helps ensure smooth email setup and use. This section covers common problems and simple fixes.
Dns Propagation Delays
DNS changes take time to spread across the internet. This delay can cause email to stop working temporarily. It may take from a few minutes to 48 hours for DNS to update fully.
Check your DNS settings carefully. Confirm you entered the correct MX records. Avoid making multiple changes at once. Patience is key during this period.
Authentication Errors
Email servers need proper authentication to send and receive mail. Errors happen when credentials or settings are wrong. This can block emails from being sent or received.
Verify your username and password. Use the correct SMTP, IMAP, or POP settings. Enable SSL or TLS if your host requires it. Double-check these details in your email client or host panel.

Credit: www.icontact.com
Frequently Asked Questions
How Do I Add Email To My Domain Host?
To add email, log into your domain host’s control panel. Find the email section and create a new email account. Set your desired email address and password, then save the changes. Your email will be linked to your domain shortly.
Can I Use My Domain For Custom Email Addresses?
Yes, you can create custom email addresses using your domain. This enhances professionalism and brand identity. Set up through your domain host’s email settings by adding new mailboxes linked to your domain.
What Dns Records Are Needed For Domain Email?
You need to configure MX records in your DNS settings. MX records direct emails to your mail server. Additionally, SPF, DKIM, and DMARC records help improve email deliverability and security.
Is There A Cost To Add Email To My Domain?
Costs vary by domain host. Some providers offer free basic email accounts, while others charge monthly fees for premium features. Check your host’s pricing to understand any costs involved.
Conclusion
Adding email to your domain host is simple and useful. It helps you send and receive messages with your own domain name. Follow the steps carefully, and you will set up your email without trouble. Check your settings to avoid mistakes.
Use your new email to build trust and look professional. Keep your login details safe and update passwords regularly. Enjoy the benefits of having a custom email linked to your domain host.


