
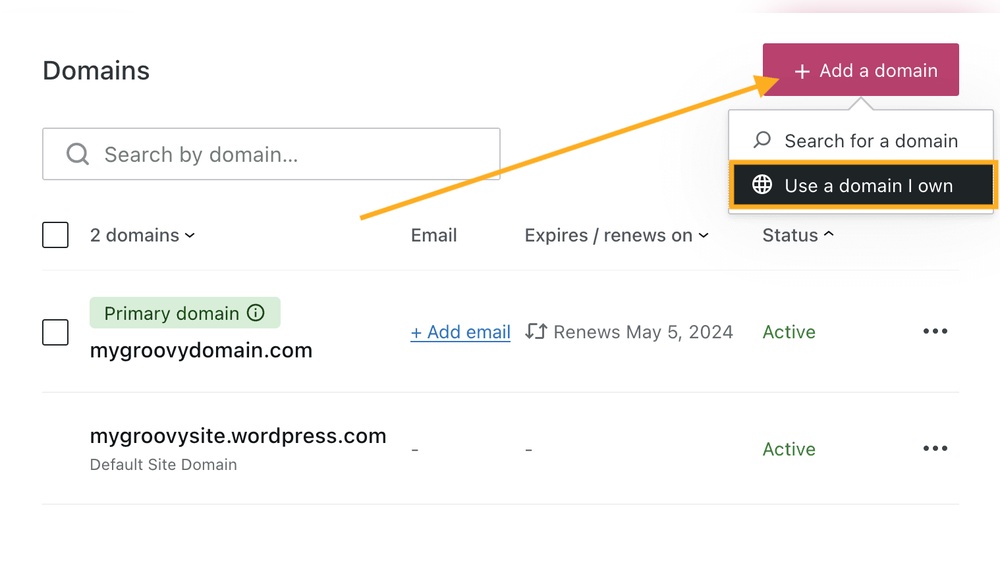
Are you ready to make your website truly yours? Adding a custom domain to your WordPress site is a simple step that gives your site a professional look and makes it easier for visitors to remember.
Whether you’re just starting out or want to upgrade from a free WordPress address, this guide will walk you through the process clearly and quickly. Keep reading, and you’ll have your unique domain set up in no time—making your online presence stronger and more credible than ever.
Choose The Right Domain Name
Choosing the right domain name is a key step when setting up your WordPress site. It helps visitors remember your site easily. A good domain name reflects your brand or topic clearly. Keep it simple, short, and easy to spell. This makes it easier for people to find and share your site.
Tips For Selecting A Domain
Pick a name that matches your website’s purpose or brand. Use common words that everyone understands. Avoid numbers and hyphens as they cause confusion. Choose a name that is easy to say out loud. Think about future growth and avoid names that limit your content. Use keywords related to your niche to boost search visibility. Keep the domain name under 15 characters if possible. Short names are easier to remember and type.
Checking Domain Availability
Use domain registration sites to check if your chosen name is free. Many tools show available domain names instantly. If your preferred name is taken, try slight variations or different extensions like .net or .org. Avoid names that are too similar to popular brands to prevent legal issues. Secure your domain quickly once you find an available name. This ensures no one else takes it before you do.
Credit: help.gohighlevel.com
Register Your Domain
Registering your domain is the first step to creating your WordPress website. Your domain name is your website’s address on the internet. It helps visitors find your site easily. Choosing and registering the right domain sets a strong base for your online presence.
Domains must be unique and reflect your brand or topic. Registering a domain is simple and takes just a few minutes. You need to select a reliable domain registrar and follow their process. This step secures your website name and allows you to connect it to WordPress.
Popular Domain Registrars
Several trusted companies offer domain registration services. Some popular registrars include GoDaddy, Namecheap, and Google Domains. These companies provide easy tools to search and buy domain names. They also offer support and extra services like privacy protection.
Choosing a well-known registrar ensures your domain is secure. These registrars have simple interfaces and affordable prices. They help manage your domain settings without hassle. Many also offer tutorials to guide you through the process.
Registering Process Simplified
Start by visiting the registrar’s website. Use their search bar to check if your desired domain is available. If it is taken, try variations or different extensions like .net or .org.
Once you find a free domain, add it to your cart. You will need to create an account with the registrar. Enter your personal details and choose how many years you want to register the domain.
Before finalizing, consider adding domain privacy to keep your information hidden. Complete the payment using a credit card or other payment options. After payment, your domain registration is confirmed.
With your domain registered, you can now connect it to your WordPress site. This step makes your website live and easy to access for visitors worldwide.
Set Up Domain With WordPress Hosting
Setting up your domain with WordPress hosting is a key step to launch your website. This process connects your domain name to the hosting service where WordPress lives. It lets visitors find your site easily by typing your domain in their browser.
The setup requires a few simple actions inside your hosting dashboard. It ensures your domain and hosting work together smoothly. Follow these steps to get your domain ready for WordPress hosting.
Accessing Hosting Dashboard
First, log in to your WordPress hosting account. Look for the hosting dashboard, usually found on the main page after login. The dashboard is the control center for your website and domain settings.
Find sections named “Domains,” “My Sites,” or “Manage.” These areas hold the tools needed to link your domain. The exact names can vary by hosting provider but the function is the same.
Connecting Domain To Hosting
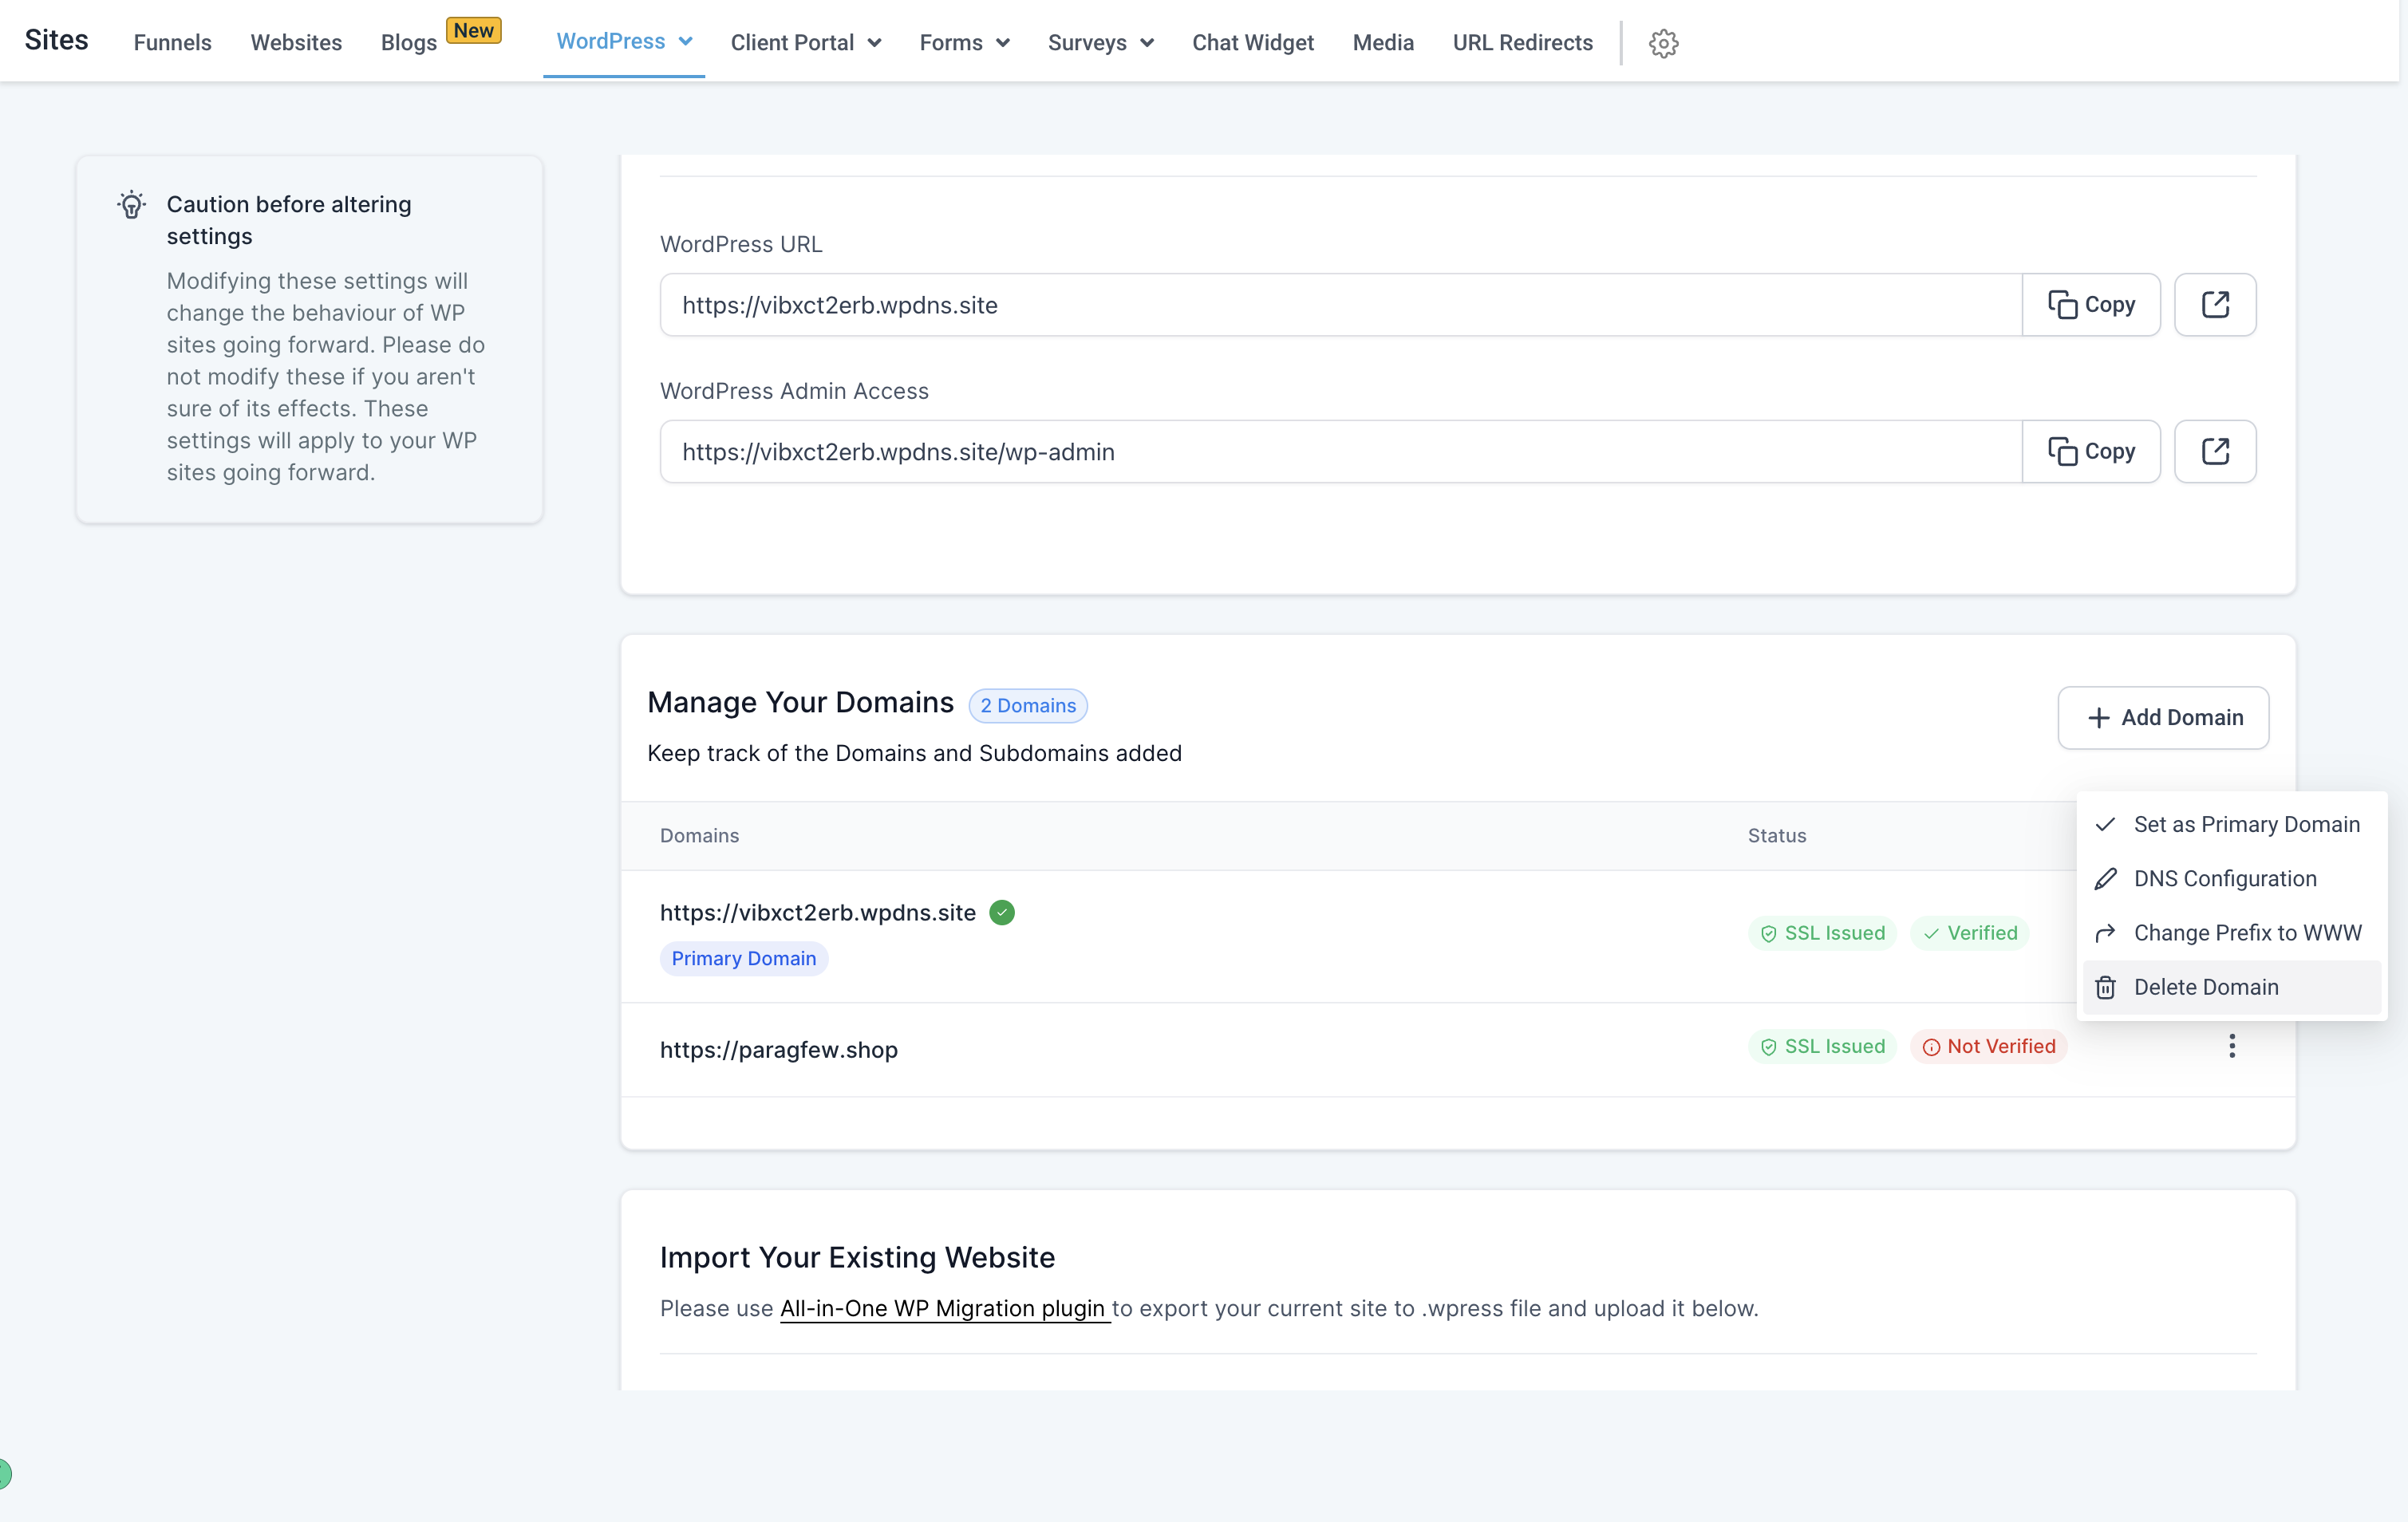
In the dashboard, locate the option to add or connect a domain. Enter your domain name in the provided field. Confirm the information and save changes.
You may need to update domain name servers (DNS) at your domain registrar. Point the DNS to your WordPress hosting servers. This step makes sure traffic goes to your hosting site.
Wait a few hours for the DNS changes to spread across the internet. Once done, your domain will work with your WordPress hosting. Your website becomes accessible using your domain name.
Update Dns Settings
Updating your DNS settings is a key step in connecting your domain to WordPress. This process tells the internet where to find your website. It involves changing details at your domain registrar or hosting provider. These settings help direct visitors to your WordPress site.
Careful changes to DNS settings ensure your domain works smoothly. Let’s explore the main parts: locating DNS management, changing nameservers, and adding A and CNAME records.
Locating Dns Management
Start by logging into your domain registrar’s website. Look for a section named “DNS Management,” “Domain Settings,” or “Name Server Management.” This area lets you control your domain’s DNS records. If you cannot find it, check the support or help section.
Changing Nameservers
Nameservers tell the internet where your domain’s DNS records live. To connect your domain to WordPress, replace current nameservers with those from your WordPress host. Usually, you get these nameservers in your WordPress hosting account. Enter them exactly as provided. Save the changes and wait for updates to spread worldwide. This can take up to 48 hours.
Adding A And Cname Records
A records link your domain to an IP address. Find the option to add “A Record” in DNS management. Enter the IP address from your WordPress host. CNAME records point subdomains like www to your main domain. Add a CNAME record for “www” pointing to your root domain. These records ensure visitors reach your WordPress site through both domain versions.
Add Domain In WordPress Dashboard
Adding a domain to your WordPress site lets you use a custom web address. This helps your site look professional and easy to find. You can manage your domain directly from the WordPress dashboard. The process is simple and quick.
This section shows how to add a domain inside the WordPress dashboard. Follow clear steps to connect and verify your domain. This keeps your site running smoothly and appearing correctly online.
Navigating To Domain Settings
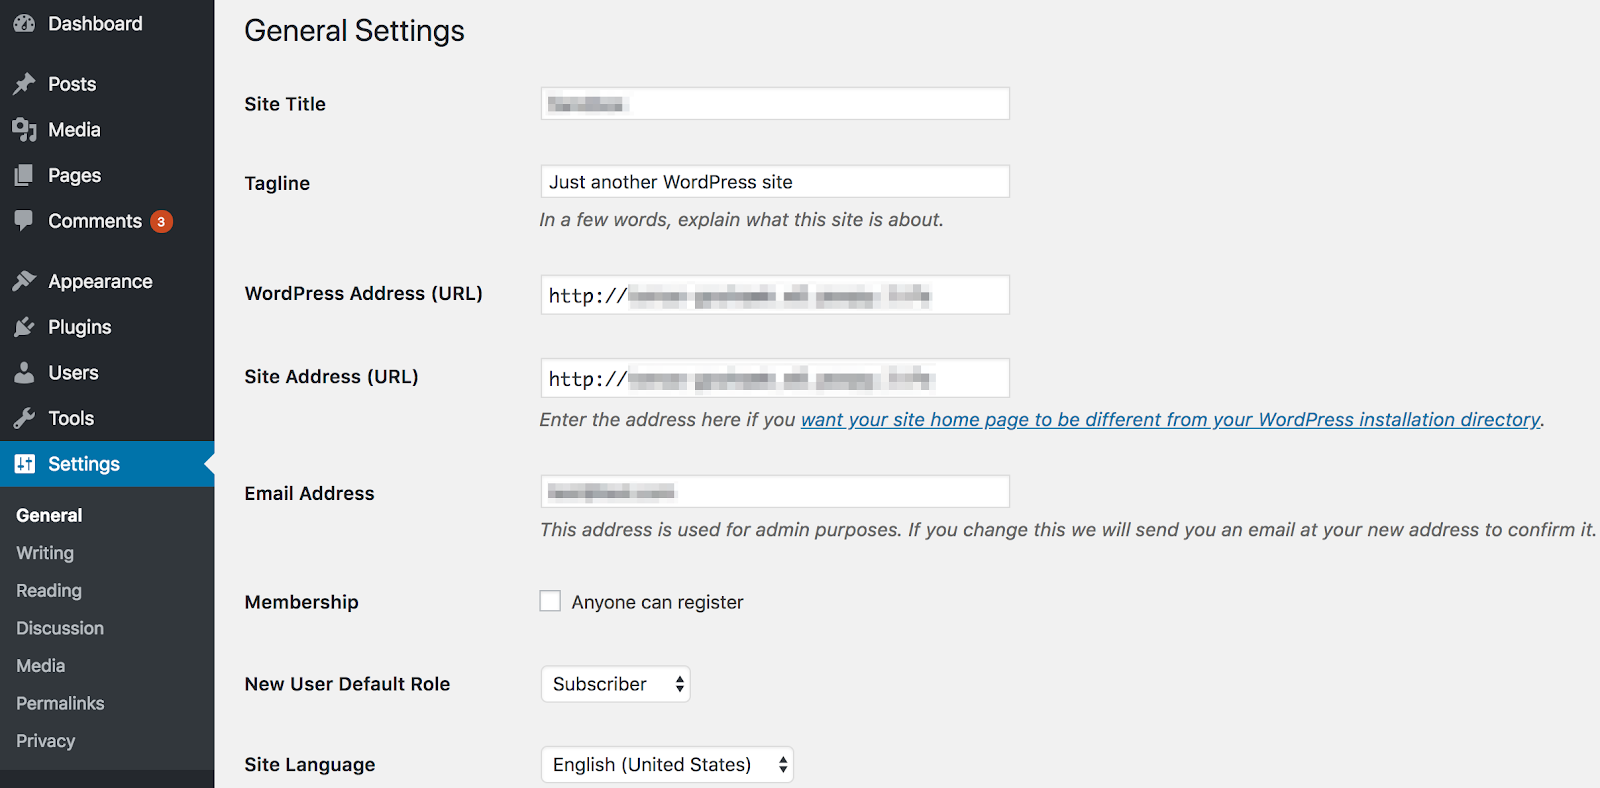
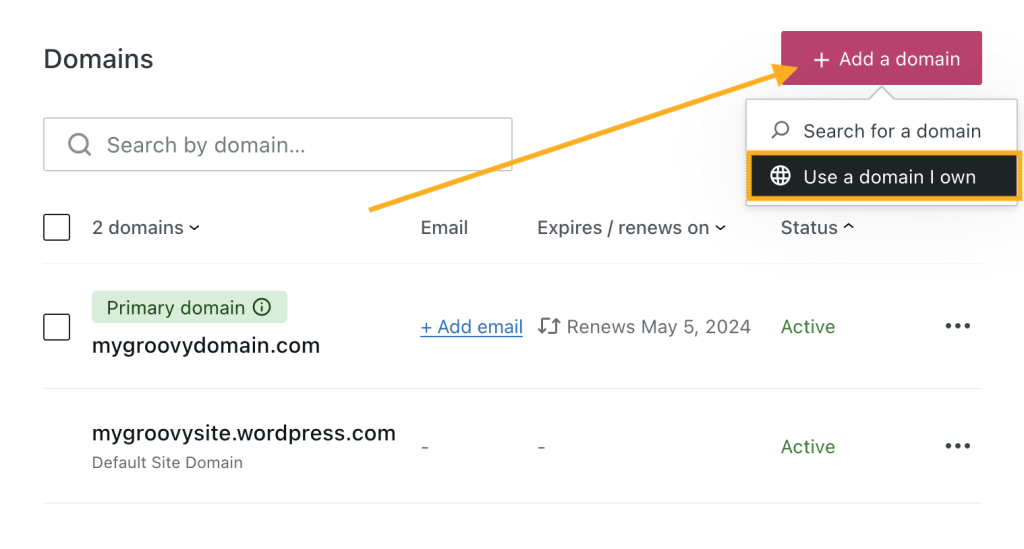
First, log in to your WordPress dashboard. Look for the “Settings” menu on the left side. Click “Domains” or “Domain Settings” to open the domain management page. This section may vary slightly depending on your WordPress version or hosting.
Here, you see options to add and manage your domains. This page is the control center for your site’s web addresses. Make sure you understand each option before making changes.
Adding And Verifying Domain
To add your domain, click the “Add Domain” button. Enter your domain name carefully without typos. After adding, WordPress will ask you to verify ownership. This step confirms you control the domain.
Verification might involve updating DNS records or adding a code to your domain registrar. Follow the instructions provided in the dashboard. Once verified, your domain will connect to your WordPress site. You can now use the new domain for your website address.
Credit: wpengine.com
Configure Ssl For Secure Connection
Configuring SSL is important for your WordPress site’s security. SSL keeps data safe between your visitors and your server. This builds trust and improves your site’s ranking in search engines. Setting up SSL is simple and often free.
Enabling Free Ssl Certificates
Many hosting providers offer free SSL certificates. Look for options like Let’s Encrypt in your hosting control panel. Activate the free SSL with a few clicks. The certificate encrypts information and protects your visitors’ data. It also shows a padlock icon in the browser. This reassures visitors that your site is safe.
Forcing Https On Your Site
After enabling SSL, force your site to use HTTPS only. This avoids visitors landing on insecure HTTP pages. Use a plugin like Really Simple SSL or change your .htaccess file. The plugin redirects all traffic to HTTPS automatically. Make sure your WordPress and site URLs use HTTPS. This keeps your site secure and consistent for users.
Test Domain Setup
Testing your domain setup is a crucial step after connecting your domain to WordPress. This process ensures that your website is visible and works correctly with your new domain. It helps catch any problems early and guarantees a smooth experience for your visitors.
Checking Domain Propagation
Domain propagation is the time it takes for your new domain settings to update across the internet. This process can take from a few minutes up to 48 hours. You can check propagation using online tools that show if your domain points to the right server.
Refresh your site occasionally during this period. Seeing your website means propagation is complete. Patience is key here. The domain needs time to spread its new settings worldwide.
Troubleshooting Common Issues
Sometimes your domain may not work right away. Clear your browser cache to avoid loading old pages. Check your DNS settings to ensure they match WordPress requirements.
Verify nameservers and DNS records at your domain provider. Incorrect records can block your site. Use WordPress support forums or help guides for extra tips. Testing early reduces visitor frustration later on.
Credit: wordpress.com
Frequently Asked Questions
How Do I Add A Domain To WordPress?
To add a domain, log into your WordPress dashboard. Go to Settings > Domains. Enter your domain name and follow the verification steps. Update your DNS settings as instructed by your domain registrar to point to WordPress servers.
Can I Use A Custom Domain With WordPress?
Yes, WordPress allows custom domains. You need to buy a domain from a registrar. Then, link it to your WordPress site by updating DNS settings. This improves branding and SEO for your website.
How Long Does Domain Setup Take On WordPress?
Domain setup usually takes a few minutes to 48 hours. DNS propagation time varies by domain registrar. During this time, your domain connects to WordPress servers and becomes fully active.
Do I Need A Domain For A WordPress Site?
A domain is not mandatory but highly recommended. It gives your site a professional look and makes it easy to find. WordPress provides a free subdomain, but a custom domain improves credibility.
Conclusion
Adding a domain to WordPress is a simple process. It helps your website look more professional and easier to find. Follow each step carefully to avoid mistakes. Take your time and check your settings twice. Your site will be ready to share with the world soon.
Keep your domain and WordPress updated for best results. This small change can improve your website’s reach and trust. Start now and enjoy your new web address!


