
Are you ready to get your website live but don’t know how to add your domain to HostGator hosting? You’re in the right place.
Connecting your domain to your hosting is a crucial step that can seem tricky at first. But once you know the simple steps, it becomes quick and hassle-free. In this guide, you’ll discover exactly how to link your domain to HostGator, so your site can start reaching visitors without delay.
Stick with me, and by the end, you’ll have full control over your online presence. Let’s get started!
Prepare Your Domain
Preparing your domain is the first step to connect it with HostGator hosting. This process ensures your domain is ready for transfer or setup. It involves a few important checks and settings. Follow these steps carefully to avoid delays or issues.
Check Domain Availability
Verify if your domain is active and registered under your name. Use a domain lookup tool to check its status. The domain must be unlocked and not expired. Confirm the domain is not locked or on hold by your current registrar.
Unlock Your Domain
Domains are locked by default to prevent unauthorized transfers. Log in to your current registrar account. Find the domain settings or management area. Look for the option to unlock the domain and disable the lock. This step allows HostGator to transfer or link your domain.
Obtain Authorization Code
The authorization code, also called EPP code, is required for domain transfer. Request this code from your current registrar. It is usually sent via email or shown in your account dashboard. Keep this code safe and ready for HostGator during the transfer process.
Credit: www.hostgator.com
Access Hostgator Control Panel
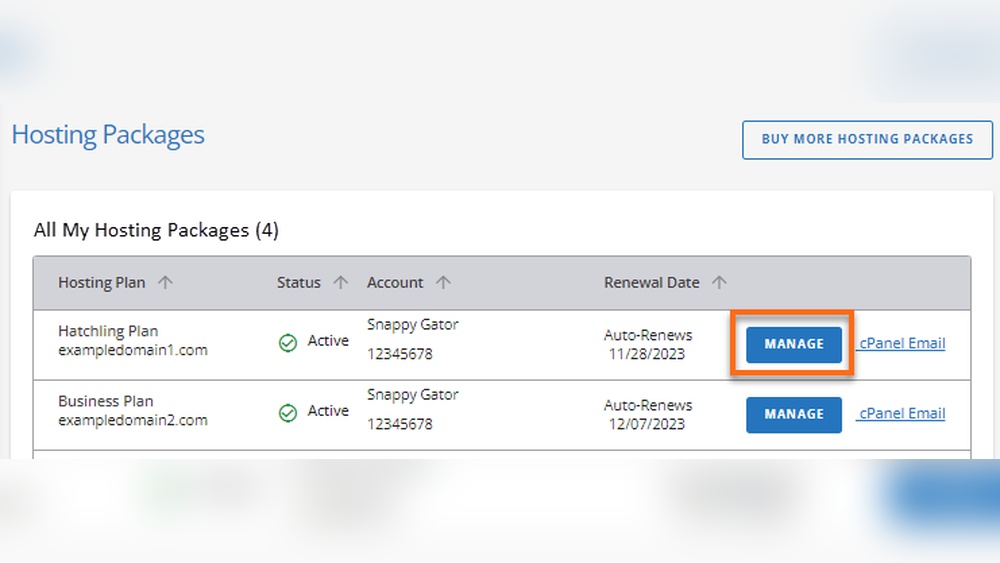
Accessing the HostGator control panel is the first step to add your domain to hosting. The control panel lets you manage all website settings. It is user-friendly and easy to navigate.
Follow the steps below to reach the control panel quickly. This ensures you can start adding your domain without delay.
Log Into Your Hostgator Account
Start by opening the HostGator website. Enter your username and password carefully. Click the login button to proceed. If you forget your password, use the recovery option. This keeps your account secure and accessible.
Navigate To Cpanel
After logging in, find the hosting section on your dashboard. Click on the link to open cPanel. The control panel contains all tools for managing your hosting. Here, you can add domains, manage files, and more. Take your time to explore the options available.
Add Domain In Hostgator
Adding a domain to HostGator is simple and quick. It lets you manage multiple websites from one account. This guide shows how to add a domain in HostGator step-by-step.
Follow these steps carefully to get your new domain online fast. No technical skills needed. Just a few clicks and your domain will be ready.
Locate The Domains Section
First, log in to your HostGator control panel. Look for the “Domains” area on the main dashboard. It is usually easy to find near the top or side menu. This section controls all your domains in one place.
Use Addon Domains Feature
Inside the Domains section, find the “Addon Domains” option. This feature allows you to add and manage extra domains. Click on it to open the addon domain tool. This tool helps you link your new domain to your hosting account.
Enter Domain Details
Now, enter your new domain name in the provided field. Set a subdomain or FTP username if needed. Choose the folder where your website files will be stored. Double-check the details, then click “Add Domain” to finish. Your domain is now connected and ready to use.
Update Domain Dns Settings
Updating your domain’s DNS settings is a key step to connect your domain with HostGator hosting. This process tells the internet where to find your website. Without updating DNS, your domain won’t show your HostGator site. Follow these simple steps carefully to update your domain DNS settings correctly.
Identify Hostgator Nameservers
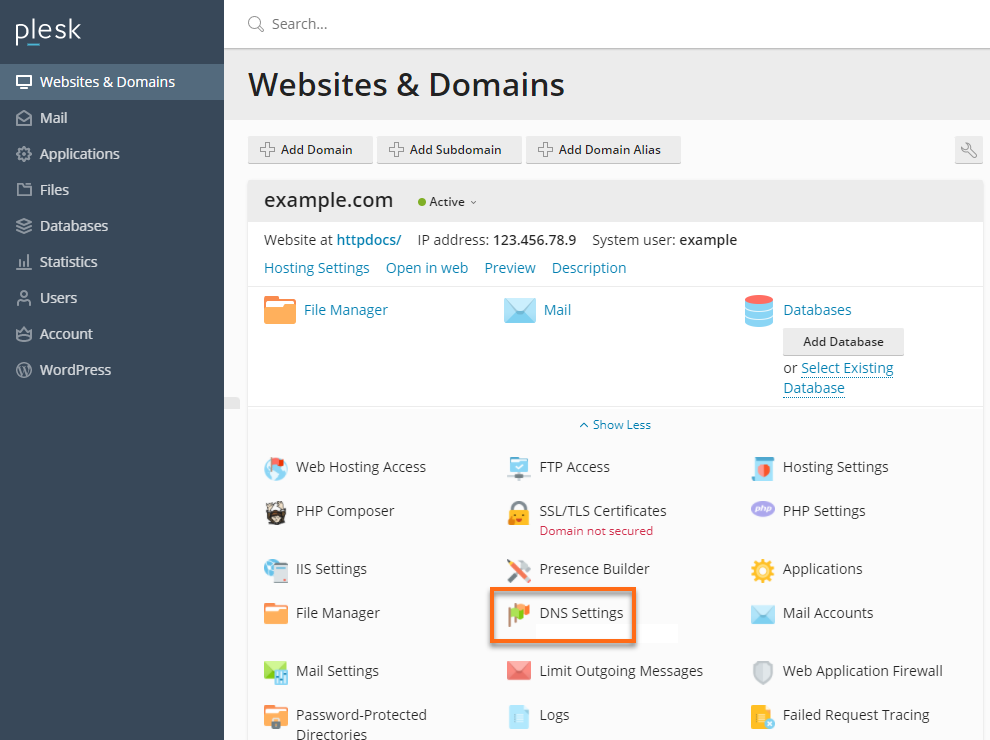
Start by finding your HostGator nameservers. These are special addresses that point your domain to HostGator servers. Log in to your HostGator control panel. Look for the section called “Server Information” or “Nameservers.” You will see two or more nameserver addresses. They often look like ns1.hostname.com and ns2.hostname.com. Write these down. You will need them soon.
Modify Nameservers At Registrar
Next, go to your domain registrar’s website. This is where you bought your domain. Log in to your account there. Find the domain management area. Look for “DNS Settings” or “Nameservers.” Replace the current nameservers with the HostGator nameservers you noted. Save or apply the changes. Make sure you enter the nameservers exactly as given. A small mistake can cause errors.
Wait For Dns Propagation
After changing nameservers, wait for DNS propagation. This means the changes spread across the internet. It can take a few hours to 48 hours. During this time, your website may not show correctly. Be patient and avoid making more changes. Once propagation finishes, your domain will load your HostGator website. Use online tools to check if the nameservers updated properly.
Upload Website Files
Uploading your website files is a key step to make your site live on Hostgator. This process moves your site content from your computer to the hosting server. It allows visitors to see your website online.
Follow the right steps to upload files correctly. Use Hostgator’s tools to avoid errors. Let’s explore how to upload files through the Hostgator control panel.
Access File Manager
First, log in to your Hostgator cPanel account. Find the “File Manager” icon under the “Files” section. Click it to open.
File Manager lets you manage your website files directly. It works like a file explorer on your computer. You can upload, move, and delete files here.
Upload Files To Correct Directory
Inside File Manager, locate the right folder for your website files. For the primary domain, open the “public_html” folder.
Click the “Upload” button at the top. Select your website files from your computer. Wait for the upload to finish before closing the window.
Make sure all files go into the “public_html” folder. This folder stores files that visitors can access online.

Credit: www.youtube.com
Test Your Domain Setup
Testing your domain setup is a key step after adding your domain to HostGator hosting. It ensures your website is accessible and works properly. This step helps avoid problems that may stop visitors from reaching your site. Follow the steps below to confirm your domain connects well to your hosting account.
Verify Domain Connection
Start by checking if your domain points to HostGator servers. Use a tool like “ping” or “nslookup” to see the IP address of your domain. It should match the IP address provided by HostGator.
Next, open your web browser and enter your domain name. Your website should load quickly without errors. If you see the HostGator default page, it means your domain is connected but your website files might not be uploaded yet.
Wait for DNS changes to spread worldwide. This can take up to 24 hours but usually happens faster.
Troubleshoot Common Issues
If your domain does not connect, check these common issues. First, verify your domain’s nameservers point to HostGator. Incorrect nameservers block the connection.
Clear your browser cache or try another device. Sometimes, old data hides updates.
Check for DNS propagation delays using online tools. These tools show if your domain change has spread.
Contact HostGator support if problems continue. They can help fix server or configuration issues quickly.

Credit: landingi.com
Frequently Asked Questions
How Do I Add A Domain To Hostgator Hosting?
To add a domain to HostGator, log in to cPanel. Go to the “Addon Domains” section. Enter your domain name and set the document root. Click “Add Domain” to complete the process.
Can I Add Multiple Domains To One Hostgator Account?
Yes, HostGator allows multiple addon domains on one account. Each domain has its own folder and website. Ensure your hosting plan supports addon domains before adding more.
What Dns Settings Are Needed For Hostgator Domains?
Point your domain’s nameservers to HostGator’s servers. Typically, use ns1. hostgator. com and ns2. hostgator. com. This links your domain to HostGator’s hosting correctly.
How Long Does Domain Propagation Take On Hostgator?
Domain propagation usually takes 24 to 48 hours. During this time, DNS changes spread globally. Your website may be intermittently accessible until propagation completes.
Conclusion
Adding a domain to Hostgator hosting is simple and quick. Follow each step carefully to avoid errors. You can manage your website easily after linking the domain. Keep your login details safe for future use. This process helps you get your site online fast.
Try it yourself and watch your site grow. Small effort leads to big results. Ready to start?


