
Are you looking to add a custom HTML page to your WordPress site but don’t know where to start? You’re in the right place.
Adding a custom page gives you full control over your content and design, making your website stand out exactly the way you want. In this guide, you’ll discover simple, step-by-step methods to create and upload your own HTML page without any coding headaches.
By the end, you’ll have the confidence to make your site truly unique and tailored to your needs. Ready to unlock this powerful skill? Let’s dive in!
Prepare Your Html Page
Preparing your HTML page is the first step before adding it to WordPress. It helps ensure your page looks and works well. A clean and organized HTML file saves time later. Follow simple steps to get your page ready.
Keep files neat and test everything. This avoids errors when uploading to WordPress. Start by creating the main HTML file. Then arrange your CSS and JavaScript files. Finally, check the page on your computer.
Create The Html File
Use a plain text editor to write your HTML code. Save the file with a .html extension. Make sure to include basic tags like html, , , and .
Include a clear title inside the tag. Keep the code simple and clean. Avoid broken links or missing images.
Organize Css And Javascript
Place your CSS in separate files with a .css extension. Link these files inside the section using tags. Keep JavaScript in .js files and link them before the closing tag.
Use folders to organize your files. For example, create “css” and “js” folders. This keeps your project tidy. It also helps WordPress find your files easily.
Test Locally
Open your HTML file in a web browser on your computer. Check if all images, styles, and scripts load correctly. Click all links to see if they work. Fix any errors you find.
Testing locally saves time. You avoid uploading broken pages. Make sure your page looks good on different screen sizes. This helps your site appear professional and user-friendly.
Credit: blog.hubspot.com
Access WordPress Files
Accessing your WordPress files is the first step in adding a custom HTML page. You need to find the right place to upload your HTML file. This requires access to the server where your website is hosted.
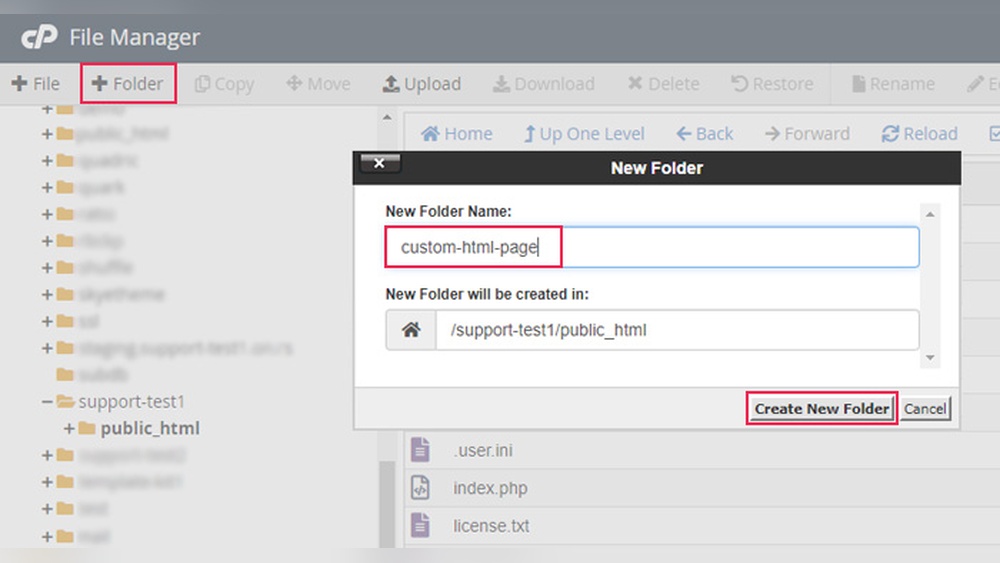
There are two common ways to access WordPress files. You can use FTP software or the File Manager tool in your hosting control panel. Both methods let you browse and manage your website files easily.
Use Ftp Or File Manager
FTP (File Transfer Protocol) is a program that connects your computer to your website server. You can download and upload files between both. Popular FTP clients include FileZilla and Cyberduck.
The File Manager is a tool inside your hosting control panel. It works like a file explorer on your computer. You can upload, edit, and delete files directly from your browser.
Locate The Theme Folder
After connecting, find the folder where your WordPress files are stored. Open the wp-content directory. Then open the themes folder.
Inside the themes folder, you will see folders for each active and inactive theme. Choose the folder of your current active theme. This is where you can upload your custom HTML file safely.
Upload Custom Html
Uploading a custom HTML page to WordPress lets you use your own design. This method gives you full control over the page’s look and content. It works well for special pages that need custom code.
Follow these steps to upload your HTML file and any needed assets. You will place the files inside your WordPress theme folder. This keeps everything organized and easy to find.
Add Html File To Theme Directory
First, connect to your website using an FTP client or the hosting file manager. Navigate to the wp-content/themes/your-theme folder. Upload your custom HTML file here. Choose a clear name for the file, like custom-page.html. This helps you find it later. Make sure the file has the correct HTML extension.
After uploading, the file is ready to use. You can link to it directly from your WordPress menu or pages. This way, visitors can open the custom HTML page without issues.
Upload Supporting Assets
Custom HTML pages often need images, CSS, or JavaScript files. Upload these supporting assets to the theme folder too. Create separate folders like css, js, or images inside your theme directory. This keeps files neat and organized.
Make sure your HTML file uses the correct paths to these assets. For example, link to CSS as css/style.css. This ensures the page loads all styles and scripts correctly. Without proper paths, your page may look broken or miss features.

Credit: qodeinteractive.com
Create A Template File
Creating a template file is an important step to add a custom HTML page in WordPress. This file tells WordPress how to display your new page. You can control the layout and content by editing this template.
This process involves two main parts. First, add a PHP template header. Second, include your custom HTML content. Both parts work together to make your page unique and functional.
Add Php Template Header
The PHP template header is a simple comment block at the top of your file. It tells WordPress this file is a page template. Use this header to name your template clearly.
php / Template Name: Custom HTML Page / ? Place this code at the top of your file. Without it, WordPress will not recognize the template. This step is essential for adding custom pages.
Include Custom Html Content
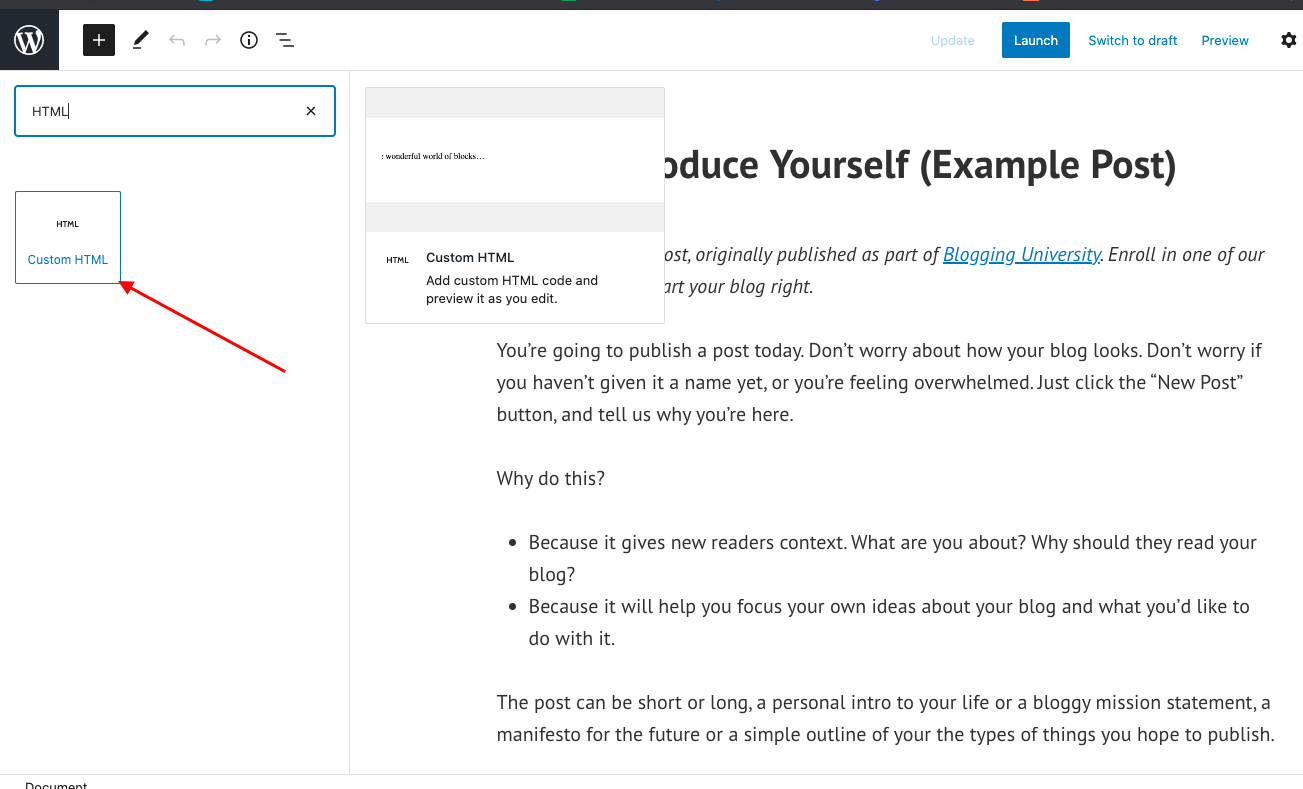
After the header, add your HTML content inside the file. You can write any HTML code here. This content will show on your custom page.
Make sure your HTML is clean and simple. Complex code can cause errors. Wrap your HTML in standard tags like or .
Welcome to My Custom Page
This is my unique page content.
Save the file in your theme folder. Then, select this template when creating a new page in WordPress. Your custom HTML page will now appear on your site.
Assign Template To A Page
Assigning a template to a page in WordPress lets you control the page’s design. This step helps your custom HTML page fit perfectly into your site’s style. Templates decide how content looks and where elements appear on the page.
Using a custom template makes your page unique. It allows you to show your HTML exactly as you want. This section shows how to assign the template to your new WordPress page.
Create New WordPress Page
Go to your WordPress dashboard. Click on “Pages” and then “Add New.” Give your page a clear title. This title will show on your website.
Keep the content area empty or add basic text. You will assign the custom template next. Do not publish the page yet. Save it as a draft for now.
Select Custom Template
Look for the “Page Attributes” box on the right side. Find the “Template” dropdown menu inside it. Click the dropdown to see all available templates.
Select the name of your custom template. This template should match the HTML page you added. Once chosen, save or publish the page. Your page now uses the custom HTML template.
Adjust Permalinks And Settings
After creating a custom HTML page in WordPress, adjusting permalinks and settings is important. This step helps your page display correctly and improves user experience.
Permalinks are the web addresses for your pages. Incorrect permalinks can cause errors or broken links. Checking page visibility ensures your page is accessible to visitors.
Flush Permalinks
Flushing permalinks resets the URL structure on your website. This action clears old links and updates new ones. To flush permalinks, go to WordPress Dashboard > Settings > Permalinks.
Click the “Save Changes” button without changing any settings. This refreshes the permalink settings and fixes URL issues automatically.
Check Page Visibility
Page visibility controls who can see your page. Make sure your custom HTML page is set to “Public.” This setting allows everyone to access the page.
Find this option in the page editor under “Publish” or “Status & Visibility.” If set to “Private” or “Password Protected,” visitors cannot see the page without permission.
Troubleshooting Common Issues
Adding a custom HTML page to WordPress can sometimes cause problems. These problems may stop your page from showing correctly. Fixing these issues quickly helps keep your site looking good and working well. This section covers common problems and easy ways to solve them.
Fix Broken Styles And Scripts
Broken styles or scripts make your page look strange or stop it from working. This happens if the links to CSS or JavaScript files are wrong. Check the URL paths in your HTML code. Use full paths starting from your site’s root folder. Avoid using local file paths like “C:/”.
Also, make sure the files are uploaded to the right folder in WordPress. Use the browser’s developer tools to find errors in the console. Clear your browser cache to see changes. Sometimes, plugins or themes block scripts. Temporarily disable them to test if they cause the problem.
Resolve 404 Errors
404 errors occur when the page or files cannot be found. This often happens if the URL is incorrect or the file was not uploaded. Double-check the file name and folder location on your server. Make sure the file extension is correct, like “.html”.
Update WordPress permalinks by going to Settings > Permalinks and clicking Save Changes. This refreshes your site’s URL rules. If the problem continues, check your .htaccess file for errors. Restore it to default if needed. These steps fix most 404 errors on custom pages.
Credit: www.inmotionhosting.com
Frequently Asked Questions
How Do I Create A Custom Html Page In WordPress?
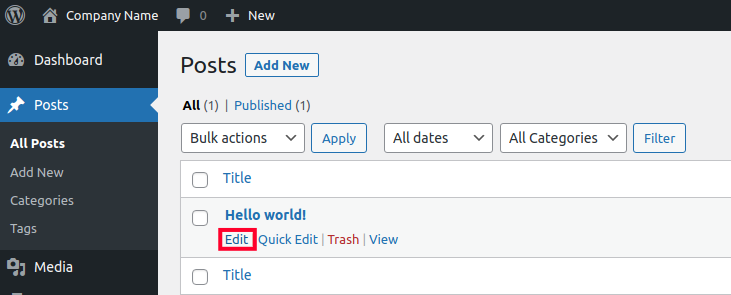
To create a custom HTML page, use a child theme or a plugin. Upload your HTML file to your theme folder or use a page builder to add custom code.
Can I Add Custom Html Without Coding Skills?
Yes, use WordPress page builders like Elementor or Beaver Builder. These tools allow adding custom HTML easily through their interface.
Where Should I Upload My Custom Html File In WordPress?
Upload custom HTML files to your active theme’s folder via FTP or the file manager. This ensures WordPress can access and display the page.
How Do I Link A Custom Html Page In WordPress Menu?
Go to Appearance > Menus, add a Custom Link with your HTML page URL. Save the menu to make the page accessible from navigation.
Conclusion
Adding a custom HTML page in WordPress is simple and useful. You control how your page looks and works. Just follow the steps carefully, and your page will be ready soon. This method helps your website stand out and fit your needs.
Keep practicing, and you will get better with time. Custom pages make your site unique and more helpful for visitors. Don’t hesitate to try different designs and content. Your WordPress site can grow with your ideas and skills.


