
Want to make your WordPress site truly yours? Adding custom CSS code lets you change colors, fonts, layouts, and much more—without touching your theme’s core files.
But if you’re unsure where to start or worried about breaking something, don’t worry. This guide will walk you through simple, step-by-step methods to add custom CSS safely and effectively. By the end, you’ll have the skills to personalize your site exactly how you want.
Ready to unlock your site’s full potential? Let’s dive in!
Why Add Custom Css
Custom CSS helps control your website’s look beyond default themes. It allows small style changes or major design tweaks. Custom CSS gives you full control over colors, fonts, spacing, and more. This makes your site unique and fits your brand perfectly.
Using custom CSS improves user experience by making your site easier to read and navigate. It also helps your site load faster by cleaning up unnecessary styles. Custom CSS keeps your changes safe when themes update. It is a simple way to enhance your WordPress site without complex coding.
What Is Custom Css?
Custom CSS is extra style code you add to your website. It changes the appearance of elements like text, buttons, and backgrounds. This code works with your existing theme styles.
Benefits Of Using Custom Css
Custom CSS helps you change your site’s style quickly. It improves design without changing theme files. You can fix small issues or add new styles easily.
How Custom Css Affects Website Speed
Well-written custom CSS can make your site load faster. It reduces the need for extra plugins or heavy themes. Cleaner code means better performance and user experience.
Keeping Your Site Unique
Custom CSS lets you stand out from other sites using the same theme. It personalizes your site’s look. Visitors notice a unique design and remember your brand better.
Credit: crocoblock.com
Accessing The WordPress Customizer
Accessing the WordPress Customizer is the first step to adding custom CSS code. This tool lets you change your site’s look without touching the main code files. It is easy to use and safe for beginners.
The Customizer shows a live preview of your site. You can see changes as you make them. This helps you make the right design choices quickly.
Opening The WordPress Dashboard
Start by logging into your WordPress admin area. Use your username and password to enter the dashboard. This is the main control panel for your website.
Finding The Customizer Menu
On the left sidebar, look for the “Appearance” option. Click it to open a dropdown menu. Select “Customize” from this list to open the Customizer.
Exploring The Customizer Interface
The Customizer screen shows your website preview on the right side. On the left, you see different options to change your site. Look for the “Additional CSS” section to add your code.
Using The Additional Css Section
The Additional CSS section in WordPress is a simple way to add custom styles. It lets you change your site’s look without editing theme files. You can write CSS code directly in the WordPress dashboard. This method keeps your changes safe during theme updates.
Using the Additional CSS section is easy and fast. It shows a live preview of your changes. This helps you see how your custom styles will appear before saving them. It is perfect for small design tweaks or testing new styles.
Accessing The Additional Css Section
Log in to your WordPress dashboard. Go to Appearance and click on Customize. Find the Additional CSS tab in the menu. Click it to open the CSS editor. Here, you can write your custom CSS code.
Writing Custom Css Code
Type your CSS rules in the editor box. Use simple selectors and properties. For example, change colors, fonts, or spacing. The live preview updates as you type. Check your changes on different parts of your site.
Saving And Publishing Your Css
After writing your code, click the Publish button. This saves your styles and makes them live. You can edit or remove the CSS later. The changes stay even if you switch themes.
Adding Css Via A Child Theme
Adding CSS via a child theme is a safe way to customize your WordPress site. It keeps your changes separate from the main theme. This means your custom styles stay intact even after theme updates.
Using a child theme helps you keep your website organized. It also makes it easier to manage custom code. Let’s explore how to create and edit a child theme.
Creating A Child Theme
Start by creating a new folder in your WordPress themes directory. Name it clearly, like “yourtheme-child.” Inside this folder, you need two files: style.css and functions.php.
The style.css file must have a comment block at the top. This block tells WordPress about your child theme. Include the theme name, template, and description.
Example:
/ Theme Name: YourTheme Child Template: yourtheme Description: Child theme for YourTheme /
The template must match the folder name of your parent theme. After this, go to your WordPress dashboard and activate the child theme.
Editing The Style.css File
Open the style.css file in your child theme folder. Add your custom CSS code below the comment block. This code will override the parent theme styles.
For example, to change the background color, write:
body { background-color: f0f0f0; } Save the file and refresh your website. You will see your new styles applied. Always test your changes on different devices and browsers.
Using Plugins For Custom Css
Adding custom CSS code to WordPress helps you control your site’s look. Using plugins for custom CSS is an easy way to do this. Plugins let you add CSS without touching theme files. They keep your code safe when you update themes.
Plugins offer a simple interface for writing and managing CSS. You can see changes live on your site. No coding knowledge is needed to get started. These tools help beginners and experts alike.
Popular Css Plugins
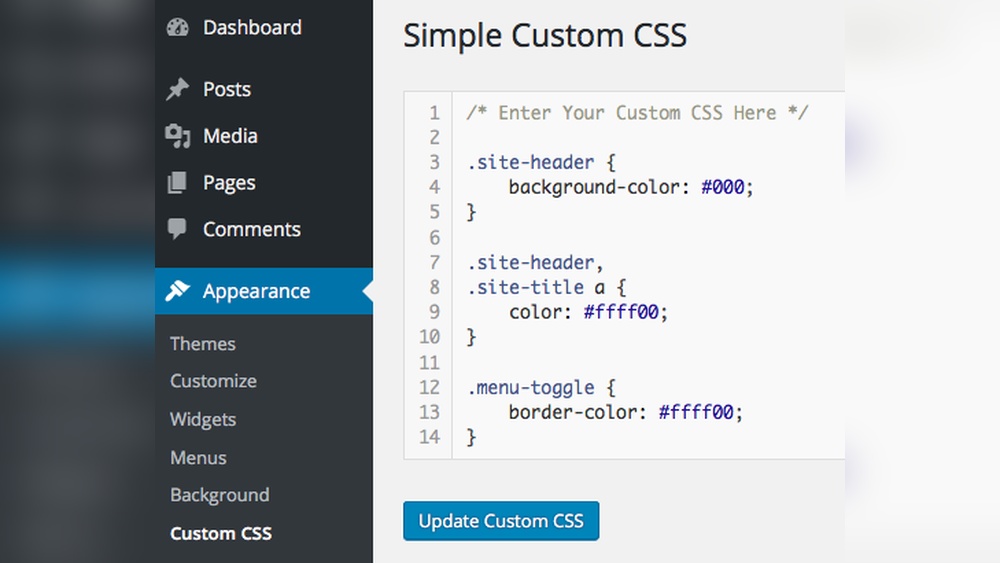
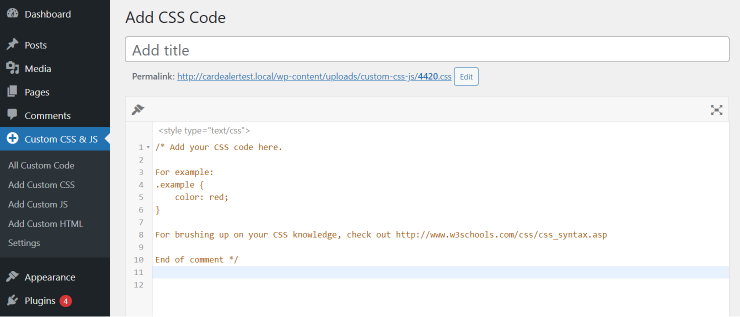
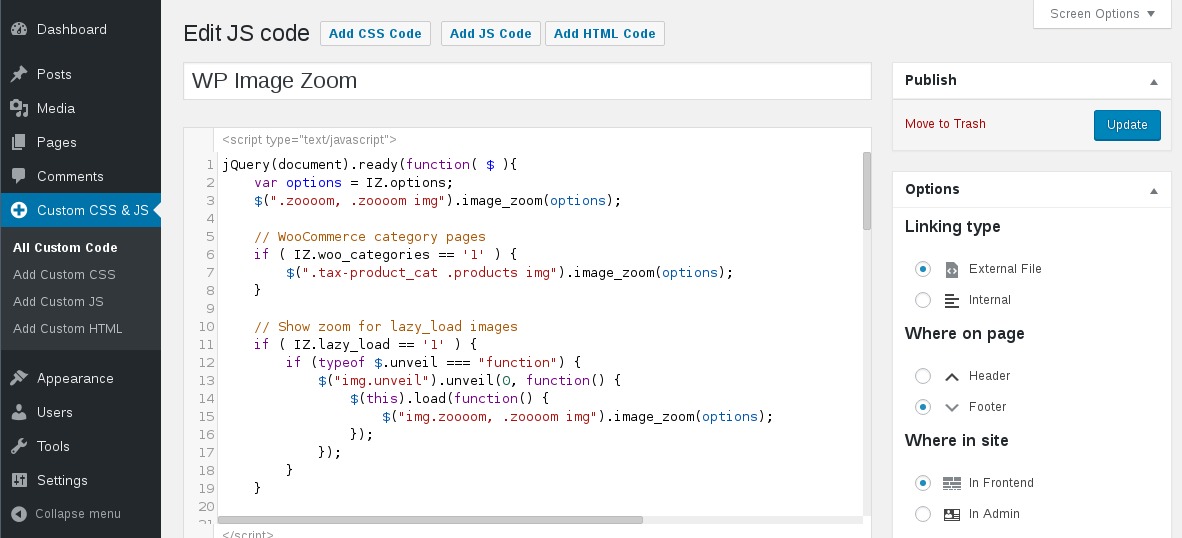
Several plugins make adding custom CSS easy. “Simple Custom CSS” is a popular choice. It offers a clean, user-friendly editor. “Custom CSS & JS” lets you add CSS and JavaScript. “SiteOrigin CSS” includes a visual editor for live changes. These plugins work well with most themes and page builders.
How To Install And Use Plugins
Go to your WordPress dashboard. Click on “Plugins” then “Add New.” Type the plugin name in the search box. Click “Install Now” and then “Activate.”
After activation, find the plugin’s menu. Open the custom CSS editor. Write or paste your CSS code in the box. Save your changes to see the effect on your site. You can edit or remove code anytime from the same menu.
Best Practices For Writing Css
Writing CSS code for WordPress needs care and good habits. Following best practices makes your site easier to manage. Clean CSS improves site speed and helps you find errors fast. It also keeps your design consistent across pages.
Good CSS writing saves time and reduces frustration. It helps others understand your code too. Use simple rules and clear comments. Organize your styles logically and test them carefully before going live.
Organizing Your Code
Start by grouping related styles together. For example, keep all header styles in one section. Use comments to label these sections clearly. Write CSS rules in a consistent order. Place properties like color, font, and layout in the same sequence each time.
Indent your code properly. This makes it easier to read. Avoid long lines of code. Break them into smaller parts if needed. Use meaningful class and ID names. This helps you find styles faster later.
Testing Changes Safely
Test CSS changes on a staging site first. Never edit your live site directly. Use browser developer tools to try changes quickly. These tools show instant results without saving.
Clear your browser cache after updates. This ensures you see the newest styles. Test your site on different devices and browsers. Look for layout problems or broken styles. Fix issues before updating the live site.
Troubleshooting Common Issues
Adding custom CSS in WordPress can sometimes bring unexpected problems. These issues can stop your styles from showing or cause parts of your site to look wrong. Knowing how to fix common problems helps you keep your site looking great and working well.
Css Not Applying
Sometimes, your CSS code does not show any change on your site. This happens when the code is added incorrectly or the browser keeps an old version of the site. Clear your browser cache to see new styles. Check if you placed the CSS in the right place, like the Customizer or a child theme.
Errors in the CSS code also stop it from working. Use a CSS validator to find mistakes. Even a missing semicolon or bracket can break the style rules. Be sure your selectors match the elements on your page exactly.
Conflicting Styles
Conflicts happen when two CSS rules try to style the same element differently. WordPress themes and plugins add their own styles. Your custom CSS might lose against stronger styles from them.
Use browser developer tools to see which styles apply and which do not. Add !important to your CSS rules to make them stronger. Be careful not to overuse it, as it can make future fixes harder.
Sometimes, changing the order of your CSS loading helps. Make sure your custom styles load after the theme and plugin styles. This method often solves conflicts without complex code changes.
Credit: wordpress.org

Credit: docs.presscustomizr.com
Frequently Asked Questions
How Do I Add Custom Css In WordPress Without A Plugin?
You can add custom CSS via the WordPress Customizer. Go to Appearance > Customize > Additional CSS. Paste your CSS code there. It applies immediately without editing theme files. This method is safe and easy for beginners.
Where Can I Safely Add Custom Css In WordPress?
The safest place is the Additional CSS section in the Customizer. It keeps your code separate from theme files. This way, updates won’t erase your custom styles. Alternatively, use a child theme or a custom CSS plugin.
Can I Add Css Directly To WordPress Theme Files?
Yes, but it’s not recommended. Editing theme files can be risky. Updates may overwrite your changes. Use a child theme or the Additional CSS feature to avoid losing your code.
Will Adding Custom Css Affect Site Speed?
Properly written CSS has minimal impact on speed. Avoid heavy or excessive CSS rules. Use clean, efficient code to ensure fast loading times. Custom CSS usually improves appearance without slowing your site.
Conclusion
Adding custom CSS in WordPress is simple and useful. It helps you change your site’s look fast. Just follow the steps carefully. Always check your changes on different devices. This way, your site looks good everywhere. Keep your CSS organized for easy updates later.
Practice makes it easier to use CSS well. Start small, and build your skills over time. Your site will feel more personal and unique. Enjoy customizing your WordPress site with your own style.



