
Have you ever felt frustrated trying to set up a contact form on your WordPress site? You’re not alone.
Navigating through countless plugins and options can be overwhelming. But imagine having a streamlined way for your audience to reach out, boosting your engagement and making your website look professional. The good news is, there’s an easy solution—Contact Form 7.
This popular WordPress plugin is not only user-friendly but also incredibly versatile. In this guide, you’ll discover step-by-step instructions on how to add Contact Form 7 to your WordPress theme, transforming your site’s communication abilities effortlessly. Stick around and learn how to make your website more interactive and efficient with just a few clicks. Your visitors—and your future self—will thank you.
Install Contact Form 7 Plugin
First, go to your WordPress dashboard. Find the Plugins section. Click on Add New. In the search box, type Contact Form 7. Press Enter on your keyboard. You will see the plugin in the list. Click on Install Now. Wait for a moment. After installing, click on Activate.
The plugin is now active. You will notice a new option in your dashboard. It’s called Contact. This is where you can manage your forms. Making a form is easy with this tool. Just follow the instructions. You can add it to any page. Just use the shortcode.

Credit: kinsta.com
Activate The Plugin
First, go to your WordPress dashboard. Click on Plugins in the left menu. Find and click Add New. Type “Contact Form 7” in the search box. You will see the plugin appear. Click Install Now to install the plugin. Once installed, click Activate. The plugin is now ready to use. You can now add forms to your site. This plugin helps you collect messages from visitors.
Check the settings. Make sure your email address is correct. Forms can be placed on pages or posts. Use the shortcode to add forms. Copy the shortcode from the form settings. Paste it into the page or post. Save your changes. Your form will appear on your site.
Create A New Contact Form
To add a contact form, first install Contact Form 7 plugin. Go to your WordPress dashboard. Find the Plugins section and click Add New. Search for “Contact Form 7” and install it. Activate the plugin to start using it.
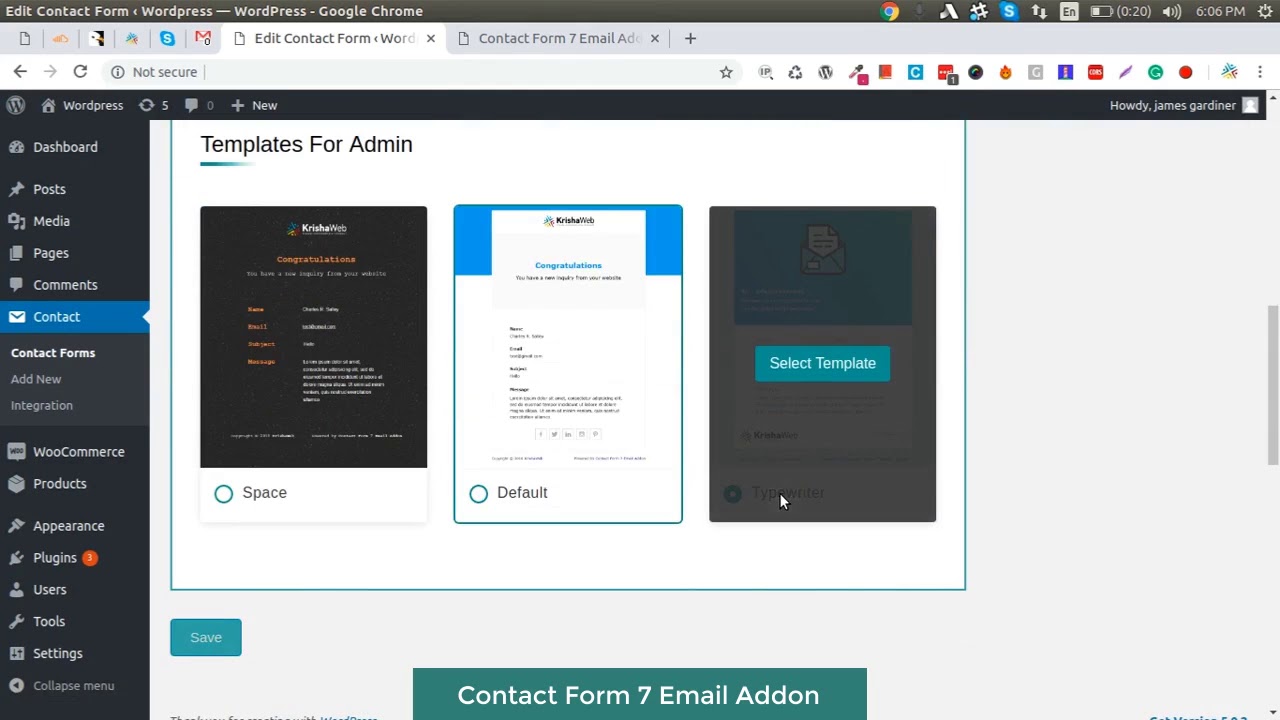
Next, navigate to the Contact section in the dashboard. Click on Add New to create a new form. You will see a default form template. Customize it as needed. Add fields like name, email, and message. Make sure to save your changes.
Copy the shortcode provided. Paste it into any page or post where you want the form to appear. Your contact form is now ready for use. This process is simple and quick.
Credit: m.youtube.com
Customize Form Fields
To add new fields, open the Contact Form 7 plugin. Click on the “Add New” button. Choose the field type you want. This could be a text box, radio button, or checkbox. Once selected, you can set the field name and options.
You can edit existing fields easily. Go to the field you want to change. Click on it to open options. Change the label or field type if needed. Remember to save changes.
Arranging field order is simple. Drag and drop fields to the desired position. Make sure the order makes sense for users. This helps in making the form more user-friendly.
Configure Form Settings
Integrate Contact Form 7 into your WordPress theme by configuring form settings. Customize each field for user interaction. Ensure seamless communication by setting up email notifications.
Email Settings
Set up email settings for your contact form. Choose the sender’s email carefully. This is where replies will go. Use a valid email address. Check the recipient email field. This is where form submissions will land. Make sure it’s correct. Edit the subject line. Keep it clear. It tells you what the email is about. Use simple words. This helps you know the purpose quickly. Test your settings. Send a dummy email. Ensure everything works fine. If it doesn’t, adjust the settings again.
Message Settings
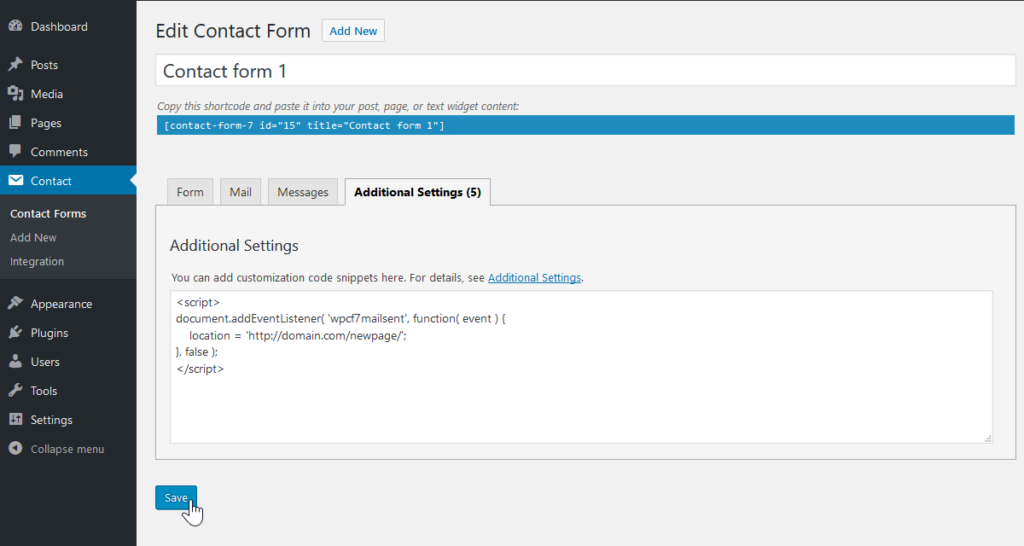
Message settings help you customize replies. Edit the success message. Tell users their message was sent. Use friendly language. Also, set an error message. This appears if something goes wrong. Keep it helpful. Explain what went wrong. Guide users on how to fix it. Check for errors. Make adjustments if needed. Always ensure messages are clear and understandable.
Credit: www.inmotionhosting.com
Generate Form Shortcode
First, open your WordPress dashboard. Find the Contact section. Click on Contact Forms. You will see a list of forms. Choose the form you want. Each form has a shortcode. It is a special code that helps. Copy this shortcode. You need it later.
Next, go to your pages or posts. Edit the page where you want the form. Paste the shortcode in the content area. This will show the form on your page. Save your changes. Check your page. You should see the form now. It is easy and quick.
Add Form To WordPress Page
Copy the shortcode from your Contact Form 7. Go to the page you want the form on. Paste the shortcode in the text editor. The form will show up on your page. Make sure to save your changes. The form is now ready for use.
Open your WordPress dashboard. Look for the Widgets section. Drag the Contact Form 7 widget to your desired area. Select your form from the list. Click on Save. Now, your form will appear on your website.
Style The Contact Form
Easily enhance your WordPress website by adding Contact Form 7. Customize forms to match your theme’s style. Improve user experience with tailored designs.
Use Custom Css
Custom CSS changes how your contact form looks. It makes it unique and match your theme. Start by finding the CSS file in your WordPress theme. Then, add your styles. You can change the font size, color, or background. Use simple CSS rules. Make sure it looks good on all devices. Use media queries for this.
Apply Theme Styling
WordPress themes have their own styles. You can use these to style your contact form. This helps keep a consistent look. It makes your site more professional. Check your theme’s documentation. It will show you how to add styles. Use theme options if they are available. Some themes have built-in settings for contact forms.
Test The Contact Form
Incorporating Contact Form 7 into a WordPress theme simplifies user interaction. Install the plugin and activate it. Embed the form using shortcodes in pages or posts.
Submit Test Messages
Before using the contact form, try submitting some test messages. This helps you know if the form works. Fill out the form with fake details. Press submit and wait. Check if you see a success message. If not, go back and fix errors. This step is important. Your visitors need a working form.
Check Email Deliverability
Email deliverability is key. After sending a test message, open your email inbox. Look for the test email. Sometimes emails go to spam. Check your spam folder too. If you find the email, your form works. If not, change email settings. Use a reliable email service. This ensures you receive messages from visitors.
Troubleshoot Common Issues
Struggling to add Contact Form 7 to a WordPress theme? Ensure the plugin is installed and activated. Verify your theme supports shortcodes. Then, use the Contact Form 7 shortcode in your desired page or post. Refresh to see the form live.
Form Not Sending Emails
Emails might not send if the server settings are wrong. Check the SMTP settings. Ensure they are correct. The plugin WP Mail SMTP can help. It fixes email problems. Use a valid email address. It should match your domain. Sometimes, spam filters block emails. Check spam folders if emails are missing.
Field Validation Errors
Errors happen when fields are not filled correctly. Ensure all required fields are complete. Use correct formats for emails and phone numbers. Double-check settings in Contact Form 7. Look for any red error messages on the form. These messages guide you to fix mistakes. Test the form to see if errors are gone.
Frequently Asked Questions
How Do I Install Contact Form 7 In WordPress?
To install Contact Form 7, go to your WordPress dashboard. Navigate to Plugins > Add New. Search for “Contact Form 7” and click Install. Once installed, click Activate. Now, you can create and manage forms from the Contact menu in your dashboard.
Can I Customize Contact Form 7 Forms?
Yes, you can customize Contact Form 7 forms. Navigate to the Contact section in your dashboard. Click on the form you want to edit. You can add fields, customize labels, and integrate with plugins. Use simple HTML and CSS to style your forms as needed.
How To Add Contact Form 7 To A Page?
To add Contact Form 7 to a page, first copy the form’s shortcode. Then, go to the page or post where you want the form. Paste the shortcode into the content area. Save your changes, and the form will appear on that page.
Is Contact Form 7 Free To Use?
Yes, Contact Form 7 is free to use. It offers powerful features without any cost. You can download it from the WordPress plugin repository. While it’s free, some third-party integrations or add-ons might have costs. It’s a great option for basic and advanced forms alike.
Conclusion
Adding Contact Form 7 to your WordPress theme is simple. Follow the steps outlined, and you’ll have your form ready. Ensure your theme supports shortcodes for smooth integration. Test the form to make sure it works correctly. Customize fields as needed for your audience.
Forms enhance user interaction and feedback. They help you gather essential information easily. Keep your form user-friendly and accessible. Regular updates ensure the plugin remains functional. With practice, adding forms becomes second nature. Share your insights and tips with others.
Help them create effective contact forms too. Happy form building!


