
You know that images can make your WordPress site more appealing and engaging. Whether you’re a beginner blogger or a seasoned web designer, adding images to your WordPress theme can enhance your site’s visual appeal and user experience.
But how exactly do you do it? Don’t worry; you’re in the right place. In this guide, you’ll discover simple, step-by-step instructions that will help you seamlessly integrate images into your WordPress theme. Imagine the impact of a beautifully crafted website that captures your audience’s attention and keeps them coming back for more.
Ready to transform your site into a visual masterpiece? Let’s dive in and explore how you can add that perfect image to your WordPress theme.
Choosing The Right Image
The right image size is important. It makes your website look nice. Small images load faster. This helps your site run smoothly. For a header, use a wide image. A good width is 1200 pixels. For blog posts, 800 pixels is okay. Thumbnails are smaller. 150 pixels is fine.
Images should not be too big. They slow down your site. Use a tool to resize them. Make sure your images are clear. Blurry images look bad.
Images come in different formats. JPEG is common. It is great for photos. PNG is another format. It is good for images with text. PNG keeps the quality high. GIF is for animations. It is fun but not for all sites. Choose the right format for your needs. It makes a difference.
Preparing Your Image
Images should be small in size. This helps them load fast. Use tools to compress your images. TinyPNG is a good option. Keep your images under 100KB. Use the right format. JPEG for photos. PNG for graphics.
Names must be clear and simple. Include words that describe the image. Use hyphens between words. Avoid spaces and special characters. A good example: happy-dog.jpg. This helps with SEO. Search engines understand your image better.
Uploading The Image
Go to your WordPress dashboard. Click on the Media menu. Select Add New. Click the Select Files button. Choose your image. Wait for the upload to complete. You can see the image in your Media Library. Click on it to view details. Use the URL to add it to posts or pages.
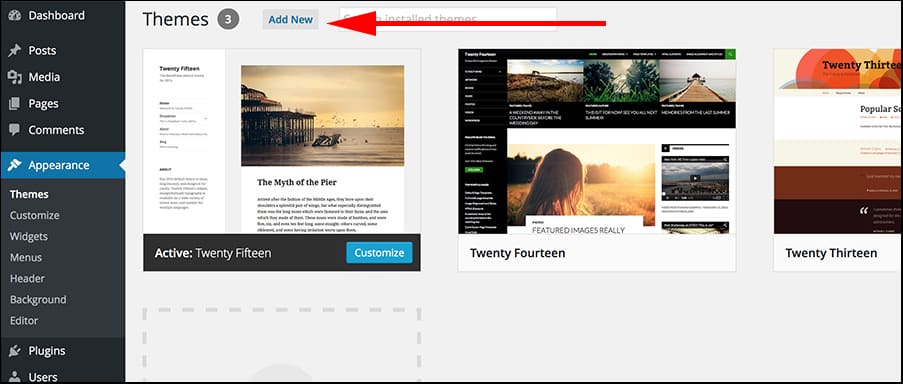
You can use FTP to upload images. Open your FTP client. Connect to your site’s server. Find the wp-content folder. Go to uploads. Drag and drop your image here. Remember the file path. Use this path to add images in your theme. Another way is through the Customizer. Go to Appearance, then Customize. Select Header Image or Background Image. Upload your image directly here.
Adding Image To Theme Files
Start by accessing the WordPress dashboard. Click on Appearance and select Theme Editor. A list of theme files will appear. Choose the one where you want the image. Open the file and add the HTML code. Use the
Child themes are safe for changes. Create a child theme first. Copy the file you want to edit. Paste it into your child theme folder. Add the image code in this file. This way, theme updates won’t remove your changes. Always preview your site after changes. Make sure the image displays correctly.
Inserting Image Via WordPress Customizer
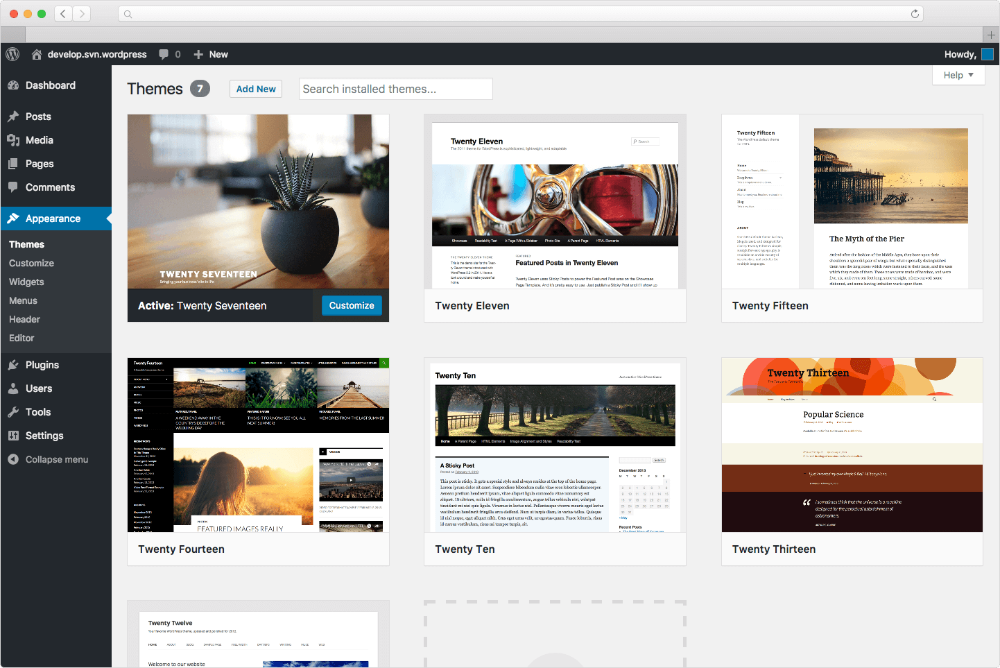
Header and Background Images can change your site’s look. To add a header image, go to the WordPress Customizer. Click on “Header Image”. Choose “Add New Image”. Pick an image from your computer. Adjust the size if needed. For a background image, select “Background Image” in the Customizer. Click “Select Image” to add it. You can also set the image position. Adjust the image settings until satisfied. Always remember to save changes. This keeps the new image on your site.
Custom Logo gives your site a personal touch. Find the “Site Identity” section in the Customizer. Click “Select Logo”. Choose an image for your logo. Make sure it is clear and sharp. Adjust the logo size in the settings. You want it to fit well. Save your changes when done. This makes sure your logo appears on the site.
Using Widgets For Images
Text Widgets are simple to use. They are for adding text and images. To add an image, go to the widget settings. Find the Text Widget and drag it to your sidebar. Inside the widget, use the HTML tag to add an image. Make sure to include the image URL in the tag. Adjust the width and height to fit your theme. Save your changes. Now, the image appears on your site.
Image Widgets are even simpler. They are designed to display images only. Drag the Image Widget to your sidebar. Click on it to upload or choose an image. You can add a caption and link if you want. This widget automatically resizes the image. It fits perfectly in your theme. Press save and see the image live on your site.
Adding Image In Page Builders
Page builders help with creating websites. They offer simple ways to add images. Many page builders have image modules or blocks. These tools let you insert pictures easily. You choose where the picture goes. Drag and drop is common.
Elementor and Divi are popular page builders. They have user-friendly tools. Each has image options to explore. Builders often provide editing features. Resize images or add a border. Picture placement is flexible.
Images make web pages look nice. They help explain ideas. Users enjoy sites with good pictures. Page builders make this task simple. Choose the best builder for your needs.

Credit: wpmarmite.com
Testing And Troubleshooting
Common Image Issues: Sometimes, images do not appear in WordPress themes. This can happen due to incorrect paths. Check if the image path is right. Look for spelling mistakes. Ensure the file name is correct. Also, confirm the image is in the right folder. Sometimes images are too large. Large images can slow down the site. Resize images before uploading.
Broken links can cause image problems. Double-check all image links. Ensure they are working. Sometimes, images do not load on mobile phones. Test images on different devices. Ensure they are responsive.
Responsive Image Check: Images must adjust to screens. They should look good on all devices. Use tools to test responsiveness. Check on phones and tablets. Make sure images are not cut off. Adjust sizes if necessary. Use CSS to make images flexible. This helps them fit all screens.
Best Practices For Seo
Alt text is important for images on your website. It helps search engines understand your image. It also helps people who can’t see the image. Write a short description of the image. Use simple words. Describe what the image shows. Keep it clear and short. This improves your website’s SEO.
Image sitemaps help search engines find your images. It tells them where your images are. This can improve your site’s visibility. Use a plugin to create image sitemaps easily. Keep your sitemap updated. This way, your images have a better chance of being found. It helps your site’s SEO.
Credit: docs.presscustomizr.com
Credit: www.greengeeks.com
Frequently Asked Questions
How Do I Upload An Image To WordPress?
To upload an image, go to your WordPress dashboard. Click on ‘Media’ and then ‘Add New’. Drag and drop your image or click ‘Select Files’ to upload. Once uploaded, you can add it to your theme by using the ‘Add Media’ button in the post editor.
Can I Add Images To A WordPress Theme?
Yes, you can add images directly to a WordPress theme. Use the WordPress dashboard to upload images to the media library. Then, insert the images into your theme using widgets or the theme editor. This allows you to customize your site’s appearance with visuals.
What Image Formats Are Supported In WordPress?
WordPress supports several image formats including JPEG, PNG, GIF, and ICO. These formats are ideal for web use, providing a balance between quality and file size. Ensure your images are optimized for faster loading times and better user experience on your WordPress site.
How To Add Images To WordPress Header?
To add an image to the header, navigate to ‘Appearance’ and then ‘Customize’. Select ‘Header Image’ and upload your desired image. Follow the prompts to save changes. This allows you to personalize your site’s header with a custom image.
Conclusion
Adding an image to your WordPress theme enhances your site. Visuals attract attention. They make content engaging and memorable. Follow simple steps to insert images. First, choose the right picture. Then, upload it to your media library. Place it in your theme using widgets or code.
Preview your changes to ensure everything looks good. Regularly update images to keep your site fresh. This process is straightforward. Even beginners can manage it easily. Images boost site appeal. They enhance user experience. Start today. Make your WordPress site shine.


