
Are you ready to bring your web service to life by hosting it in IIS? If you’ve been searching for a straightforward guide to make your web service accessible, you’ve landed in the right place.
Hosting a web service in Internet Information Services (IIS) might sound complex, but with the right steps, it’s a task you can easily conquer. Imagine the satisfaction of seeing your service up and running, smoothly serving requests and reaching users around the world.
This guide is crafted just for you, focusing on clear instructions and practical tips to ensure success. Dive in to discover how you can seamlessly host your web service in IIS, transforming your project from development to deployment with confidence.
Credit: knowledge.digicert.com
Setting Up Iis
IIS is a tool for hosting websites. You need to install it on your computer. First, open Control Panel. Then, click on Programs. Choose Turn Windows features on or off. Find Internet Information Services. Check the box next to it. Click OK. Wait for the installation to finish. That’s how you install IIS.
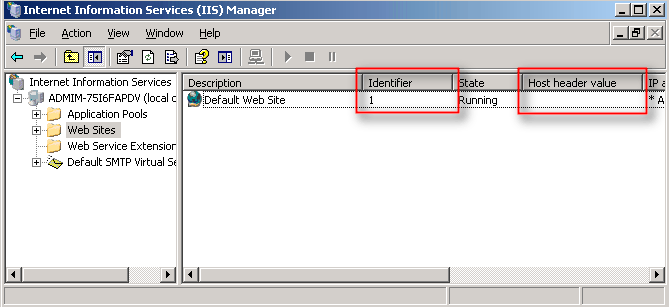
After installing, you need to configure IIS. Open IIS Manager. You can find it in the start menu. Look for the Connections panel. Click on your computer name. You will see many options. Choose the features you need. Make sure to set the right bindings. Save your settings. Now, IIS is ready to use.
Preparing Your Web Service
Hosting a web service in IIS requires careful setup of your server environment. Begin by installing IIS and configuring it to support your web service. Ensure your application is properly deployed and accessible through the internet.
Creating A Web Service Project
Begin with creating a web service project. Open your IDE. Choose a new project. Select the web service template. Name your project. Set the location. Click create. Now you have a basic project structure. Edit the files. Add your code. Make sure your code is correct. Save your work often. This step is vital. It forms the base of your web service. Without a proper base, hosting will fail.
Compiling And Building The Project
Next, compile your project. Check for errors. Fix any issues. This step ensures your code runs smoothly. Then, build the project. Building converts code into a runnable format. A successful build is crucial. It means your service is ready. Ready for hosting in IIS.
Deploying To Iis
First, create your web service project. Next, publish it to a folder. This folder will hold your web service files. Ensure all files are present. Use Visual Studio to do this. Look for the “Publish” option. Choose a folder on your computer. Click publish to finish.
Open IIS Manager on your computer. Find the “Sites” folder. Right-click and choose “Add Website”. Enter a name for your site. Select the folder with your web service. Check that the physical path is correct. Choose a port number. Click OK to create.
Application pools help manage web apps. In IIS, find “Application Pools”. Right-click to create a new pool. Name your pool. Choose the .NET version you use. Assign this pool to your website. This helps run your service smoothly. Ensure the pool is running.

Credit: learn.microsoft.com
Configuring Web Service Settings
Bindings connect your web service to the internet. Choose the right protocol, like HTTP or HTTPS. Set the port number for your service. Common ports are 80 for HTTP and 443 for HTTPS. Use the IP address if needed. This helps direct traffic correctly.
For authentication, decide how users will log in. Options include Basic Authentication and Windows Authentication. Basic is simple but less secure. Windows uses network credentials. Choose based on your security needs.
Managing SSL Certificates is important. These certificates make your web service secure. Obtain an SSL certificate from a trusted provider. Install it in the IIS manager. This helps encrypt data between the server and users. Always ensure certificates are up-to-date.
Testing The Web Service
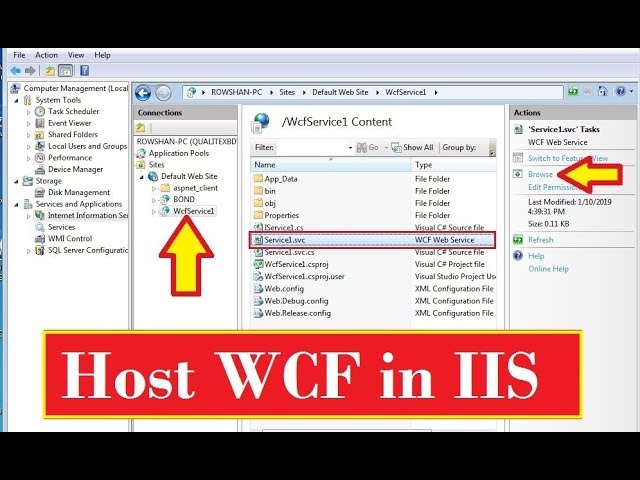
Open a web browser on your computer. Type the web service URL in the address bar. Press Enter to visit the page. You should see a welcome message. This message confirms that the service is running. Make sure the URL is correct. Check for any typos. A wrong URL won’t open the service.
Use a tool like Postman for testing. Enter the service URL in Postman. Select the method you need to test. Send a request to the server. Look for a response code. A 200 code means success. Check the data returned by the service. Ensure it matches expected results. If not, there may be a problem with the service.
Credit: www.youtube.com
Troubleshooting Common Issues
Permission errors can stop your web service. Check user permissions first. Ensure the user has access rights to the folder. Adjust permissions in the IIS Manager. This allows users to read and write as needed. Double-check file permissions too. Sometimes files need special access.
A common issue is connection problems. First, verify your server is online. Next, check the firewall settings. Make sure the right ports are open. Also, ensure the domain name is correct. Wrong domain names can cause failures. Lastly, restart the server. This can help fix minor issues.
Configuration issues may cause errors. Open IIS Manager and review settings. Confirm the application pool is correct. The pool must match the app’s needs. Check the .NET version too. The wrong version can lead to crashes. Review the web.config file settings. Errors here often cause problems.
Frequently Asked Questions
How To Host A Web Service In Iis?
To host a web service in IIS, open IIS Manager and add a new site. Choose the application pool and configure bindings. Place your service files in the specified directory. Ensure permissions are set correctly. Test the setup by accessing the service URL in a web browser.
How To Host Windows Service In Iis?
To host a Windows service in IIS, create a WCF service library. Use the Windows Service template in Visual Studio. Configure the service in IIS Manager. Ensure the application pool supports. NET Framework. Deploy the service files to the IIS server.
Adjust firewall settings if necessary.
How To Deploy A Website On A Local Iis Server?
Install IIS via Control Panel. Open IIS Manager, create a new website, and set the physical path. Bind your domain, configure permissions, then start the site. Ensure firewall settings allow HTTP traffic. Test locally using “localhost” or your IP address to confirm deployment success.
How To Host A Web Service On Localhost?
Install a local server software like XAMPP or WAMP. Place your web service files in the server’s designated folder. Start the server, then access the service via your browser using “http://localhost/your-service-folder”.
Conclusion
Setting up a web service in IIS is quite straightforward. Follow the steps, and your service will run smoothly. Start by installing IIS on your Windows server. Configure the application pool for efficient resource management. Deploy your web service files and test the setup.
Troubleshooting is easier with error logs. Ensure security settings are properly configured. Regular updates keep your web service secure. With IIS, hosting becomes manageable. Keep exploring IIS features to improve performance. Hosting a web service on IIS can enhance your online presence effectively.


