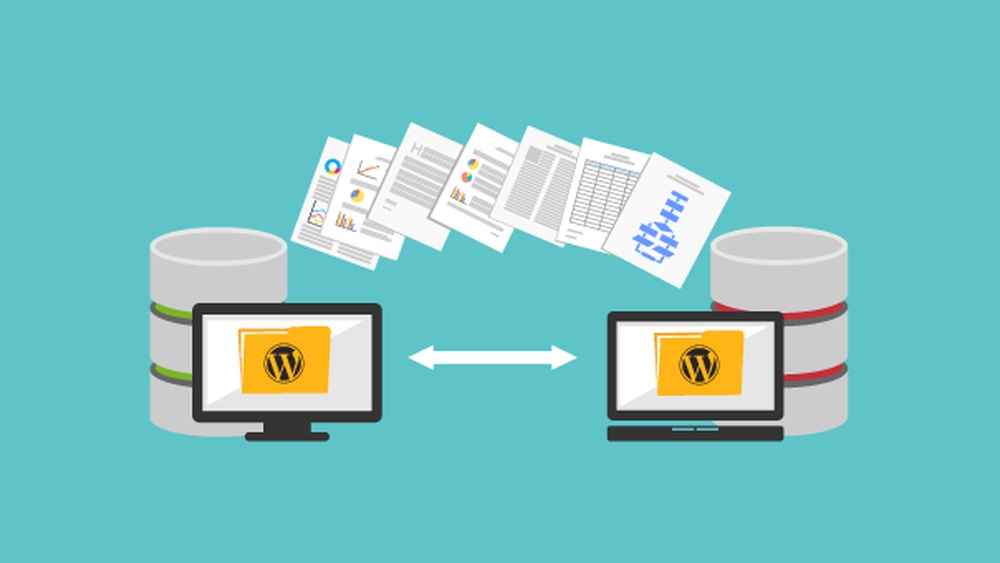
Are you ready to move your WordPress site to a new server but don’t know where to start? Transferring your website might sound complicated, but with the right steps, you can do it smoothly and safely.
Imagine keeping all your content, design, and settings exactly as they are—just on a faster, more reliable server. In this guide, you’ll discover simple, clear instructions that make the process easy to follow. By the end, you’ll feel confident managing your site’s move without losing data or traffic.
Let’s dive in and get your WordPress site transferred quickly and securely.
Preparing For Migration
Preparing for migration is a key step to move your WordPress site safely. It helps avoid data loss and site downtime. Careful preparation makes the transfer smooth and less stressful.
This stage involves backing up files, exporting your database, and picking a new hosting provider. Each task is important to keep your site intact and working well.
Backup Your Website Files
Start by saving all your website files. These include themes, plugins, and media uploads. Use an FTP client or your hosting control panel to download these files. Keep a copy on your computer or an external drive. This backup protects your site if anything goes wrong during transfer.
Export The Database
Your WordPress database holds all your posts, pages, and settings. Export it using phpMyAdmin or a similar tool. Save the database as a .sql file. This file is essential to restore your site on the new server. Check the export for errors before moving on.
Choose A New Hosting Provider
Pick a hosting service that fits your needs and budget. Look for good speed, uptime, and support. Make sure the server supports the WordPress version you use. A reliable host improves your site’s performance and user experience.

Credit: www.youtube.com
Setting Up The New Server
Setting up the new server is the first step in moving your WordPress site. You need a clean environment ready to host your website files and database. This ensures your site runs smoothly after the move. Follow these steps carefully to avoid issues later.
Install WordPress
Start by installing a fresh copy of WordPress on the new server. Download the latest version from the official WordPress website. Upload the files to your server using FTP or your hosting control panel. Run the installation script by visiting your site URL. This sets up the basic WordPress files needed to run your site.
Create A New Database
Next, create a new database for your WordPress site. Use your hosting control panel or database management tool. Choose a name that is easy to remember and related to your site. This database will store all your site’s content, settings, and user information. Make sure to note the database name for later use.
Configure Database User
Create a new database user with full permissions on the new database. Assign a strong username and password. This user will connect WordPress to the database. Grant the user all privileges needed for database management. Keep these credentials safe for updating your WordPress configuration file.
Transferring Files And Database
Transferring your WordPress site to a new server involves moving both the website files and the database. These two parts are essential for your site to work correctly on the new server. This section explains how to transfer these components step-by-step.
Upload Website Files
First, download all your WordPress files from the old server. Use an FTP client like FileZilla to connect to your old host. Select all files, including hidden ones like .htaccess. Upload these files to the root directory of your new server. Make sure the upload finishes without errors. This step moves your themes, plugins, and media.
Import The Database
Your WordPress database holds all your site content and settings. Export the database from your old server using phpMyAdmin or a similar tool. Save it as a .sql file. On the new server, create a new database and user with full permissions. Use phpMyAdmin to import the saved .sql file into the new database. This restores your site’s data.
Update Wp-config.php
The wp-config.php file connects your site to the database. Open this file on the new server. Change the database name, username, and password to match the new database credentials. Save the file and close it. This step links your WordPress files to the correct database on the new server.
Adjusting Site Settings
After moving your WordPress site to a new server, adjusting the site settings is crucial. These settings ensure your site runs smoothly and visitors see the right content. Small changes here make a big difference in how your site works.
Focus on updating the site URL, fixing permalinks, and checking media links. These steps help avoid broken links and display errors. Let’s break down each task clearly.
Change Site Url
Start by updating the site URL to match the new server address. This tells WordPress where your site lives now. Go to the WordPress dashboard and open Settings > General.
Change the “WordPress Address (URL)” and “Site Address (URL)” fields. Use the new domain or server IP address. Save changes to apply the update.
Fix Permalinks
Permalinks control how your web page links look. They need refreshing after a server move. Visit Settings > Permalinks in your dashboard.
Without changing anything, click “Save Changes.” This rebuilds the link structure. It stops 404 errors from broken links on your site.
Check Media Links
Media files like images might still point to the old server. Check if pictures and videos load correctly. Use the WordPress editor or visit pages to confirm.
Fix broken media links by updating them in the database or using plugins. This keeps your site’s visuals intact and professional.
Testing The Transferred Site
After transferring your WordPress site to a new server, testing it is very important. This step helps ensure everything works right. Testing avoids problems that visitors or you might face later. Focus on key areas to confirm the site functions smoothly on the new server.
Verify Frontend Functionality
Start by checking the frontend of your website. Open the homepage in a browser and see if it loads fast. Click through pages to ensure links work well. Watch for missing images or broken layout. Test on different devices and browsers to confirm consistency. These checks guarantee your visitors get a good experience.
Test Admin Access
Next, log into the WordPress admin dashboard. Confirm your username and password work correctly. Try changing settings or creating a new post. Check if media uploads smoothly without errors. Admin access is crucial for managing your site efficiently. Ensuring it works prevents management issues later.
Check Plugins And Themes
Finally, review all plugins and themes. Make sure they activate without errors. Test plugin features to verify full functionality. Look for outdated plugins that may cause conflicts. Confirm the active theme displays content properly. Plugins and themes shape your site’s performance and look. Checking them keeps your site stable and secure.
Credit: www.wpbeginner.com
Final Steps
After moving your WordPress site to a new server, some final steps remain. These steps ensure your site works well and stays safe. Follow these carefully to avoid downtime or security risks.
Update Dns Settings
Change your domain’s DNS records to point to the new server. This update tells the internet where to find your site. DNS changes may take a few hours to fully spread worldwide. Keep the old server active during this time to avoid visitor loss.
Monitor Site Performance
Check your website’s loading speed and functionality after the move. Test pages, forms, and plugins to confirm they work correctly. Use tools like Google PageSpeed Insights for performance checks. Fix any issues quickly to keep visitors happy and engaged.
Secure Your Website
Install an SSL certificate on the new server for safe browsing. Update your WordPress, themes, and plugins to their latest versions. Set strong passwords for all accounts. Consider adding a security plugin to protect your site from attacks.
Credit: www.inmotionhosting.com
Frequently Asked Questions
How Do I Migrate WordPress To A New Hosting Server?
To migrate WordPress, back up your files and database first. Upload them to the new server. Update the wp-config. php file with new database details. Finally, change your domain’s DNS settings to point to the new server.
What Tools Help Transfer WordPress Sites Easily?
Plugins like Duplicator and All-in-One WP Migration simplify WordPress transfers. They package your site and database into a single file. You can then upload and install this on the new server quickly.
How Do I Update WordPress Site Urls After Moving?
After migration, use tools like the Velvet Blues Update URLs plugin. Alternatively, run SQL queries to replace old URLs with new ones in your database. This ensures all links and media point to the correct domain.
Is Downtime Avoidable During WordPress Site Transfer?
Yes, downtime can be minimized by transferring files during low traffic hours. Keep the old site live until DNS changes propagate. This allows visitors to access your site without interruptions.
Conclusion
Transferring a WordPress site to a new server is manageable with clear steps. Backup your files and database carefully. Upload them to the new server without rushing. Update your site’s settings to match the new location. Test everything to ensure your site works well.
Take your time and follow instructions closely. This process helps keep your website safe and running smoothly. A successful transfer means your visitors enjoy uninterrupted access. Keep backups handy for extra security. Moving your WordPress site can be simple and stress-free.