
Are you ready to launch your own website but feeling overwhelmed by the technical side of things? Installing WordPress on Namecheap might sound daunting, but it’s simpler than you think.
Imagine having a professional-looking website up and running without needing to hire an expert. With this guide, you’ll discover just how easy it is to get started. We’ll walk you through each step, ensuring you have a smooth, stress-free installation experience.
Whether you’re starting a blog, setting up an online store, or creating a portfolio, this article is your gateway to bringing your ideas to life. Don’t let fear hold you back; dive in and empower yourself with the knowledge to install WordPress on Namecheap effortlessly. Let’s get your website live today!
Choosing The Right Hosting Plan
Choosing the right hosting plan is crucial for your WordPress site. Namecheap offers various hosting options tailored to different needs. It’s essential to understand the differences to make an informed decision. The right hosting plan ensures your website runs smoothly and efficiently.
Shared Hosting Vs. Vps Hosting
Shared hosting is cost-effective and beginner-friendly. It shares server resources with other websites. This option suits small blogs or personal sites with low traffic. VPS hosting provides more control and dedicated resources. It’s ideal for growing sites that need better performance. VPS hosting allows customization and scalability. Consider your site’s size and traffic to choose the best option.
Features To Consider
Evaluate the features each hosting plan offers. Look for uptime reliability. This ensures your site is always accessible. Check if the plan includes a free SSL certificate. SSL certificates provide security for your visitors’ data. Storage space and bandwidth are also important. More storage allows more content on your site. Unlimited bandwidth prevents slow loading during high traffic. Consider customer support availability. 24/7 support helps resolve issues quickly. Choose a plan that offers a user-friendly control panel. This simplifies managing your site. Compare the features to ensure they meet your needs.
Registering A Domain Name
Registering a domain name is the first crucial step in setting up your WordPress site on Namecheap. Your domain name is your online identity, making it pivotal to choose one that resonates with your brand or personal message. It’s more than just a web address; it’s your digital storefront. Finding the perfect domain can be both exciting and daunting. But don’t worry, with a few tips, you’ll be able to make the right choice and get started with your WordPress journey.
Domain Selection Tips
Choosing a domain name is a bit like choosing a name for your baby. You want something meaningful, memorable, and unique. Keep it short; the fewer characters, the easier it is to type and remember. Avoid numbers and hyphens as they can confuse potential visitors. If your ideal domain name is taken, consider adding a keyword related to your niche or using a different domain extension like .net or .co. Remember, your domain is your brand’s first impression.
Think about the future. Will your domain still be relevant in five years? Consider how your business or blog might evolve. A specific name might box you in, while a broader name allows for growth. Get feedback from friends or colleagues—often, fresh eyes can spot something you might have missed.
Domain Registration Process
Once you’ve settled on the perfect domain name, registering it with Namecheap is straightforward. First, head over to the Namecheap website and enter your chosen domain in the search bar to check its availability. If it’s available, you’re in luck; if not, Namecheap will suggest alternatives that might suit you.
After selecting your domain, proceed to checkout. Namecheap often offers promotions, so keep an eye out for discounts that could save you some money. During the checkout process, you’ll be prompted to create an account or log in if you already have one. This account will be crucial for managing your domain settings later.
Before you finalize your purchase, consider adding Domain Privacy Protection. This service keeps your personal information hidden from the public domain registry, protecting you from spam and identity theft. Once your payment is processed, congratulations, you’re the proud owner of a new domain! Isn’t it thrilling to think about the possibilities that this small investment can bring?
Setting Up Your Hosting Account
Setting up your hosting account is the first step in installing WordPress on Namecheap. This process ensures your website has a strong foundation. A well-configured hosting account provides stability and security. Let’s explore how to set up your hosting account effectively.
Accessing Namecheap Dashboard
Begin by logging into your Namecheap account. Use your username and password. Once logged in, find the dashboard. This is your control center. Here, you can manage domains and hosting services. Look for the “Dashboard” or “Account” tab. Click on it to proceed. You are now ready to configure hosting settings.
Configuring Hosting Settings
Choose the “Hosting” option on the dashboard. This section is crucial for WordPress installation. Next, select the plan that suits your needs. Click “Manage” next to your chosen plan. You will see various settings options. Focus on server location and resources. These impact your site’s performance. Adjust them according to your requirements.
Enable SSL for added security. It protects your visitors’ data. Lastly, review your settings carefully. Ensure everything is configured properly. Your hosting account is now ready for WordPress installation.

Credit: www.youtube.com
Installing WordPress Via Softaculous
Easily set up WordPress on Namecheap with Softaculous. Log into your cPanel, find Softaculous, and select WordPress. Follow the prompts for a seamless installation.
Installing WordPress via Softaculous is a straightforward and efficient way to get your website up and running. If you’re using Namecheap, you’re in luck. With just a few clicks, you can have WordPress installed without the hassle of manual installation. This method is perfect for beginners and seasoned developers alike who want to save time and effort. Let’s dive into the step-by-step process and simplify your website setup. ###Navigating To Softaculous
First things first, you need to access your Namecheap account. Once logged in, head to your cPanel dashboard. Softaculous is a one-stop shop for application installations, and you’ll find it easily here. Look for the “Software” section or simply type “Softaculous” in the search bar if you’re in a hurry. Click on the Softaculous icon to proceed. Do you remember the last time you found a shortcut that saved you hours of work? Softaculous is exactly that for WordPress installation. ###Initiating WordPress Installation
Once inside Softaculous, you’re greeted with a plethora of applications. But let’s stay focused—WordPress is your target. Click on the WordPress icon, and you’ll be taken to an overview page. Here, you’ll find an “Install Now” button. This is your green light to start the installation process. Before you click, take a moment to consider your site’s details. What domain will you use? Do you want your site to be secure with HTTPS? These are quick decisions that can affect your site’s launch. The installation form will ask for these details, so have them ready. Fill out the required fields, such as your site name, description, and admin account information. Press “Install” once you’re ready. Sit back, relax, and let Softaculous work its magic. In just a few moments, your WordPress site will be ready to customize and launch. Isn’t it exhilarating to think how these few clicks can bring your ideas to life? Embrace the simplicity and efficiency that Softaculous offers. Your website is now just a login away from being shared with the world.Configuring WordPress Settings
Once you’ve installed WordPress on Namecheap, configuring its settings is crucial. Proper configuration ensures your site runs smoothly. It helps in enhancing user experience and SEO performance. Let’s walk through key settings to get your WordPress site ready.
Site Title And Tagline
The site title and tagline define your site’s identity. They appear in the browser tab and search results. Choose a title that reflects your site’s purpose. Keep it concise and relevant. The tagline provides a brief description. It should be catchy and informative. To set these, navigate to the WordPress dashboard. Go to Settings and click on General. Enter your desired site title and tagline in the respective fields. Click Save Changes to update.
Permalinks And Privacy Settings
Permalinks affect your site’s URL structure. A clean URL structure improves SEO. Go to Settings and select Permalinks. Choose Post name for SEO-friendly links. This choice makes URLs easy to read and share. Don’t forget to save your changes.
Privacy settings protect user data. They also ensure compliance with privacy laws. In the dashboard, click on Settings and then Privacy. Create a privacy policy page if needed. WordPress offers a template to start with. Customize it to fit your site’s needs. Remember to publish the page once ready.
Customizing Your WordPress Site
Customizing your WordPress site is a crucial step post-installation. It helps shape the look and feel of your website. With Namecheap, setting up WordPress is straightforward. But, personalizing it makes your site unique. Let’s dive into the essentials of customizing your WordPress site.
Selecting A Theme
Themes determine your site’s layout and design. Choose a theme that aligns with your brand. Free and premium themes are available in the WordPress repository. Consider responsiveness and speed before selecting. A responsive theme adapts to various devices. Faster themes ensure a good user experience. Preview themes to see how they look on your site. This helps in making an informed decision.
Adding Essential Plugins
Plugins add functionality to your WordPress site. They enhance performance and security. Some essential plugins include SEO tools. An SEO plugin helps improve your site’s visibility. Security plugins protect against threats. Backup plugins safeguard your data. Install plugins directly from the WordPress dashboard. Always keep them updated for optimal performance. Regular updates also fix security vulnerabilities.
Launching Your WordPress Site
Installing WordPress on Namecheap is straightforward and efficient. Access your Namecheap cPanel and locate the Softaculous App Installer. Follow the guided steps, and your WordPress site will be ready in minutes.
Launching your WordPress site is an exciting milestone. You’ve worked hard to set up your site on Namecheap, and now it’s time to share your creativity with the world. This stage is where your site truly comes to life. But before you hit publish, there are a few final steps that will ensure your site shines from the get-go.Final Checks And Updates
Before you unveil your site to the public, take a moment for some final checks. Ensure all plugins are updated; outdated ones can slow your site down or cause security issues. Check your theme settings, making sure everything aligns with your vision. Do a quick run-through of your pages. Is your contact information correct? Are your images loading properly? These small details can make a big impact. Consider your site’s navigation. Is it intuitive and easy for visitors to find what they’re looking for?Publishing Your First Post
Your first post is a chance to make a memorable first impression. Write something that reflects your passion and purpose. Share a story or insight that resonates with your audience. This post sets the tone for your site, so make it count. Think about the title. Is it engaging? Does it spark curiosity? Your opening lines should draw readers in. Use images to break up text and add visual interest. Remember, this is your chance to connect with your audience on a personal level. Take a step back and ask yourself: Does this post align with my goals? Does it offer value to my readers? Launching your WordPress site on Namecheap is more than just clicking publish. It’s about creating an experience that captivates and engages. Are you ready to make your mark online?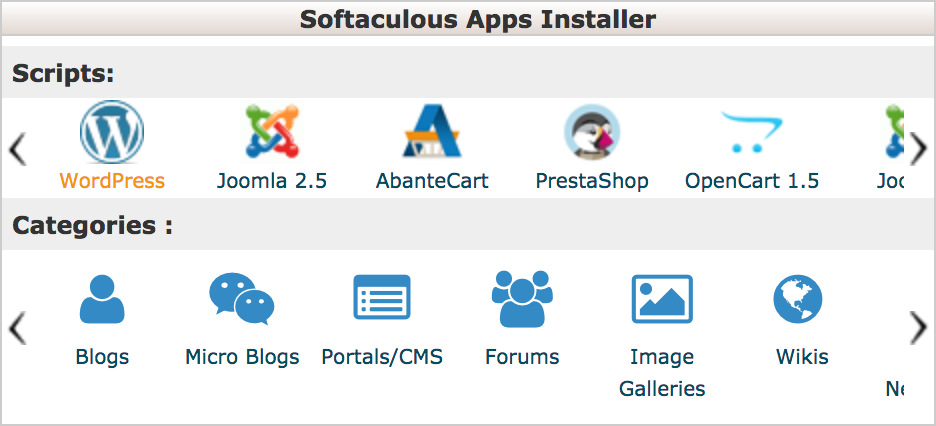
Credit: www.namecheap.com
Troubleshooting Common Issues
Installing WordPress on Namecheap can be straightforward. Yet, issues may arise during setup. Understanding common problems can ease the process. This section explores solutions to frequent installation hurdles.
Handling Installation Errors
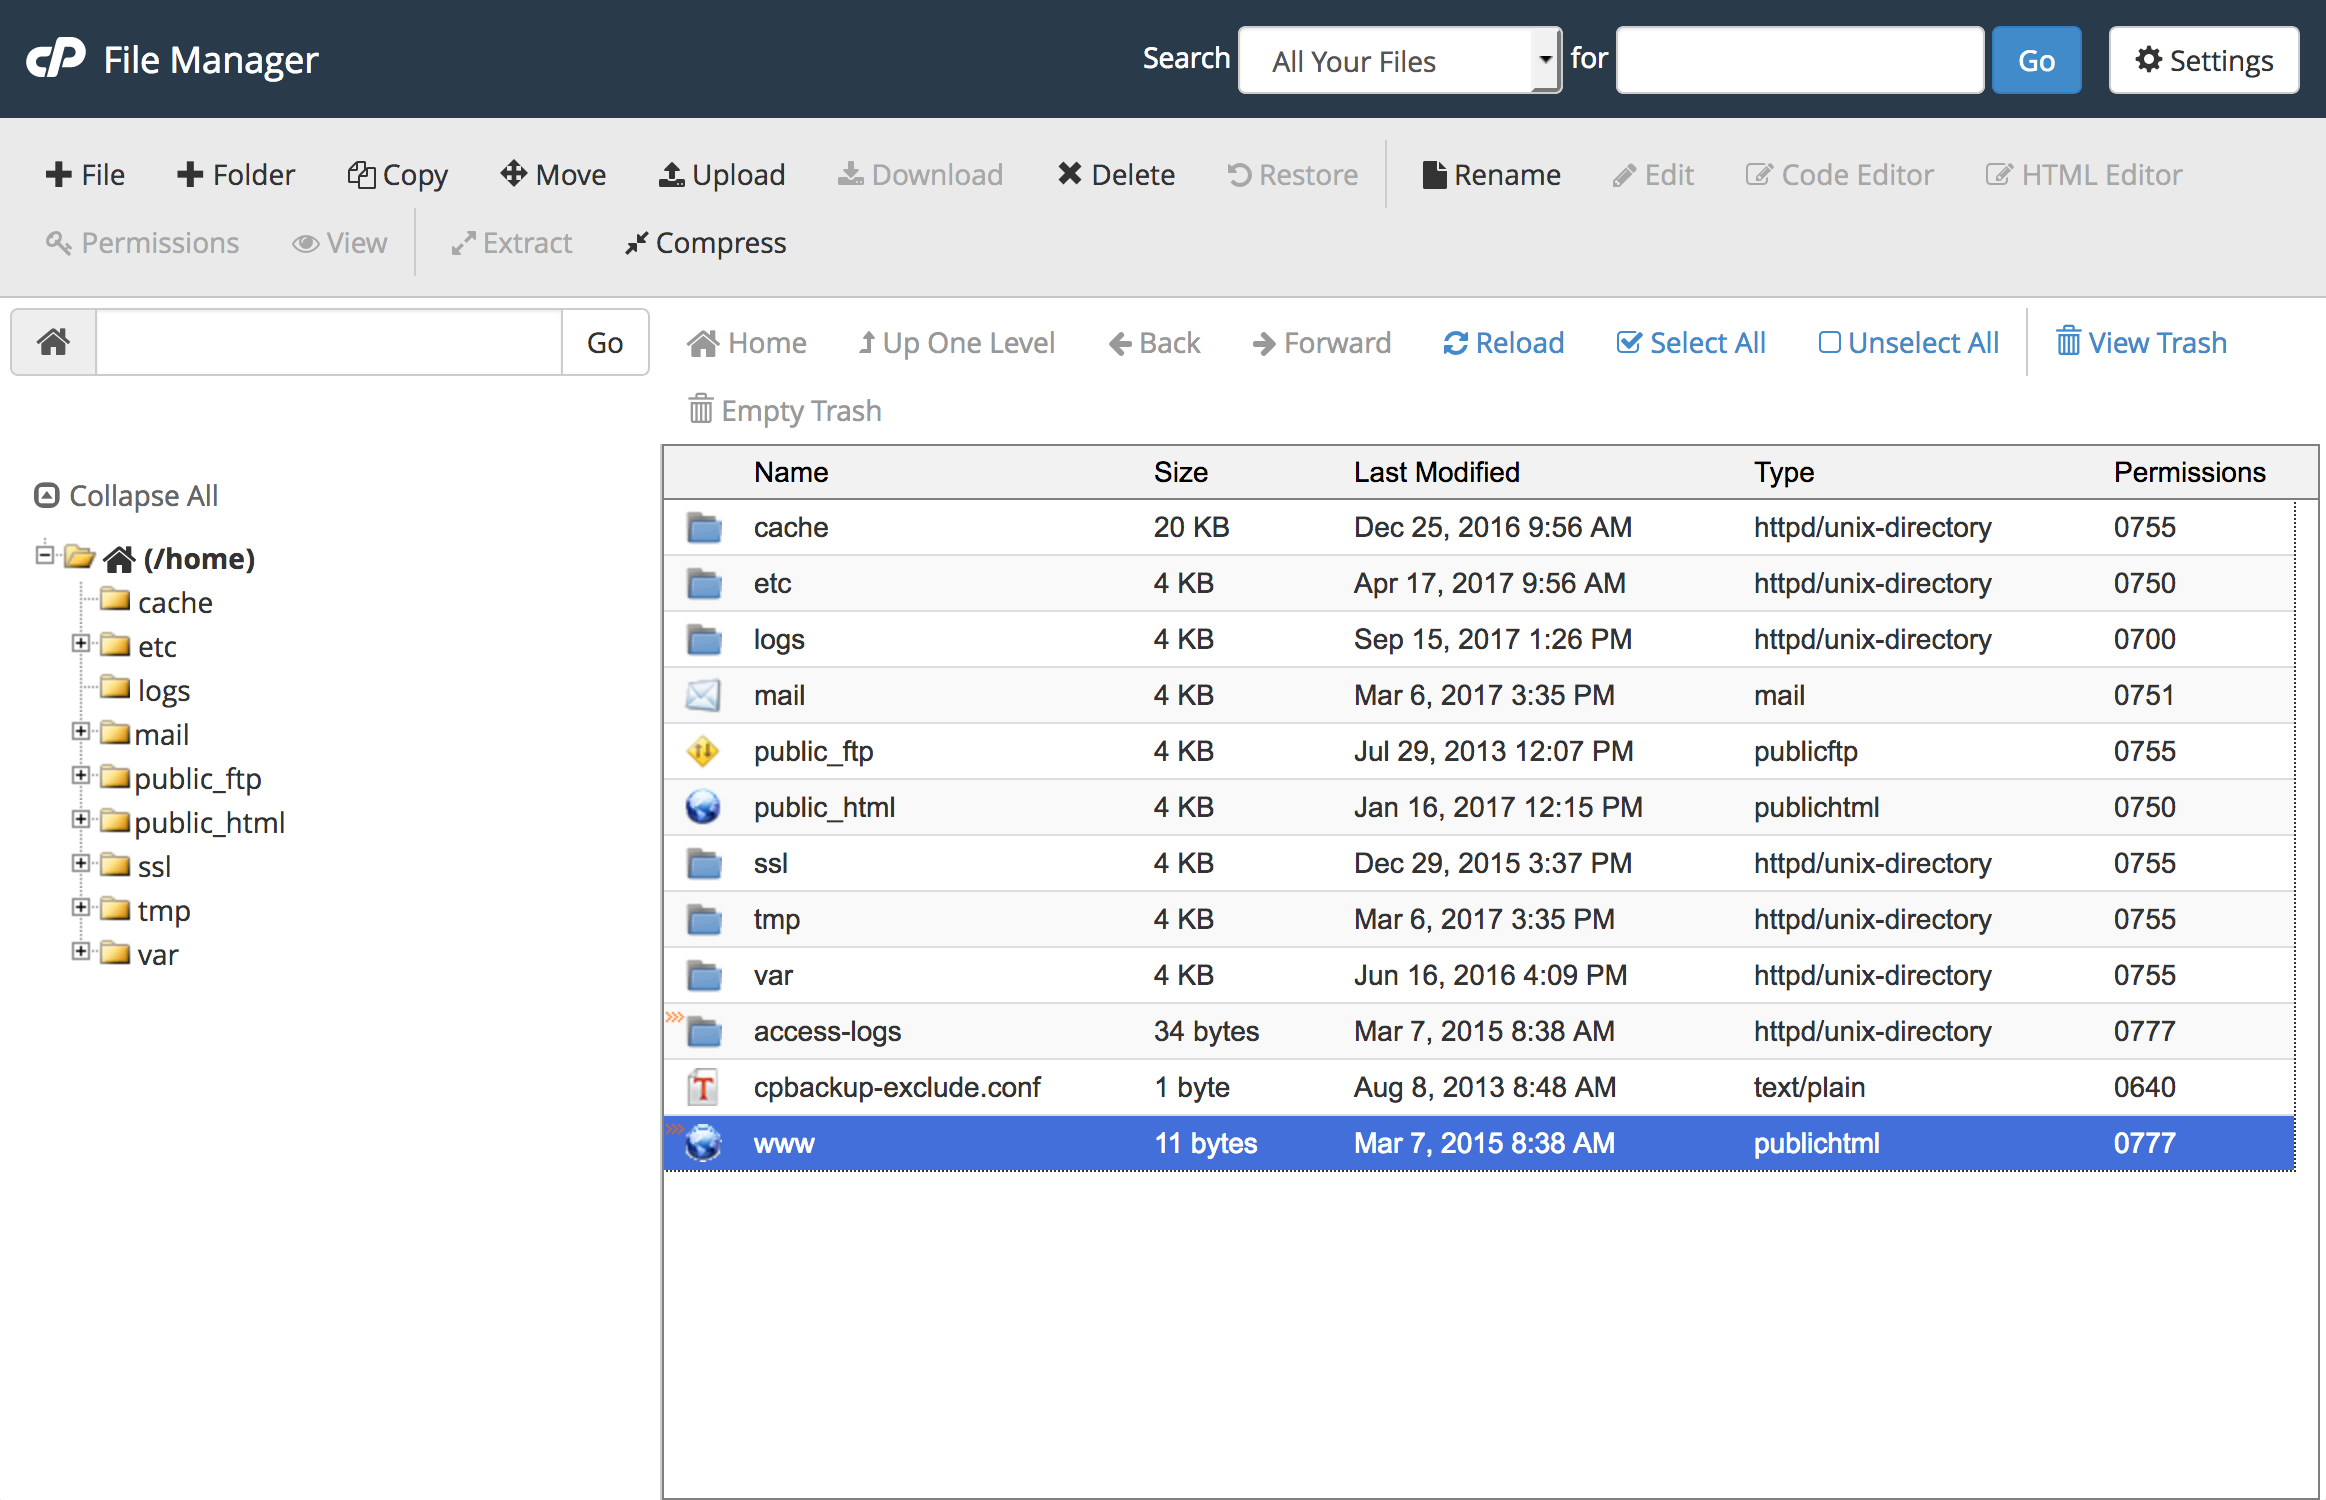
Encountering installation errors is frustrating. Ensure your database credentials are accurate. Incorrect credentials often cause errors. Double-check the database name, username, and password. Verify your server meets WordPress requirements. PHP version and MySQL compatibility are crucial. Update them if needed. Sometimes, file permissions hinder installation. Check and adjust permissions for WordPress files. Use FTP clients to easily modify permissions.
Resolving Performance Problems
Performance issues can slow your website. Begin by examining your hosting plan. Shared hosting may limit resources. Consider upgrading for better performance. Optimize images to reduce loading time. Large images can slow down pages. Use plugins for image compression. Review plugins and themes. Deactivate unused ones. Some plugins consume resources excessively. Regular updates keep WordPress running smoothly. Outdated versions may cause lags. Enable caching for faster page loads. Caching reduces server response time.
Credit: www.namecheap.com
Frequently Asked Questions
How Do I Add WordPress To Namecheap?
Log into Namecheap, go to “cPanel”. Find “Softaculous Apps Installer” under Software. Select WordPress, click “Install”. Follow prompts to complete setup. Ensure domain points to Namecheap. Check WordPress site for proper configuration.
Does Namecheap Support WordPress?
Yes, Namecheap supports WordPress. They offer WordPress hosting plans optimized for performance and security. With easy installation, you can quickly launch your WordPress site. Their customer support team is available 24/7 to assist with any WordPress-related queries. Enjoy a seamless WordPress experience with Namecheap’s hosting services.
How To Install WordPress Step By Step?
Download WordPress from its official site. Upload files to your web server. Create a MySQL database. Run the WordPress installation script. Follow on-screen instructions to complete setup.
How Do I Transfer A WordPress Site To Namecheap?
To transfer a WordPress site to Namecheap, back up your site files and database first. Install WordPress on Namecheap. Import your database and upload your site files using FTP. Update DNS settings to point to Namecheap servers. Confirm the transfer by checking your site’s functionality.
Conclusion
Installing WordPress on Namecheap is simple and rewarding. Follow the steps carefully. Start with a Namecheap account, then install WordPress. Use the cPanel for easy management. Customize your site to fit your brand. Add themes and plugins to enhance functionality.
Regularly update for security and performance. Remember, building a website takes time and patience. Keep learning and exploring WordPress features. Your website can grow as your skills improve. Enjoy the process and watch your online presence flourish. Happy blogging!


