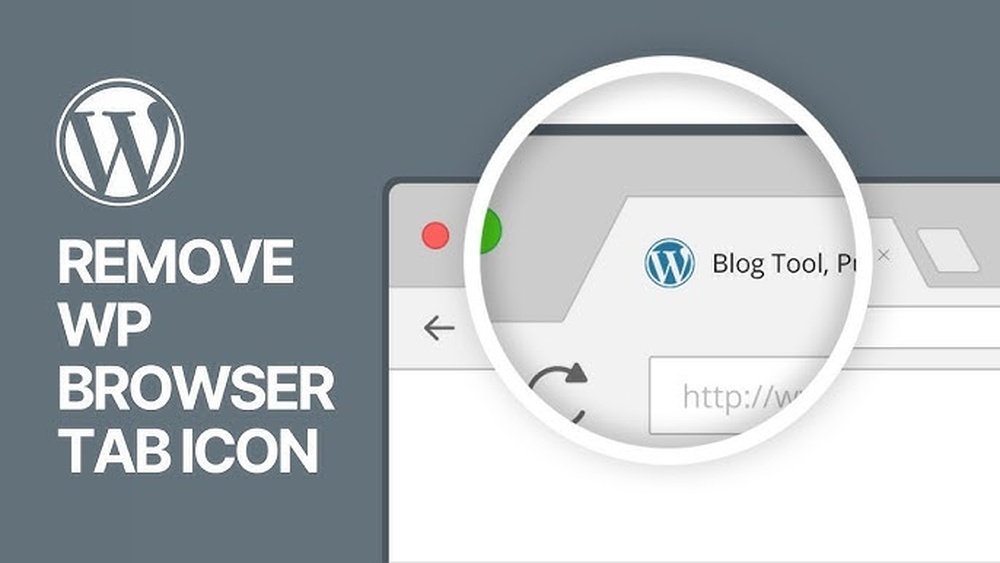
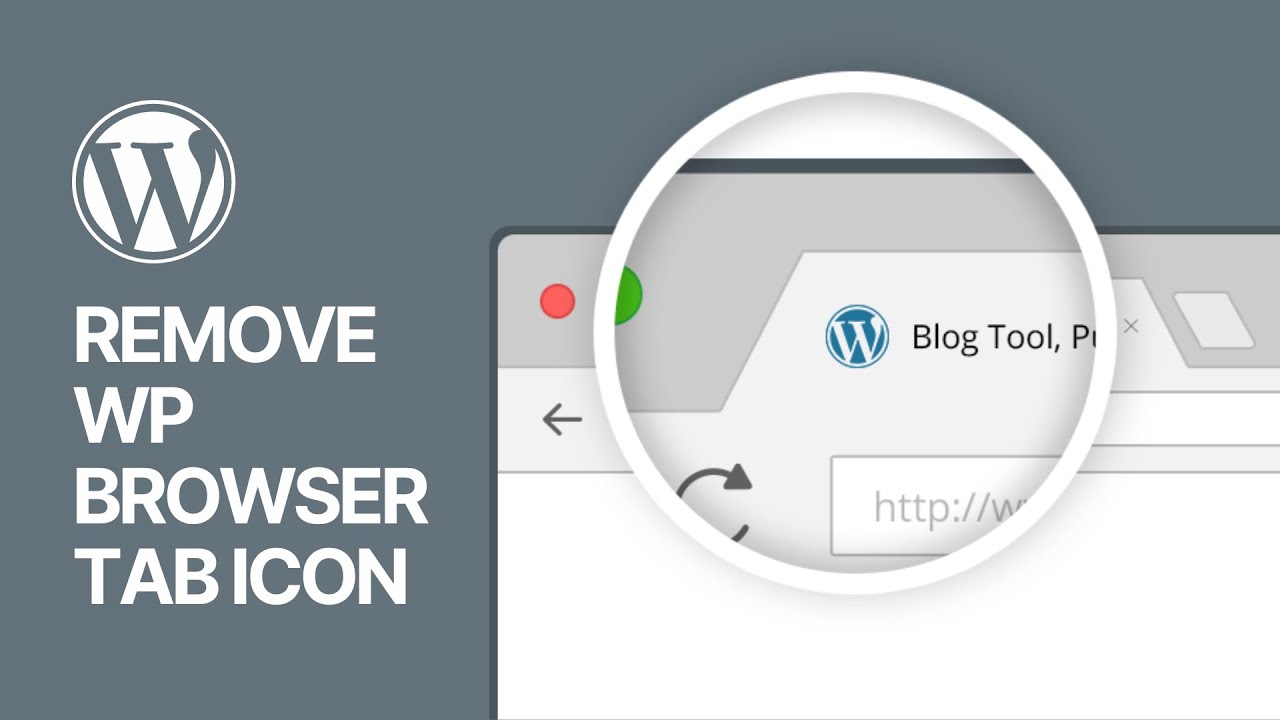
Want to make your WordPress website stand out in the crowded browser tabs? Adding an icon to your website tab, also known as a favicon, is a simple yet powerful way to boost your brand’s visibility.
When visitors see your unique icon, it helps them recognize your site instantly and keeps you top of mind. In this guide, you’ll learn exactly how to add that small but mighty icon to your WordPress site, step by step.
Ready to give your website a professional edge that captures attention? Let’s dive in and make your site unforgettable.
Choose The Right Icon
Choosing the right icon for your website tab is very important. This small image helps visitors recognize your site quickly. A clear and simple icon makes your site look professional. It also helps users find your tab when many are open. Pick an icon that matches your brand and style. Keep it easy to see even at a small size.
Icon Formats And Sizes
Icons come in different file formats. The most common are .ico, .png, and .svg. The .ico format works best for most browsers. It supports multiple sizes in one file.
Size matters. The standard size is 16×16 pixels. Some browsers use 32×32 or 48×48 pixels. Create icons in these sizes to ensure they look sharp. Use a tool to convert your image into an .ico file with multiple sizes inside.
Design Tips For Clarity
Keep the design simple. Avoid too many colors or details. Small icons need clear shapes to stand out.
Use high contrast colors. This makes the icon visible on different backgrounds. Test your icon on light and dark browser tabs.
Focus on one main element. It could be a letter, symbol, or shape. Make sure it is easy to recognize even when small.
Credit: www.youtube.com
Prepare Your Icon File
Preparing your icon file is the first step to adding a favicon to your WordPress website tab. This small image represents your site in browser tabs, bookmarks, and more. A clear, well-made icon improves your site’s identity and professionalism.
Focus on creating a simple design that looks good at small sizes. The file must be ready for web use to load quickly and display properly on all devices. Follow the steps below to prepare your icon file correctly.
Creating A Favicon
Start with a square image, usually 512 by 512 pixels or larger. Use a simple logo or symbol that matches your brand. Avoid details that become unclear when the icon is small.
Save your design as a PNG or ICO file. PNG is popular for its quality and transparency. ICO files are used for older browsers but PNG works well for most cases.
Optimizing For Web Use
Reduce the file size to keep your website fast. Use tools like TinyPNG or ImageOptim to compress the icon without losing quality. Aim for a file size under 100 KB.
Check that your icon looks sharp at small sizes. Test it in different browsers and devices. A clean, clear favicon helps visitors recognize your site quickly.
Upload Icon In WordPress
Uploading an icon to your WordPress website tab makes your site look professional. This small image, called a favicon, appears next to the page title in browser tabs. It helps visitors find your site easily when many tabs are open. WordPress offers simple ways to upload this icon. You do not need coding skills. Two common methods are using the Customizer tool or plugins. Both methods are quick and user-friendly. Choose the one that fits your comfort level.
Using The Customizer Tool
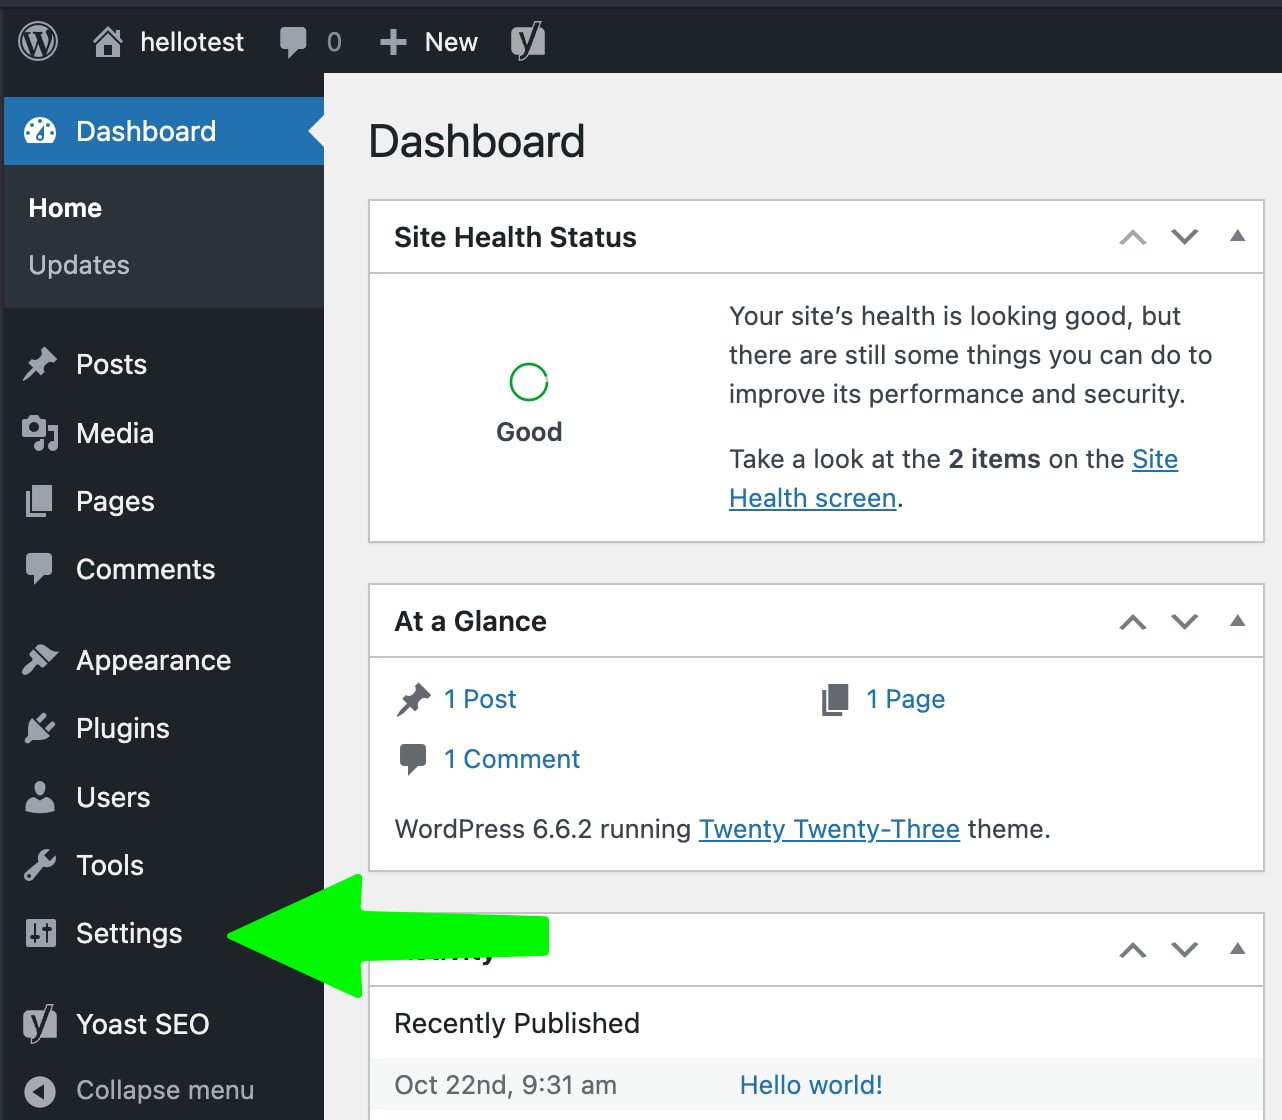
WordPress includes a built-in tool to upload your site icon. Go to the WordPress dashboard and select Appearance. Then click on Customize. Find the Site Identity section. Here you will see an option to upload a Site Icon. Click the Select Site Icon button. Choose an image from your media library or upload a new one. The icon should be square and at least 512×512 pixels for best results. After uploading, crop the image if needed. Click Publish to save your changes. Your icon will now show on browser tabs and bookmarks.
Adding Icons Via Plugins
Plugins can help add icons with extra features. Search for favicon or site icon plugins in the WordPress plugin directory. Install and activate the plugin that suits your needs. Most plugins provide a simple upload option inside their settings. Upload your icon image and save the settings. Some plugins let you add different icons for mobile devices and browsers. Plugins can also help optimize the icon size automatically. This method is useful if you want more control over your site icon.

Credit: anitachauhanblog.wordpress.com
Verify Icon Display
After adding an icon to your WordPress website tab, it is important to verify its display. This step ensures the icon appears correctly for all visitors. Sometimes, icons may not show up immediately due to browser settings or device differences. Testing the icon helps confirm your site looks professional and polished.
Clearing Browser Cache
Browsers save data to load sites faster. This is called cache. Cached data may show the old tab icon instead of the new one. Clear your browser cache to force it to load the latest icon. This action often solves display issues quickly. Check your browser settings or use shortcut keys to clear cache.
Checking On Different Devices
Icons can appear differently on various devices. Test your website tab icon on smartphones, tablets, and desktops. Use different browsers like Chrome, Firefox, or Safari. This step ensures your icon looks good everywhere. It helps catch any device-specific problems early.
Troubleshooting Common Issues
Troubleshooting common issues helps fix problems quickly. Many users face problems while adding icons to their WordPress website tabs. These issues can stop the icon from showing or cause it to display incorrectly. Knowing how to solve these problems saves time and improves your website’s look.
Icon Not Showing
The icon might not appear due to a wrong file path. Check if the icon URL is correct and points to the right image. Clear your browser cache to see recent changes. Sometimes, plugins or themes block the icon from loading. Try disabling them one by one to find the cause. Make sure your icon file is in the correct format, like .ico, .png, or .svg.
Incorrect Icon Size
Icons that look blurry or cut off often have size problems. The recommended icon size is 32×32 pixels. Larger or smaller images may not display properly. Resize your icon with a simple image editor before uploading. WordPress may resize images automatically, so check the final output. Use a square icon for the best fit on all browsers and devices.
Credit: yoast.com
Frequently Asked Questions
How Do I Add An Icon To My WordPress Tab?
To add an icon, go to WordPress Dashboard > Appearance > Customize > Site Identity. Upload your favicon image under the “Site Icon” section. Save and publish changes. The icon will appear on your website tab and browser bookmarks.
What Image Size Is Best For A WordPress Favicon?
The recommended size for a WordPress favicon is 512×512 pixels. This size ensures your icon looks clear on all devices and screen sizes. WordPress automatically resizes the image for different uses, so start with a high-resolution square image.
Can I Use Plugins To Add A Favicon In WordPress?
Yes, many plugins like “All in One Favicon” or “Favicon by RealFaviconGenerator” help add favicons. These plugins simplify the process and offer advanced options for multiple device icons. However, using the built-in Site Icon feature is easier and preferred.
Why Is My Favicon Not Showing On My WordPress Site?
If the favicon doesn’t show, clear your browser cache and reload the site. Also, ensure you uploaded the icon correctly in the Site Identity section. Sometimes, theme or caching plugin conflicts delay favicon updates. Check your settings and try again.
Conclusion
Adding an icon to your WordPress website tab is simple and quick. A small icon helps visitors find your site easily among many tabs. Just follow the steps carefully, and your site will look more professional. This small change improves user experience and brand recognition.
Keep your icon clear and relevant to your content. Try it today and see the difference it makes. Your website will stand out with this easy update.