
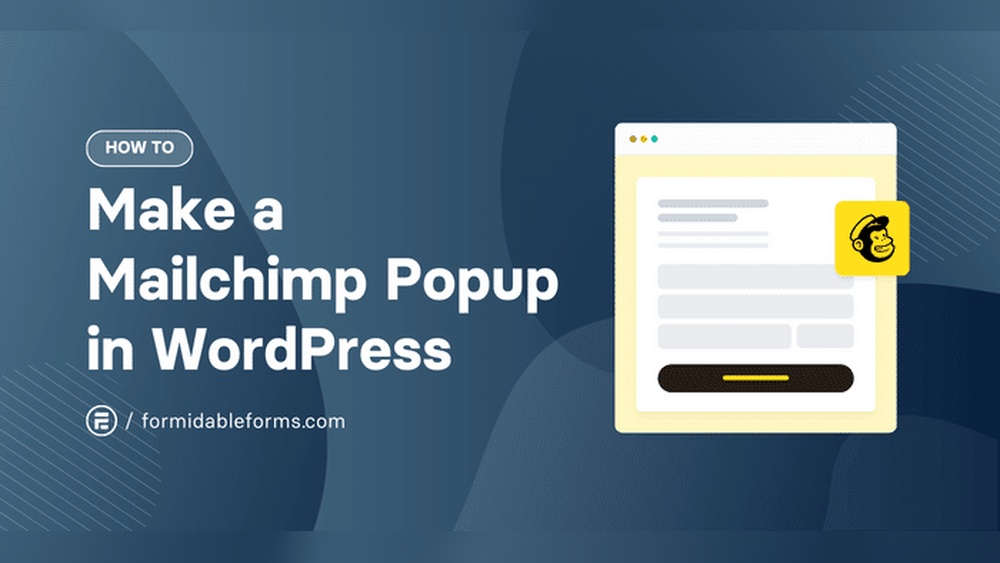
Want to grow your email list faster and keep your visitors coming back? Adding a Mailchimp popup to your WordPress site is one of the easiest and smartest ways to do just that.
Imagine capturing your visitors’ attention the moment they land on your page, inviting them to subscribe with a simple, eye-catching popup. You’ll learn exactly how to set up a Mailchimp popup on your WordPress site—step by step, with no technical skills needed.
Keep reading, and soon you’ll have a powerful tool working silently to boost your email subscribers and grow your business.
Why Use Mailchimp Popups
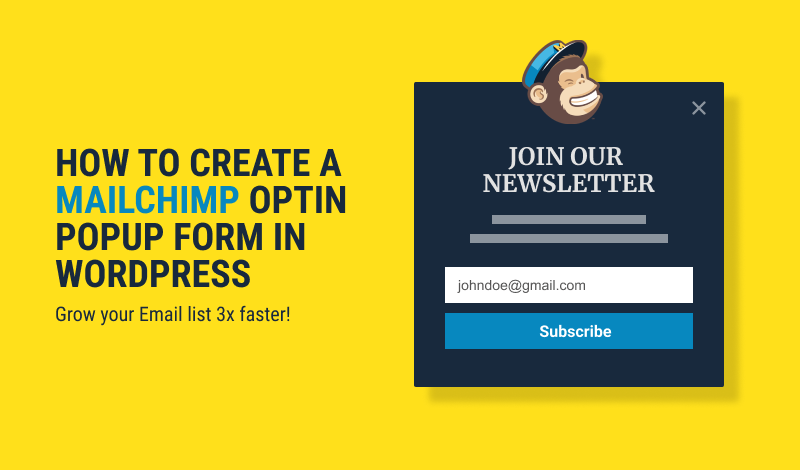
Mailchimp popups are a great tool for any WordPress site. They help you gather email addresses easily. Visitors see the popup and can sign up without searching for a form. This makes building your email list faster and simpler. Popups grab attention and invite users to connect with your content.
Benefits For Your Website
Popups increase user engagement by showing timely messages. They do not require extra coding skills to add. You can customize the look to match your site’s style. This helps keep a professional and consistent brand image. Popups also reduce bounce rates by encouraging visitors to stay connected.
Boosting Subscriber Rates
Mailchimp popups improve subscriber numbers quickly. They appear at the right moment, asking visitors to join your list. This direct approach makes people more likely to sign up. You can offer incentives, like discounts or freebies, to attract more subscribers. Popups make your email marketing efforts more effective.
Preparing Your Mailchimp Account
Before adding a Mailchimp popup to WordPress, prepare your Mailchimp account. This step ensures smooth setup and better results. Start by creating a signup form and designing the popup. These tasks help collect emails effectively and match your site’s look.
Setting up these elements in Mailchimp saves time later. It also makes your popup more attractive and user-friendly. Let’s explore these two important steps.
Creating A Signup Form
Log in to your Mailchimp account. Go to the “Audience” section. Click “Signup forms” to begin creating your form. Choose “Form builder” to customize fields. Add fields like name and email for better data collection. Keep the form simple to encourage signups. Save the form once done.
Designing Your Popup
Navigate to the “Campaigns” tab in Mailchimp. Click “Create Campaign” and select “Signup form.” Choose “Subscriber pop-up.” Use the editor to add text and images. Pick colors that match your website style. Adjust the popup size and position. Preview the popup before saving it.
Installing Mailchimp Plugin On WordPress
Installing the Mailchimp plugin on WordPress is the first step to create effective popups. This plugin helps connect your website with your Mailchimp account. It lets you collect email addresses from visitors easily. The process is simple and does not need technical skills. Follow the steps below to install the right plugin and start building your email list quickly.
Finding The Right Plugin
Go to your WordPress dashboard. Open the “Plugins” menu and click “Add New.” In the search bar, type “Mailchimp.” Look for the official Mailchimp for WordPress plugin. Check the number of active installations and user ratings. Choose the plugin that is popular and updated regularly. This ensures compatibility and better support. Avoid plugins with poor reviews or no updates for a long time.
Step-by-step Installation
Click the “Install Now” button next to the chosen plugin. Wait a few seconds for the installation to complete. Then click “Activate” to enable the plugin on your site. After activation, find the Mailchimp plugin settings in your dashboard. Connect your Mailchimp account by entering the API key. Save the settings. Your WordPress site is now ready to create and display Mailchimp popups.
Credit: optinmonster.com
Integrating Mailchimp With WordPress
Integrating Mailchimp with WordPress helps grow your email list effectively. It connects your website to your Mailchimp account. This way, visitors can subscribe to your newsletters through popups and forms. The process involves connecting API keys and syncing your audience. Both steps ensure smooth communication between WordPress and Mailchimp. Follow these simple steps to set it up correctly.
Connecting Api Keys
API keys link your WordPress site to Mailchimp securely. Start by logging into your Mailchimp account. Navigate to your profile and find the “Extras” menu. Click on “API keys” and create a new key if you don’t have one. Copy the generated API key to your clipboard.
Next, go to your WordPress dashboard. Install and activate a Mailchimp plugin that supports API integration. Open the plugin settings and paste your API key in the required field. Save the changes. Your WordPress site now connects to your Mailchimp account through the API key.
Syncing Your Audience
Syncing your audience keeps your email lists updated between WordPress and Mailchimp. Choose the audience you want to sync in your Mailchimp plugin settings. This audience receives the contacts collected from your website.
Set up form fields to match your Mailchimp audience fields. This step ensures data consistency. Test the connection by subscribing with a test email. Check if the email appears in your Mailchimp audience list. Syncing helps you manage subscribers easily and keep your marketing organized.
Adding The Popup To Your Site
Adding a Mailchimp popup to your WordPress site helps capture visitor emails fast. The popup appears on your site based on your chosen settings. You can control when and how it shows up. This step is simple once you connect Mailchimp with WordPress. Follow the steps below to set it up and test it.
Configuring Display Settings
First, open your Mailchimp account and find your popup form. Go to the display settings section. Choose when the popup should appear. Options include after a few seconds, on scroll, or on exit intent. Set how often visitors see the popup. For example, show it once per visit or once per day. Adjust the devices where the popup will show, like desktop or mobile. Save your settings to activate the popup on your site.
Testing The Popup
After saving your settings, visit your WordPress site in a new browser tab. See if the popup appears as expected. Test it on different devices and browsers. Check if the popup closes properly and collects email addresses. Make sure it does not block your site content. Adjust your settings if the popup shows too soon or too late. Testing ensures visitors get a good experience.
Optimizing Popup Performance
Optimizing popup performance is key to getting more email subscribers. A well-timed and user-friendly popup increases chances visitors will sign up. Poorly designed popups can annoy users and reduce website engagement. Focus on timing, frequency, and mobile responsiveness to improve results.
Timing And Frequency Tips
Show the popup after visitors spend some time on your site. Avoid displaying it immediately. This helps users explore content first and feel less interrupted. Limit popup frequency to avoid annoying repeat visitors. Consider showing it once per session or every few days. Test different timings to find what works best for your audience.
Mobile Responsiveness
Make sure the popup looks good on all devices, especially phones. Mobile users are a big part of your traffic. Use Mailchimp’s responsive templates or customize your popup design. Ensure buttons are easy to tap and text is readable. A mobile-friendly popup improves user experience and increases signups.
Troubleshooting Common Issues
Troubleshooting common issues helps keep your Mailchimp popup working well. Problems can stop the popup from appearing or cause errors in integration. Fixing these issues quickly improves user experience and grows your email list smoothly.
Popup Not Showing
Clear your browser cache and refresh the page. Sometimes, the popup hides due to caching. Check your popup settings in Mailchimp. Make sure the display rules are set correctly. Confirm your popup is enabled and assigned to the right site. Disable other popup plugins that may cause conflicts. Test the popup on different browsers and devices. Look for any JavaScript errors in your browser console.
Integration Errors
Verify your Mailchimp API key is correct and active. Check the API connection in your WordPress plugin settings. Re-enter the API key if needed to reset the link. Ensure your WordPress plugin and Mailchimp account use the same email list. Update your WordPress and plugin to the latest versions. Conflicts with other plugins can cause errors. Try deactivating other plugins to find the conflict. Review error messages carefully to pinpoint the problem.

Credit: wordpress.com
Credit: www.fireplugins.com
Frequently Asked Questions
How Do I Create A Mailchimp Popup For WordPress?
To create a Mailchimp popup, log in to Mailchimp, design your popup form, customize settings, then copy the embed code. Paste this code into your WordPress site using a plugin or theme editor.
Can I Customize Mailchimp Popups On WordPress?
Yes, Mailchimp popups are fully customizable. You can change colors, text, images, and behavior to match your brand and improve user engagement.
Does Mailchimp Popup Work With All WordPress Themes?
Mailchimp popups work with most WordPress themes. Ensure your theme supports embedding scripts or use a compatible popup plugin for smooth integration.
How Do I Trigger Mailchimp Popups On WordPress?
You can trigger Mailchimp popups by setting triggers like time delay, scroll percentage, or exit intent within Mailchimp’s popup builder.
Conclusion
Adding a Mailchimp popup to your WordPress site can boost your email list. It takes just a few simple steps to set up. This tool helps you connect with visitors easily and grow your audience. Keep your popup clear and friendly to attract more sign-ups.
Test it often to make sure it works well. Start using Mailchimp popups today and watch your newsletter grow steadily.


