
Are you ready to make your website truly yours by connecting your domain to your WordPress hosted site? You might feel a bit lost figuring out where to start, but don’t worry—this guide will walk you through every step.
Imagine visitors typing your custom domain and landing directly on your site, boosting your brand’s professionalism and trust. By the end of this article, you’ll know exactly how to point your domain without any hassle. Let’s get your website looking just the way you want, starting right now.

Credit: www.thesideblogger.com
Choose Your Domain Registrar
Choosing the right domain registrar is the first step to point your domain to your WP hosted site. This choice affects your website’s control, security, and ease of management. A good registrar makes domain setup simple and fast.
Pick a registrar that offers clear and easy-to-use tools. This helps avoid confusion during domain pointing. Look for registrars with strong customer support to help solve any problems quickly.
What Is A Domain Registrar?
A domain registrar is a company that sells domain names. It manages your domain’s registration and settings. You need a registrar to own and control your website’s address.
Key Features To Consider
Check if the registrar offers easy DNS management. You need this to point your domain to your WP site. Also, find out about renewal fees and hidden costs. Transparent pricing saves money and surprises.
Popular Domain Registrars
Some popular registrars include GoDaddy, Namecheap, and Google Domains. They provide reliable service and user-friendly interfaces. Choose one that fits your budget and needs.
Security And Privacy Options
Look for registrars that offer domain privacy protection. This hides your personal information from public view. Also, consider two-factor authentication for added security.
Access Domain Dns Settings
Accessing your domain’s DNS settings is the first step to point your domain to your WP hosted site. These settings control where your domain directs visitors. You need to update them to connect your domain with your WordPress hosting.
Each domain registrar has its own way to access DNS settings. Usually, it is easy to find once you log in to your account. Understanding how to access and change these settings helps you manage your website better.
Log In To Your Domain Registrar Account
Start by visiting your domain registrar’s website. Use your username and password to log in. This gives you access to your domain management area. Without logging in, you cannot change any DNS settings.
Navigate To Domain Management
After logging in, find the section called “Domain Management” or “My Domains.” This area lists all domains you own. Select the domain you want to connect to your WP hosted site.
Find The Dns Settings Or Dns Zone Editor
Inside domain management, look for “DNS Settings,” “DNS Zone Editor,” or “Name Server Settings.” This is where you control your domain’s records. Different registrars might use different names but the purpose is the same.
Prepare To Edit Dns Records
Before making changes, review current DNS records carefully. Changing wrong records can cause your site to go offline. Take note of existing records or save a backup. This helps you revert if needed.
Find Your Wp Hosting Dns Details
Start by locating your WP hosting DNS details in your hosting account dashboard. These details help you point your domain to your WordPress site quickly and easily. Changing DNS settings correctly connects your domain to your website without downtime.
Access Your Wp Hosting Account
Start by logging into your WordPress hosting account. Use the username and password given during signup. This step opens your hosting dashboard. The dashboard shows all your hosting options and settings.
Locate The Dns Or Nameserver Section
Find the part labeled ‘DNS Settings’ or ‘Nameservers’. This area stores the important address details. These details connect your domain to your WordPress site. It might be under ‘Domain Management’ or ‘Advanced Settings’.
Identify Your Nameserver Addresses
Look for nameservers that look like ns1.example.com or ns2.example.com. These nameservers tell the internet where your site lives. Write them down exactly as they appear. You will need these to point your domain correctly.
Check For Dns Records Information
Some hosts also provide DNS records like A records or CNAME. These records direct your domain traffic to your hosting server. Note the IP address under the A record if available. It helps in manual DNS setup if needed.
Update Domain Nameservers
Updating your domain nameservers is an important step to connect your domain to your WordPress hosted site. This process tells the internet where to find your website. Changing nameservers directs traffic from your domain to your WordPress hosting provider.
You must access your domain registrar’s control panel to update the nameservers. This change allows your domain to load your WordPress site instead of the old hosting or parking page.
Replace Existing Nameservers
Log in to your domain registrar account. Find the section for managing nameservers or DNS settings. Remove the current nameservers listed there. Enter the new nameservers provided by your WordPress host. These usually look like ns1.example.com and ns2.example.com. Make sure to enter all nameservers exactly as given.
Save Changes
After entering the new nameservers, look for the save or update button. Click it to apply your changes. The update may take a few hours to fully take effect worldwide. Avoid making other DNS changes during this time. Check your website after some time to see if it loads your WordPress site.
Add Domain In Wp Hosting Dashboard
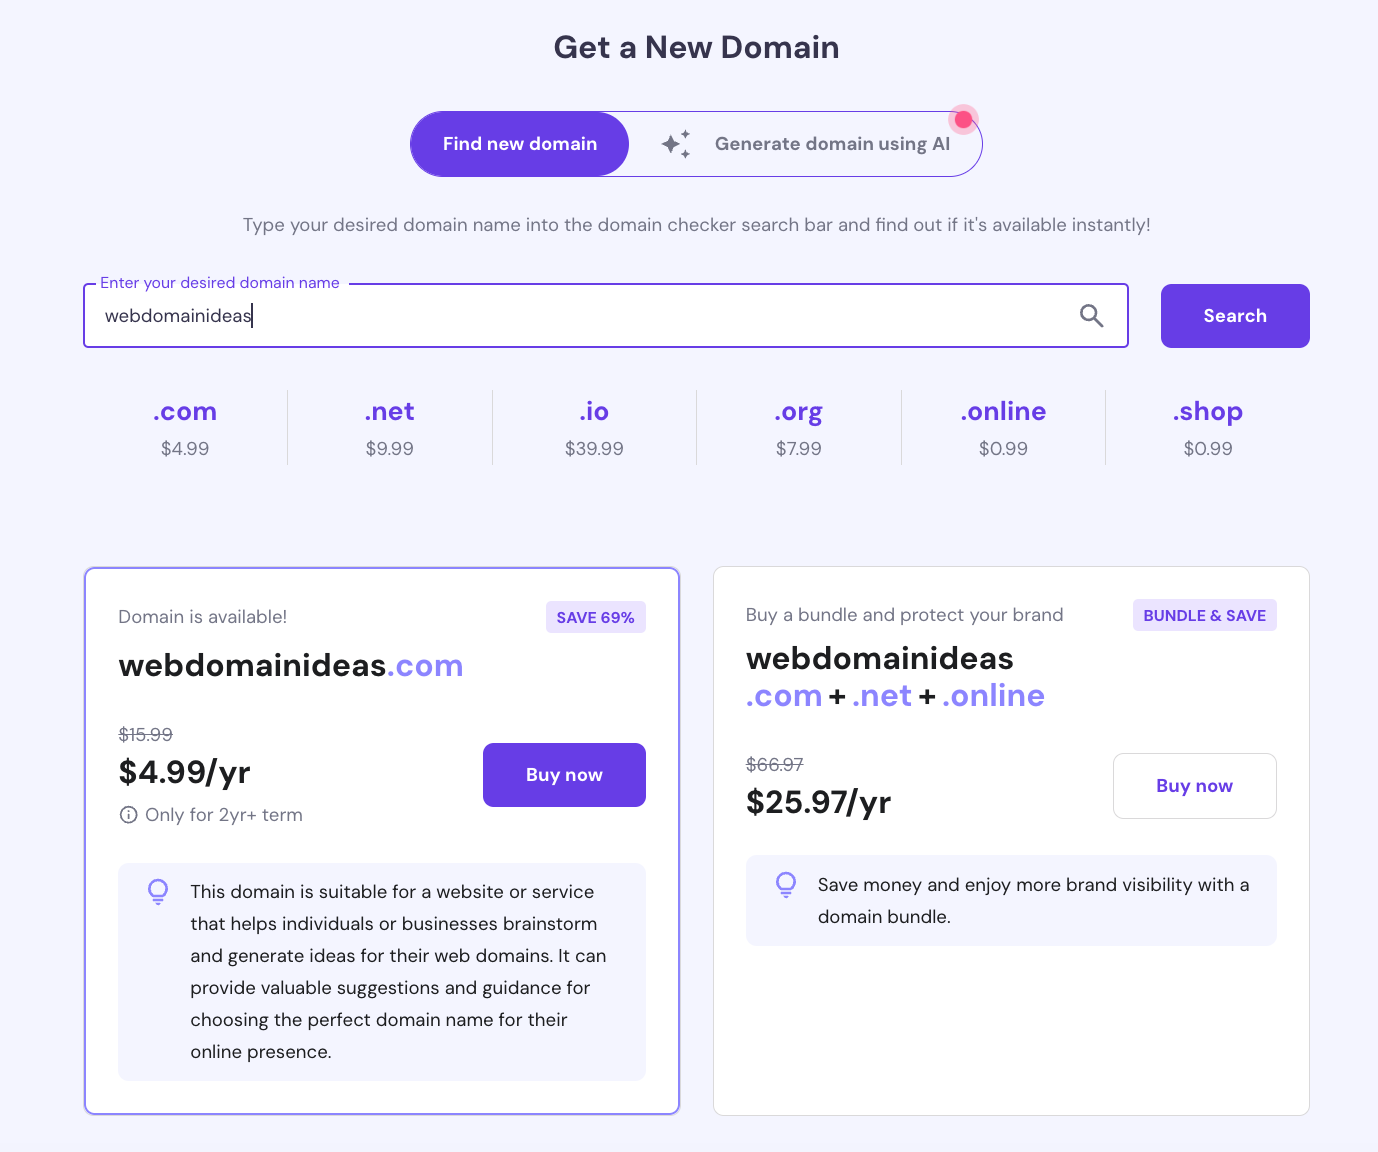
Adding your domain in the WP hosting dashboard is the first step to connect your site. This process tells the hosting service to recognize your domain. It helps visitors reach your website using your custom address.
The dashboard is simple to use. You do not need technical skills. Just follow a few clear steps. This ensures your domain links correctly to your WordPress site.
Add Your Domain Name
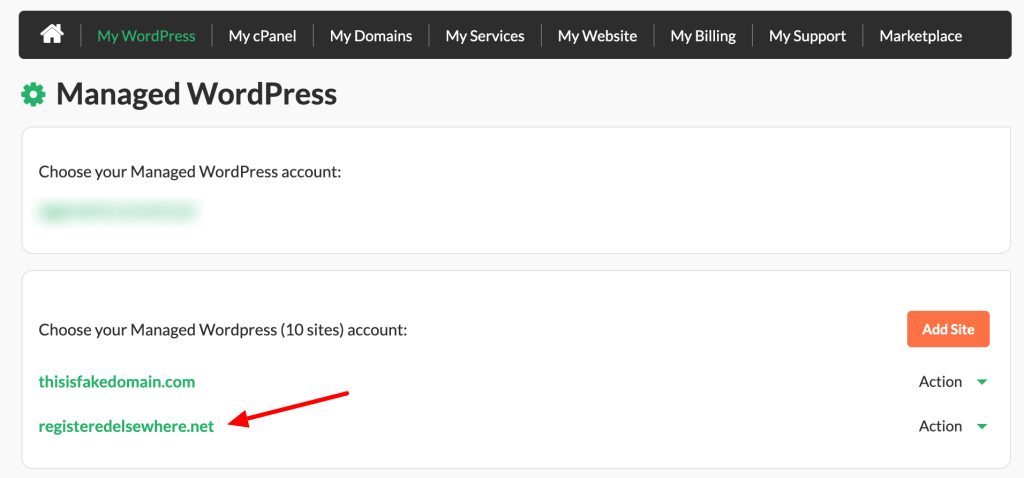
Log in to your WP hosting account. Find the section labeled “Domains” or “Domain Management.” Click the option to add a new domain. Enter your domain name exactly as you purchased it.
Verify Domain Ownership
Some hosts ask you to prove ownership. You might add a code to your domain registrar or confirm via email. This step prevents others from using your domain without permission.
Set Domain As Primary
Select the domain you added. Mark it as the primary address for your website. This tells the hosting where to send visitors by default.
Credit: www.hostinger.com
Verify Domain Connection
Verifying your domain connection is a vital step after pointing your domain to your WordPress hosted site. This process confirms that your domain is linked correctly and ready to display your website.
Without verification, visitors might not reach your site. Verification ensures your domain settings are accurate and active. It also helps avoid downtime and errors.
Check Domain Status In WordPress Dashboard
Log in to your WordPress dashboard. Find the domain management or settings section. Here, you can see if WordPress detects your domain connection.
A successful connection usually shows as “Connected” or “Verified.” If you see error messages, recheck your domain and DNS settings.
Use Dns Lookup Tools
Use online DNS lookup tools to check your domain’s DNS records. Enter your domain name to see if the A record points to your WordPress host IP.
This confirms that your domain directs visitors to the right server. DNS records should match the details provided by your WordPress host.
Wait For Dns Propagation
After updating DNS records, allow time for changes to spread. DNS propagation can take up to 48 hours worldwide.
During this period, some users may see the old site or an error. Patience is key to complete verification.
Verify Ssl Certificate Activation
Check if your SSL certificate is active on your domain. SSL ensures secure connections for your visitors.
Many WordPress hosts provide free SSL certificates. Verification confirms your site uses HTTPS, which boosts trust and SEO.
Troubleshoot Common Issues
Pointing your domain to your WordPress hosted site can sometimes cause problems. Troubleshooting these issues helps your website work correctly. Understanding common problems saves time and reduces frustration. Below are typical issues and how to fix them quickly.
Dns Propagation Delay
DNS changes take time to spread across the internet. This delay can last from a few minutes to 48 hours. During this time, your site might not show up correctly. Patience is key. Avoid making repeated changes during propagation. Use online tools to check if your DNS has updated worldwide.
Incorrect Dns Records
Wrong DNS settings stop your domain from pointing to your site. Check your A record and CNAME carefully. The A record should point to your hosting server’s IP address. The CNAME usually points to your WordPress site’s address. Fix any typos or wrong entries immediately. Confirm these records match the instructions from your hosting provider.
Ssl Certificate Problems
SSL certificates secure your site with HTTPS. If SSL is not set up properly, visitors may see security warnings. Ensure your SSL certificate is active and linked to your domain. Some hosts provide free SSL certificates, but you must enable them. Renew expired certificates promptly to avoid errors. Clear your browser cache if you still see warnings after fixing SSL issues.
Tips For Smooth Domain Pointing
Pointing a domain to your WordPress hosted site can seem tricky. Simple steps help avoid errors and delays. Follow these tips for a smooth domain pointing process.
Clear steps and careful checks save time. They help your site go live without issues. Let’s explore practical advice for easy domain pointing.
Check Your Domain Registrar Settings
Start by logging into your domain registrar account. Find the DNS settings section. Confirm the current name servers or DNS records. Update these to match your WordPress host’s instructions. Small mistakes here cause big problems later.
Use Correct Dns Records
Use the exact DNS records provided by your WordPress host. Usually, these include A records or CNAME records. Double-check IP addresses and hostnames. Incorrect records prevent your domain from connecting properly.
Allow Time For Dns Propagation
DNS changes take time to spread worldwide. This process can last from a few minutes to 48 hours. Avoid making multiple changes too fast. Patience ensures your website becomes accessible smoothly.
Clear Browser And Dns Cache
Old cache can show outdated site versions. Clear your browser cache after changing DNS. Also, flush your local DNS cache. This step helps load the new site faster.
Verify Ssl Certificate Setup
Secure your site with an SSL certificate. Ensure SSL is active after pointing the domain. Many WordPress hosts offer free SSL certificates. Security boosts visitor trust and search rankings.
Test Your Site Thoroughly
After pointing your domain, test the site on different devices. Check loading speed and page display. Fix any broken links or missing images quickly. Testing helps maintain a good user experience.
Credit: www.hostpapa.com
Frequently Asked Questions
How Do I Point My Domain To My WordPress Site?
To point your domain, update its DNS settings. Change the A record to your WordPress host’s IP address. Alternatively, modify the nameservers to those provided by your WordPress host. This links your domain to your WordPress site effectively.
What Dns Records Should I Update For WordPress?
Update the A record to your WordPress site’s IP address. If using nameservers, replace them with your host’s nameservers. Avoid changing MX records unless handling email. Proper DNS updates ensure your domain directs visitors to your WordPress site.
How Long Does Domain Pointing Take To Propagate?
Domain pointing usually takes 24 to 48 hours to fully propagate. Some changes may appear sooner, but full global update varies. During this time, visitors might see your old or new site intermittently.
Can I Keep My Current Domain Registrar When Pointing To WordPress?
Yes, you can keep your registrar and just update DNS records. Point the domain to your WordPress site by adjusting DNS settings at the registrar. This avoids transferring the domain and keeps management simple.
Conclusion
Pointing your domain to your WordPress site is simple and clear. Follow the steps carefully to avoid errors. Check your DNS settings and update them as needed. Wait patiently for changes to take effect, as it may take time. Once done, your site will be easy to find online.
Keep your login details safe for future changes. This process helps your website grow and reach visitors smoothly. Stay calm, take one step at a time, and your domain will point correctly.


