
Have you been thinking about moving your domain to Namecheap but aren’t sure where to start? You’re not alone.
Many find the process of transferring a domain daunting, but rest assured, it’s simpler than you might think. By choosing Namecheap, you’re opting for a reliable service that offers great features at competitive prices. Imagine having all your domains in one place, with easy management and excellent support.
Sounds great, right? You’ll soon discover how straightforward it can be to transfer your domain to Namecheap. With step-by-step instructions, you’ll feel empowered to complete the transfer with confidence. Dive in and take control of your online presence today!
Credit: www.namecheap.com
Preparing For The Transfer
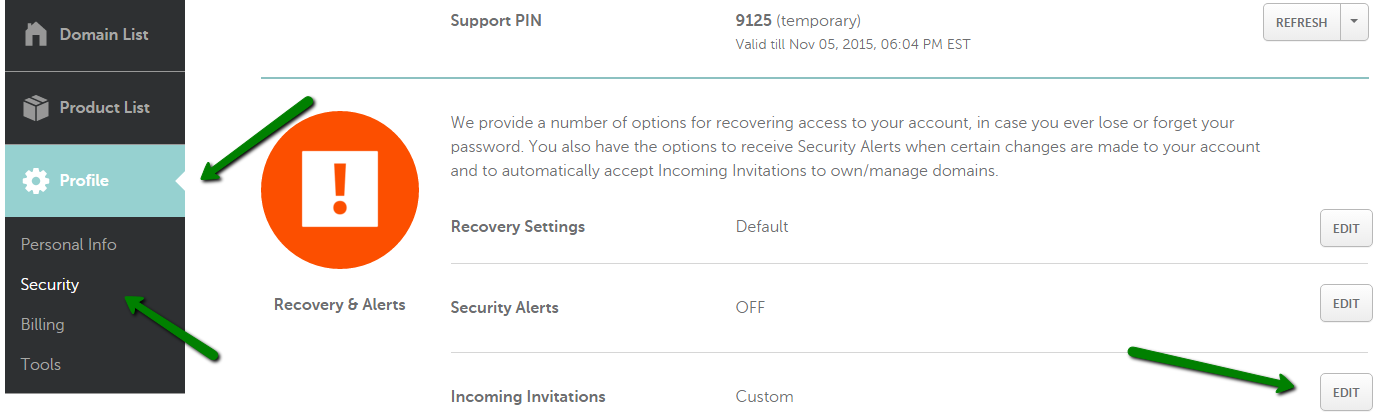
Get ready to transfer your domain to Namecheap with ease. Gather your domain details and unlock it for transfer. Ensure the contact information is up-to-date, then initiate the transfer through Namecheap’s user-friendly platform.
Transferring your domain to Namecheap can be a smooth journey if you prepare adequately. Imagine yourself ready to make a move, but unsure of the steps. Preparing for the transfer is crucial, and it begins long before you hit the transfer button. It’s about making sure everything is in place, so you don’t face last-minute hurdles. Let’s break down the preparation process into manageable steps, ensuring you have a hassle-free transfer experience.Unlock The Domain
Before you initiate the transfer, your domain must be unlocked. This is like opening a locked door to allow the movement of your domain. Log into your current registrar’s account and locate the domain settings. You’ll typically find an option to unlock the domain. Once unlocked, your domain is free to move. Have you ever tried transferring a locked domain? It’s like trying to leave a room with the door shut. Make sure the lock is removed, freeing your domain for its new home.Verify Domain Contact Information
Accurate contact information is vital. Your domain’s contact details are your virtual ID in the domain world. Verify that your email address, phone number, and other contact details are current. This ensures you receive all necessary notifications and authorizations during the transfer process. Imagine missing an important email because your contact information was outdated. Wouldn’t that be frustrating? Double-check your details to avoid missing crucial updates.Obtain Authorization Code
The authorization code, also known as the EPP code, is your domain’s passport. You need this unique code to approve the transfer to Namecheap. It’s often found in your current registrar’s account settings. Request the code, and keep it safe—it’s your ticket to a successful transfer. Have you thought about the importance of this code? Without it, the transfer process stalls. Ensure you have it ready to facilitate the move. Are you ready to see your domain thrive in its new environment? Preparing for the transfer is the first step in making that vision a reality.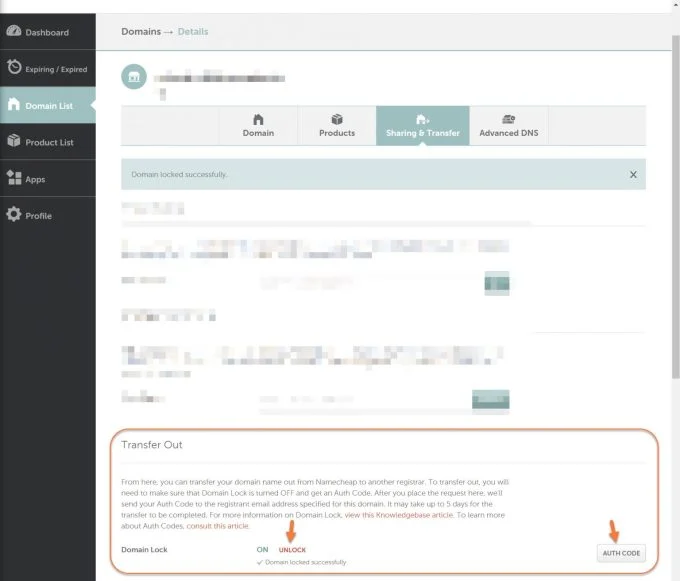
Credit: chemicloud.com
Creating A Namecheap Account
Begin by creating a Namecheap account to simplify domain transfers. Access your account dashboard and select ‘Transfer Domain’. Follow the step-by-step instructions to initiate the transfer process smoothly.
Creating a Namecheap account is your first step to transferring your domain. This process is simple and quick. Follow the instructions to ensure a smooth transition. Let’s dive into the steps needed to create your account.Sign Up Process
Visit the Namecheap website. Find the “Sign Up” button at the top. Click on it. You will see a registration form. Fill in your details. Use a valid email address. Choose a strong password. Agree to the terms and conditions. Click “Create Account”. You now have a Namecheap account.Account Verification
After signing up, check your email. Namecheap will send a verification link. Click the link to verify your account. This step confirms your email address. Once verified, log in to your account. You are now ready to transfer your domain. Keep your login details safe.Initiating The Domain Transfer
Transferring your domain to Namecheap can seem daunting. But with the right steps, it’s straightforward. This section will guide you through the initial stages. Start by accessing the transfer tool, then enter your domain details. Follow along to make the process smooth and efficient.
Accessing The Transfer Tool
First, log in to your Namecheap account. Locate the “Domains” section. Look for the “Transfer” option. Click on it to open the transfer tool. This tool helps you manage the transfer process easily. Ensure you’re logged in to avoid issues.
Entering Domain Details
Once in the transfer tool, enter your domain name. Ensure it’s correct to avoid delays. The tool will prompt for an EPP code. Obtain this from your current registrar. Enter the EPP code carefully. Check your domain’s status. It must be unlocked for transfer.
Verify your email address. Ensure it’s up-to-date for confirmation messages. Double-check all entered information. This prevents errors and speeds up the process.
Credit: www.hostinger.com
Completing The Transfer
Completing the transfer process to Namecheap is straightforward. Once you’ve initiated the domain transfer, it’s time to finalize the process. This involves reviewing the information and making the payment. Follow these steps to ensure everything runs smoothly.
Review Transfer Information
Begin by checking the details you’ve entered for accuracy. Ensure the domain name is correct. Verify that the contact information matches your records. Double-check the EPP code for any errors. Any mistake can delay the process.
Make sure the domain is unlocked. Confirm that the administrative email is accessible. This email will receive important notifications. Reviewing these details ensures a smooth transfer.
Finalizing Payment
After reviewing, proceed to payment. Namecheap offers various payment methods. Choose the option that suits you best. Ensure the payment information is current.
Upon successful payment, you’ll receive a confirmation email. This email will outline the next steps. Follow any instructions provided carefully. Your domain transfer is now underway.
Monitoring Transfer Progress
Transferring your domain to Namecheap is an important step. Monitoring transfer progress ensures everything goes smoothly. This guide helps you track and troubleshoot the process.
Checking Transfer Status
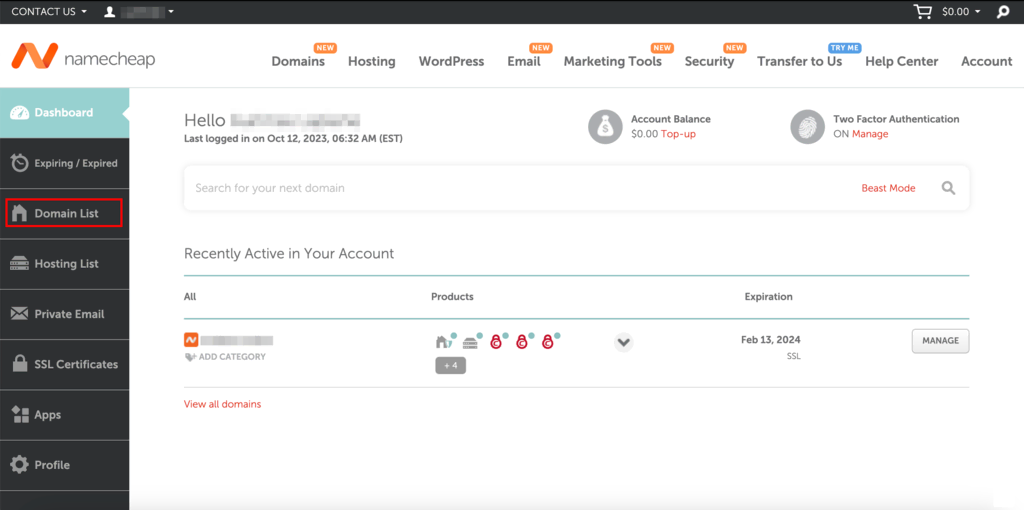
Log in to your Namecheap account. Navigate to the “Domain List” section. Here, you can see all your domains. Look for the domain you are transferring. You will find a status indicator next to it. This shows the current progress of your transfer.
Keep an eye on the status updates. Namecheap provides real-time information. You might see messages like “Pending” or “Completed.” Understanding these terms is crucial. They let you know what stage your transfer is at.
Troubleshooting Common Issues
Sometimes, transfers face issues. A common problem is incorrect transfer codes. Ensure you have the right authorization code. Double-check it before proceeding.
Another issue could be domain lock. Domains might be locked by the current registrar. Unlock your domain before initiating the transfer. This step is critical for a smooth process.
If you face email verification problems, check your email settings. Ensure your contact information is updated. This guarantees you receive all necessary emails. Proper verification speeds up the transfer.
Post-transfer Steps
Transferring your domain to Namecheap is only the beginning. After the transfer, a few important steps ensure your domain operates smoothly. These steps help maintain your online presence and ensure seamless functionality.
Verify Domain Settings
Check your domain settings right after the transfer. Ensure contact information is correct. This includes your email and phone number. Verify that your domain status is set to “Active.” This ensures your domain is ready for use. Namecheap’s dashboard provides easy access to these settings. Take a moment to review and confirm everything is accurate.
Update Dns Records
DNS records control where your domain points. They need updating after a transfer. Access the DNS settings through your Namecheap account. Make sure the records match your website and email configurations. Common records include A, MX, and CNAME. Double-check these settings to avoid downtime. This step is crucial for website and email functionality.
Frequently Asked Questions
How Do I Transfer My Existing Domain To Namecheap?
To transfer a domain to Namecheap, unlock it at your current registrar. Obtain the authorization code. Initiate the transfer at Namecheap using the code. Confirm the transfer via the email sent by your current registrar. The process usually completes in a few days.
How Long Does It Take To Transfer A Domain To Namecheap?
Domain transfer to Namecheap typically takes 5-7 days. The process depends on the previous registrar’s response. Ensure your domain is unlocked and you have the authorization code. Check your email for any transfer approval requests to expedite the process.
Can I Transfer A Domain From Godaddy To Namecheap?
Yes, you can transfer a domain from GoDaddy to Namecheap. Unlock your domain at GoDaddy first. Obtain an authorization code and initiate the transfer at Namecheap. Follow the instructions provided by both registrars to complete the process smoothly. Ensure the domain is eligible for transfer.
How Do I Transfer My Domain Registration?
To transfer your domain registration, unlock your domain and obtain an authorization code. Initiate the transfer with your new registrar. Confirm the transfer via email. Ensure your domain information is updated and fees are paid. The process may take up to 7 days to complete.
Conclusion
Transferring a domain to Namecheap is straightforward. Follow the steps carefully. Start by unlocking your domain. Then, request your transfer code. Enter the code in Namecheap’s transfer page. Verify your contact details. Confirm the transfer with your email. The process usually takes a few days.
Relax and check your email for updates. Namecheap will notify you once the transfer is complete. Now, your domain is successfully transferred. You can manage it easily with Namecheap’s tools. Enjoy seamless control over your domain. Happy managing!


