
Are you ready to give your WordPress website a fresh new look? Changing your WordPress theme is one of the easiest ways to transform the appearance and feel of your site—without touching a single line of code.
But if you’re worried about losing your content or breaking your site, don’t be. With the right steps, you can switch themes smoothly and confidently. In this guide, you’ll learn exactly how to change your WordPress theme safely, customize it to fit your style, and avoid common pitfalls.
Keep reading, and you’ll have a stunning new website design up and running in no time!
Credit: jetpack.com
Access WordPress Dashboard
Accessing the WordPress dashboard is the first step to change your site’s theme. This dashboard is the control center for your website. It lets you manage themes, plugins, content, and settings easily.
To reach the dashboard, open your web browser and type your website’s URL followed by /wp-admin. For example, www.yoursite.com/wp-admin. This will take you to the login page.
Log In To Your WordPress Dashboard
Enter your username and password on the login page. These credentials were set during WordPress installation. After typing them, click the “Log In” button. You will be redirected to the dashboard homepage.
Navigate To The Themes Section
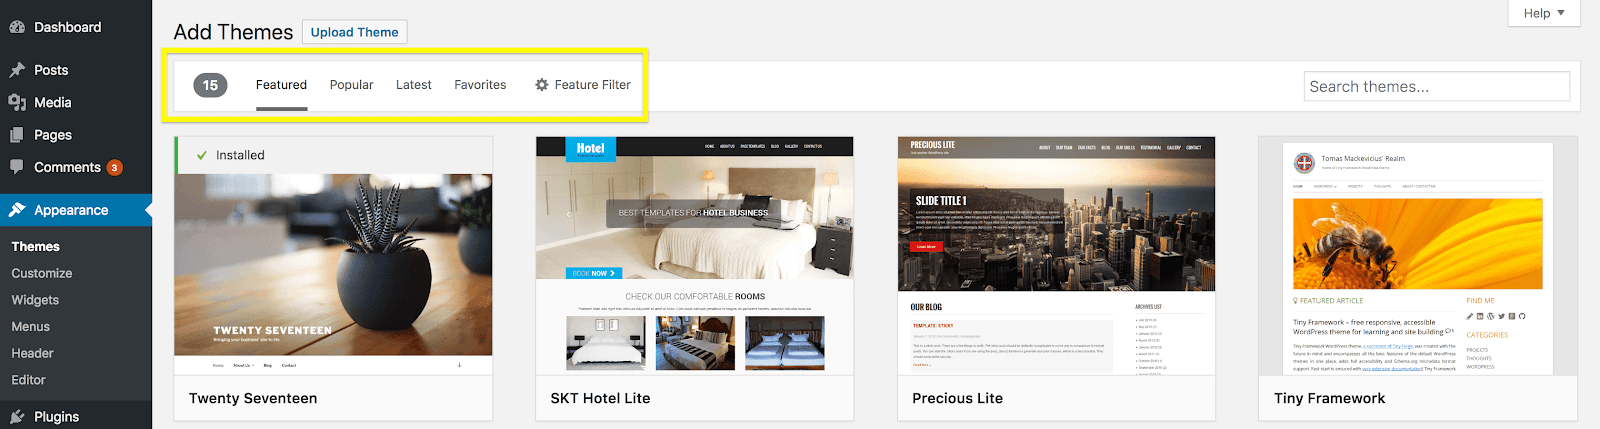
On the left side menu, find the “Appearance” tab. Click on it to expand the options. Then select “Themes” from the list. This opens the themes page where you can see all installed themes.
Explore The Dashboard Features
The dashboard shows your current active theme at the top. Other installed themes appear below. Use this page to activate a new theme or add a new one. This area helps manage your site’s look and feel.
Credit: www.wpzoom.com
Navigate To Themes Section
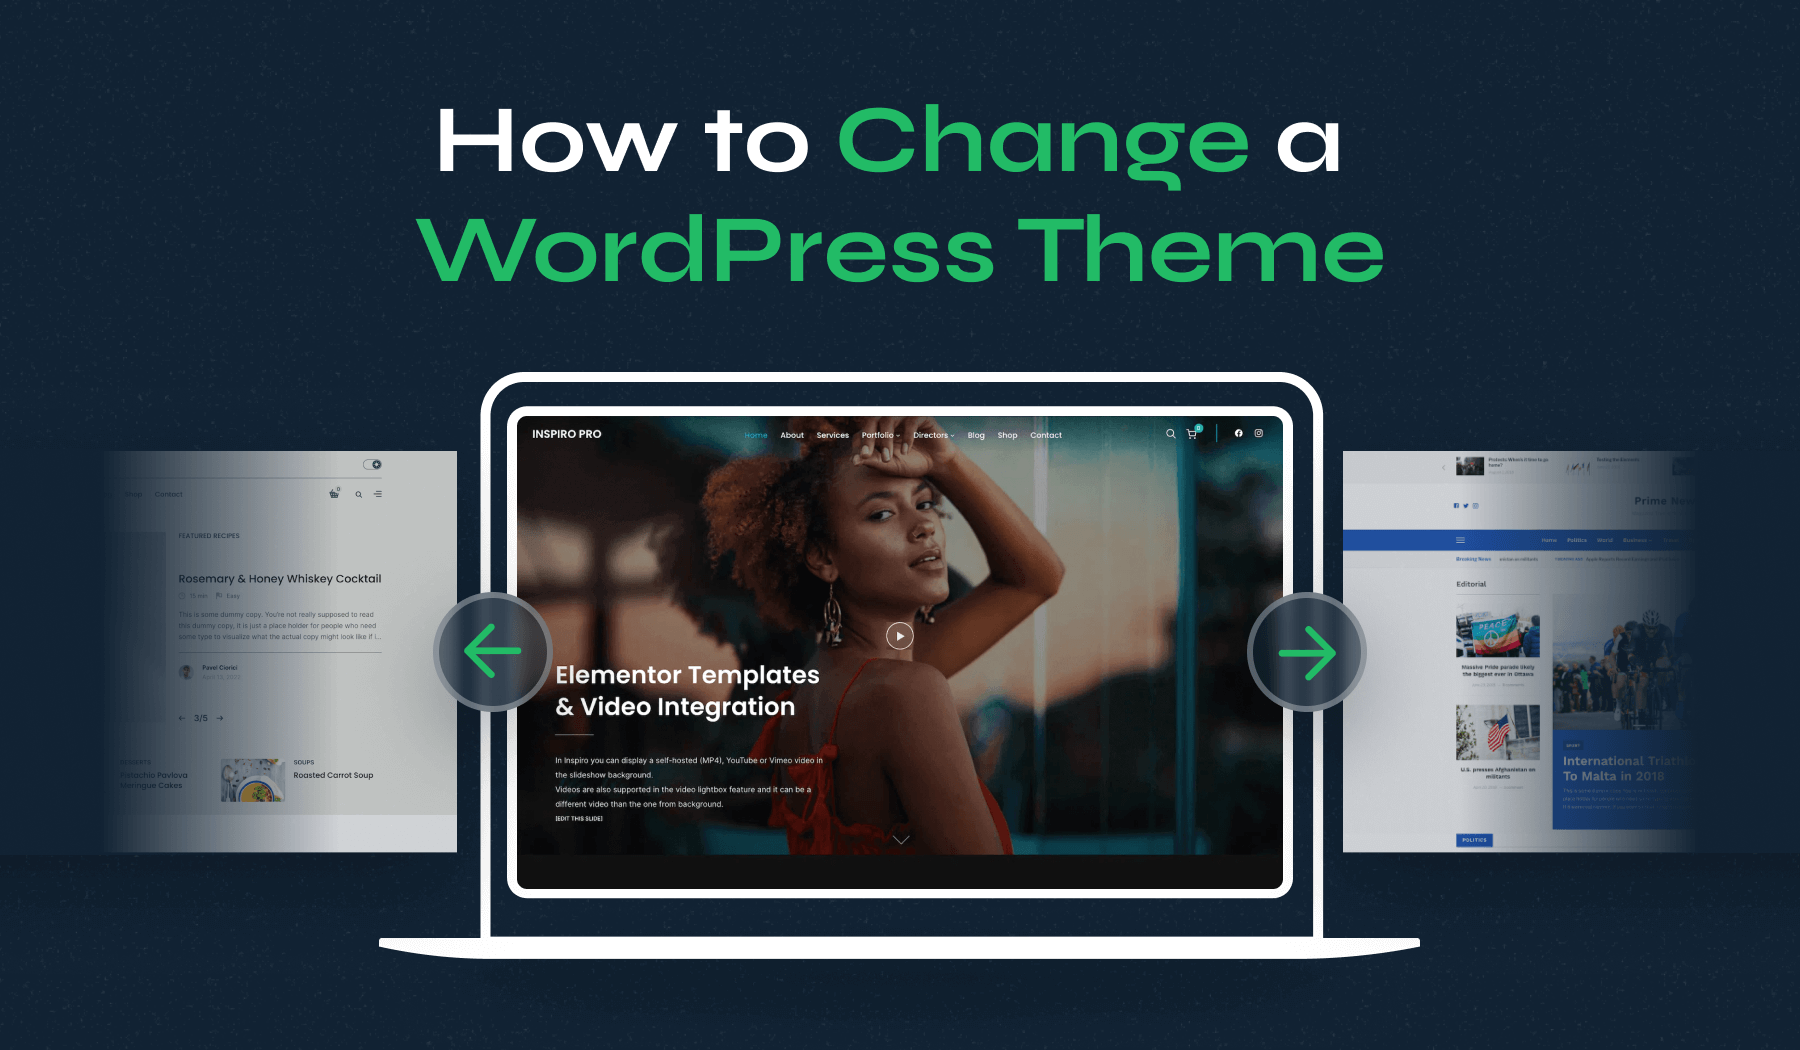
Access the WordPress dashboard and click on Appearance in the left menu. Select Themes to see your current and available themes. From there, choose or add a new theme to change your site’s look quickly.
Why Preview A Theme Before Activation?
Previewing a theme helps you see how your website looks. It shows the design without changing the live site. This step avoids surprises after activation. You can check if the theme fits your content and style. It saves time and effort in fixing issues later.
How To Preview A WordPress Theme
Go to your WordPress dashboard. Click on Appearance > Themes. Find the theme you want to try. Hover over the theme’s thumbnail. Click the “Live Preview” button. The preview opens in a new window. It shows your site with the new theme applied. No changes happen to your live site yet.
What To Check During The Preview
Look at your homepage and inner pages. Check the header, footer, and menus. See if images and text display correctly. Test responsiveness by resizing the window. Make sure fonts and colors are clear and readable. Look for any broken layouts or missing elements. Confirm the theme matches your brand’s look and feel.
Activate An Installed Theme
Activating a new WordPress theme is the key step to change your website’s look. This action makes the new design live on your site. You can activate a theme already installed or a new one you just added. The process is simple and quick, requiring only a few clicks.
Activation does not remove your content. Your pages, posts, and media stay safe. Only the appearance and layout change based on the new theme settings.
Log In To Your WordPress Dashboard
Start by logging into your WordPress admin area. Use your username and password to access the dashboard. This is where you manage all website settings.
Navigate To Appearance Themes
In the left menu, find the “Appearance” option. Click it, then select “Themes” from the submenu. This page shows all installed themes on your site.
Choose The Theme To Activate
Look through your installed themes and find the one you want to use. The current active theme will have an “Active” label. Hover over your chosen theme’s thumbnail to see options.
Click The Activate Button
Click the “Activate” button that appears on your chosen theme. This action applies the new theme immediately. Your site now displays the new design.
Customize Your Theme After Activation
After activation, go to Appearance > Customize. This tool lets you adjust colors, fonts, and layout. Customizing helps match the theme to your brand and style.
Preview Before Final Activation
Use the “Live Preview” feature to see how the theme looks. This step helps avoid surprises. You can check if the design fits your content and fix issues early.
Install A New Theme
Changing your WordPress theme can affect how your site looks. Protecting your content is vital. Content includes posts, pages, images, and settings. You want to keep them safe during the switch.
WordPress stores content separately from the theme files. This helps keep your content intact. Still, some theme-specific features might not transfer. Careful steps ensure nothing is lost.
Backup Your Website
Start by backing up your entire website. Use plugins or your hosting provider’s tools. A backup saves your content and settings. It acts as a safety net if something goes wrong.
Use The Preview Feature
Before activating a new theme, preview it. This shows how your content will look. You can spot missing elements or layout issues early. Previewing avoids surprises after activation.
Check Widgets And Menus
The new theme may change widget areas and menus. After activation, review these sections. Reassign widgets if they disappear. Rebuild menus if links get lost. This keeps navigation smooth.
Test Functionality Thoroughly
Test your site’s features after the theme switch. Check forms, buttons, and plugins. Make sure everything works well with the new theme. Fix issues quickly to maintain user experience.
Preview Theme Before Activation
Changing a WordPress theme can affect your website’s look and function. Fixing potential issues helps keep the site smooth and user-friendly. This section covers common problems and how to solve them quickly.
Check For Plugin Conflicts
Some plugins may not work well with the new theme. Deactivate all plugins before switching. Then, activate them one by one to find conflicts. Replace or update plugins if issues appear.
Fix Broken Layouts
The new theme may change page layouts unexpectedly. Use the WordPress Customizer to adjust colors, fonts, and spacing. Clear your browser cache to see the latest changes. Test on different devices for consistent display.
Restore Missing Widgets
Widgets might disappear after switching themes. Go to Appearance > Widgets to check. Drag missing widgets back to their areas. Use a plugin to save widget settings before the change.
Resolve Menu Problems
Menus can reset or lose links after theme change. Visit Appearance > Menus to reassign menu locations. Make sure all menu items are correct. Save menus again to apply updates.
Check Custom Css And Code
Custom styles may not carry over to the new theme. Backup any custom CSS before switching. Add custom code again in the new theme’s settings or via a child theme. Test pages to confirm styles show correctly.
Activate The New Theme
Using maintenance mode during theme changes prevents visitors from seeing a broken or incomplete website. It shows a temporary page that informs users the site is under maintenance. This keeps your site professional and avoids confusion or frustration.
Maintenance mode allows you to work on your WordPress theme without interruptions. Visitors will see a simple message instead of errors or design glitches. This improves user experience and keeps your site’s reputation intact.
What Is Maintenance Mode?
Maintenance mode is a temporary state for your website. It hides the live content while you make updates. Visitors see a clear message that the site is being updated. This mode stops users from facing broken pages or missing elements.
How To Enable Maintenance Mode
Use a plugin like “WP Maintenance Mode” or “SeedProd” to activate it easily. Install and activate the plugin from your WordPress dashboard. Then configure the message and design of the maintenance page. Finally, turn on maintenance mode before switching themes.
Benefits Of Using Maintenance Mode
It protects your site’s appearance during theme changes. It stops users from seeing unfinished layouts or errors. It also prevents search engines from indexing incomplete pages. This helps maintain your SEO and site ranking.
Credit: wpengine.com
Frequently Asked Questions
How To Change Theme In WordPress Website Without Losing Content?
Log in to your WordPress dashboard and go to Appearance > Themes. Preview the new theme first. Activate it to switch themes without losing content. Your posts and pages stay intact. Customize the new theme under Appearance > Customize as needed.
How Do I Edit An Existing WordPress Theme?
Log in to your WordPress dashboard and go to Appearance > Themes. Select your current theme and click “Editor” to modify files. Make changes carefully to avoid errors. Always back up your site before editing to prevent data loss. Use a child theme for safe customizations.
How Can I Change My Theme?
Log in to your WordPress dashboard. Go to Appearance > Themes. Choose or upload a new theme, then click Activate to apply it.
How To Change WordPress Theme Without Going Live?
Use a staging site or enable maintenance mode with a plugin before activating the new WordPress theme. Preview changes safely.
Conclusion
Changing your WordPress theme is simple and safe. Your content stays intact throughout the process. Always preview a new theme before activating it fully. Customize the theme after activation to fit your style. Fix any issues that appear to keep your site smooth.
Follow these steps carefully for a fresh website look. Enjoy a new design without losing your valuable content.


