
Are you ready to take your website from your computer to the world wide web? Sending your web to a hosting service might sound like a daunting task, but it’s simpler than you think.
Imagine your website as a stunning piece of art, and web hosting as the perfect gallery to showcase it to millions. This is your first step towards reaching a global audience, and it’s easier than you might imagine. Whether you’re launching a personal blog, a business site, or an online portfolio, understanding how to properly send your site to a hosting service is crucial.
By the end of this guide, you’ll be equipped with the knowledge to confidently publish your site, ensuring it’s accessible, fast, and secure for your visitors. So, let’s dive in and turn your digital dreams into a reality!
Credit: mailsafi.com
Choosing A Web Hosting Provider
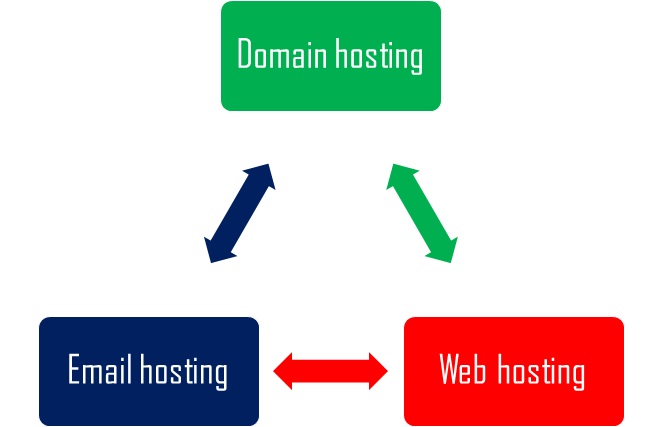
Web hosting comes in different types. Shared hosting is the most common. It is cheap and easy. VPS hosting offers more space and speed. Good for bigger sites. Dedicated hosting gives you a full server. It is fast but costs more. Cloud hosting is flexible. It can grow with your site.
Cost is important. Check the price. Look for good customer support. It helps when there are problems. Speed matters for site loading. Faster is better. Security is key. Protect your site from hackers. Storage space should meet your needs. More space is better for big sites.
Credit: www.lrswebsolutions.com
Registering A Domain Name
Picking the perfect domain name is important. Make it short and easy to remember. Avoid numbers and hyphens. Use words people know. Choose a name that fits your website. Check if it is available.
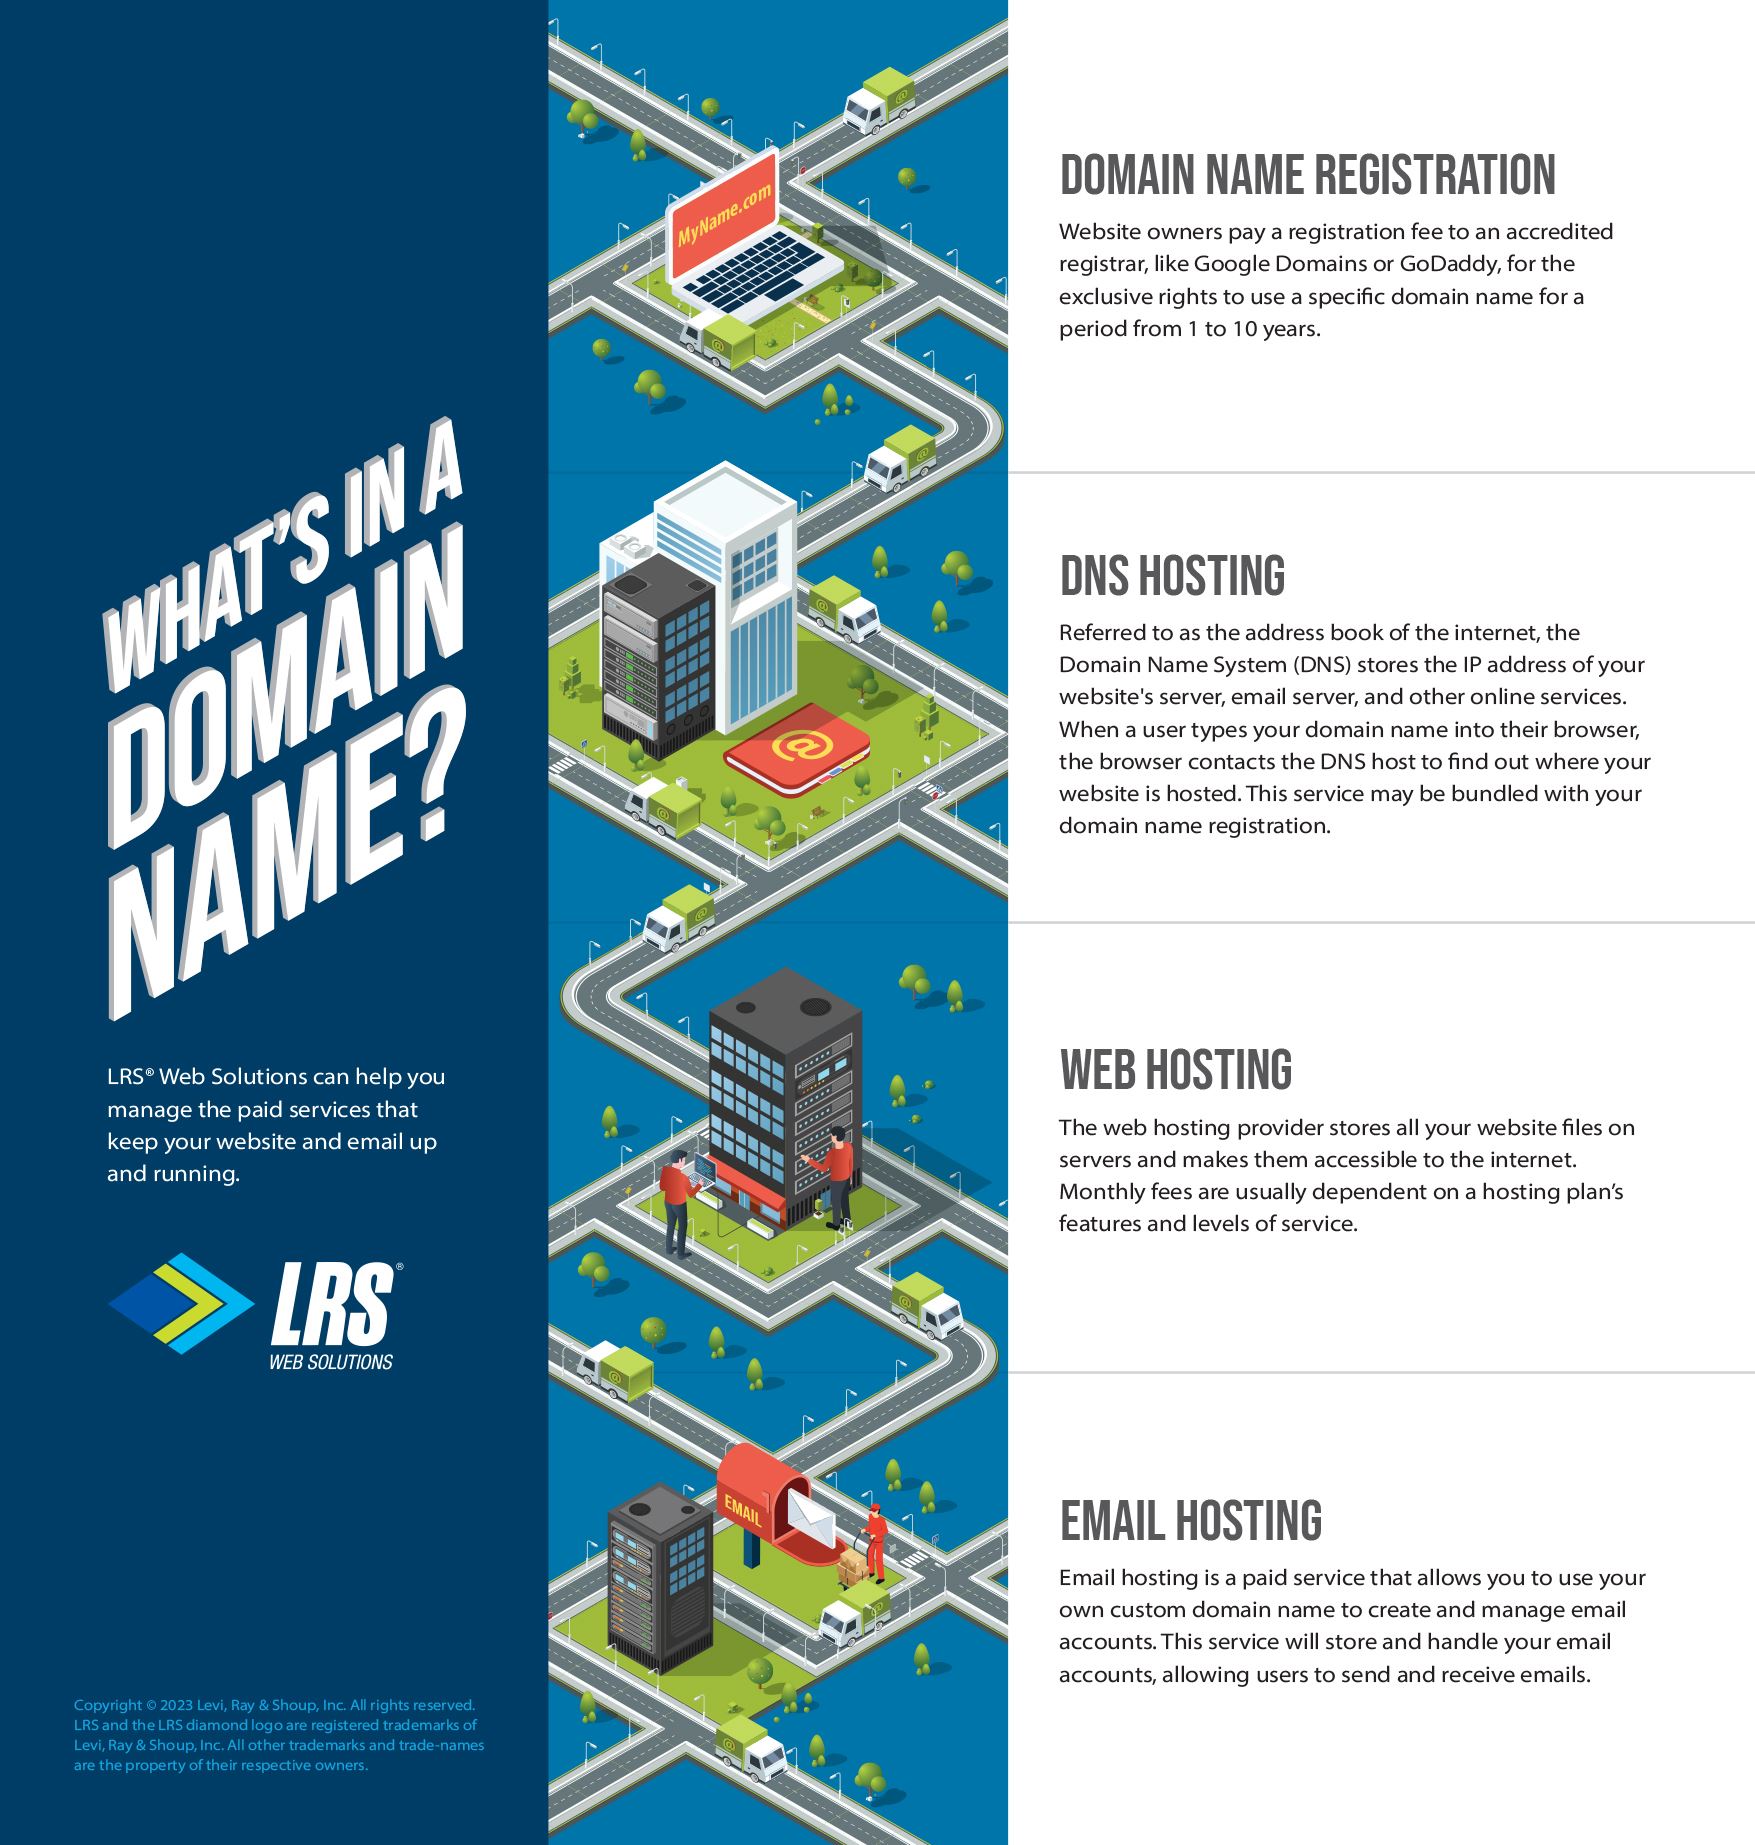
First, find a domain registrar. Many companies can help. Type your chosen domain name. See if it is available. If yes, add it to your cart. Fill in your details. Pay the fee. You will get a confirmation email. Now, you own your domain!
Preparing Website Files
Transfer website files to hosting with ease. Organize files, upload via FTP, and configure settings. Ensure everything is functional for a seamless launch.
Organizing Website Structure
Arrange files neatly. Put HTML, CSS, and JavaScript in separate folders. Name folders clearly. Use simple names like styles, scripts, and images. This helps find files quickly. Check links between files. Ensure links work correctly. Fix broken links before uploading. Label images and scripts properly. This helps browsers find them easily. Use index.html as the main file. This is the starting point for websites.
Ensuring File Compatibility
Check file formats. Use common formats like .jpg, .png, and .gif for images. HTML files end with .html. CSS files end with .css. JavaScript files end with .js. Check browser compatibility. Use modern coding standards. Keep code clean and simple. Avoid complex scripts. Test files on different browsers. Ensure everything looks and works the same. This keeps websites friendly for all users.

Credit: www.hostpapa.com
Uploading Files To The Server
FTP clients help move files to your web server. Download an FTP client like FileZilla. Install it on your computer. Use your login details from the host. Connect to the server. Drag and drop files from your computer to the server. Watch the progress bar fill up. Files are now on the server. Easy as pie.
Web host control panels make things simple. Log in to the control panel. Find the file manager tool. Click to open it. Upload your files here. Select files from your computer. Wait for the upload to complete. Files are now live on your website. No need for extra software. Just point and click.
Configuring Dns Settings
DNS records are important for websites. They tell the internet where your site lives. A Record shows the server’s IP address. CNAME Record points a domain to another domain. MX Record handles email delivery. These records must be set right. This ensures your website works well. Check each record carefully. Mistakes can cause problems.
First, log into your domain provider’s dashboard. Find the DNS settings section. Locate A Record and change its value to your hosting IP. This connects your domain to the host. Wait for changes to update. It might take some hours. Your site will be live soon. Test the connection to ensure all works fine.
Testing The Website
Sending a website to hosting involves uploading files through a control panel or FTP client. Ensure all files, including HTML, CSS, and images, are organized. Verify your domain settings and test for any errors to confirm successful deployment.
Checking For Errors
Check your website for any errors. Errors can break your site. Use tools to find broken links. Fix these links to ensure a smooth user experience. Look for spelling mistakes. Correct them for a professional look. Also, check images. Make sure they load properly. Bad images can confuse visitors. Finally, review your code. Clean code is important. It makes your site run well.
Ensuring Functionality
Ensure all parts of your website work. Test each button. Do they lead to the right page? Check forms. Can users submit them easily? Review your menu. It should guide users well. Test the site on different devices. It must look good everywhere. Make sure pages load quickly. Slow pages lose visitors. Always aim for a smooth user experience.
Maintaining Your Website
Uploading a website to hosting involves selecting a reliable hosting provider and using an FTP client. Access your hosting account, then transfer your website files from your computer to the server.
Regular Updates
Websites need regular updates for smooth operation. New content keeps users coming back. It’s also vital for security. Hackers look for weak spots. Regular updates close these gaps. Updated sites rank better in search results. Fresh content attracts more visitors. Check your site’s plugins too. They should be up-to-date. Test everything after updating. Ensure it works well. Keep your site fast and safe.
Monitoring Performance
Site performance monitoring helps in keeping users happy. A slow website can drive visitors away. Use tools to check speed and function. Look for loading issues. Solve them quickly. Track visitors with analytics. Know what they like. Use this data to improve your site. Regular checks prevent big problems. Keep your site efficient and engaging. Happy users visit more often. They share good sites with friends.
Frequently Asked Questions
How Do I Transfer A Website To Another Hosting?
To transfer a website, back up files and databases. Choose a new host and upload files. Update DNS settings to point to the new server. Test the website to ensure proper functionality.
How To Put A Website On Hosting?
Choose a hosting provider and register. Upload your website files using FTP or the hosting control panel. Link your domain to the hosting account by updating DNS settings. Ensure all files are in the correct directory. Check your website online for proper functionality.
How Much Does It Cost To Host A Website?
Website hosting costs vary from $3 to $500+ monthly. Prices depend on hosting type and provider. Shared hosting is cheaper, while dedicated servers cost more. Consider your website’s needs and budget for the best choice.
How Do I Get My Website Hosted?
Choose a reliable hosting provider. Sign up for a plan that suits your needs. Register your domain name. Upload your website files via control panel or FTP. Ensure your site is secure and regularly backed up.
Conclusion
Sending your website to hosting can feel daunting. But it’s manageable. Follow each step with care. Choose a reliable hosting provider. Use FTP for easy file transfer. Check your site once uploaded. Make sure everything works as expected. This process boosts your online presence.
It helps your audience find you easily. Practice makes it easier over time. Soon, you’ll do it without stress. Remember, patience and attention to detail are key. Happy hosting!


