
Are you tired of dealing with website downtime or sluggish performance due to blocked traffic? The solution might be simpler than you think.
Whitelisting Cloudflare IP addresses with your web host can be a game-changer for your site’s performance and security. Imagine a smoother, faster, and more secure website experience for your visitors. Sounds appealing, right? In this guide, you’ll discover the step-by-step process to ensure that Cloudflare’s IP addresses are welcomed by your web host, optimizing your site for peak efficiency.
Stay with us, and you’ll find out how easy it is to unlock a world of benefits for your website.
Benefits Of Whitelisting Cloudflare Ips
Whitelisting Cloudflare IPs can help your website. It keeps traffic safe. Only trusted IPs can access your site. This reduces spam and attacks. Your site’s speed gets better. Faster loading times improve user experience. Visitors stay longer and explore more.
With whitelisted IPs, servers face less load. This means they work more efficiently. Server efficiency is crucial for busy sites. It also helps in preventing downtime. Your website stays online even during traffic spikes.
Credit: bluegrid.io
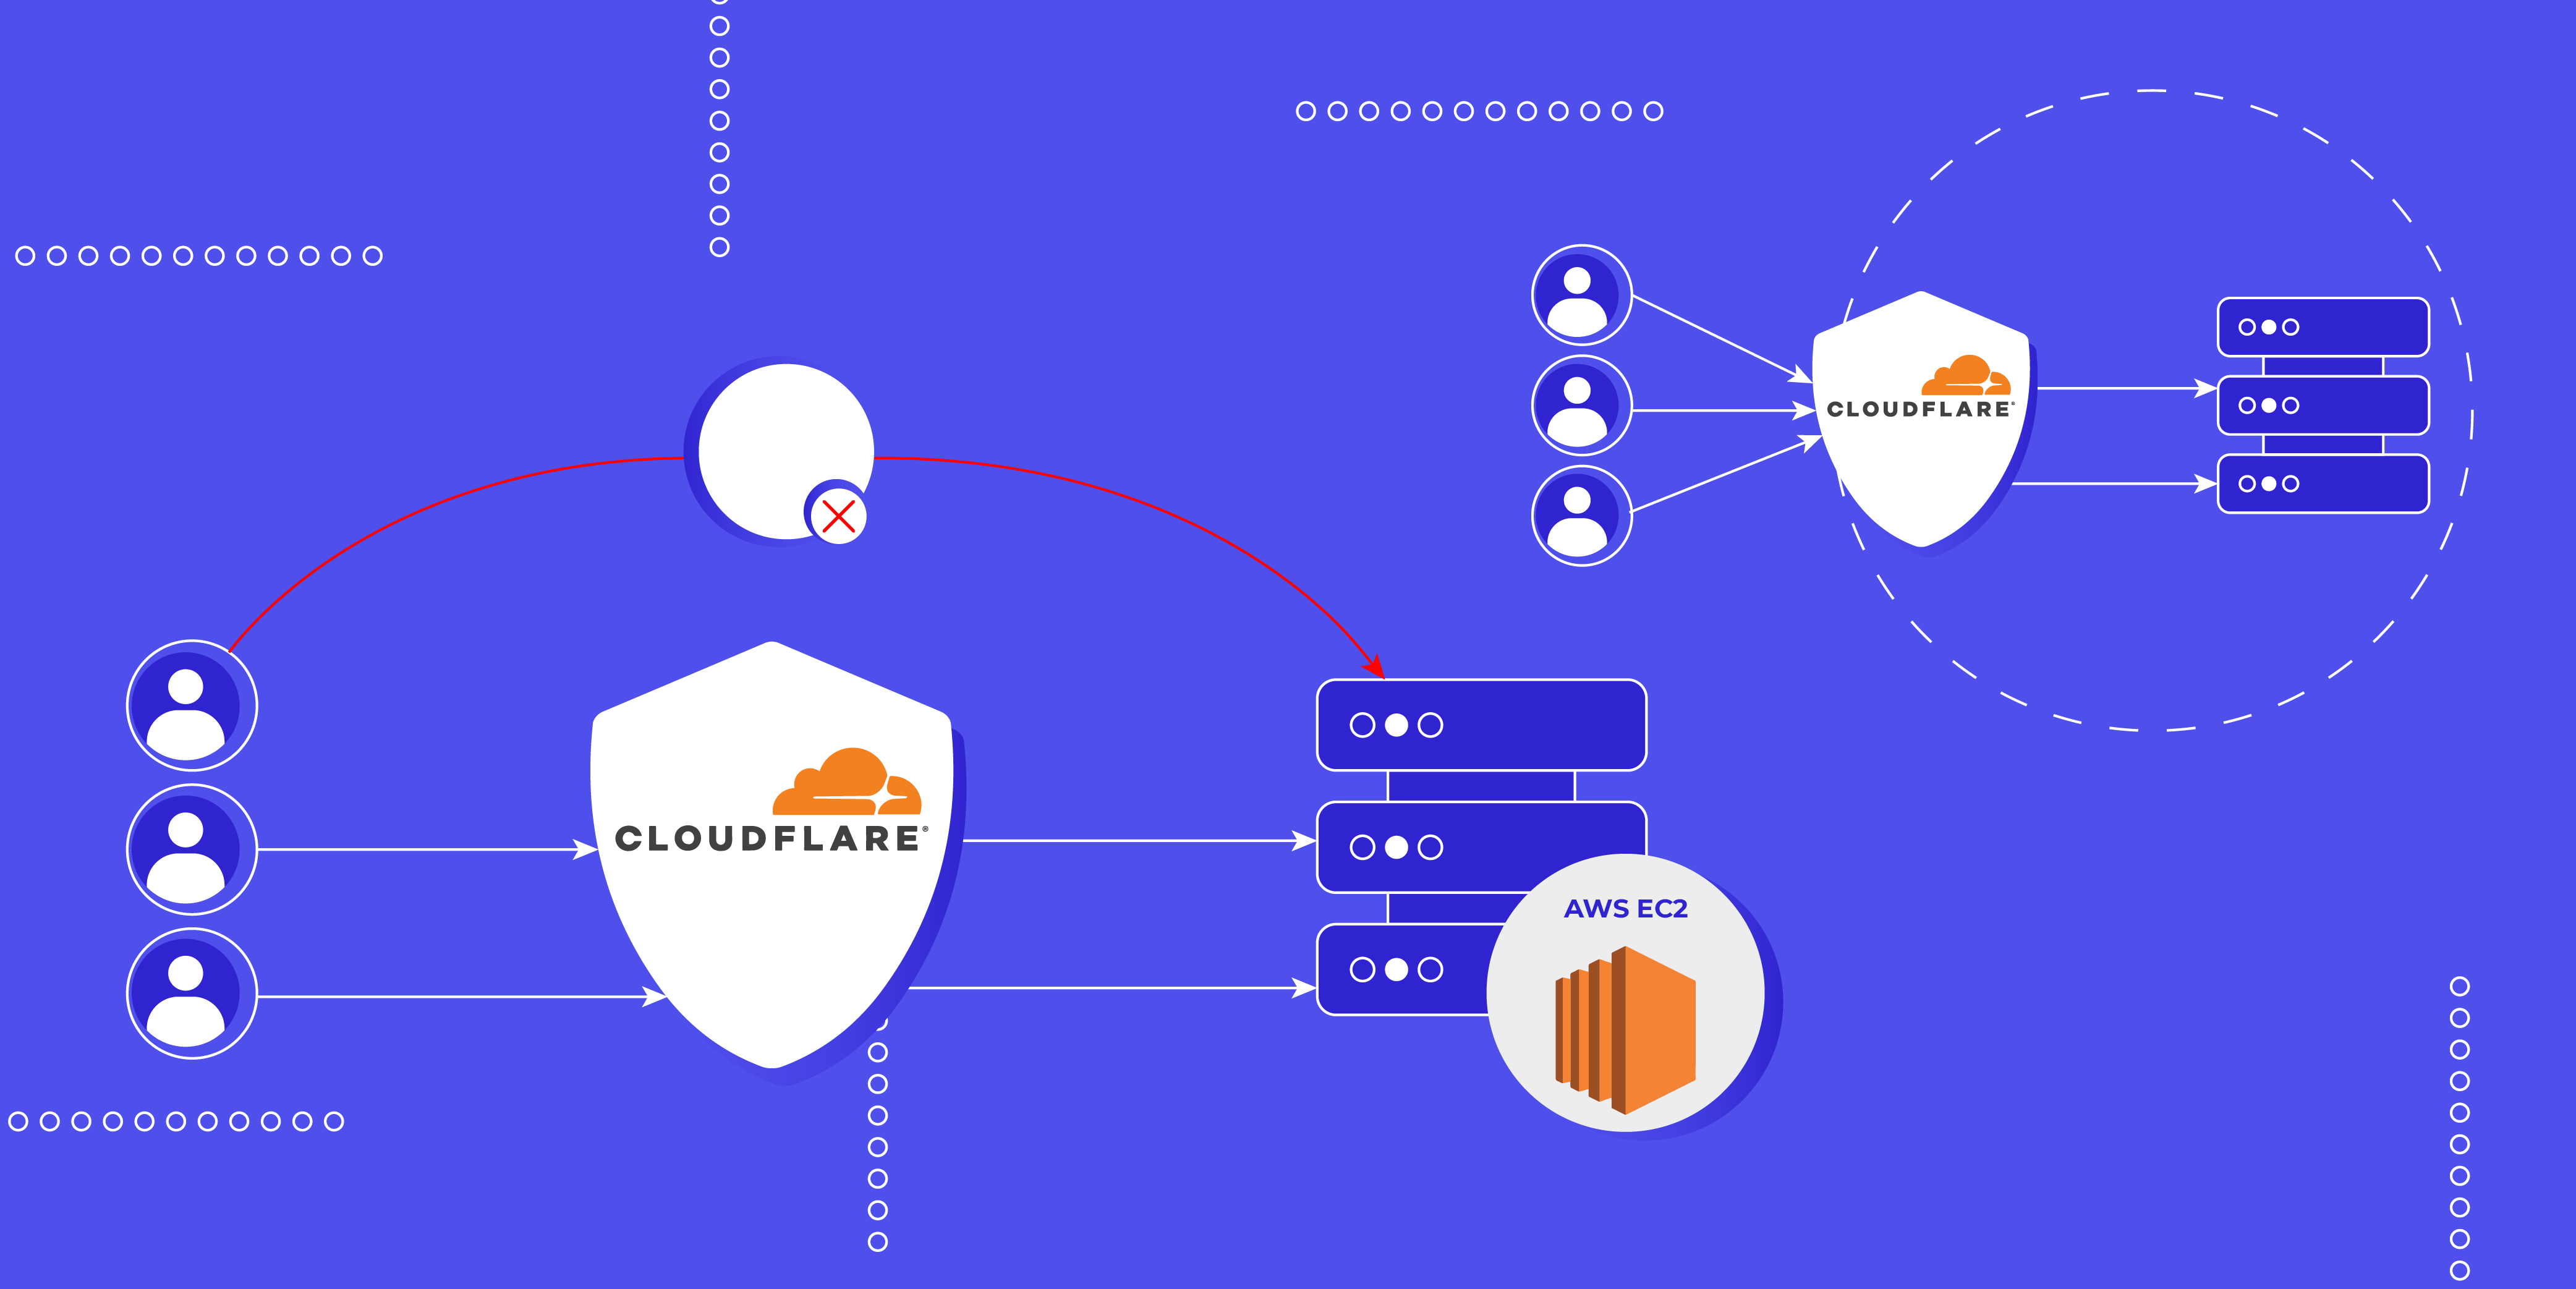
Understanding Cloudflare’s Role
Cloudflare helps with traffic management on websites. It makes sure that only good visitors see your site. Cloudflare uses smart tools to check each visitor. This helps to keep the site running well. Visitors from bad places get blocked. This keeps your site safe.
Security enhancements are important. Cloudflare protects sites from bad attacks. These attacks can slow down or harm a website. Cloudflare stops these attacks before they reach your site. Your website stays strong and works well.
Site owners feel happy and safe. They know Cloudflare is helping them. It keeps bad things away and lets good visitors in. This makes the internet a safer place.
Gathering Cloudflare Ip Address Information
Cloudflare has many IP addresses. These IPs need whitelisting. First, find the list of IPs. Visit the Cloudflare website. Look for the IP ranges page. Here, you will see all IPs. It’s a long list.
Keep this list handy. You will need it often. Ensure you have the latest updates. Cloudflare updates IPs regularly. Add these IPs to your host. This keeps your site safe. It also helps in traffic management.
Always check for new IPs. Cloudflare may add more. Keep an eye on changes. Your website will run smoothly. Following these steps is important. It ensures your site works well. Security is crucial for all sites.

Credit: community.cloudflare.com
Accessing Your Web Host Control Panel
First, visit your web host’s website. Look for the login button. Click on it. Enter your username and password. These are the keys to your account. After entering them, press the login button. You will see your control panel. It is your home base. From here, you can manage everything. Be sure your internet connection is stable. This helps in logging in smoothly.
The dashboard is your control center. It has many options. Each option has a purpose. Find the security settings option. This is where you whitelist IP addresses. Look for easy-to-understand labels. These guide you to the right spot. If unsure, check the help section. It often has answers. Remember, take your time. Understanding the dashboard is important.
Locating Firewall Or Security Settings
Most control panels have a security section. This is where you find firewall settings. Look for tabs like “Security” or “Firewall.” These often contain the options you need.
Sometimes, security settings are under advanced settings. Check there if you can’t find them easily. Many panels use icons to show security areas. Look for icons like a shield or a lock. They help you find the right section quickly.
Most control panels have a search bar. Use it to locate firewall settings fast. Type words like “firewall” or “security” in the search bar. It saves time and helps find the settings easily.
Search functions are helpful if settings are hidden. They reveal where the options are. Always try using search first. It makes finding things much simpler.
Adding Cloudflare Ips To Whitelist
Start by logging into your web host account. Find the section for firewall settings. Search for the option to add IP addresses. You will need to add each Cloudflare IP one by one. Make sure to enter each IP address correctly. Double-check to avoid mistakes. Save your changes after adding all the IPs.
Some hosts let you import a list of IPs. First, download the Cloudflare IP list. Your host might require a specific file format. Check the guidelines on their website. Use the import option in the firewall settings. Upload the Cloudflare IP list file. Verify if all IPs are uploaded correctly. Save the configuration to apply the changes.
Verifying Whitelist Configuration
Ensure that the Cloudflare IP addresses are correctly whitelisted. Try accessing your website through a web browser. It should load without any issues. If the site loads, the whitelist is likely set up correctly. Always double-check IP entries in your host settings. Small mistakes can cause big issues. Use online tools to verify IP reachability. This step helps confirm the setup is proper.
If access fails, check your firewall settings. Sometimes, firewalls block unknown IPs. Recheck the whitelist entries for any typos. Make sure all Cloudflare IPs are included. Another issue could be outdated IP lists. Always update the list regularly. Contact your web host support if problems persist. They can provide additional assistance.
Maintaining Updated Ip Lists
Cloudflare changes its IP addresses often. It’s smart to check these IPs on their website. This helps keep your list updated. Missing updates can cause connection issues. Always be ready to add new IPs. Removing old ones is important too. Making a schedule for checking is a good idea. Maybe once a month or week. This makes sure you don’t miss changes.
Manual checks can be time-consuming. Automating the process can save time. Using scripts is one way. These scripts can fetch the latest IPs for you. Setting up alerts can help too. Alerts notify you when changes happen. This keeps you informed without much effort. Automating ensures your IP list is always current. This reduces errors and keeps your website safe.

Credit: www.fixrunner.com
Frequently Asked Questions
How To Whitelist Cloudflare Ip Addresses?
To whitelist Cloudflare IP addresses, access your server’s firewall settings. Add Cloudflare’s IP ranges to the whitelist. Ensure these addresses are updated regularly from Cloudflare’s official list to maintain access. This helps prevent legitimate traffic from being blocked, enhancing website performance and security.
How Do I Whitelist A Specific Ip Address?
To whitelist an IP address, access your server or firewall settings. Locate the whitelist section, enter the IP address, and save changes. Ensure security settings are updated. Consult specific software documentation if needed. This allows the IP to bypass restrictions, ensuring uninterrupted access.
How Do I Unblock My Ip Address From Cloudflare?
Log into your Cloudflare dashboard, check Firewall settings, and remove IP blocks. Verify IP under Firewall Events.
How To Protect Ip With Cloudflare?
Protect your IP with Cloudflare by enabling IP masking and configuring firewall rules. Use Cloudflare’s VPN services for enhanced security. Regularly update your settings to maintain protection. Ensure proper DNS configuration to avoid leaks. Consider enabling DDoS protection for added defense.
Conclusion
Whitelisting Cloudflare IP addresses enhances your website’s security. It’s a crucial step. This process helps prevent unwanted access. It ensures only trusted traffic reaches your site. Follow the steps carefully to avoid errors. Your web host settings should reflect these changes.
Always double-check your configurations. Consistency is key for maintaining security. This simple task can save you from potential threats. Regular updates keep your website safe. Remember, a secure site builds trust with users. Keep learning about security measures. Stay informed to protect your digital presence effectively.


