
Are you ready to launch your website but unsure where to start with web hosting on GoDaddy? You’re not alone.
Navigating web hosting can seem overwhelming, but it doesn’t have to be. In this guide, we’ll break down the process into simple, manageable steps, making it easy for you to get your site up and running smoothly. Imagine the satisfaction of seeing your ideas come to life online without the technical headaches.
By the end of this article, you’ll not only understand how to use web hosting in GoDaddy but also feel empowered to take control of your online presence. Let’s dive in and turn your vision into reality!
Choosing The Right Hosting Plan
GoDaddy provides several hosting types. Shared hosting is good for small websites. VPS hosting gives more control. Dedicated hosting offers a whole server. Cloud hosting scales easily with your needs. Each type suits different site sizes.
Choose hosting based on website size. Think about your budget. Consider the site’s traffic. Look at support options. Check storage and bandwidth needs. Consider security features. Pick a plan that fits your goals.
Credit: www.godaddy.com
Setting Up Your Godaddy Account
Start by visiting the Godaddy website. Find the button that says “Sign Up” or “Create Account”. Click it. Enter your email address. Choose a strong password. Make sure it is easy to remember. Fill in other details like your name and country. Review the terms and conditions. Agree to them. Press the “Create Account” button. Now your account is ready.
Check your email inbox. Look for a message from Godaddy. Open the email. You will see a verification link. Click on it. This confirms your email. Sometimes, the email goes to spam. Check there if you don’t see it. After clicking the link, your email is verified. Now you can use all features of your account.
Navigating The Godaddy Dashboard
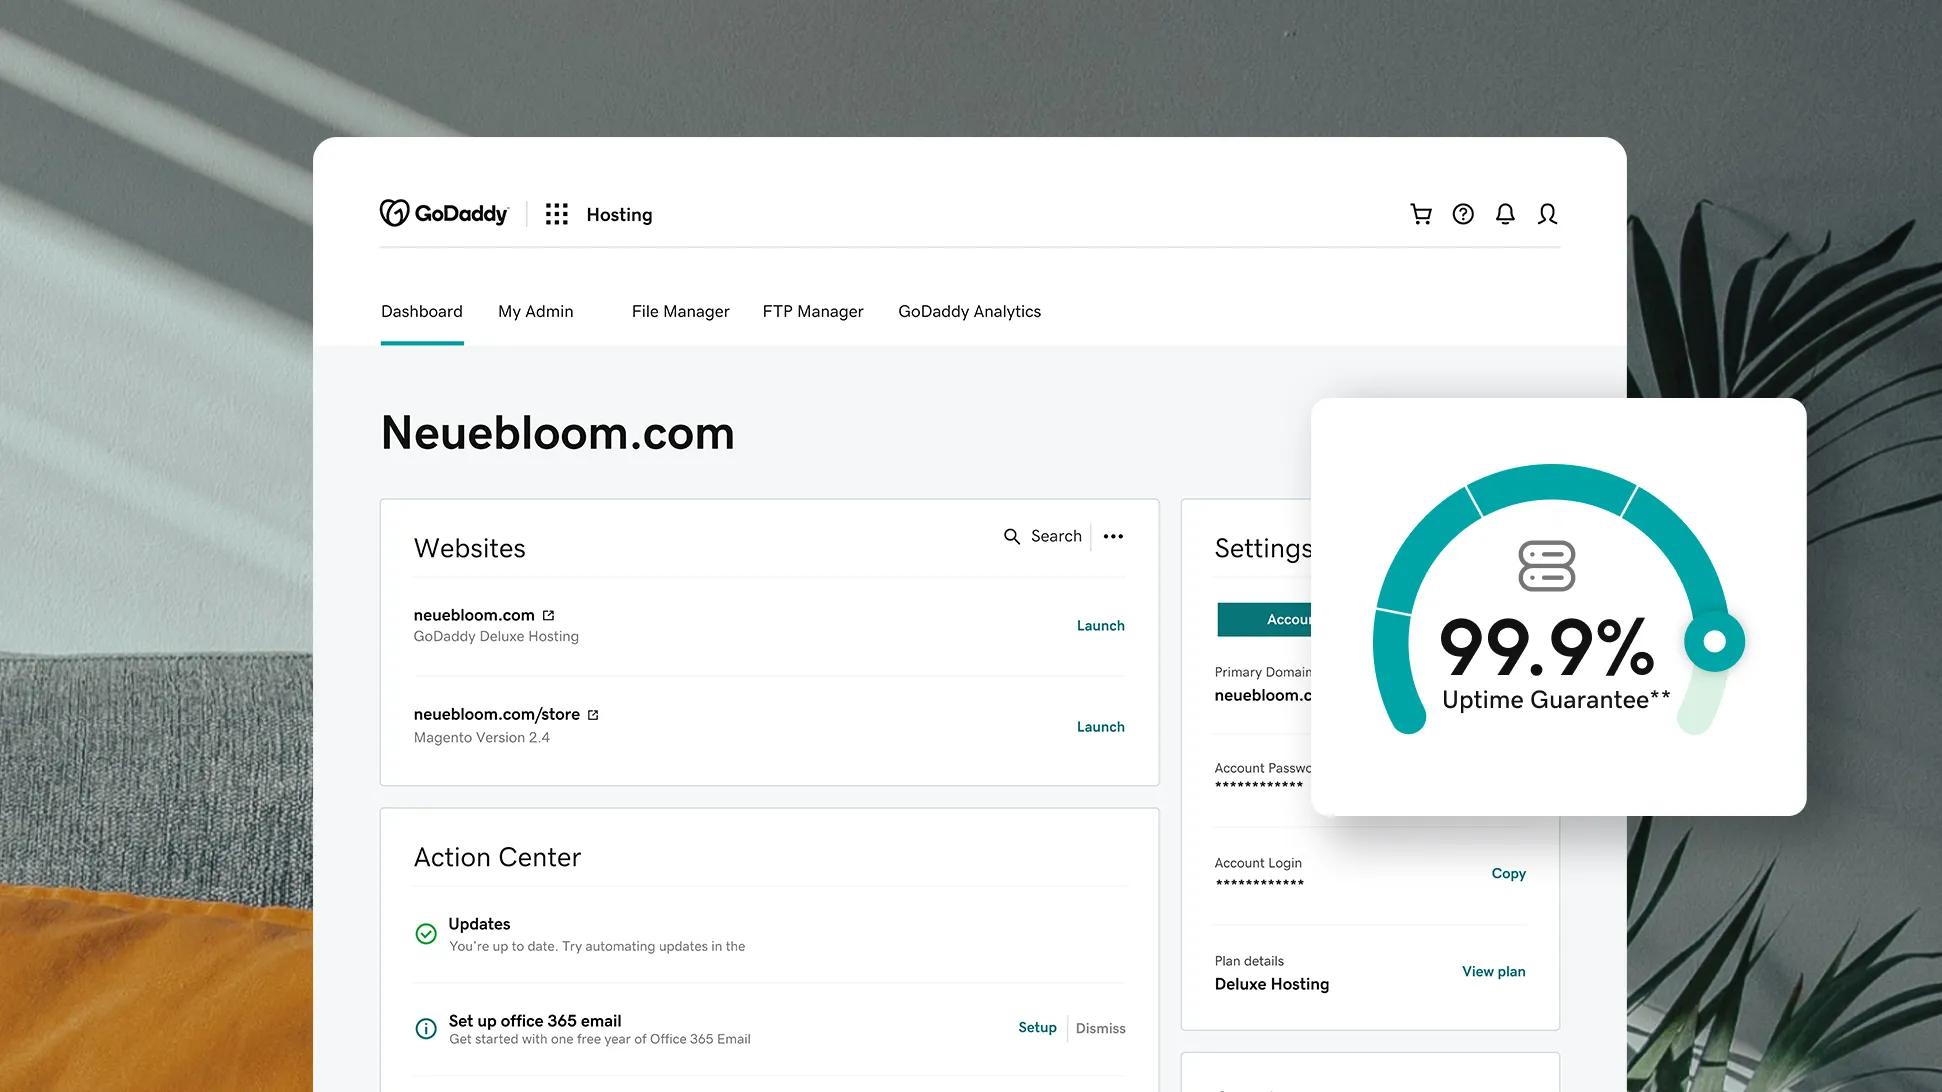
The Godaddy dashboard is simple and clean. The main menu is on the left. This menu shows all the important tools. Icons help you find each tool quickly. The center area shows details about your account. You can see your websites here. Also, check for any updates or messages.
On the right side, there’s a quick access panel. This panel lets you jump to different sections. You can manage domains, check billing, and more. Each section has helpful tips. These tips guide you through every step.
Finding hosting services is easy. Look for the hosting tab in the menu. Click on it to see your options. You’ll find your active plans here. Also, you can explore other hosting services. Each service has a brief description. This helps you understand what it offers.
You can also renew or upgrade your plan. Just follow the steps on the screen. Everything is straightforward and clear. If you have questions, there’s a support link. It leads to helpful resources and contact options.

Credit: www.godaddy.com
Installing A Website Platform
One-click installers make setting up websites easy. Godaddy provides these tools. They help install platforms like WordPress fast. Users choose their platform and press install. The system does the hard work. It’s quick and saves time. No need for technical skills. Just follow the steps. It’s simple and user-friendly.
Manual installation takes more steps. First, download the website platform. Next, upload files to the server. Godaddy has a file manager for this. After uploading, set up the database. Use the control panel to create one. Then, connect the platform to the database. Follow the instructions for this step. It needs attention but gives more control. Users customize settings to fit their needs.
Managing Domain Names
Linking your domain to hosting is simple. First, log into your GoDaddy account. Find the domains section. Choose the domain you want to link. Click on the manage button. Look for the hosting option. Click it. Follow the steps to connect your domain. Ensure all details are correct.
DNS settings are important. They help your domain talk to the internet. Start by finding the DNS settings in your GoDaddy dashboard. Look for the DNS option. Click it. You will see different settings. Focus on the nameservers and records. Make sure they match your hosting provider. If they are wrong, your site might not work. Double-check everything. Save your changes.
Uploading Website Files
Godaddy’s File Manager helps you upload your website files easily. First, log in to your Godaddy account. Go to your hosting dashboard. Click on File Manager under the hosting options. Here, you can see all your files. Use the Upload button to add new files. Drag and drop is also possible. Always make sure your files are in the right folder. The main folder is usually named public_html. Check your files after uploading. Make sure everything works fine.
File Transfer Protocol (FTP) is another way to upload files. Download an FTP client like FileZilla. Open the client and enter your Godaddy FTP details. These include the server, username, and password. Once connected, you will see your files. Drag and drop your website files here. Make sure your files go to the public_html folder. Check your website after uploading. Ensure that all files are uploaded correctly.
Setting Up Email Accounts
Godaddy lets you have your own custom email. It makes your business look professional. First, log into your Godaddy account. Find the email section. Click on “Create Email”. Choose a name for your email. Pick a domain. This can be your website name. Set a password. Make sure it’s strong. Click “Save”. Your email is ready.
You need to open your email client. This is where you read emails. Godaddy has its own email client. Log in with your custom email. Use the password you set. You will see your inbox. Check for new messages. Reply to emails easily. You can also send emails from here. Remember to log out when done. It keeps your emails safe.

Credit: www.godaddy.com
Securing Your Website
Explore securing your website by using GoDaddy’s web hosting services. Enjoy enhanced security features and reliable uptime for smooth website performance. Easily manage your site and protect data with their user-friendly control panel.
Enabling Ssl Certificates
SSL certificates keep your website safe. They encrypt data sent to your site. This stops bad people from seeing it. To enable SSL, go to your GoDaddy account. Find the SSL settings. Click to add an SSL certificate. Your website will now show a padlock symbol. This means it is secure. People trust sites with this symbol more.
Implementing Security Plugins
Security plugins protect your website from attacks. They are like guards for your site. Go to your website’s dashboard. Find the plugins section. Search for a security plugin. Install and activate it. Many plugins are free and easy to use. They can block hackers and keep your site safe. Some plugins also scan for malware. This keeps your site clean and healthy.
Monitoring Website Performance
Tools like Google Analytics help track your website’s health. You can see how many people visit your site. Check which pages get the most views. This helps you understand what visitors like. Look for patterns in visitor behavior. It shows what works and what doesn’t. Use this info to make your site better. Keep an eye on this data often. It helps keep your site running smoothly.
Fast websites make visitors happy. Slow websites make them leave. Use smaller images to speed up your site. Compress large files to make them load faster. Use a good hosting service. It helps your site load quickly. Check your site’s speed often. Tools like GTmetrix can help with this. A fast site is important for a good user experience.
Troubleshooting Common Issues
Explore common solutions for using GoDaddy web hosting effectively. Fix connection errors by checking DNS settings. Ensure proper file uploads to avoid display issues.
Resolving Hosting Errors
Hosting errors can be annoying. They stop your website from working. Error 404 is a common problem. It means the page cannot be found. Check the URL for mistakes. Server timeout happens if the server takes too long. This might be due to high traffic. Try refreshing the page. Database connection error means the server can’t reach the database. Check your database settings. Sometimes, errors come from bad plugins. Deactivate plugins one by one. See if the error goes away. Always keep backups of your website. This helps to restore if something goes wrong.
Contacting Support
Godaddy Support can help with many problems. They have a team ready to assist. Visit the support page on their website. You can chat with an agent. Or call their support number. Explain your problem clearly. Share screenshots if possible. Keep your account information ready. This helps them solve the issue faster. They usually respond quickly. You can also check their help articles. These might have solutions to your problem.
Frequently Asked Questions
How Do I Use Web Hosting?
Choose a web hosting provider and plan that fits your needs. Register a domain, then connect it to your hosting account. Upload website files using FTP or a control panel. Manage settings through the hosting dashboard. Regularly update your website and monitor its performance for optimal results.
How Do I Host My Domain On Godaddy?
Log into your GoDaddy account. Select “Domains” and choose your domain. Click “Manage DNS” and update settings. Save changes and ensure domain points to GoDaddy hosting. Follow any additional prompts to complete setup. Use GoDaddy’s support for detailed assistance if needed.
Is Godaddy Good For Website Hosting?
GoDaddy is a popular web hosting provider known for its reliability and affordability. It offers various hosting plans suitable for different needs. Users appreciate the easy-to-use interface and customer support. Some may find better performance with other providers, but GoDaddy remains a solid choice for many.
How To Give Hosting Access To Godaddy?
Log in to your GoDaddy account, navigate to “My Products,” select “Web Hosting,” and click “Manage. ” Under “Account Settings,” choose “Delegate Access,” click “Invite,” enter the recipient’s email, and set permissions. Confirm by clicking “Send. ” The recipient will receive an email to accept access.
Conclusion
Mastering web hosting with GoDaddy is straightforward and rewarding. Follow the steps shared above for a smooth experience. Stay organized, and keep your settings updated. This ensures your website runs efficiently. Always explore GoDaddy’s resources for additional support. They provide useful tools and guides for beginners.
If challenges arise, their customer service is ready to help. Remember, a well-hosted website improves your online presence. With patience and practice, you’ll navigate hosting like a pro. Your website’s potential is just a few clicks away. Happy hosting!


