
Are you looking to create a stunning, fast, and secure website without getting tangled in the complexities of traditional CMS platforms? Jekyll might just be your new best friend.
Imagine having the power to build a sleek static site with ease, then seamlessly host it without breaking the bank or your brain. Sounds appealing, right? You’ll discover the magic of using Jekyll with web hosting, unlocking a world of possibilities for your online presence.
By the end, you’ll feel empowered to take control of your site, equipped with the knowledge to make your digital dreams a reality. Ready to dive in? Let’s get started!

Credit: www.youtube.com
Getting Started With Jekyll
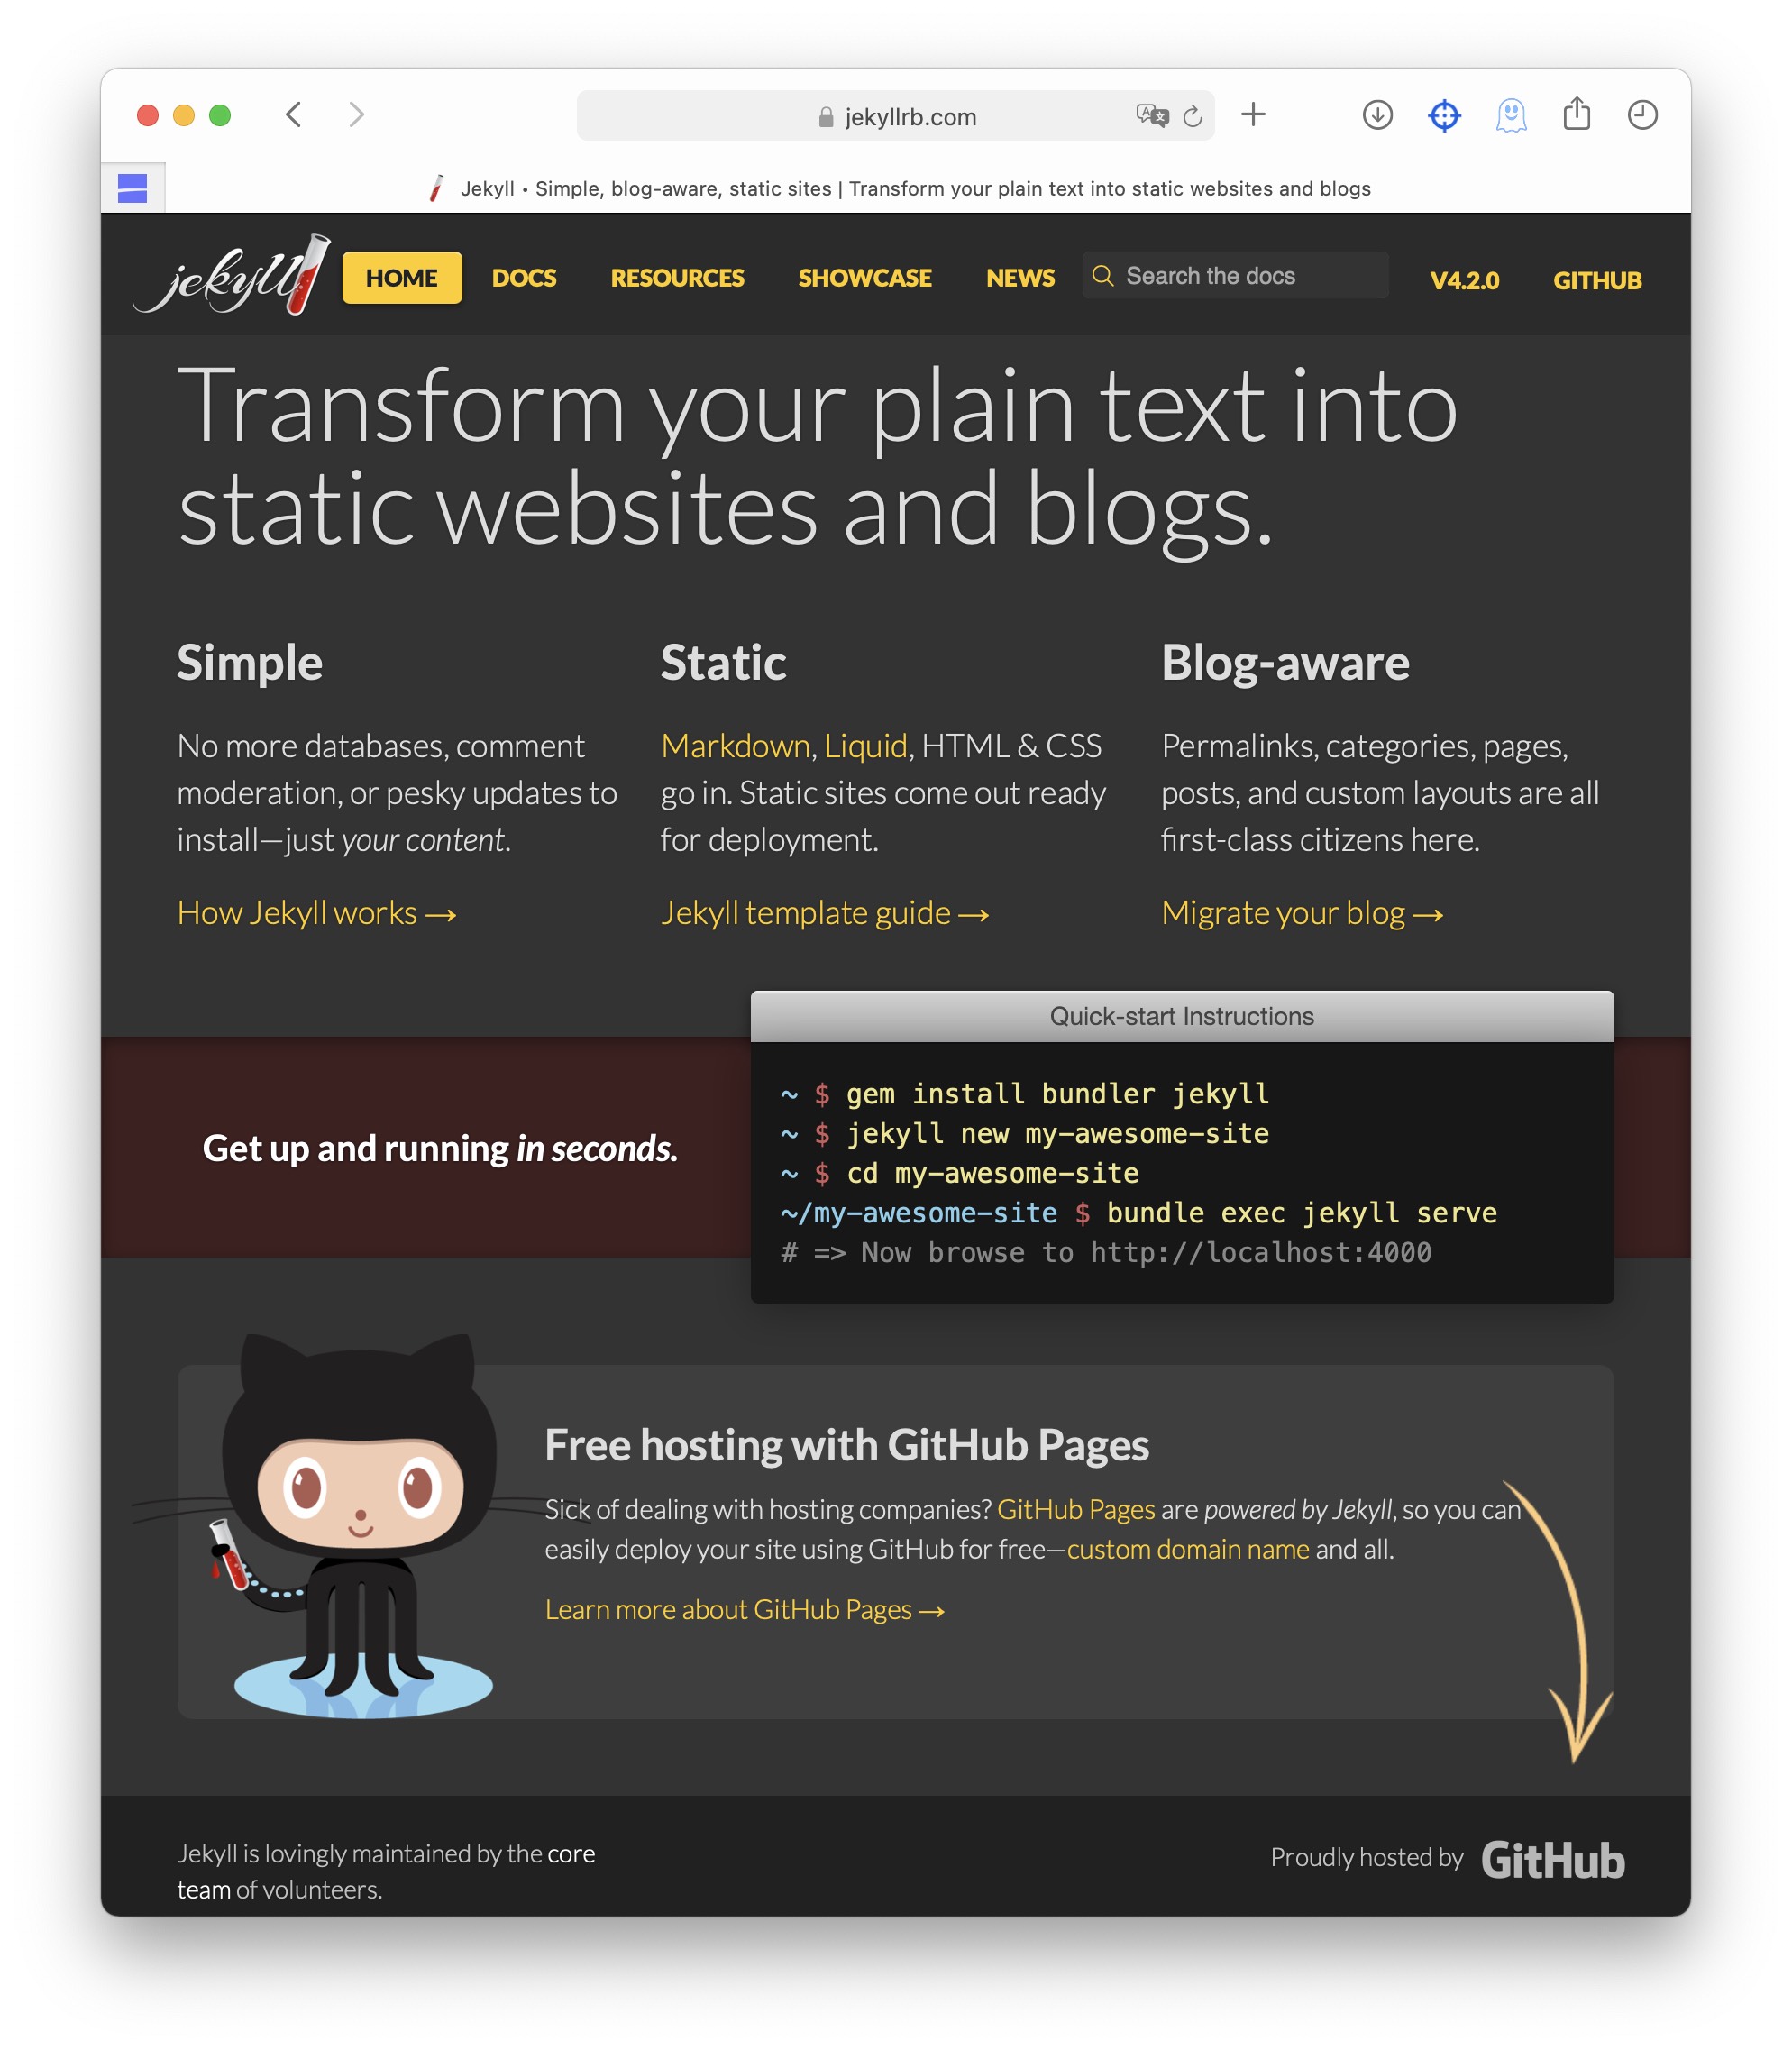
Jekyll is a static site generator
First, you need Ruby on your computer. Ruby is a programming language. Next, install the Jekyll gem. Gems are packages in Ruby. Open your command line tool. Type gem install jekyll bundler. Press enter. Jekyll will install on your computer.

Credit: azureis.fun
Setting Up A New Jekyll Site
Start by installing Jekyll on your computer. Use the command line to create a new project. Type jekyll new my-site and press enter. This will set up a basic site structure. Move into the new project folder. Type cd my-site to do this. Now, your Jekyll project is ready. You can begin making changes.
The Jekyll directory has many folders. Each folder has a purpose. The _posts folder is for blog posts. Use the _layouts folder for HTML templates. The _includes folder holds reusable components. Find site settings in the _config.yml file. This file is important. Always check it when you make changes. Understanding these folders helps you manage your site.
Customizing Your Jekyll Site
Easily customize your Jekyll site with web hosting. Seamlessly integrate Jekyll into hosting platforms for smooth deployment. Enjoy a streamlined setup process.
Choosing And Installing Themes
Jekyll offers many themes. Pick a theme that fits your site’s style. Download the theme files. Use GitHub or your computer. Upload the theme to your Jekyll site. Open the command line on your computer. Type the install command. This adds the theme to your site. Check if the theme works correctly. View your site in a browser. Make changes if needed. Themes change your site’s look. They can make it unique.
Configuring Site Settings
Open the _config.yml file. This file controls your site settings. You can change the site title. Add a description for your site. Set the site’s URL. Choose the language for your site. Adjust permalink settings. This affects how URLs look. Change themes in this file too. Save changes to see them live. Settings make your site personal. They help it work better. Always check your changes. Make sure they look right on the site.
Credit: www.fabriziomusacchio.com
Generating Static Files
Building your Jekyll site is easy. First, open your terminal. Navigate to your site’s folder. Type jekyll build in the terminal. This command creates static files. These files are saved in a folder named _site. Your site is now ready for web hosting. Static files load fast and are easy to manage.
Previewing your site locally helps in checking for errors. Open your terminal again. Type jekyll serve. This command runs your site locally. Open a browser and go to http://localhost:4000. Now you can see your site. Check if everything looks good. Make changes if needed. This step is important before uploading your site.
Preparing For Web Hosting
Explore the simplicity of using Jekyll with web hosting. Install Jekyll and create static sites that load fast. Connect your site to a hosting service for easy access online.
Selecting A Web Host
Choosing a web host is important for your site. Look for hosts that support static site generators. Many hosts offer plans for small sites. Compare prices and features carefully. Pay attention to server uptime and customer support. These factors affect your site’s performance. A reliable host ensures smooth operation. Avoid hosts with frequent downtime. Consider hosts with one-click installs. These make setup easier and faster.
Ensuring Compatibility With Jekyll
Check if the host supports Jekyll. Some hosts have specific requirements. Verify if they allow Ruby installations. Ruby is essential for Jekyll to run. Ensure your host supports SSH access. SSH helps manage files and settings. Confirm if the host has version control tools. These tools help track changes in your site. A compatible host simplifies your website setup. Avoid hosts that lack Jekyll support.
Deploying Jekyll To Web Hosting
Deploying Jekyll with web hosting can enhance your site-building experience. Install Jekyll, configure your files, and upload them to your hosting provider. Enjoy a smooth, static site setup that integrates seamlessly with many hosting platforms.
Uploading Static Files
Jekyll creates static files. These files need uploading to web hosting. First, generate the site using Jekyll. This step creates the static files. Next, use an FTP client to upload files. Connect the FTP client to your hosting server. Find the public_html folder. Upload the static files to this folder. Check if files appear on the hosting server. Visit your website to confirm the upload.
Setting Up Automated Deployment
Automated deployment saves time. Use a service like GitHub Actions. It deploys your site automatically. First, connect your GitHub repository with your hosting server. Create a deployment script. This script runs after each change. It uploads new files to the server. Check the setup. Make small changes to your site. Confirm automated deployment works. Enjoy your hassle-free updates!
Managing Your Jekyll Site
Explore the ease of using Jekyll with web hosting services for a seamless site management experience. Set up Jekyll effortlessly and enjoy streamlined content creation and deployment. Enhance your site’s performance and accessibility with simple hosting solutions that support Jekyll’s flexibility.
Monitoring Site Performance
Keeping an eye on your site is important. Regular checks help in maintaining speed. Use tools like Google Analytics. These tools track site visitors. They also note how fast pages load. Slow loading can drive visitors away. Optimize images to make pages load faster. Reduce image sizes without losing quality. Check server response time as well. Faster response equals better performance.
Updating And Maintaining Your Site
Update your site often. This keeps it fresh and secure. Regular updates fix bugs and improve security. Add new content to engage users. Fresh content keeps visitors interested. Back up data before updates. This saves your work in case of errors. Use a version control system like Git. It helps in tracking changes. Check for broken links regularly. Fix them to improve user experience.
Troubleshooting Common Issues
Setting up Jekyll with web hosting can present challenges. Common issues include configuration errors or missing dependencies. Addressing these problems requires checking setup files and ensuring all necessary plugins are installed correctly.
Resolving Build Errors
Build errors happen due to missing files. Check for missing files first. Look at error messages carefully. These messages often give clues. Make sure all files are in the right place. Sometimes, updates cause errors. Check for recent changes in files.
Errors can also come from plugins. Disable all plugins if unsure. Add them back one by one. This helps find the problem plugin. Double-check your code for mistakes. Mistakes in code can stop builds. Ensure your code is correct and clean.
Addressing Hosting Configuration Problems
Hosting problems are common. Check your host settings. Settings must match Jekyll requirements. Make sure your host supports Jekyll. Some hosts do not support it. Contact host support for help. They can check settings for you.
DNS settings can cause issues. Double-check your DNS settings. Incorrect settings can break your site. Hosts have guides for DNS settings. Follow the guide step by step. This helps avoid mistakes.
Frequently Asked Questions
Is Jekyll Good For Websites?
Jekyll is great for websites, especially static ones. It’s fast, secure, and easy to use. Perfect for developers, it integrates well with GitHub Pages. Jekyll supports Markdown, making content management simple. It’s ideal for blogs and personal sites, offering flexibility and customizability.
How Do I Add A Jekyll Theme To My Website?
To add a Jekyll theme, edit your Gemfile to include the theme’s gem. Modify the _config. yml file to reference the theme. Install the theme by running `bundle install`. Customize your site’s layout and styles in accordance with the theme documentation.
Is Jekyll A Web Server?
Jekyll is not a web server. It is a static site generator. Jekyll builds static HTML files from templates. You can then serve these files using a web server like Apache or Nginx. Jekyll is popular for creating blogs and websites hosted on GitHub Pages.
How Is Jekyll A Static Website?
Jekyll generates static HTML files from Markdown or other formats. It doesn’t require a server-side database. Content is pre-rendered and served directly to users, ensuring fast load times. This approach enhances security and simplifies hosting, making Jekyll a popular choice for static websites.
Conclusion
Jekyll offers a simple way to build static websites. Pair it with reliable web hosting. This combination ensures fast and secure site performance. Setting up Jekyll might seem complex at first. But it becomes easier with practice. Start small. Focus on learning key steps.
Your efforts will pay off. Enjoy a smooth website experience for your visitors. A good setup builds trust with users. Happy site building! Remember, practice makes perfect. Keep improving your skills. Your website will thrive.


