
Are you ready to see your website come to life online? Uploading your site to a web host is a crucial step that can seem daunting at first.
But don’t worry—it’s easier than you think! You’ll discover simple, step-by-step instructions to make the process a breeze. Imagine the satisfaction of watching your creation go live, accessible to users worldwide. Whether you’re launching a personal blog or a business site, getting your web presence up and running is essential.
Let’s dive in and empower you with the knowledge to confidently upload your website today.
Choosing The Right Web Host
Picking the best web host is important. Check the host’s uptime. A good host has a 99% uptime or more. Look at the support they offer. Can you reach them any time? This is very helpful if your site has problems. Think about the cost. Some hosts are cheap but have hidden fees. Be sure to read reviews from other users. They share real experiences. Also, check if they offer a money-back guarantee. This gives you peace of mind.
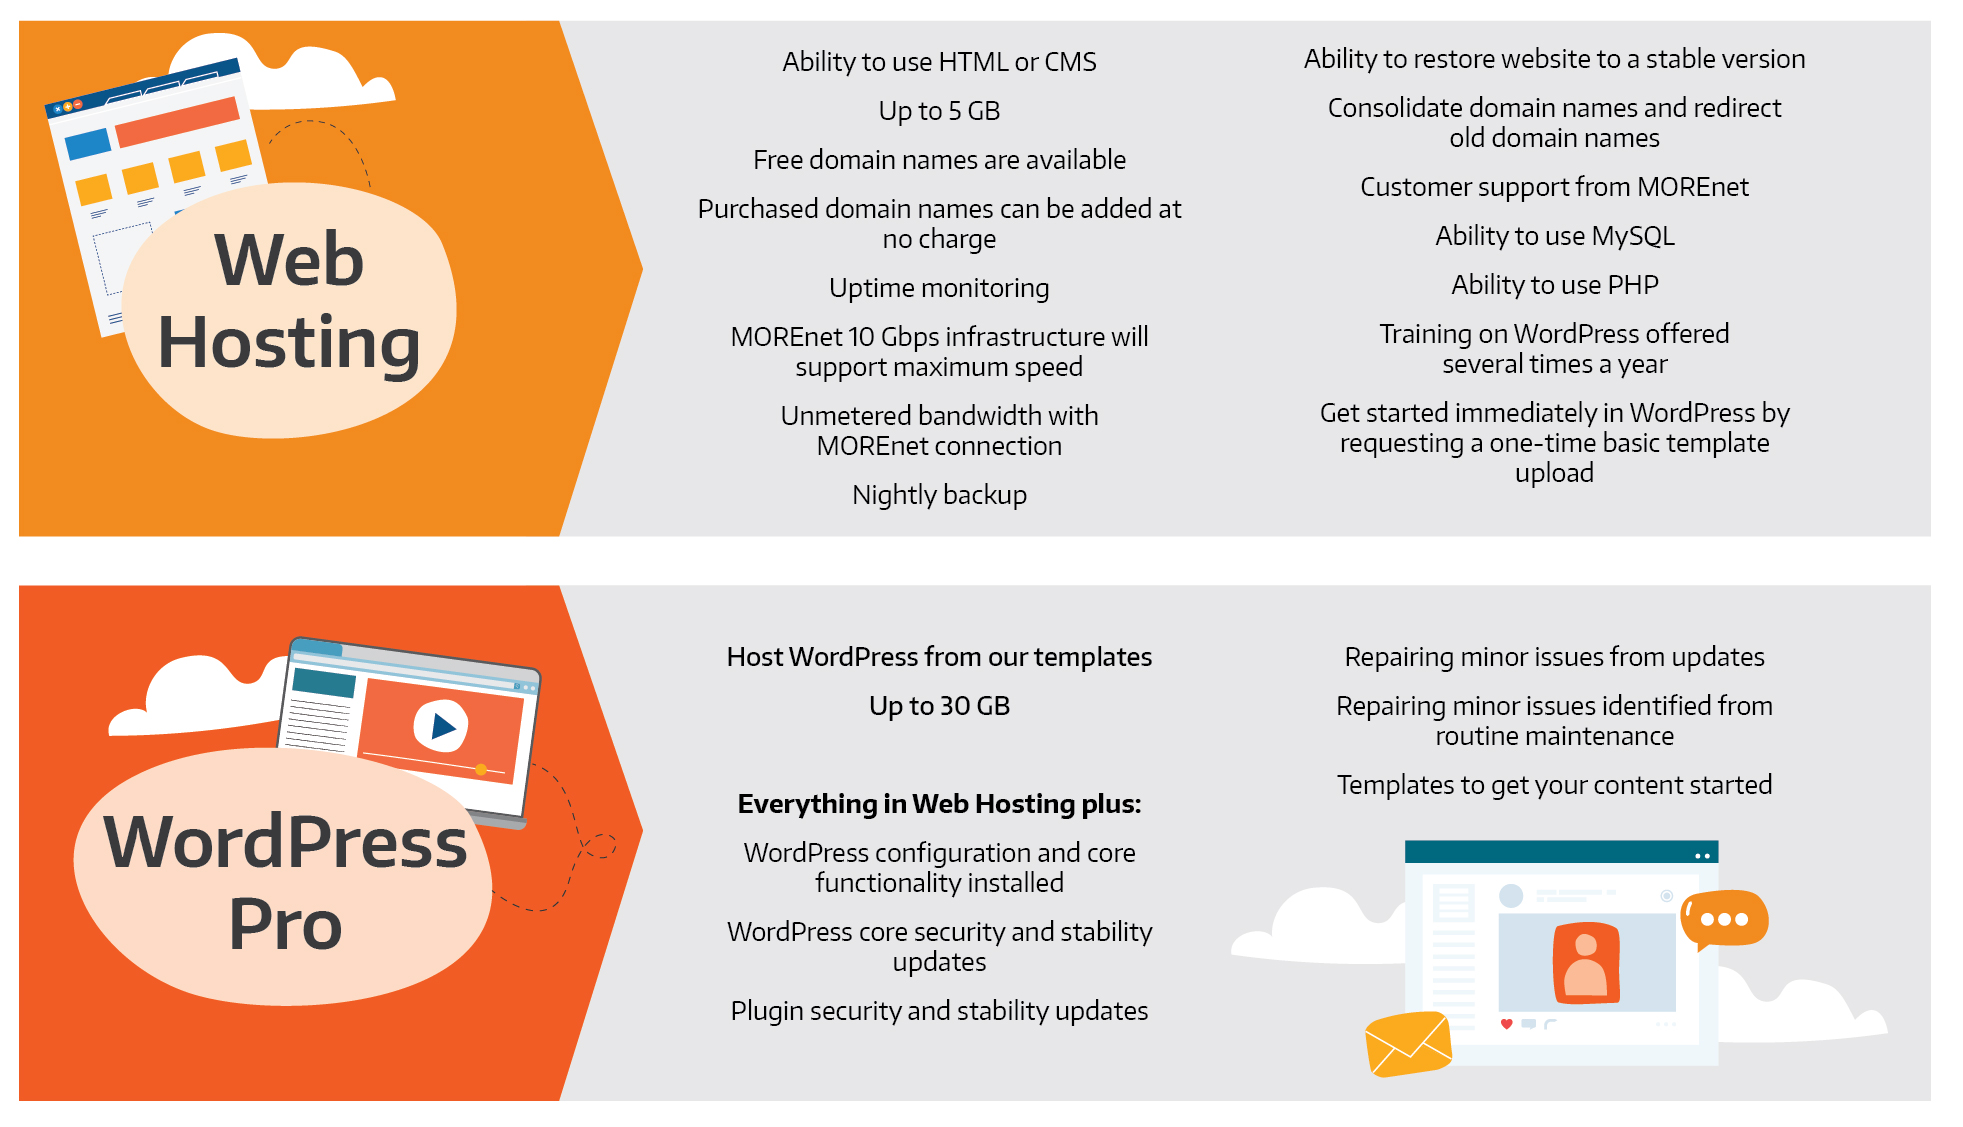
There are different hosting types to choose from. Shared hosting is popular for small sites. It is cheaper but can be slower. Dedicated hosting is faster. It is good for big sites with many visitors. VPS hosting is a mix of both. It offers more control than shared hosting. Cloud hosting is new. It uses many servers, so it is very reliable. Choose the type that fits your needs best.
Preparing Your Website Files
Organizing file structure is very important. Keep files in neat folders. Use clear names for folders. This helps you find things fast. It also helps others understand your work. Group similar files together. Put images in one folder. Place scripts in another. This way, everything is easy to find.
Compressing files for upload saves space. It makes uploading faster. Use tools like ZIP or RAR. They squish files into smaller sizes. This makes them quicker to send. You can also use online tools. They work well too. Always check the compressed files. Make sure nothing is missing. After uploading, unzip them on the server.
Accessing Your Web Host Account
First, you need to create an account with your web host. This step is simple. Visit the web host’s website. Find the sign-up or register button. Click it. Fill out the form with your details. Make sure your email is correct. You will use it to log in. Choose a strong password. Write it down if needed. After signing up, check your email. Look for a confirmation email. Click the link inside. This verifies your account.
After logging in, find the control panel. It manages your website. The control panel has many tools. Look for the file manager. It’s like a folder on your computer. Here, you can upload your website files. Find the upload button. Click it and choose your files. Wait for them to upload. You can also create folders. Name them clearly. This keeps your files organized.
Credit: www.more.net
Using Ftp For File Transfer
First, choose a good FTP client. FileZilla is a popular choice. Download and install it on your computer. Next, get your FTP details from your web host. You will need the server address, username, and password. Open FileZilla and enter these details. Click “Quickconnect” to connect to your host. You should now see your local files on one side. Your website files are on the other side.
Select the files you want to upload. Drag them to the server side in FileZilla. Watch the progress bar to see the upload status. Wait until the files are fully uploaded. Check your website to see if everything works. If there are errors, recheck your files and upload again. This process helps in transferring website files easily. Ensure a stable internet connection for smooth uploads.
Uploading Via File Manager
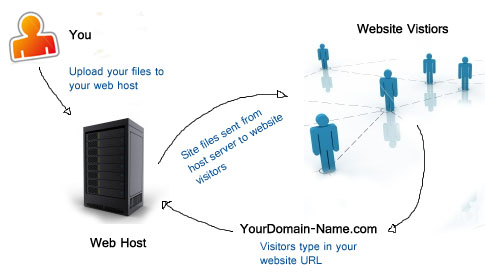
Using the File Manager, upload website files directly to your web host. Start by accessing the control panel. Then, select the File Manager option. Next, choose the files to upload. Finally, transfer them to the public_html directory. This method ensures your website is live and accessible.
Using Web-based File Manager
Web-based file managers help upload files easily. Log into the hosting account. Find the file manager tool. Usually, it’s in the control panel. Click to open it. Navigate to the public_html folder. This folder is important. It holds your website files. Click ‘Upload’ and select files from your computer. Ensure file names are correct. Double-check them. Incorrect names cause issues. Wait for the upload to finish. Refresh the page to see changes. Files may need organizing. Use folders to keep things tidy. Check if files are in the right place. This ensures the website works correctly. If something goes wrong, check the error messages. They guide you on fixing issues. Regularly update files for security. Backup important files. This prevents data loss.
Uploading And Managing Files
Organize files neatly. Use folders for different types. Images in one folder, scripts in another. This helps find files easily. Always check file sizes. Large files may slow down the website. Compress big files to make them smaller. This improves upload speed. Use secure connections. It keeps data safe during upload. Check file permissions. They control who can access files. Permissions should be set correctly. This keeps your site secure. Regularly clean up unused files. They clutter space. Remove old backups that are not needed.Configuring Domain Settings
DNS records help connect your domain to your web host. These records tell the internet where your website is located. Updating them is easy. First, log into your domain provider account. Look for the DNS settings or DNS management section. Here you can see existing records. To change them, find the option to edit. Enter the new values provided by your web host. Save the changes to update the records.
Linking your domain to your host is important. This step makes sure visitors reach your site. After updating DNS records, your domain points to the correct server. Check with your web host for the correct nameservers. Go back to the domain settings. Replace old nameservers with the new ones. Save these changes. It might take some time for changes to work. Be patient and check after a few hours.
Testing Your Website Online
Ensure all links and buttons work. Test on different browsers. Make sure images display correctly. Check forms for errors. Verify that pages load fast. Use a checklist to track tests. Double-check your contact forms. Confirm that dropdown menus work. Look for broken links. Pay attention to the site’s layout.
Sometimes, a webpage might not load. Check your internet connection first. Clear your browser cache. Refresh the page and try again. If images do not show, check file paths. Ensure your files are uploaded correctly. Fix any errors in the code. Look for missing files. Ask someone to check from another device.
Credit: frontendmasters.com
Maintaining Your Website
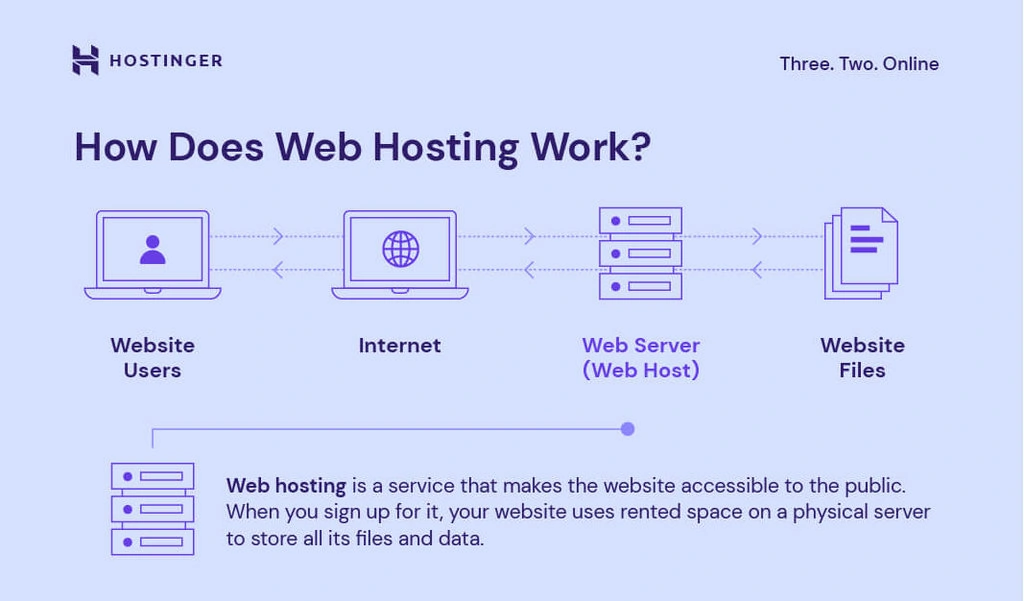
Uploading a website to a web host involves selecting a reliable hosting provider. Then, organize your files and use FTP software for transfer. Ensure all configurations are correct to make your site accessible online.
Regular Backups
Backups keep your website safe. They protect from data loss. Always save a copy of your site. Do this at least once a week. Use trusted tools for backups. Many web hosts offer backup services. Check if your host provides this. If not, find a reliable backup tool. Store backups in a secure place. This can be in the cloud or offline. Regular backups make recovery easy. Stay prepared for unexpected events.
Monitoring Performance
Website performance is important. Slow sites lose visitors fast. Use tools to check speed. Google PageSpeed Insights is a good tool. It shows how fast your site loads. Fix any issues it finds. Keep an eye on uptime. Your site should be live all the time. Downtime can hurt your visitors. Check site performance weekly. This keeps your website healthy and fast.
Credit: www.hostinger.com
Frequently Asked Questions
How Do I Upload A Website To A Host?
Select a web hosting service and create an account. Use an FTP client like FileZilla to transfer your website files to the host’s server. Enter your host’s FTP details, upload files to the public_html directory, and ensure all site components are correctly transferred.
Test your site to confirm functionality.
How Do I Deploy A Website To My Host?
Deploy a website by uploading files via FTP or using a hosting control panel. Ensure DNS settings point to your host. Use version control for updates. Check the website for errors post-deployment. Make sure to backup your site regularly to prevent data loss.
How Can I Transfer My Website To Another Host?
To transfer your website, first back up all files and databases. Update the DNS settings to point to the new host. Upload your website files and restore the database on the new host. Verify the site’s functionality and adjust settings if needed.
Consult your new host’s support for specific instructions.
How To Host A Website On Webhost?
Sign up on Webhost, select a hosting plan, and register your domain. Upload your website files via FTP. Configure settings and launch your site. Ensure everything functions correctly and optimize for performance. Regularly update content and monitor site analytics for improvements.
Conclusion
Uploading your website is easier than it seems. Follow the steps carefully. Double-check everything before making it live. Choose a reliable web host. Transfer your files securely. Test your website after uploading. Ensure links and features work smoothly. Regular updates keep your site running well.
Backup files to protect your data. Stay informed about hosting trends. Keep learning for future needs. With patience and practice, you’ll master website uploads. Now, you’re ready to showcase your site. Enjoy sharing your content with the world. Happy hosting!


