
Are you ready to showcase your website to the world? Posting your site to a web host is the crucial step that makes it accessible to everyone, everywhere.
Imagine turning your digital dream into reality, where others can interact with your ideas, products, or services. It might sound complicated, but with the right guidance, you can do it with ease. This article is your roadmap to navigating the often-confusing world of web hosting.
We’ll simplify the process, giving you clear, actionable steps. Feel the excitement as you learn how to make your website live, and anticipate the sense of achievement when it finally goes online. Stick with us, and by the end, you’ll have the confidence to post your site like a pro.
Choosing A Hosting Provider
Shared hosting is the most common type. It is cheap and easy. Your website shares a server with many others. VPS hosting offers more space and control. It’s like owning a small part of the server. Dedicated hosting gives you the whole server. It is more expensive but powerful. Cloud hosting can grow with your site. It uses many servers to work.
Cost is important. Some hosting is cheap but slow. Speed matters for users. Fast sites keep visitors happy. Support helps when things go wrong. Good support solves problems quickly. Security protects your site from bad people. Safe sites are trusted by users. Features like email and databases can be helpful. Make sure your host offers what you need.
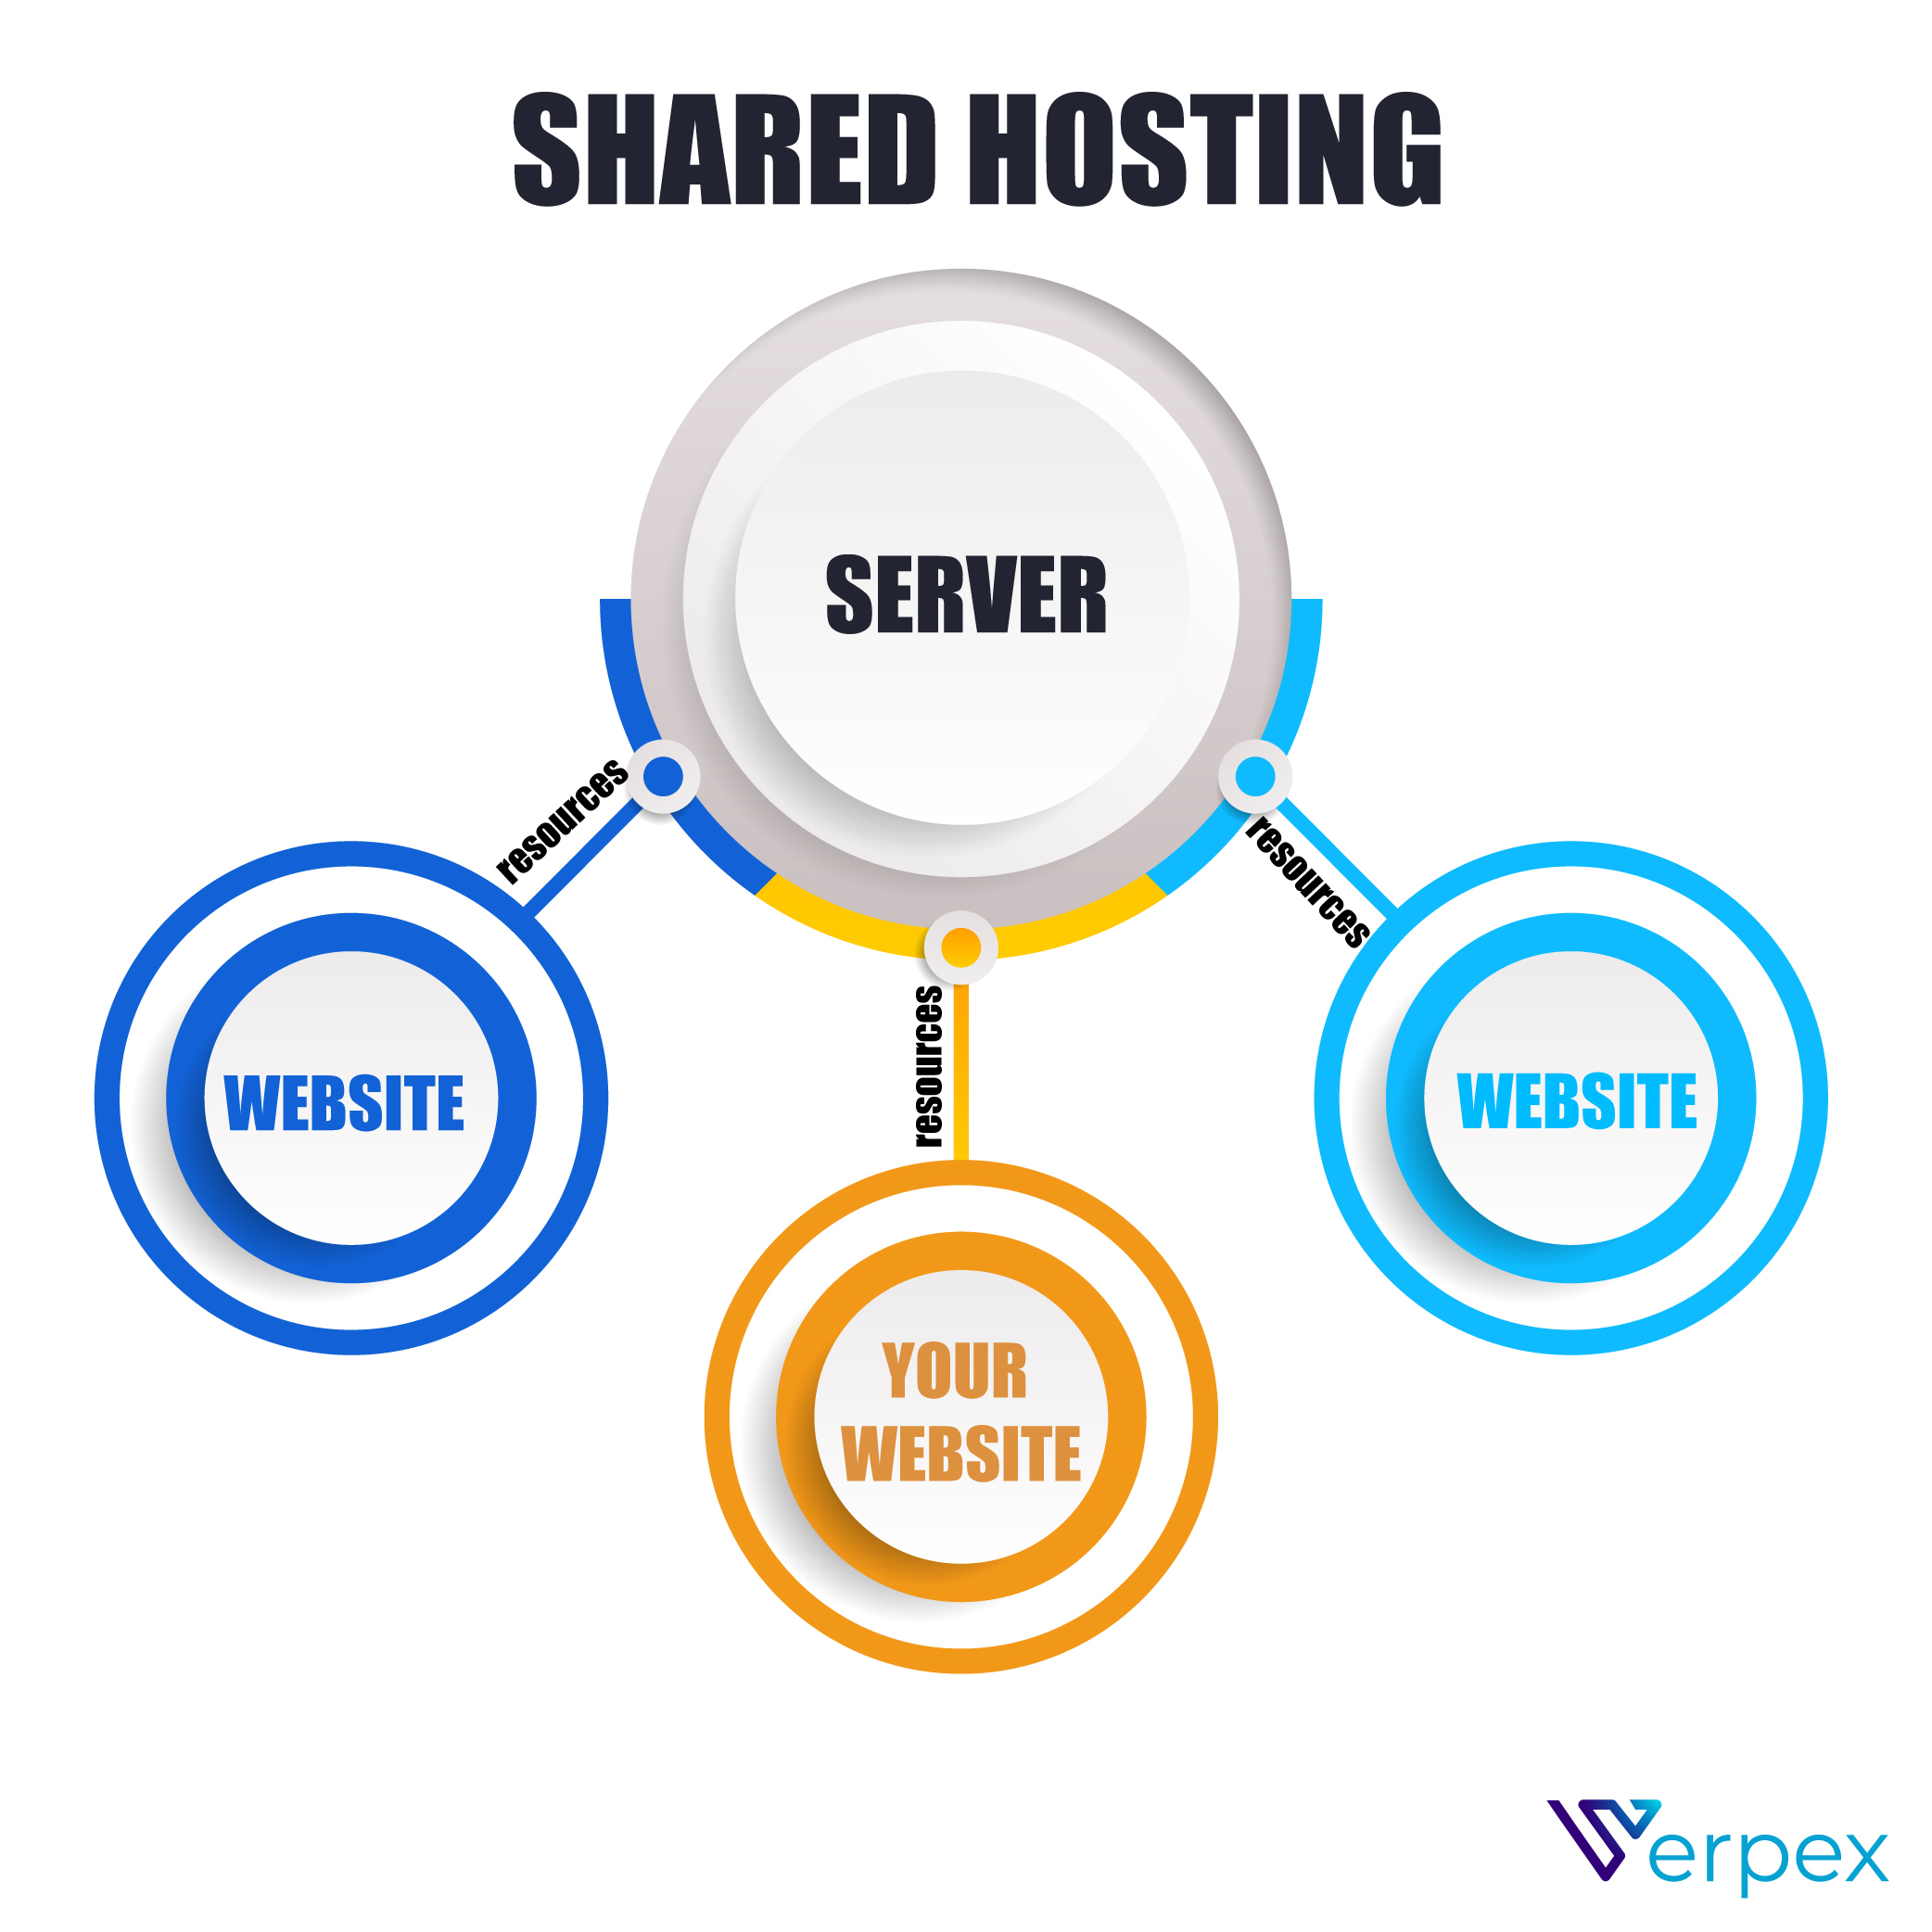
Credit: verpex.com
Registering A Domain Name
Choose a domain name that is easy to remember. It should also be simple to spell. Avoid long and complex words. Keep it short and meaningful. A good domain reflects your site’s purpose. Check if your name is available. Use domain search tools for this. Consider using keywords related to your site.
Find a trusted domain registrar. These are companies that sell domain names. Visit their website to start. Enter your chosen domain name. Check if it’s available. If it is, proceed to register it. Fill in your personal details. Make sure all information is correct. Choose a registration period. Usually, you can select one to ten years. Pay the fee to secure your domain.
Setting Up Hosting Account
First, log in to your hosting account. Look for the control panel link. This is where you manage your website. You’ll find options to add emails or databases. Make sure you remember your login details. These are important for future access. If you see any terms you don’t know, ask for help. Many hosts have guides or support teams. They can explain what things mean.
Go to server settings in the control panel. Here, you can set up your domain and subdomains. Adjust the settings to match your needs. You might see options for PHP or MySQL. Choose the settings based on your site’s needs. Some changes need a restart to work. Remember to save changes before exiting. This ensures everything is updated correctly. If unsure, consult the host’s support team for guidance.
Uploading Website Files
FTP clients help upload website files easily. They connect your computer to the web host. Popular FTP clients include FileZilla and Cyberduck. These programs are free and easy to use.
First, install an FTP client on your computer. Then, open the client and enter your FTP credentials. These include the host, username, and password. You get these from your web host. Once connected, you can see your website files.
Next, select the files to upload. Drag and drop them into the right folder. The main folder is often called public_html. Wait for the files to upload. Now, your website is online.
Organize files for easy management. Use folders for images, scripts, and stylesheets. Name files clearly. For example, use index.html for the homepage. This helps the web browser find it quickly.
Keep file names simple and lowercase. Avoid spaces; use dashes or underscores instead. This reduces errors and makes files easy to find.
Configuring Dns Settings
Updating Name Servers is important. Begin with logging into your domain registrar. Find the DNS settings section. Look for the option to change name servers. You will need your host’s name server details. Replace old name servers with new ones. Save your changes. This step connects your domain to the host server.
Propagation Time can vary. After updating name servers, changes take time. Sometimes a few hours. Sometimes up to 48 hours. During this time, your website might not be visible. This waiting period is normal. Be patient. Check your site after a day. If still not visible, revisit DNS settings.
Testing Website Functionality
All links on your website should work. Click each link to see if it goes to the right page. Broken links can confuse users. They might leave your site. Make sure the navigation menu is easy to use. Users should find what they need quickly. Check every menu item. It should lead to the correct page.
A responsive design means the website looks good on all devices. Test your site on phones, tablets, and computers. The text should be easy to read. Images should fit the screen. Buttons should be easy to click. If something looks off, fix it. A responsive site keeps visitors happy.
Implementing Security Measures
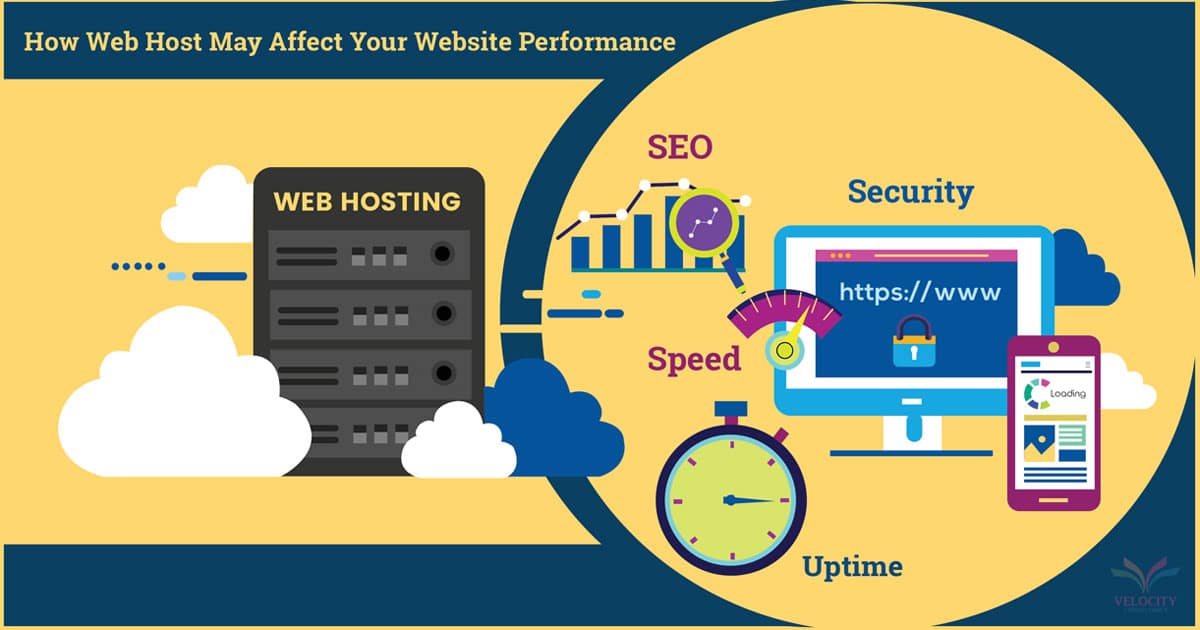
Protect your website with an SSL certificate. This certificate makes sure data stays safe. It encrypts the information. This means only the right person can read it. Most websites need this. It helps build trust with your visitors. They feel safe when using your site. A lock icon will show next to your web address. This tells users the site is secure.
Always make a backup of your website. Things can go wrong. Files might get lost. Backups save your work. You can restore your site easily. Use a backup tool to help you. Schedule it to run often. This keeps your data safe. Save backups in a different place. This way, they stay secure if something happens.
Credit: www.velocityconsultancy.com
Monitoring And Maintenance
Tracking performance metrics helps you know how your website works. Check speed, uptime, and user visits. Use tools like Google Analytics. These tools show what needs fixing. Slow sites can frustrate users. Check metrics often to keep your site quick. Regular checks help catch problems early.
For regular updates and patches, keep your site safe. Update software to fix bugs. Patches protect against hackers. New updates can also improve site features. Always back up your data before updating. Regular updates mean your site stays secure and works well. Keep track of new updates from your hosting provider.

Credit: www.freepik.com
Frequently Asked Questions
How Do I Upload A Website To A Host?
To upload a website to a host, first choose a reliable hosting provider. Use an FTP client like FileZilla to connect. Enter your hosting credentials, then transfer your website files to the server. Ensure all files are in the correct directory.
Finally, test your website to confirm it’s live.
How Do I Deploy A Website To My Host?
Deploy a website by uploading files via FTP or using your host’s control panel. Configure DNS settings, ensuring domain points to the server. Test the site thoroughly to confirm everything works. Check for any issues and optimize for speed and security.
Regularly update software to maintain functionality.
How Do I Publish A Web Site?
To publish a website, select a web hosting provider and register a domain name. Upload your website files using FTP or a website builder. Ensure your site is optimized for search engines and mobile devices. Test your site thoroughly before going live for public access.
How Do I Send Someone My Website?
Share your website by copying its URL from the browser’s address bar. Paste it into an email, message, or social media post. Ensure the link is correct before sending, so recipients can easily visit your site. Consider adding a brief description to entice users to click.
Conclusion
Posting a website to a host is straightforward. Follow the steps shared. You’ll find the process simple. Choose a reliable hosting provider. Upload your website files. Configure settings as needed. Ensure your site is live and accessible. Double-check everything works correctly.
Keep your site updated regularly. This helps performance and security. Hosting can improve site visibility. A well-hosted site attracts visitors. Enjoy the benefits of a functional website. Share your content with the world. Engage your audience effectively. Now you are ready.
Start your online journey today.


