
Imagine having complete control over your website’s hosting environment—speed, customization, and security all at your fingertips. Creating your own web hosting server might sound daunting, but it’s more achievable than you think.
Picture this: you, no longer reliant on third-party hosting services, free to tailor your server exactly to your needs. By the end of this guide, you’ll discover how setting up your own server can enhance your digital presence and save you money.
We’ll walk you through each step, breaking down complex terms into simple actions. This isn’t just another task; it’s an opportunity to take charge of your online destiny. Are you ready to dive in and unlock the potential of your web hosting capabilities? Let’s get started!
Choosing The Right Hardware
Servers come in different types. Dedicated servers are strong and work alone. Virtual servers share space with others. Cloud servers use many computers to work together. Pick the right server. Look at the specifications. Check the processor speed and RAM. More RAM means faster work. Storage space is also important.
Storage helps keep data safe. Solid-state drives (SSD) are quick and good for speed. Hard disk drives (HDD) store lots of data. They are cheaper. RAID systems can help in managing data well. They protect data too. Choose wisely based on your needs.
Good networking is key. Routers and switches connect servers to the internet. They help in data flow. Cables carry data between devices. Ethernet cables are popular for fast connections. Wireless networks are good for remote setups. Make sure equipment is compatible.

Credit: www.siteuptime.com
Selecting The Operating System
Linux and Windows are the most popular server operating systems. Linux is often chosen for its stability and security. Many big websites use Linux. Windows is good for those who use Microsoft software. It is user-friendly but can be costly. Choosing the right OS is important for your server.
There are many server OS options. Ubuntu, CentOS, and Debian are top choices for Linux. They are free and open-source. Windows Server is a choice for those needing Windows apps. Each has its own benefits. Choose based on your needs and budget.
Installing a server OS is not hard. Follow simple steps. Download the OS from its official site. Burn it to a CD or USB. Put the disk or USB in your computer. Restart and boot from it. Follow the on-screen instructions. Setup is done in a few minutes.
Setting Up Server Software
Choosing the right web server software is vital. Apache is very popular. It’s open-source and free. Nginx is another choice. It handles many users at once. LiteSpeed is fast and supports many websites. Each has its own features. Pick one that fits your needs.
Databases store important information. MySQL is widely used. It’s simple and works well. PostgreSQL is also good. It offers advanced features. MariaDB is a MySQL alternative. It’s quick and reliable. Select a system that supports your web server.
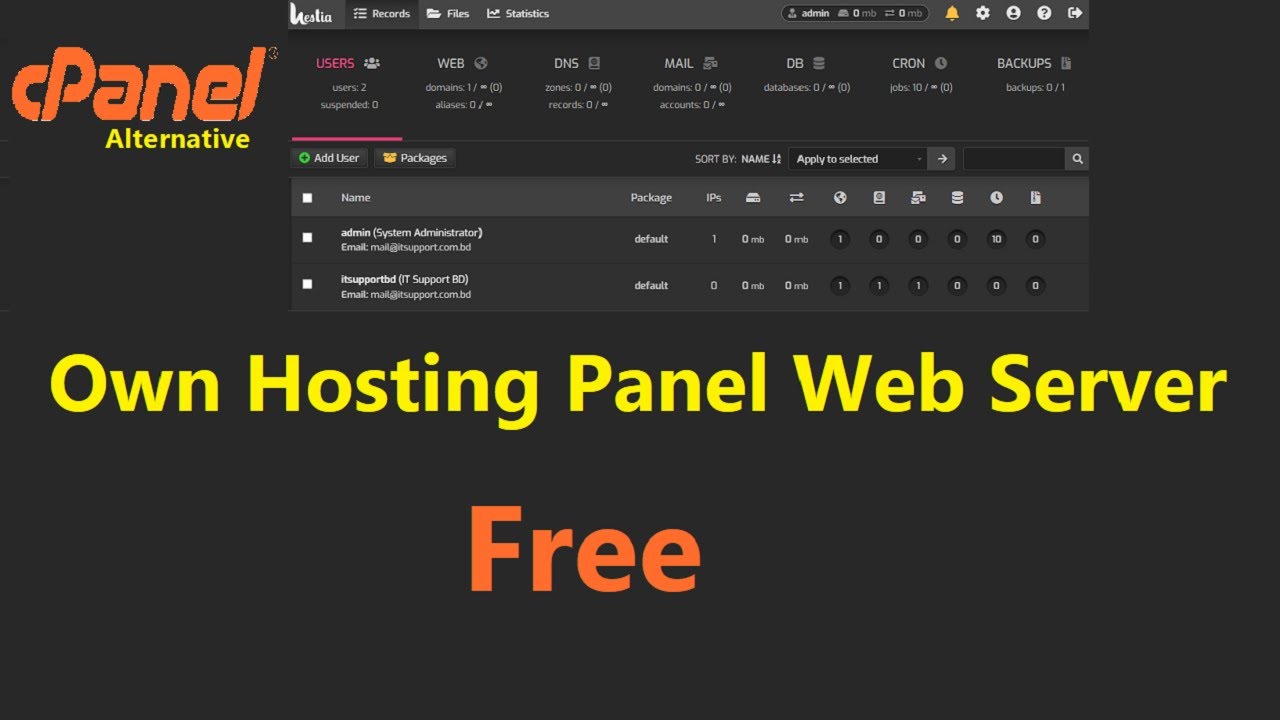
Control panels make server management easy. cPanel is popular. It has many features. Plesk is another option. It’s user-friendly. Webmin is free and open-source. It offers many tools. Control panels help manage websites and databases.
Configuring Network And Security
The Domain Name System (DNS) is like a phone book for the internet. It helps translate domain names to IP addresses. First, choose a domain name for your server. Then, register it with a domain registrar. After that, configure your DNS settings. Make sure they point to your server’s IP address. This lets people find your website easily.
A firewall keeps your server safe. It blocks unwanted traffic. Configure it to only allow necessary ports. Use secure protocols like SSH for remote access. Regularly update your server’s software. This helps protect against threats. Always back up important data. Safety first!
An SSL certificate encrypts data. It keeps information safe between users and your server. Obtain an SSL certificate from a trusted source. Install it on your server. This secures your website. Visitors will see a padlock icon. This shows your site is safe. Trust is important for users.
Managing Users And Permissions
First, create a user account for each person. Use simple names. Each user needs a password. Choose strong passwords. Mix letters and numbers. This makes it hard to guess. Keep user information safe. Write it down if needed. Store it in a safe place.
Permissions control what users can do. Set permissions carefully. Decide who can read files. Decide who can change files. Use clear rules. Always check permissions. Make sure they are correct. Wrong permissions can cause problems.
Access Control Lists (ACLs) help manage permissions. ACLs are lists of rules. Use ACLs for better control. Each rule shows what a user can do. Change ACLs as needed. Review them often. Keep ACLs updated. This ensures safety and order.
Credit: www.youtube.com
Monitoring And Maintenance
Monitoring your server is very important. Use tools like Nagios and Zabbix. They help you watch your server’s health. These tools alert you when things go wrong. Keep an eye on CPU usage and memory. This ensures your server runs smoothly.
Always backup your data. Backups protect your data from loss. Use tools like rsync and Duplicity. Store backups in a safe place. Check your backups often. Make sure they work properly.
Sometimes servers have problems. Restart the server to fix minor issues. Check logs for error messages. Logs give clues about what went wrong. Update your software regularly. This fixes bugs and keeps the server secure.
Scaling And Optimization
Building your own web hosting server requires scaling and optimization skills. Start by choosing reliable hardware to ensure efficient performance. Optimize server settings to manage resources effectively and provide a seamless experience for users.
Load Balancing Techniques
Load balancing helps distribute traffic evenly. It keeps servers from getting too busy. This makes websites run faster. Popular methods include round-robin and least connection. Round-robin sends traffic to servers in order. Least connection checks which server has fewer tasks. Both methods help in managing traffic efficiently.
Resource Allocation
Resource allocation is important for web hosting. It decides how much power each server gets. This includes CPU, memory, and storage space. Proper allocation ensures servers perform well. Allocating resources wisely prevents slowdowns. It helps in managing server load effectively.
Future Expansion Considerations
Future expansion means planning for growth. Servers need room to grow as demand increases. It’s good to have extra storage and memory. This helps in handling more visitors. Planning for expansion ensures smooth operation. Keeping an eye on technology trends is also smart. This helps in adapting to new changes easily.
Credit: host4geeks.com
Frequently Asked Questions
How Do I Create My Own Hosting Server?
To create your own hosting server, choose hardware, install server software, and configure network settings. Ensure security measures are in place. Regularly maintain and update the server for optimal performance.
Can You Host A Server Yourself?
Yes, you can host a server yourself using your computer or dedicated hardware. Ensure you have stable internet, proper software, and security measures. Home hosting may require technical knowledge and ongoing maintenance. Consider professional hosting services for reliability and support.
Can I Host My Website By Myself?
Yes, you can host your website yourself. You’ll need a computer, stable internet connection, and server software. Ensure your system is always online and securely configured. Self-hosting allows control but requires technical skills and regular maintenance. Consider professional hosting for reliability and support.
Can You Do Web Hosting Yourself?
Yes, you can host a website yourself. You’ll need a server, technical skills, and reliable internet. Consider security, maintenance, and scalability. Self-hosting offers control but requires time and expertise. For convenience, many opt for professional hosting services. Choose based on your needs and resources.
Conclusion
Creating your own web hosting server is rewarding. It offers control and learning. Start with a reliable computer. Install necessary software. Ensure strong security measures. Regularly update your server. Back up data frequently. This keeps your server safe. Practice makes perfect.
Experiment with different settings. Learn from mistakes. Soon, hosting will feel easy. You’ll manage websites like a pro. Enjoy the benefits of self-hosting. It saves costs. Boosts personal growth. Happy hosting journey!


