
You’ve got your domain name from GoDaddy, and now you’re ready to bring your website to life. But how do you add web hosting to your domain?
This task might seem daunting at first, but it’s simpler than you might think. In this guide, we’ll walk you through the steps to seamlessly connect your domain to web hosting using GoDaddy. Imagine the excitement of seeing your ideas, products, or services showcased on your very own website.
With the right guidance, you’ll master this process in no time. Stay with us to discover how easy it is to unlock your website’s potential and start engaging with your audience.
Choosing The Right Hosting Plan
Selecting an ideal hosting plan is crucial for enhancing your domain’s performance on GoDaddy. Start by assessing your website’s needs and budget. A seamless integration between hosting and domain ensures better site functionality and user experience.
Types Of Hosting Available
There are many hosting types. Shared hosting is like sharing a room. It is cheap and easy. VPS hosting gives you more control. It is like having your own room. Dedicated hosting is all yours. It is like owning a house. Cloud hosting is flexible. It grows with you. Choose what fits best.
Factors To Consider
Think about your site’s needs. Do you need speed? Then choose a plan with high bandwidth. Is security a concern? Pick a hosting with strong protection. How much can you spend? Stick to your budget. Look for good support. You might need help. Check if they offer backups. It saves data if lost. Always read reviews before choosing.
Domain And Hosting Compatibility
First, log in to your GoDaddy account. Go to your domain list. Click on your domain name. Look for the DNS settings. Check if the name servers are pointing to the right place. If not, you will need to update them. This step is very important. It helps your domain find your hosting.
Check if your hosting plan supports your domain. Open your hosting dashboard. Look for domain management options. Make sure your domain is linked to your hosting account. If not, you might need to add it manually. Ensure your hosting supports all domain features. Features like email and security are important.
Setting Up Your Godaddy Account
Visit the Godaddy website. Find the “Sign Up” button. Click it to start. Fill in your personal details. Use a strong password. Confirm your email. Now, you have an account. Easy steps for quick registration. Remember your login details. They are important.
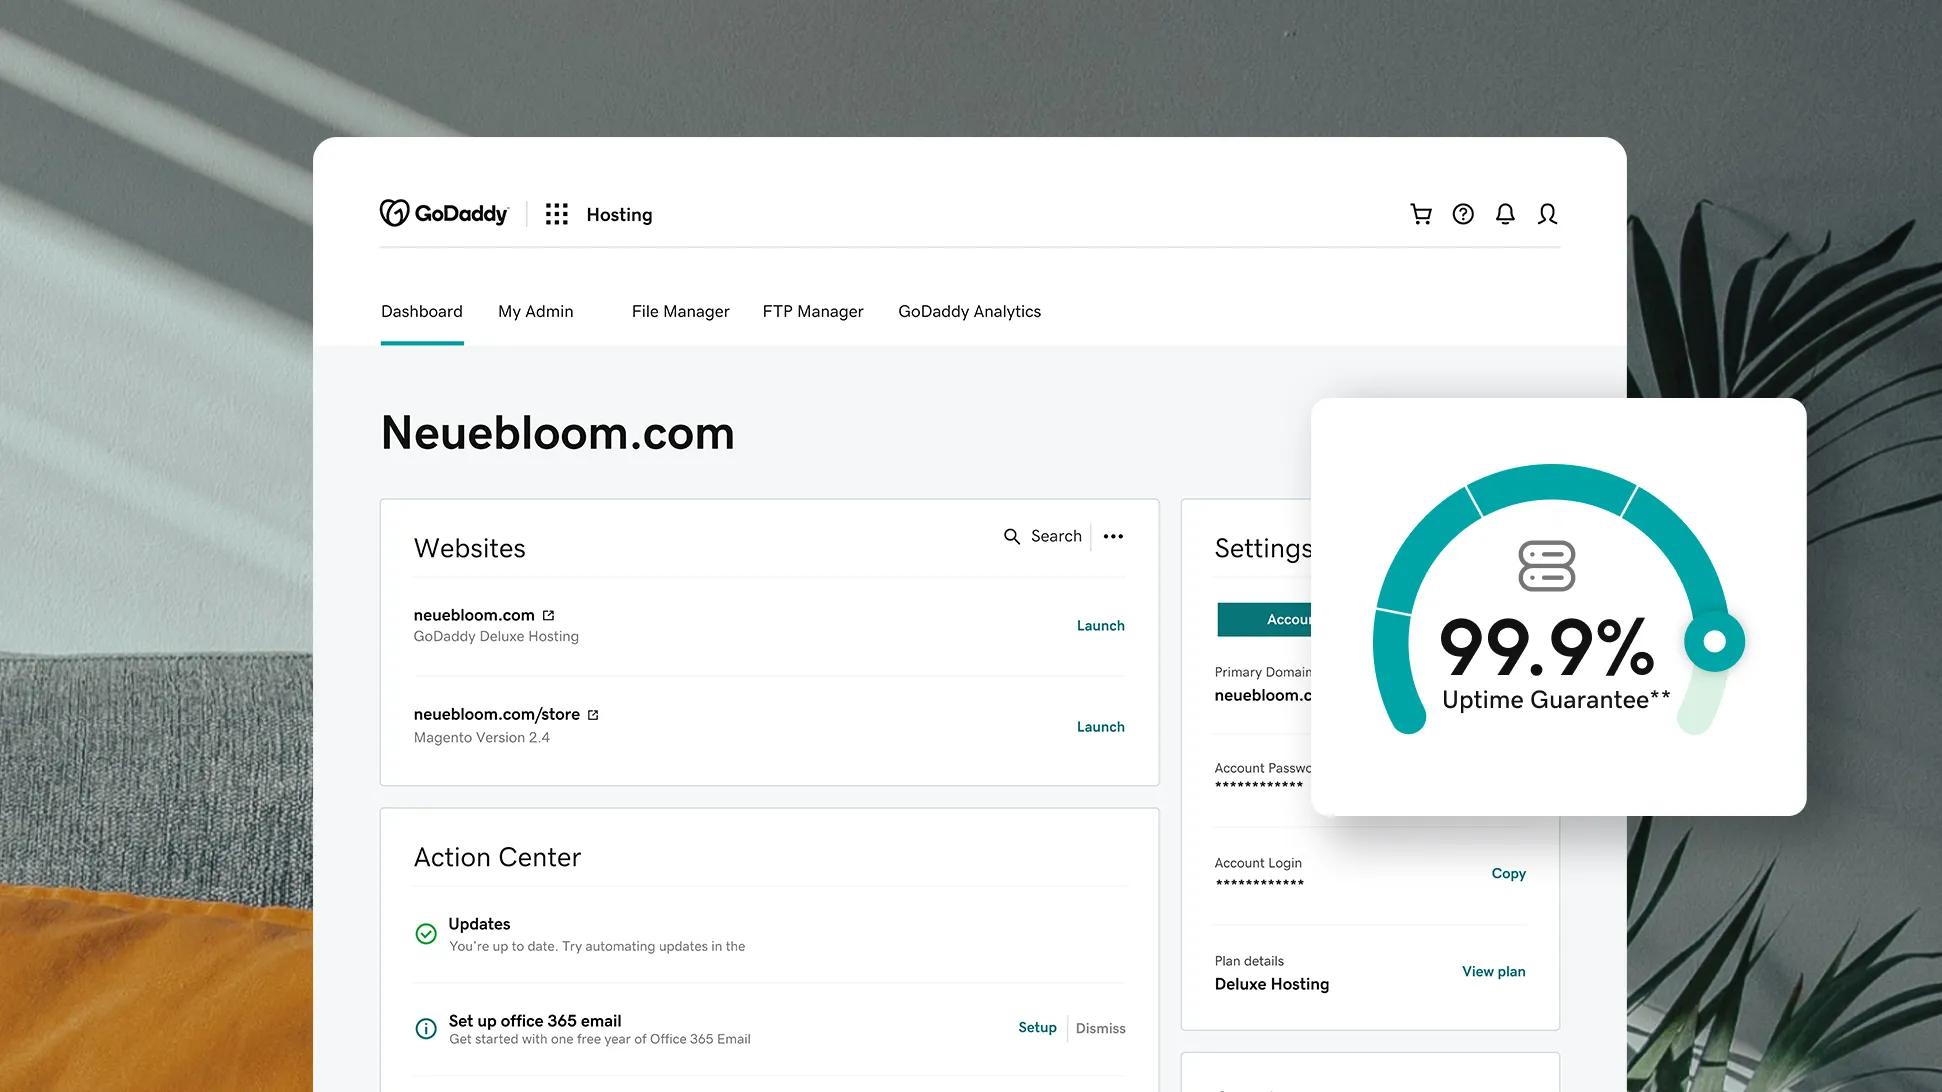
Log in to your account. Find the dashboard page. It shows many options. Look for the hosting section. Click on it. See different plans. Choose one that fits your needs. Make sure it matches your domain. Purchase the hosting plan. Follow the instructions. Your domain will now have hosting.
Credit: www.godaddy.com
Purchasing A Hosting Plan
Choosing the right hosting plan is crucial. Godaddy offers several options. Basic plans work for small websites. Larger sites may need advanced options. Check your site’s needs first. Look at storage and bandwidth. Compare prices and features. Some plans offer free domain registration. Others may include email accounts. Shared hosting is cost-effective. VPS is more powerful but costly. Dedicated hosting gives you full control. Choose based on your budget and needs.
After choosing a plan, click “Buy Now”. Sign in to your Godaddy account. If you don’t have one, create it. Enter your billing information carefully. Review your selections before proceeding. Ensure all details are correct. Look for any discounts or promo codes. Apply them if available. Click “Complete Purchase” to finish. You will get a confirmation email. This email contains all your purchase details. Save it for future reference.
Linking Domain To Hosting
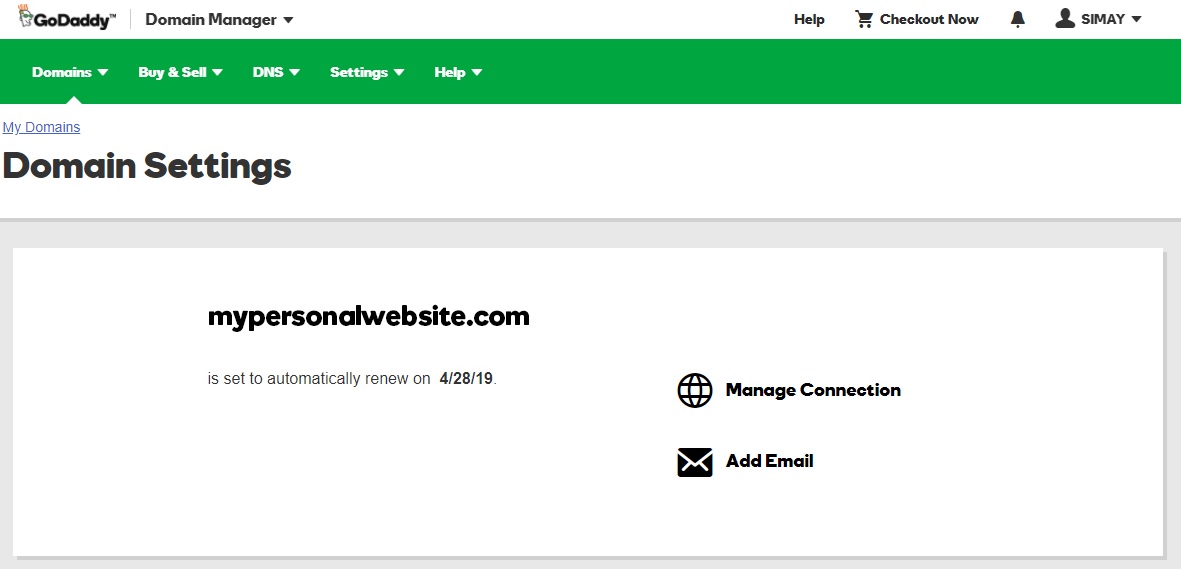
Start by logging into your GoDaddy account. Once logged in, find the Domain Manager section. This is where you handle your domain settings. Click on the domain you want to link to hosting. You will see various options related to your domain. Make sure you choose the right one. It’s important to be in the correct section.
To link your domain to hosting, you need to update the DNS settings. Find the DNS settings tab. Here, you will enter the details provided by your hosting service. Usually, you need to change the nameservers. Replace the default nameservers with the ones given by your hosting provider. This step is crucial. It directs traffic to your hosting server. Save the changes. It might take some time for the changes to take effect.
Credit: www.godaddy.com
Configuring Your Hosting Environment
Software tools help you create a website. Start by choosing the right tools. Popular options include WordPress and Joomla. Godaddy makes it easy to install these. You can use the one-click installer. This saves time. Follow instructions carefully. Each step is clear. Don’t skip any step. This will ensure your site works smoothly.
Email accounts are important. They let you communicate with visitors. Create email accounts from your hosting panel. Choose a name for your email. It should be easy to remember. Your email can match your domain name. This looks professional. Use Godaddy’s tools to manage emails. Organize them well. Keep your inbox tidy. Respond to emails promptly.
Testing Your Website
Adding web hosting to a GoDaddy domain is simple. First, log in to your GoDaddy account. Next, select your domain and choose the hosting option that suits your needs. Finally, follow the prompts to complete the setup. This process ensures your website is live and accessible to visitors.
Checking Connectivity
Test your website’s connectivity first. Use a simple tool like ping. It checks if your website is reachable. Open a command prompt. Type: ping yourdomain.com. Press enter. Look for the response. You want low latency. If there are delays, troubleshoot. Check your DNS settings. Ensure they point to the correct server. Connectivity is crucial for smooth website performance.
Ensuring Functionality
Visit every page on your site. Check if links work. Click each button. They should lead to the right place. Test forms. Fill them out and submit. Ensure you receive submissions. Check images. They should display correctly. Monitor loading times. Pages should load fast. Slow loading can deter visitors. Fix errors quickly. Functionality keeps users happy.
Troubleshooting Common Issues
Easily connect your GoDaddy domain to web hosting by accessing the DNS management page. Update the nameservers to match your hosting provider. Wait a few hours for changes to take effect and your site should be live.
Resolving Dns Errors
DNS errors can cause websites to not load. First, check if the DNS settings are correct. Ensure that the nameservers point to the right host. Sometimes, a cache might be the issue. Clear it and refresh the page. Wait a few minutes for changes to take effect. The propagation might take up to 24 hours.
Fixing Hosting Problems
Hosting problems can affect website access. Check if the hosting server is working. Contact the support team if needed. Sometimes, files might be missing. Verify the file paths are correct. Ensure the server is not overloaded. Regular checks help avoid issues.
Optimizing Website Performance
Fast websites make users happy. Compress images to save space. Use a content delivery network to reach users quickly. Reduce the number of plugins. They slow down the site. Update software regularly for the best speed.
Security keeps your site safe. Use strong passwords. Change them often. Install SSL certificates for data safety. Back up your site daily. This helps in case of data loss. Keep software up-to-date to prevent attacks. Enable a firewall to block unwanted access. Secure sites build trust with users.
Credit: www.godaddy.com
Frequently Asked Questions
How Do I Add Hosting To A Domain In Godaddy?
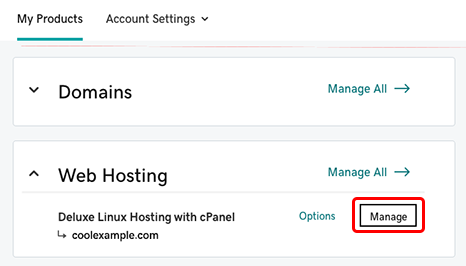
Log into your GoDaddy account. Navigate to “My Products” and select your domain. Click “Add Hosting” and choose your desired plan. Follow the prompts to complete the setup. Your hosting will then be linked to your domain.
Does My Godaddy Domain Come With Hosting?
A GoDaddy domain does not automatically include hosting. Hosting is a separate service you need to purchase. You can choose from various hosting plans offered by GoDaddy to fit your website needs. Consider your website size and traffic when selecting a hosting plan.
How To Setup A Web Hosting Plan With Godaddy?
To set up a web hosting plan with GoDaddy, choose your preferred plan on their website. Create an account, then select a domain name. Complete the payment process. Access your hosting dashboard to configure settings and upload website files. Utilize GoDaddy’s support if assistance is needed.
How Do I Point My Domain To Another Hosting Provider?
Log in to your domain registrar. Update the DNS settings to your new hosting provider’s nameservers. Save changes. Wait for DNS propagation, which may take up to 48 hours. Check your website to ensure it points to the new host.
Conclusion
Adding web hosting to your GoDaddy domain is simple. Follow these steps carefully. First, log into your GoDaddy account. Navigate to your domain manager. Select the domain you want to host. Choose a suitable hosting plan. Confirm your purchase. Install necessary software if needed.
Now, your website is ready to go live. Troubleshooting is easy with GoDaddy support. Always keep your credentials safe. Regularly update your website for security. With these steps, your online presence is set. Enjoy the journey of web hosting with GoDaddy.


